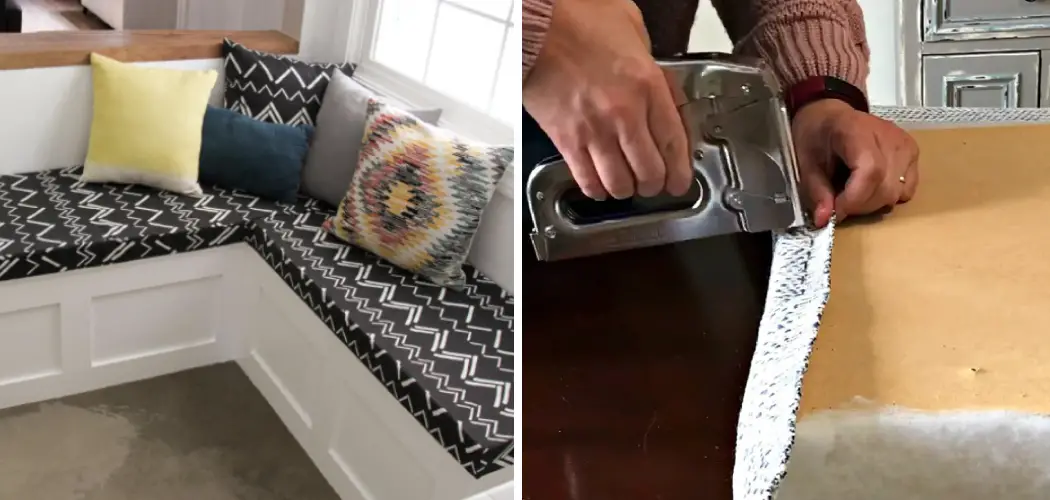
Are you looking for a way to make your chair, sofa, or bench more comfortable? If so, you’re in luck! Padded seat cushions can add style and comfort to any seating situation. With some basic materials and a few simple steps, you’ll have a custom-made cushion in no time – all tailored to your needs.
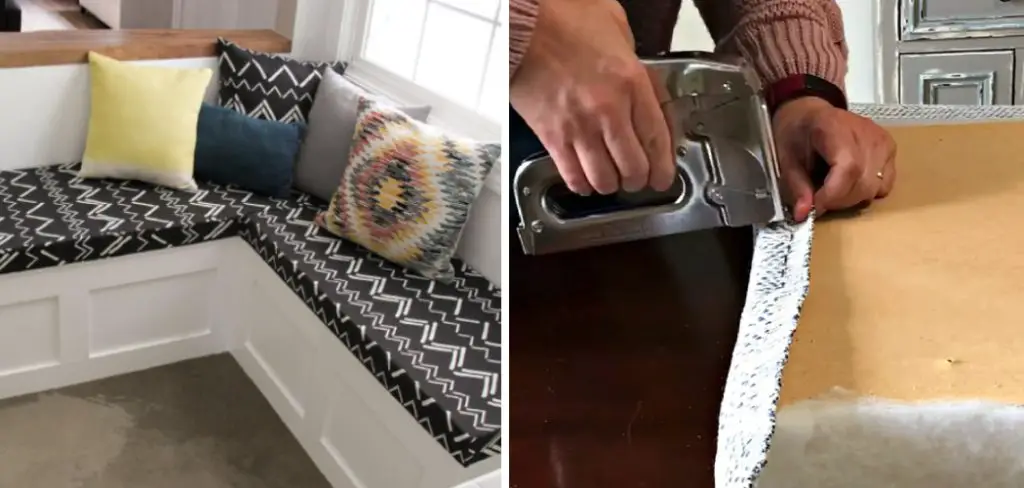
In this blog post, we’ll provide step-by-step instructions on how to make padded seat cushion that will guide you through the process of crafting a plush and stylish seat cushion for yourself or others. Keep reading to learn how it’s done!
Tools and Materials You Will Need to Make Padded Seat Cushion
- Fabric of your choice
- Measuring tape
- Scissors
- Sewing machine (or needle and thread)
- Pins
- Ruler or straight-edge
- Chalk or fabric marker for tracing
- Batting or foam padding
Step-by-step Guidelines on How to Make Padded Seat Cushion
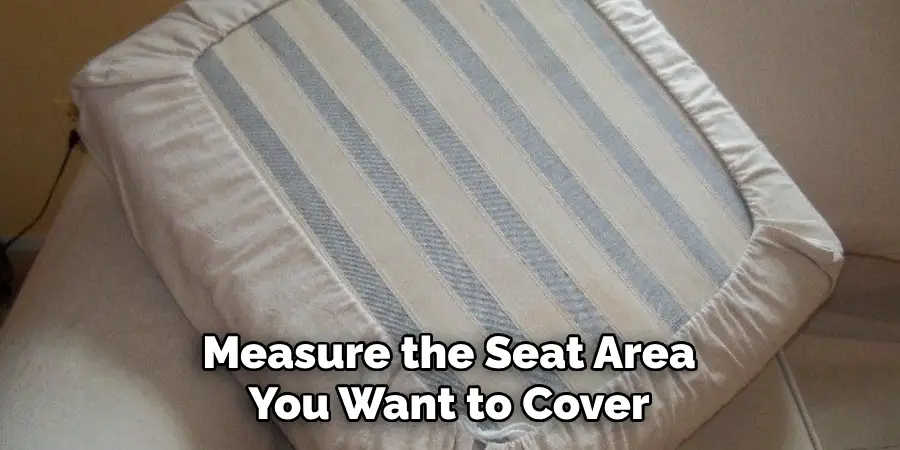
Step 1: Measure the Seat Area
The first step is to measure the seat area you want to cover. Use a measuring tape to determine the length and width of your seat. Make sure to add an extra inch on all sides for seam allowances. Measuring accurately will ensure a perfect fit for your cushion. This is especially important if you are making a cushion for an odd-shaped seat.
Step 2: Cut Out the Fabric
Using the measurements you took in Step 1, cut out two pieces of fabric in the desired shape and size. You can use any fabric that suits your style and preference – whether it’s a plain color or a fun pattern. Cotton, linen, and canvas are all great options for a seat cushion. While cutting, make sure to leave an inch of extra fabric on all sides for seam allowances.
Step 3: Add Batting or Foam Padding
Next, place the two pieces of fabric on top of each other with the right sides facing inwards. If you’re using foam padding, cut it out according to your seat’s measurements and place it between the two layers of fabric. If you’re using batting, place it on top of one fabric piece before layering the second piece on top. Use pins to secure the layers in place.
Step 4: Sew Around Three Sides
Using a sewing machine or needle and thread, sew around three sides of the cushion, leaving one side open for stuffing. If you’re using a sewing machine, use a straight stitch with a ½ inch seam allowance. Make sure to backstitch at the beginning and end for extra durability. This side will be the back of your cushion, so make sure to leave enough room for stuffing and sewing it shut.
Step 5: Turn the Cushion Right Out
After sewing three sides, turn the cushion right-side out by pulling it through the open side. Use a ruler or straight edge to push out the corners for a crisp finish. If you’re using batting, fluff it up to give your cushion a full and fluffy look. While stuffing, make sure to distribute the filling evenly for a comfortable and uniform cushion. This is where you can add more batting or padding if needed.
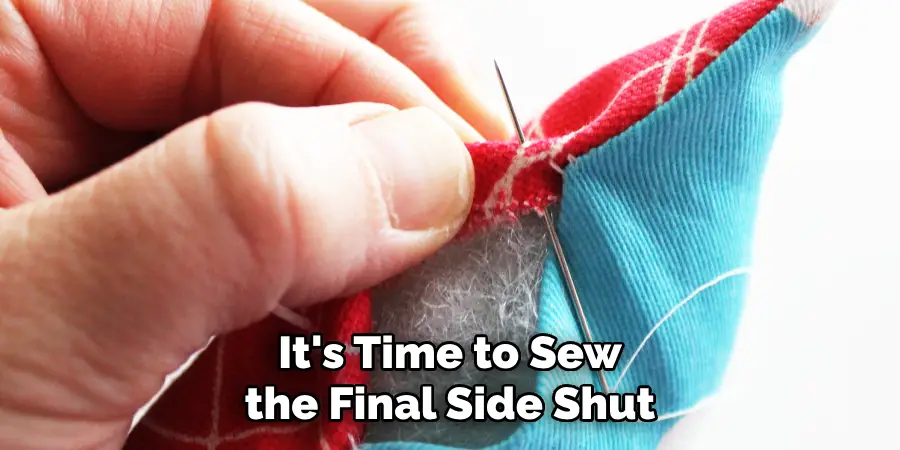
Step 6: Sew the Final Side Shut
Once your cushion is fully stuffed, it’s time to sew the final side shut. Fold in the edges of the open side and use pins to secure them in place. Then, use a needle and thread or sewing machine to sew this side shut using a straight stitch. Make sure to backstitch at the beginning and end for extra durability. Make sure your stitches are strong and secure to prevent any unraveling.
Following these simple steps, you can make your padded seat cushion that is perfect for any seating situation. Whether it’s for outdoor furniture or indoor seating, a custom-made cushion will add comfort and style to any space. You can even add decorative elements like buttons or piping for an extra personalized touch. So go ahead and get creative with your cushion-making!
Additional Tips and Tricks to Make Padded Seat Cushions
1. If you want to add a decorative element to your padded seat cushion, you can use piping or trim along the edges. This will give it a more professional and polished look.
2. To prevent the fabric from slipping around, consider using non-slip fabric on the bottom of the cushion. You can also add velcro strips to secure the cushion onto the seat.
3. If you want to make a removable cover for your cushion, use a zipper or buttons instead of sewing it shut. This will make it easier to wash and maintain the cushion.
4. You can also add extra padding to your seat cushion by using multiple layers of foam or batting. This will provide more support and comfort, especially if you plan on using the cushion for extended periods.
5. Experiment with different types of fabric to add texture and visual interest to your cushion. For a more durable cushion, consider using outdoor or upholstery fabric.
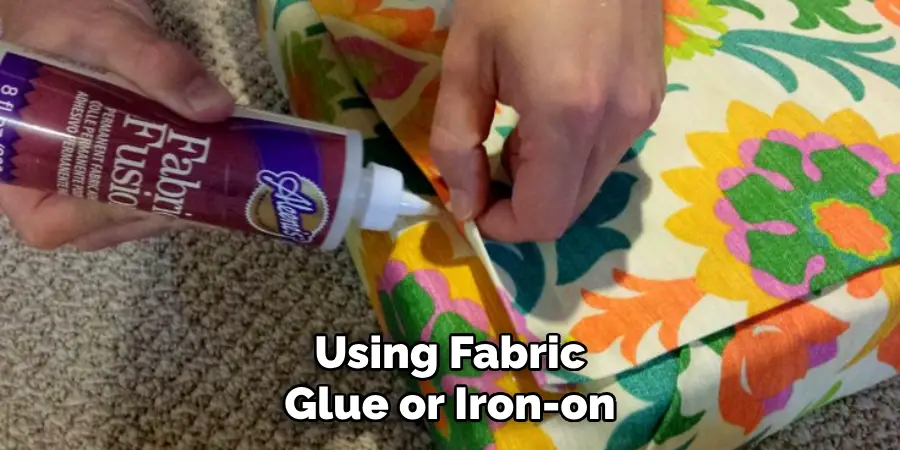
6. If you’re not confident in your sewing skills, opt for a no-sew option by using fabric glue or iron-on adhesive tape to secure the edges of the cushion together.
7. Consider adding ties or straps to the cushion so you can easily attach it to a chair or bench and prevent it from slipping or moving around.
8. Don’t limit yourself to traditional square or rectangular cushions. You can also make rounded, oval, or even custom-shaped cushions for unique seating arrangements.
9. For more advanced crafters, consider adding embellishments like embroidery, buttons, or appliques to personalize your cushion and make it truly one-of-a-kind.
10. Finally, don’t be afraid to get creative and think outside the box when it comes to making padded seat cushions. You can use unconventional materials like old clothing or towels for stuffing or repurpose old fabrics for a sustainable approach. The possibilities are endless!
Following these tips and tricks will not only help you make a comfortable and functional seat cushion but also add your personal touch to it. Have fun and happy crafting! Therefore, the process of making padded seat cushions allows for customization and creativity while providing comfort and functionality at the same time.
Whether it’s for outdoor furniture, dining chairs, or even floor seating, a well-made padded cushion can make a world of difference in your seating experience. So grab your materials and get crafting! Happy making!
Things You Should Consider to Make Padded Seat Cushion
1. First and foremost, you need to have the right materials for making a padded seat cushion. This includes foam padding, fabric, scissors, thread and needle, measuring tape, pins, and a sewing machine (optional). Make sure to choose high-quality materials that are durable and comfortable to sit on.
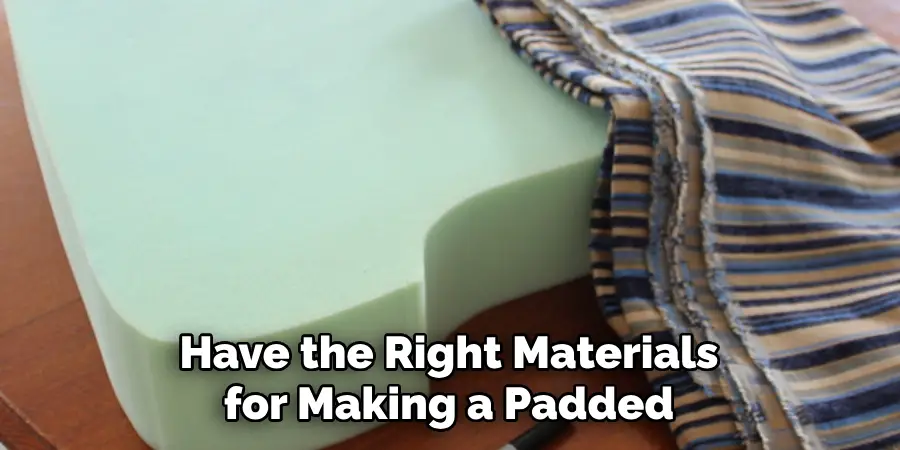
2. Next, decide on the type of foam padding you want to use. The most common type is high-density foam, which provides ample support and comfort. However, you can also opt for memory foam or egg crate foam for added cushioning.
3. Measure the dimensions of your seat to determine the size of your cushion. It’s important to get accurate measurements to ensure a snug fit on your seat.
4. Consider adding a zipper or velcro closure to your cushion for easy removal and cleaning. This will also allow you to change the cover of your cushion if needed.
5. Choose a fabric that is suitable for your needs. If you plan on using the cushion outdoors, make sure to choose a weather-resistant fabric. For indoor use, you can opt for a softer and more decorative fabric.
6. When cutting the foam padding, make sure to use sharp scissors or a foam cutter for clean and precise edges. It’s also important to cut the foam slightly larger than your measurements to account for compression.
7. Pin all layers of fabric together before sewing to ensure they stay in place. This will prevent any shifting or unevenness in the final product.
8. Don’t forget to leave one side of the cushion open for stuffing the foam padding inside. Once inserted, hand-sew or use a sewing machine to close the opening. Make sure to reinforce the stitches for added durability.
9. Consider adding decorative elements to your cushion such as piping, buttons, or embroidery for a personalized touch.
Following these considerations will ensure that you create a comfortable and durable padded seat cushion. With the right materials and techniques, you can customize your cushion to fit your needs and style.
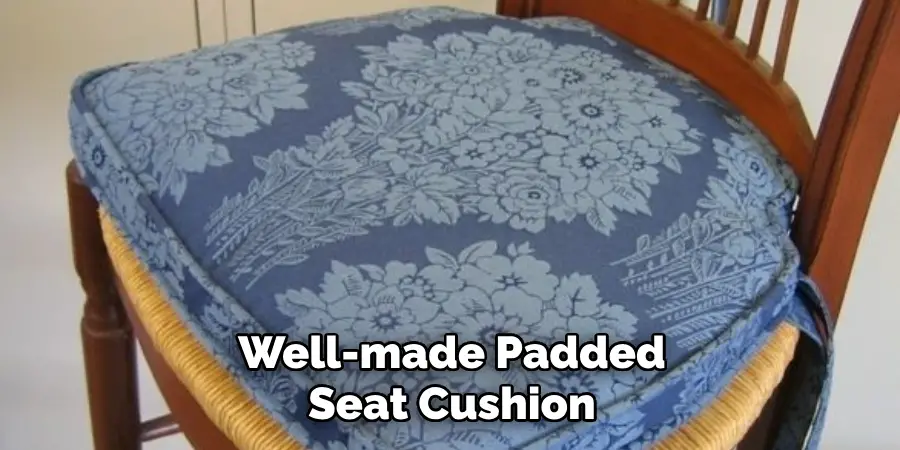
Whether it’s for outdoor furniture or indoor seating, a well-made padded seat cushion will enhance your comfort and add a touch of design to any space. So why not give it a try and make your own today? Now you can sit back and relax in style!
Frequently Asked Questions
What is a Padded Seat Cushion?
A padded seat cushion is a type of cushion designed to provide comfort and support to the person sitting on it. It usually consists of multiple layers of materials such as foam, batting, and fabric.
Why Do I Need a Padded Seat Cushion?
Padded seat cushions can serve multiple purposes. They can help relieve pressure on your tailbone and provide support for your back, making long periods of sitting more comfortable. They can also add a touch of style to your chair or furniture.
Can I Make a Padded Seat Cushion at Home?
Yes, you can! Making a padded seat cushion at home is a fun and creative project that allows you to customize the size, shape, and design of the cushion according to your needs and preferences. Making your cushion can also save you money compared to buying one from a store.
Do I Need Any Special Skills to Make a Padded Seat Cushion?
No, you do not need any special skills to make a padded seat cushion. Basic sewing skills and the ability to use simple tools will help create a cushion that is both functional and aesthetically pleasing. However, if you’re not confident in your sewing skills, there are no-sew options available as well.
How Do I Choose the Right Size for My Padded Seat Cushion?
To determine the right size for your padded seat cushion, measure the dimensions of your chair or furniture. It’s important to get accurate measurements to ensure a snug fit on your seat. You can also add an extra inch or two to the measurements for a more cushioned and comfortable feel.
Conclusion
To conclude, the perfect homemade padded seat cushion is not out of reach. Taking some time and investing in the right materials can make all the difference. If you didn’t quite get it on your first attempt, don’t be discouraged! This is a craft that takes practice, trial, and error, and some creativity.
But with good instructions and determination to make something charming and unique—padded seat cushions are attainable for even those just starting. So now that you know How to Make Padded Seat Cushion, all that is left is to begin! Put together a sewing kit, pick up some pictures of inspiration, find your fabric of choice, and let your crafting adventures begin.

