Are you looking to bring some artistic flair to your home? If so, why not make an origami dove? This timeless art form is an excellent way for even inexperienced crafters to create something beautiful. Not only does it look impressive, but folding paper into intricate origami shapes requires patience and skill.

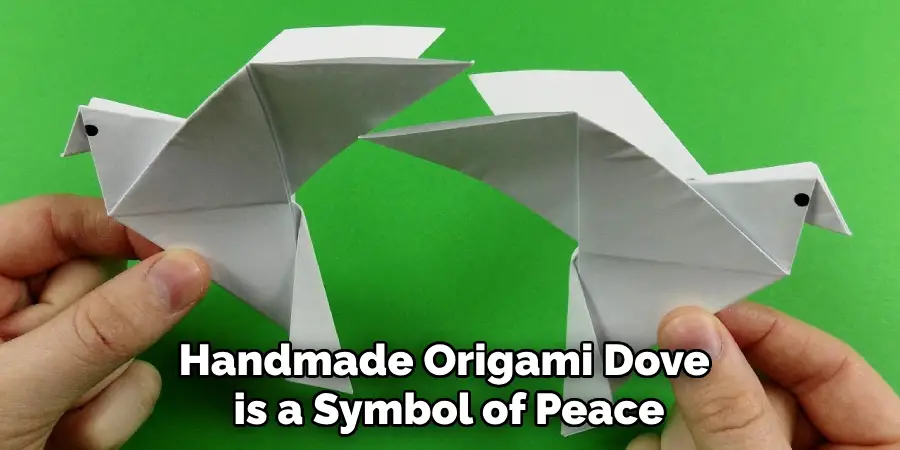
Origami dove is a popular design known for its simplicity and elegance. It has been used in many cultures as a symbol of peace, love, and hope. Whether you’re looking to decorate your home or make a thoughtful gift for someone special, learning how to make an origami dove is the perfect creative activity.
In this blog post, we will take you through all of the steps needed how to make origami dove! Get ready because soon enough, you’ll harness your inner artist and create something truly magnificent with just a few simple folds!
What Will You Need?
Before we dive into the steps on how to make an origami dove, let’s first gather all of the supplies you will need.
- Square Sheet of Paper: You can use any square-shaped paper, such as origami paper, construction paper, or even a regular piece of printer paper.
- Scissors: Some designs require cutting the paper into a square shape, so having scissors on hand is helpful.
- A Flat Surface: It’s essential to have a smooth and flat surface to work on so your paper doesn’t get crumpled or torn.
- Patience: Making origami requires patience and attention to detail, so make sure you have enough time to complete the project.
Once you have gathered all of the necessary tools, it’s time to start making your origami dove!
10 Easy Steps on How to Make Origami Dove
Step 1. Color Side Face Down:
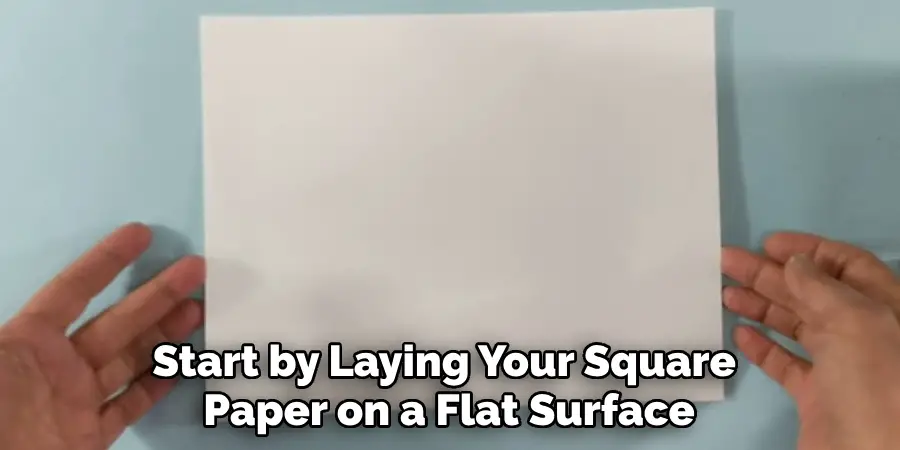
Start by laying your square paper on a flat surface with the color side face down. The piece should be positioned to look like a diamond, with one corner facing you. Be careful not to crease the paper.

Step 2. Fold in Half:
Take the bottom corner of your paper and fold it up to meet the top corner. This should form a triangle shape with a straight line from the left to the right corner. Use your fingers or a bone folder to make the crease sharp. Unfold the paper back to its diamond shape after making the crease, as this line will guide the next steps.
Step 3. Fold the Left and Right Corners:
Take the left corner of your diamond-shaped paper and fold it to meet the top corner. Do the same with the right corner. This should create a smaller diamond within the larger one. Make sure to crease the folds well. You’ll notice that it’s beginning to take a kite-like shape. This is the start of your origami dove.
Step 4. Create the Tail:
Now, focus on the bottom triangle, which will become the tail of your dove. Fold this triangle upwards, aligning its apex with the top corner of the kite shape. Make sure that this fold is sharp and neat. This creates the primary body and tail of your origami dove.
Step 5. Shape the Head and Beak:
Next, we’ll work on the top part of the diamond, which will form the dove’s head and beak. Then, fold the top flap downward, unfolding it back up. This crease will act as a guideline. Now, fold the tip back up a little to form the beak. Once you’re satisfied with the shape, crease the folds well.
Step 6. Form the Wings:
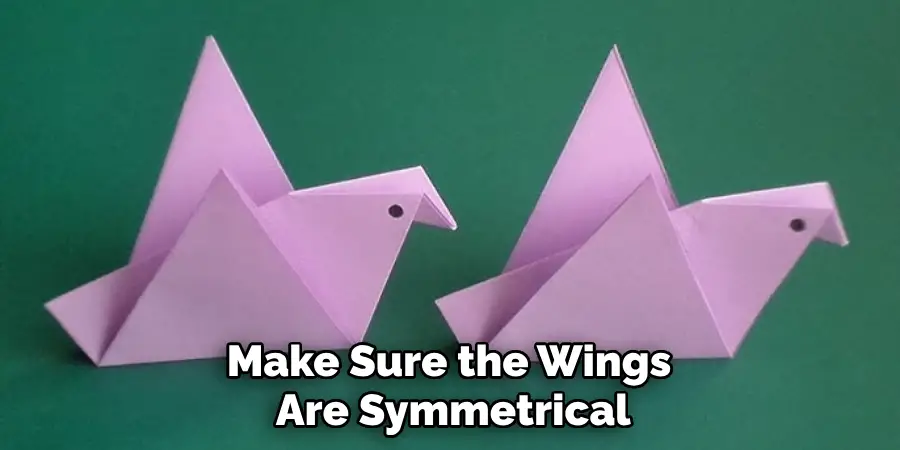
Make a mountain fold along the center crease line to form the dove’s wings by lifting both wings upwards. Make sure the wings are symmetrical, and adjust as necessary. Once you’re happy with the shape and position of the wings, crease the folds well.

Step 7. Refine the Tail:
Now, let’s give the dove’s tail a bit more character. Fold up the bottom corner of the tail a little to create an upward ‘V’ shape. Then, unfold it back down. This will act as a guideline. Next, fold both edges of the tail inward to meet at the crease line, forming an inverted ‘V’ shape. Once satisfied with the shape, crease the folds well.
Step 8. Final Touches:
The final step is refining and adding the finishing touches to your origami dove. Gently lift the wings upward to create a 3D effect. Optionally, you can slightly curve the beak and tail for a more realistic look. Have a look at your dove from different angles and make any necessary adjustments.
And there you have it: your origami dove is complete! Now, you can hang it, use it as a decoration, or give it to someone as a gift. It’s a beautiful symbol of peace and love that anyone would appreciate. Congratulations, you’ve successfully learned how to make an origami dove!
Step 9. Practice Makes Perfect:
Now that you have created your first origami dove consider practicing the process a few more times. As with any art form, mastering origami requires patience and repetition. Each time you fold a new dove, you likely notice a smoother process and a better end product.
Feel free to experiment with different types and colors of paper to add variety to your creations. Remember, enjoying the process and taking pride in your newfound skill is the most important thing.
Step 10. Share Your Creations:
Once you’ve mastered the art of origami dove-making, consider sharing your beautiful creations with others. Whether gifting a dove to a loved one, decorating your home, or uploading a photo to social media, your handmade origami dove is a symbol of peace and love that deserves to be showcased. You can even organize an origami-making session with friends or family, teaching them how to fold their dove and spreading the joy of this ancient art form.

By following these simple steps, you can now create your origami dove with ease. Remember to gather all the necessary tools, have patience, and enjoy the process.
5 Additional Tips and Tricks
Tip 1. Start with Larger Paper:
As a beginner, working with a larger square of paper is more accessible. You’ll have more room to make folds, and it’s easier to see what you’re doing.
Tip 2. Use Different Types of Paper:
Experiment with various types of paper – origami paper, newspaper, wrapping paper, and even magazine pages can all add a unique touch to your creations.
Tip 3. Take Your Time:
Rushing can lead to mistakes and inaccuracies. Take your time with each fold to ensure precision and symmetry.
Tip 4. Keep Hands Clean:
Ensure your hands are clean before starting your project. Dirty hands can leave marks on your paper, affecting the final result.
Tip 5. Use a Bone Folder:
If you’re serious about origami, consider investing in a bone folder. It’s a tool that helps make sharp, precise folds and can also be used to flatten out the paper when needed.
With these additional tips and tricks, you can take your origami dove-making skills to the next level. Keep practicing, and soon, you’ll be able to impress your friends and family with your beautiful origami creations.
5 Things You Should Avoid
1. Avoid Using Brittle or Torn Paper:
It’s essential to start with a good quality paper. Brittle or torn paper can make the folding process more challenging and may not yield the best results.
2. Don’t Ignore the Crease Lines:
Crease lines serve as a guide for your folds. Ignoring them can result in a misshapen dove. Always take the time to make precise creases.
3. Avoid Rushing Through the Steps:
Origami requires patience. Rushing through the steps without fully understanding them can lead to mistakes. Take the time to fully comprehend each step before moving on to the next.
4. Don’t Overlook the Importance of Symmetry:
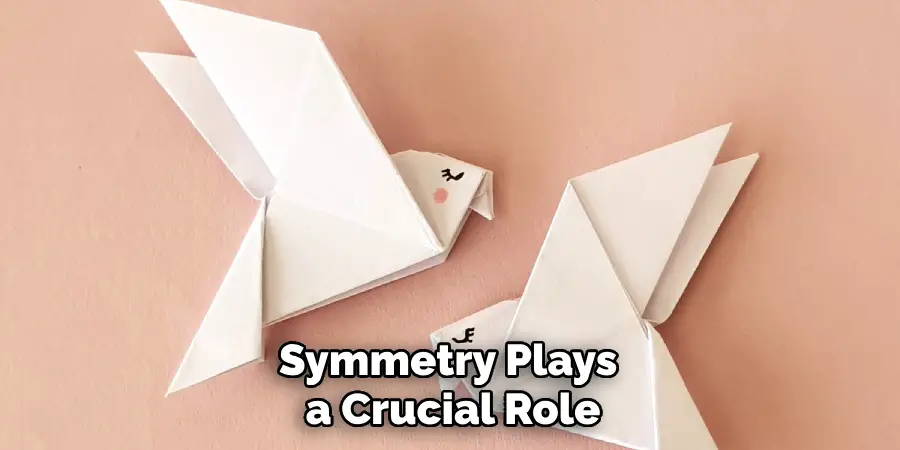
Symmetry plays a crucial role in the aesthetics of your origami dove. Overlooking symmetry can result in an uneven, unbalanced dove.

5. Avoid Folding on Impulse:
Remember that each fold has its purpose in the final shape of the dove. Avoid making folds on impulse, and always follow the step-by-step guide.
By avoiding these common mistakes, you can ensure a smoother process and a more beautiful end product in your origami dove-making journey.
Conclusion
To conclude, origami doves symbolize peace and serenity that you can create yourself! Learning to make an origami dove is easy and only requires a few monotonous folds. Let’s celebrate the symbolic beauty of the dove by having a go at making one ourselves. Whether you choose to display it proudly in your home, send it as a gift to someone special, or sketch your unique design, the simple art of origami is sure to bring you tranquility and joy.
Hopefully, the article on how to make origami dove has provided you with the steps, tips, and tricks to start your origami journey. Remember to practice and experiment with different paper types and colors.
Start folding now, and don’t forget to share photos of your creations in the comment section below!

