Are you looking for a way to add an extra touch of sophistication to your handmade pillowcases? French seams are the perfect solution! Not only do they give a professional-looking finish, but they also keep your fabric edges from fraying and add more strength and durability.
Plus, French seams are very versatile – depending on the fabric thickness or color of thread used, you can create a range of different looks with them. Today we’re going to explore how to make French seams on a pillowcase using simple techniques that are easily achievable with just some basic materials and tools. Read on to find out what you need and get started making gorgeous finished pillowslips in no time!
Supplies You Will Need to Make French Seams on a Pillowcase
- A sewing machine (although this can also be done by hand)
- Fabric of your choice for the pillowcase
- Matching thread
- Scissors or rotary cutter and mat
- Straight pins or fabric clips
- Iron and ironing board
Step-by-step Guidelines on How to Make French Seams on a Pillowcase
Step 1: Prepare Your Fabric
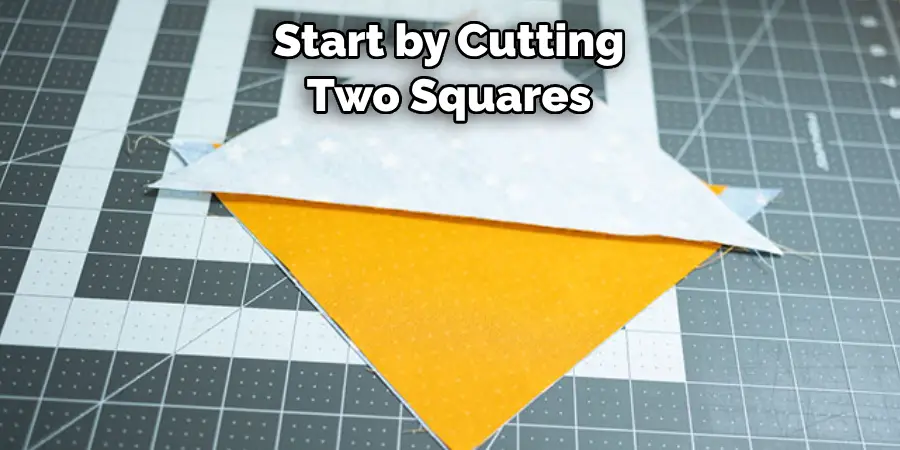
The first step in making French seams is to prepare your fabric. Start by cutting two squares or rectangles of fabric, one for the front and one for the back of the pillowcase. Make sure they are equal in size and have straight edges. Preparing your fabric properly is crucial to ensure a clean and polished final result.
Step 2: Place Fabric Pieces Right Sides Together
Place the two pieces of fabric on top of each other, with their right sides facing in. This means that the backside or the wrong side of the fabric should be facing outwards. Pin or clip the edges together to keep them aligned. This will make it easier to sew and give you a clean finish on the right side. If your fabric has a pattern, make sure it is facing the same direction on both pieces.
Step 3: Sew the First Seam
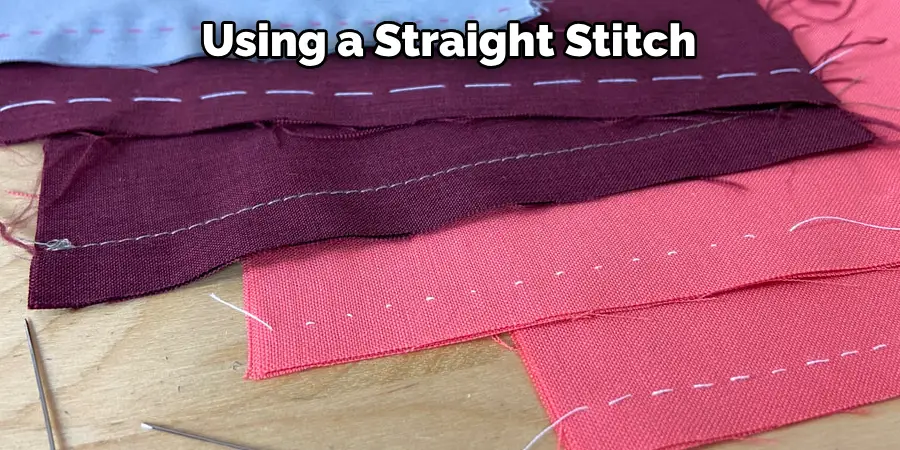
Using a straight stitch on your sewing machine or by hand with a backstitch, sew along one of the shorter sides of the fabric pieces using an. ⅜ inch seam allowance. This will be the first seam in your French seam. While sewing, make sure to backstitch at the beginning and end to secure the stitches.
Step 4: Trim the Seam Allowance
Once your first seam is sewn, trim the seam allowance down to about ¼ inch. This will help reduce bulk and make the French seam cleaner and smoother. Trimming the seam allowance is an essential step in French seam-making, so don’t skip it. If you are using a rotary cutter and mat, make sure to measure the allowance before trimming.
Step 5: Press the Seam
After trimming, press the seam open with an iron. This step will help create crisp edges and give a neat appearance to your French seam. It is crucial to take time with this step as it can affect the final result significantly. Pressing the seam also helps to flatten any wrinkles or bumps and ensures that the fabric lays flat.
Step 6: Sew the Second Seam
Fold your fabric along the seam you just sewed, with the wrong sides together, and press it again. This will encase the raw edge of your fabric in between two layers of fabric. Then, using an ⅜ inch seam allowance, sew along the same side again, enclosing the raw edge. This will be your second seam and will give you a perfectly finished French seam.
Step 7: Trim and Press Again
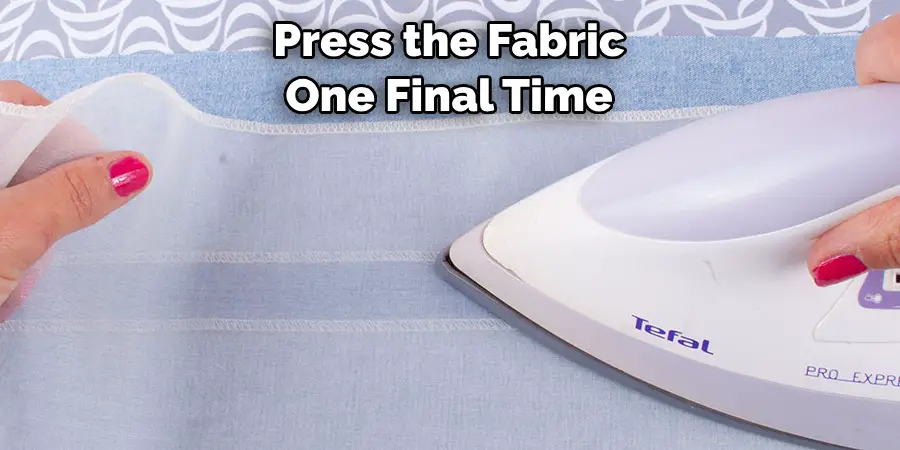
Once your second seam is sewn, trim down the seam allowance to about ¼ inch again. Then, press the fabric one final time. This step is crucial because it will give you a clean and crisp finish to your French seam. Take your time with this step to ensure that the seam looks neat and professional. This second round of pressing will also help to hide any remaining raw edges and make your pillowcase look polished.
Step 8: Turn Your Pillowcase Right Side Out
After the final pressing, turn your pillowcase right side out, and you’ll see that the raw edges are completely enclosed in between two layers of fabric. You now have a beautifully finished French seam on your pillowslip! Repeat these steps for all remaining sides of your pillowcase to complete the look. Make sure to use the same seam allowance for each side to maintain a consistent look.
Following these straightforward steps, you can create stunning French seams on any of your pillowcases. You can also use this technique for other projects like shirts, skirts, and dresses to add a professional touch to your sewing projects. Experiment with different fabrics and thread colors to create unique looks that match your personal style. Give it a try and see the difference French seams can make in elevating your sewing game! So next time you make a pillowcase, don’t forget to try out this simple but impressive technique of making French seams. Happy sewing!
Additional Tips and Tricks to Make French Seams on a Pillowcase
1. When choosing your fabric, opt for a lightweight and delicate material like cotton or silk. These fabrics are easier to work with and will create a more refined finished product.
2. Pre-wash and dry your fabric before starting the sewing process. This will prevent any shrinkage or warping of the fabric after the seams have been sewn.
3. Use a smaller stitch length (around 2mm) when sewing the first seam. This will create a tighter and more secure seam, making it easier to create the second seam.
4. Instead of using pins to hold your fabric together, try using sewing clips. These are great for delicate fabrics as they won’t leave any holes or marks.
5. When ironing your seams, use a pressing cloth to protect the fabric from any direct heat. This will prevent scorching or damaging the delicate fabric.
6. If you are using a printed or patterned fabric, make sure to match up the pattern before sewing. This will create a more polished and professional look in the end.
7. To ensure your pillowcase is perfectly square, measure and mark out your seam allowance on all sides before sewing. This will help guide you and make sure your seams are straight and even.
8. Don’t be afraid to experiment with different seam allowances, depending on the thickness of your fabric. A wider seam allowance may work better for thicker fabrics, while a narrower one may be more suitable for lightweight materials.
9. Practice makes perfect! If you’re new to sewing or French seams, try making a few practice pillowcases before tackling your final project.
10. Don’t forget to trim any loose threads and give your finished pillowcase a final press with an iron for a polished and professional look!
Following these additional tips and tricks will not only help you create beautiful French seams on your pillowcases but they can also be applied to other sewing projects as well. Have fun experimenting and happy sewing!
Precautions Need to Be Followed for Making French Seams on a Pillowcase:
1. First and foremost, before starting the process of making French seams on a pillowcase, it is important to wash and iron the fabric properly. This will ensure that the fabric is free from any wrinkles or impurities, which might interfere with the sewing process.
2. Secondly, always make sure that you have all the necessary tools and equipment in place before starting. These include a sewing machine, scissors, thread, pins, and an iron.

3. It is recommended to use a lightweight fabric for making French seams on a pillowcase. This will make the process easier and ensure that the finished product looks neat and professional.
4. Another important precaution to follow is to measure and cut the fabric accurately. Any discrepancies in measurements can result in uneven or unsightly seams.
5. When sewing the French seam, make sure to sew with a small seam allowance of around 1/8 inch. This will help in creating a narrow and tidy seam.
6. Before moving on to the next step of pressing the seam open, always trim any excess fabric or threads from the edges. This will prevent any bulkiness or fraying in the finished product.
7. When pressing the seam open, it is important to use a low heat setting on the iron and press gently. Excessive heat or pressure can damage the fabric and ruin the seam.
8. Lastly, always remember to take your time and sew slowly when making French seams on a pillowcase. This will ensure that each step is done accurately and results in a professional-looking finished product.
Following these precautions can help in making perfect French seams on a pillowcase and create a beautiful and functional addition to your bedding collection. So, don’t rush the process and take your time to master this technique for a polished and elegant finish. Happy sewing!
Conclusion
Learning how to make French seams on a pillowcase can be challenging, but with the right guidance, it is totally doable. With this tutorial, you have all the tools you need to master the French seam and create stunning projects! Take the initiative to try this amazing technique and watch your projects blossom with beauty!
Make sure to stay in touch with us for more sewing tips on making French seams on a pillowcase. Don’t forget that practice makes perfect, so take your time and get creative as you learn this stitching technique. We are confident that you will succeed if you follow our guide – let us know how it goes! Thank you for reading – go forth and make unique and stylish pillowcases now!

