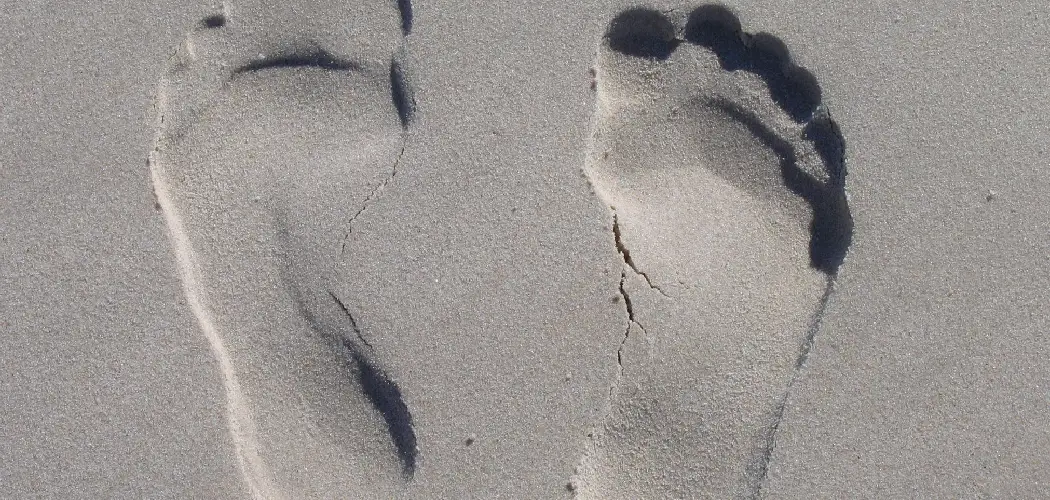
Making footprints can be a fun and creative way to capture a moment in time, create personalized artwork or even track animals in the wild. Whether you’re looking to preserve your child’s tiny feet as a keepsake or you’re interested in animal tracking, the process of making a footprint is simple yet gratifying.
This guide on how to make foot prints will walk you through the different methods and materials you can use to make clear and lasting footprints, suitable for a range of projects and purposes.
Why Make Footprints?
Before we dive into the details, it’s worth taking a moment to consider why you might want to make footprints. As mentioned before, there are several reasons one might have for making footprints, including preserving a memory, creating artwork, or tracking animals.
But beyond these practical uses, making footprints can also be a fun and engaging activity for children and adults alike. It allows us to connect with nature and our own bodies in a unique way. Plus, the end result can be a tangible and lasting reminder of a special moment or experience.
Materials Needed
Before you start making footprints, you’ll need to gather the necessary materials. The exact materials will depend on the method you choose, but some common items include:
- Non-toxic Paint or Ink (Depending on the Surface You’re Working With)
- A Flat and Clean Surface for Pressing and Recording the Footprint
- A Towel or Cloth for Cleaning Up Any Messes
- A Soft-Bristled Brush (Optional)
- White Paper or Cardstock (Optional)
- Clear Tape or Scissors (If You Want to Save the Footprint as a Stencil)
10 Simple Step-by-step Guidelines on How to Make Foot Prints
Step 1: Preparing for Footprint Art

To begin, make sure that your child’s feet are clean and dry. This will help to create a clear, well-defined print. Also, prepare the surface you’ll be working on by laying down a towel or cloth to protect it from any spills or messes. This will also make for an easy clean-up.
If you’re working with a baby or toddler, it may be helpful to have someone assist you in holding and pressing their foot onto the surface. You can also use a soft-bristled brush to evenly spread the paint or ink on their foot.
Step 2: Choosing the Right Paint or Ink
When it comes to choosing the right paint or ink for your footprints, there are a few factors to consider. The color and texture of the surface you’re working with will determine which type of paint or ink is best.
For example, if you’re making footprints on paper or cardstock, water-based paints work well and are easy to clean up. However, if you’re working with a more porous surface like fabric or wood, you may need to use an oil-based paint or ink for a clearer print.
Step 3: Spreading the Paint or Ink
Once you have chosen your paint or ink, pour a small amount onto a flat surface and use a brush to evenly spread it. Make sure to cover the entire surface of your child’s foot that you want to make the print with. Otherwise, you may end up with an incomplete or smudged footprint.
But don’t worry if you make a mistake, you can always clean the foot and start again. It’s always a good idea to have extra paper or cardstock on hand in case you need to redo the print.
Step 4: Making the Print
Place your child’s foot onto the paint-covered surface and press down firmly. It may be helpful to gently rock their foot from side to side to ensure that all parts of their foot make contact with the surface.
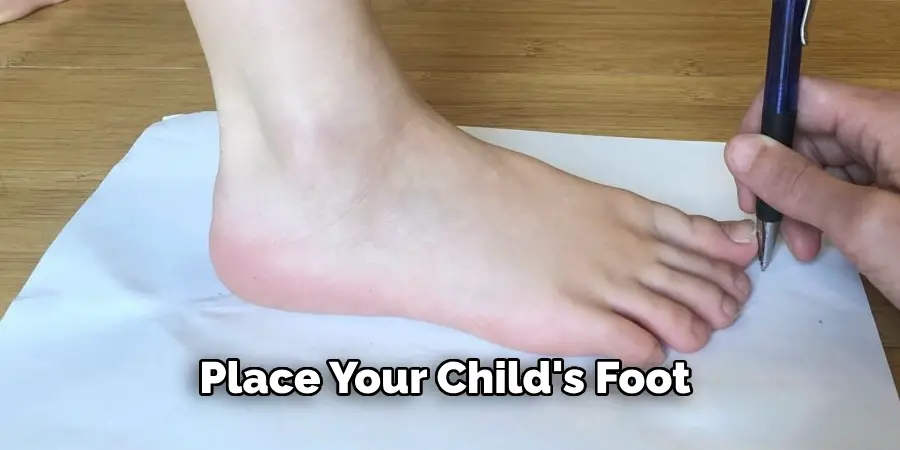
Then, carefully lift their foot straight up to reveal the print. If you’re using water-based paint, it’s important to move quickly as the paint can dry fast. You can also press down on the paper or cardstock to ensure a clear print. But be careful not to move the paper or cardstock as this may cause smudging.
Step 5: Cleaning Up
After making the print, immediately clean off your child’s foot with a wet cloth or wipes. If you’re working with fabric, make sure to wash it right away before the paint has a chance to set.
For non-porous surfaces like wood or metal, you can use a wet cloth or paper towel to wipe away any excess paint or ink. Make sure to also clean your hands and the surface you were working on. Otherwise, the paint or ink may leave permanent stains.
Step 6: Saving Your Footprint as a Stencil
If you want to save your child’s footprint as a stencil for future projects, you can do so by using clear tape or scissors. Simply place a piece of clear tape over the print and carefully peel it off.
You can then use this as a stencil by placing it onto another surface and tracing around the edges with a pen or pencil. Alternatively, you can cut out the footprint using scissors and use it as a template for various art projects. It’s always a good idea to make multiple prints in case you need extra stencils.
Step 7: Making Animal Footprints
To make animal footprints, you can follow the same steps as above but with a few modifications. First, make sure to do some research on the animal’s footprint before attempting to recreate it. This will help ensure that your print is accurate and realistic.
Also, consider using different materials such as clay or plaster to make more detailed and 3D prints. You can also experiment with adding different colors or textures to the print for a more realistic effect.
Step 8: Creating Footprint Art
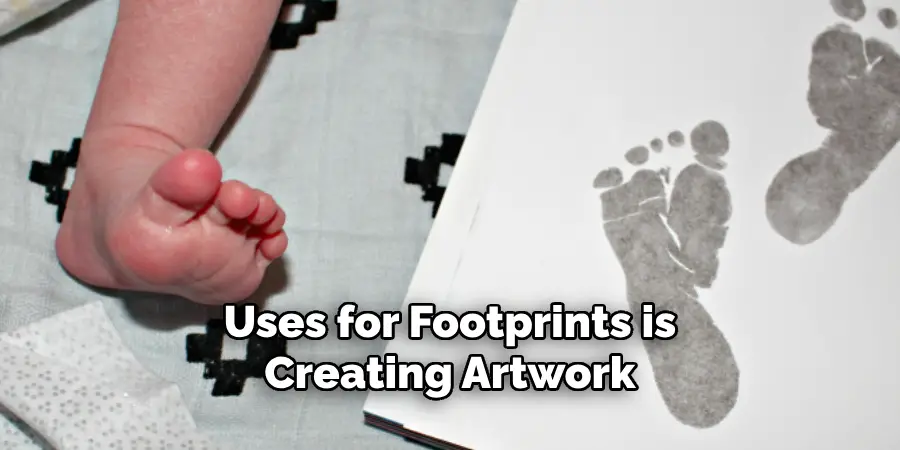
One of the most popular uses for footprints is creating artwork. This can be done by simply using your child’s footprint as a base and adding details such as wings, tails or other features to create various animals or characters.
You can also use multiple prints and arrange them in a creative way to make a scene or pattern. The possibilities are endless and this is a great activity for kids of all ages. But remember to always supervise young children when working with paints or inks.
Step 9: Preserving Your Child’s Footprint
If you want to preserve your child’s footprint as a keepsake, there are several ways to do so. You can frame the print along with their name and date, and hang it on a wall or display it on a shelf.
You can also use the footprint to create personalized gifts such as mugs, t-shirts or keychains. Another option is to place the print in a scrapbook along with photos and other memories from your child’s early years.
Step 10: Fun Activities Using Footprints
There are countless activities that you can do with footprints, making it a versatile and fun art project. You can use the prints to decorate greeting cards or invitations for special occasions like birthdays or holidays. You can also make personalized wrapping paper by stamping multiple prints onto plain paper.
Another idea is to create a mural by using different colored paints and having your child step onto a large piece of paper to create a unique design. The possibilities are endless, so get creative and have fun with your child’s footprints!
Following these steps on how to make foot prints will ensure that you have a successful and fun experience making footprints with your child. Remember to always supervise young children, use appropriate materials for the surface you’re working on, and clean up any spills or messes promptly. Happy printing!
Do You Need to Use Professionals?
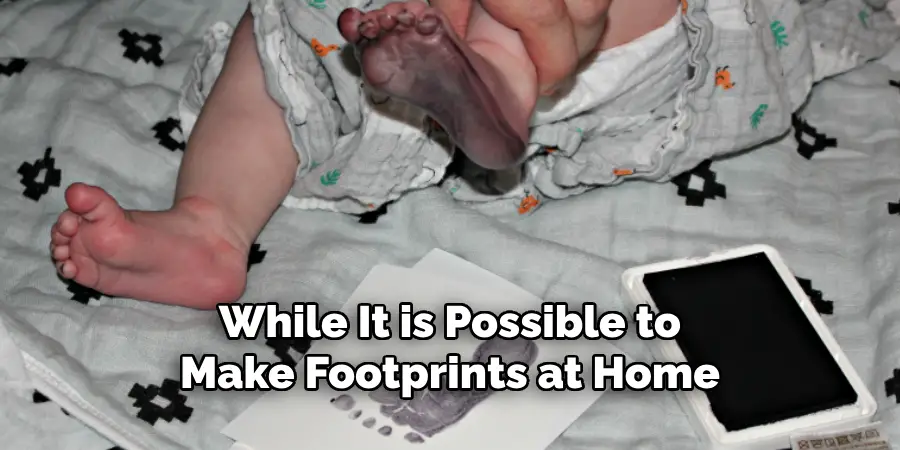
While it is possible to make footprints at home, many parents may prefer to use professional services for more complex projects or for better-quality prints. Professional printers have access to specialized equipment and techniques that can produce high-quality prints on various surfaces such as canvas or ceramics.
They can also provide advice on the best materials to use and offer a wider range of colors and textures to choose from.
So if you’re looking for a more professional and polished result, it may be worth considering using a printing service. However, if you’re just looking to have some fun with your child and create unique artwork or keepsakes, then making footprints at home is a great option. It’s also an affordable and convenient activity that can be done anytime and anywhere. So go ahead and get creative with your child’s footprints!
How Much Could It Cost?
The cost of making footprints at home can vary depending on the materials you use and the number of prints you make. You can save money by using basic materials such as paint, paper, and tape that you may already have at home.
However, if you decide to purchase more specialized materials or use a professional printing service, then the cost may increase. It’s always a good idea to plan ahead and budget accordingly before starting any project. Remember that the most important thing is to have fun and create special memories with your child! So don’t stress too much about the cost, just enjoy the experience!
Inspiring Footprint Art Ideas
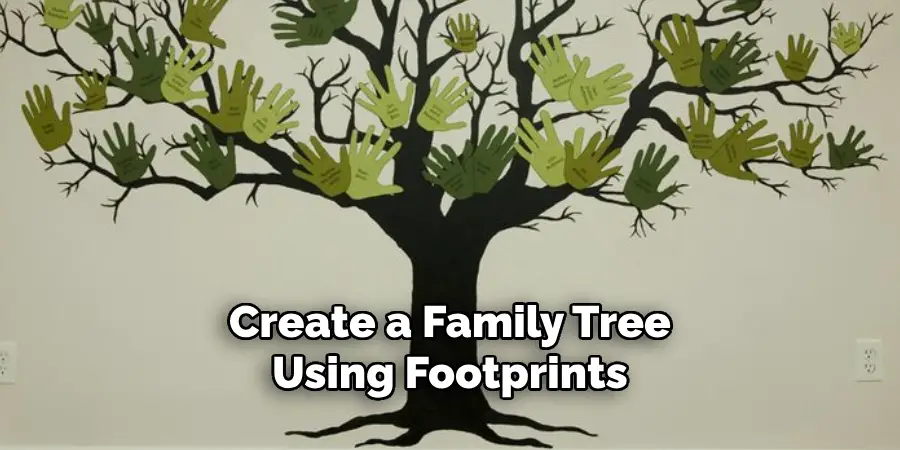
- Create a Family Tree Using Footprints of Each Family Member.
- Make Animal Tracks in the Snow by Filling Plastic Bags With Colored Water and Freezing Them Into Foot-shaped Molds.
- Use Different Colors of Paint to Make an Abstract Design With Footprints.
- Decorate a Plain T-shirt or Tote Bag by Stamping It With Footprints in Your Favorite Colors.
- Create a Collage of Different Footprints, Such as Baby Feet and Adult Feet, to Represent Growth and Change.
- Make a Piece of Wall Art by Framing Multiple Footprints in a Row or Grid Pattern.
- Use Glitter or Metallic Paint for a Sparkly Footprint Design.
- Personalize Holiday Decorations by Using Green Paint to Make “Elf” Footprints on Christmas Wrapping Paper or Red Paint for “Reindeer” Footprints.
- Create a Handprint and Footprint Keepsake by Placing Them Side by Side on a Canvas or Piece of Paper.
- Use Foam Stickers in the Shape of Feet to Make Easy and Mess-Free Footprint Art With Young Children.
- Make a Game Out of It by Having a Scavenger Hunt Where Participants Must Follow a Trail of Footprints to Find a Hidden Object.
Showcasing Successfully Created Footprint Art
Once you have followed the steps and created your footprints, it’s time to show them off! There are many creative ways to showcase your footprint art, including:
- Framing Individual Footprints or a Series of Footprints in a Shadow Box for a Unique Piece of Wall Decor.
- Scanning or Photographing Your Footprints and Turning Them Into Personalized Greeting Cards or Stationery.
- Creating a Scrapbook Page With Different Footprints From Different Occasions or Family Members.
- Turning Your Footprints Into Jewelry by Using Clear Resin to Create Pendants or Charms.
- Displaying Your Footprint Art on a Shelf or Mantel as Part of a Home Decor Vignette.
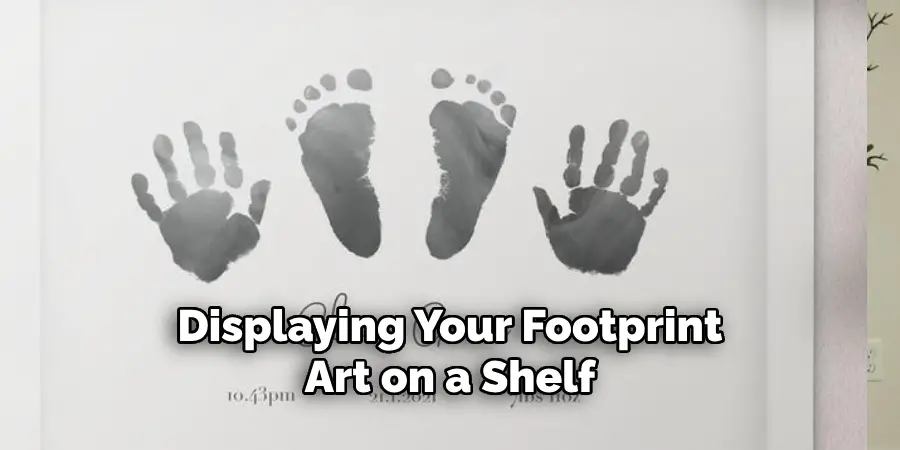
No matter how you choose to showcase your footprints, remember to have fun and be creative! There are endless possibilities for making footprints and each one is a unique representation of a moment in time. So grab your materials, follow these simple guidelines, and start creating your own footprints today!
Frequently Asked Questions
Q: Can I Use Any Kind of Paint for Making Footprints?
A: It’s best to use non-toxic and washable paint for making footprints, especially if you’re working with children. This makes cleaning up easier and safer.
You can also experiment with different types of paint such as watercolor or acrylic, depending on the surface you’re working with. You can even use food coloring or natural dyes for a more eco-friendly option. Just make sure to test the paint on a small area first before making the actual footprint.
Q: How Do I Clean Up After Making Footprints?
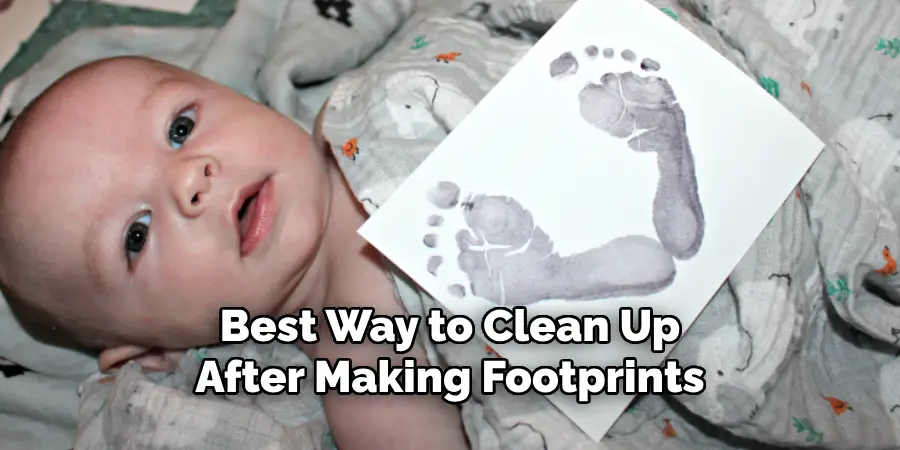
A: The best way to clean up after making footprints is by using a towel or cloth to wipe off any excess paint or ink from your feet. You can also use wet wipes or soap and water for any stubborn stains. Make sure to clean the surface you were working on as well, especially if it’s a valuable item or piece of furniture.
Q: Can I Use Footprints for Animal Tracking?
A: Yes, footprints can be used for animal tracking! It’s important to use non-toxic and washable paint so that it doesn’t harm the animals. You can also use flour or cornstarch to create a temporary track if you’re tracking animals in the wild. Just sprinkle it on the ground and wait for an animal to walk over it, leaving their footprints behind.
Q: How Can I Make Footprint Art With Babies?
A: Making footprint art with babies can be a bit trickier, but it’s still possible! You can try using a soft-bristled brush to apply the paint on their feet instead of dipping them directly into the paint.
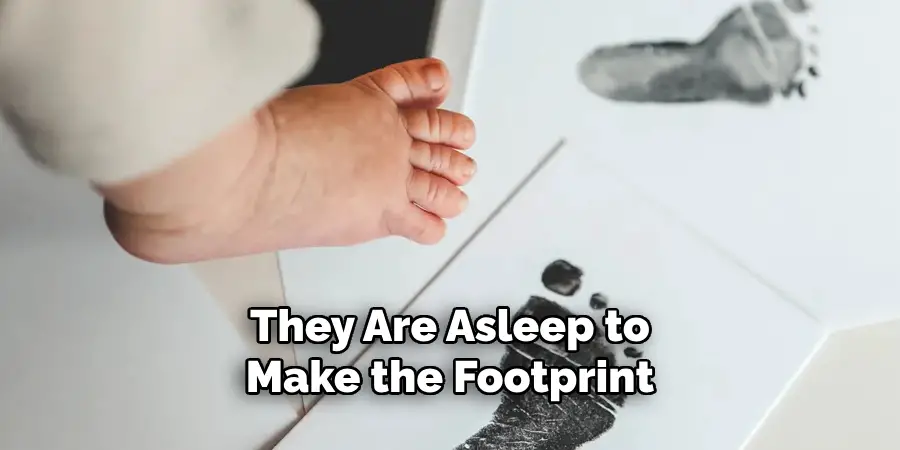
You can also have someone hold the baby while you press their foot onto the surface, or wait until they are asleep to make the footprint. Just make sure to use non-toxic and washable materials and always supervise babies during the process. Overall, it’s a fun and memorable way to capture their tiny feet!
Conclusion
In capturing footprints, we grasp a tangible record of a moment in time, a playful souvenir from a child or pet, or even a critical piece of evidence in scientific study. The process is simple yet profound; it’s about preserving the transient touch of our existence on the planet.
Whether for fun, sentiment, or investigation, the act of making footprints is an echo of presence, a means to say, “I was here,” to a future where we might no longer stand.
As we continue to make footprints, it’s important to consider the impact we have on our environment. The act of making footprints is a reminder that every step we take has consequences, and we should strive to leave behind a positive mark on our planet. Whether it’s by reducing our carbon footprint, supporting sustainable practices, or simply being conscious of how we tread on the earth, we can all make a difference.
So next time you step outside and leave your footprints in the sand, snow, or dirt, take a moment to appreciate the beauty and significance of this simple act. And remember, with every step we take, we have the power to leave a lasting impact on our world. Let’s make it a positive one.
Thank you for joining us on this journey of how to make foot prints. We hope you have learned something new and are inspired to create your own footprints in the world.

