Making felt letters is a great way to add a unique, personalized touch to any craft project. Felt letters are perfect for adding dimension to wall art projects, scrapbook pages, or even small items like magnets and pins. With the right materials and tools, making felt letters is relatively easy – and you can customize them to your desired font size, color, and shape.
Making felt letters has many advantages. It is an inexpensive and simple craft that can be used to create personalized decorations, gifts, and more. Felt letters are durable and long-lasting so they will last for years. They also provide a canvas for creative expression, as you can make them in any color or shape imaginable. In this blog post, You will learn how to make felt letters in detail.
Materials You Will Need
- Felt (in the color of your choice)
- Fabric glue
- Alphabet stencils or printouts
- Paper scissors
- Pencil/other writing utensil
- Ruler
- Exacto knife
- Cutting mat (optional)
- Masking tape or other adhesive material
- Iron and ironing board
- Embroidery thread, wool yarn, or other decorative options
- Needle (optional)
Step-by-step Instructions for How to Make Felt Letters
Step 1: Inspect the Felt
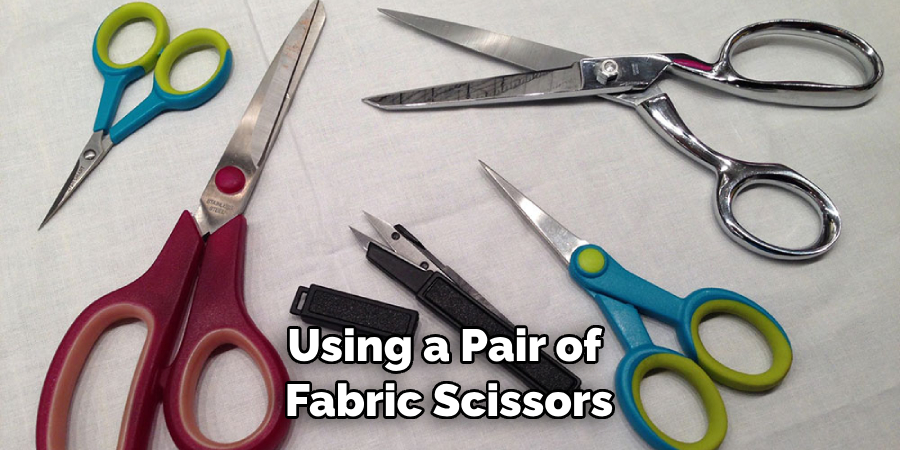
Before beginning any craft project, inspecting the felt for any signs of wear is important. If there are any visible tears or holes in the material, find a different piece of felt for your project. Using a pair of fabric scissors, cut out two pieces of felt slightly larger than you want your letter to be. It is better to make the pieces larger than necessary so you can trim them later.
Step 2: Draw Out Letter Pattern
Draw out the letter pattern on one of your template pieces using a pencil or pen. Ensure the marks are light enough not to show through the felt when it is complete. Place the two template pieces together with their right sides facing each other. Pin them together around the edges, ensuring all the pencil marks line up. The pins will keep everything in place while you sew.
Step 3: Sew Around Edges
Using a sewing machine or a needle and thread, sew around the edges of the felt pieces. Ensure that your stitches are even and secure so your letter stays together. Remove any excess fabric from around the edges of your letter. This will help give it a nice finished look and ensure all seams are clean and neat.
Step 4: Stuff With Polyester Fiberfill
Once your letter is sewn together and trimmed, it’s time to stuff it with polyester fiberfill. Use a spoon or your hands to fill the felt letter until it feels nice and fluffy. Now that the letter is stuffed sew around the edges again to ensure it is closed and the stuffing won’t come out.
Step 5: Optional Embellishments
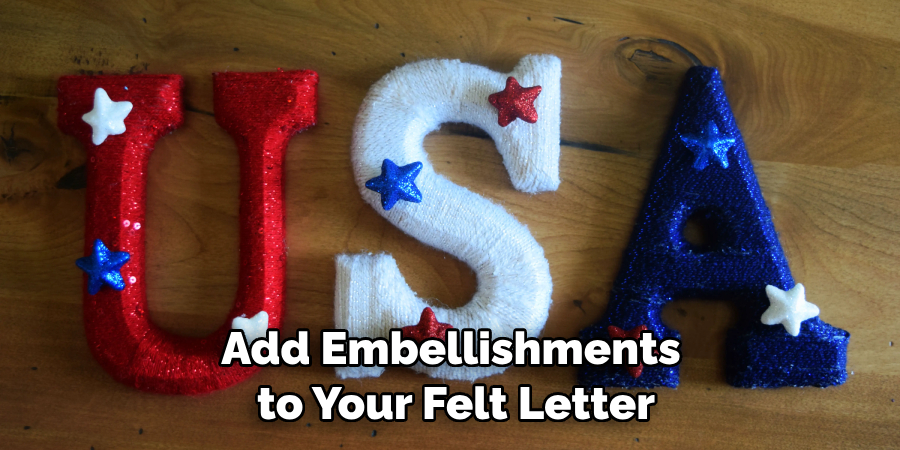
Add embellishments to your felt letter, such as buttons, ribbons, or fabric paint. This step is optional but can add a nice creative touch to your project. Now that you’ve made a beautiful felt letter, you can use it to decorate your home or give it as a gift. Have fun with it and enjoy the satisfaction of making something yourself.
You now have all the instructions needed for Making Felt Letters. So get creative and start crafting.
Safety Tips for How to Make Felt Letters
- Read the instructions for your felt letter-making kit carefully before getting started. This will help you avoid any potential hazards and ensure your project succeeds.
- Wear safety glasses or goggles while cutting out letters with scissors, a craft knife, or other sharp tools.
- Keep young children and pets away from areas you work with felt and sharp tools.
- Use a cutting mat to prevent damage to your work surface when using sharp tools.
- Use extreme caution when handling hot glue guns or fabric glue, as these can cause burns if misused.
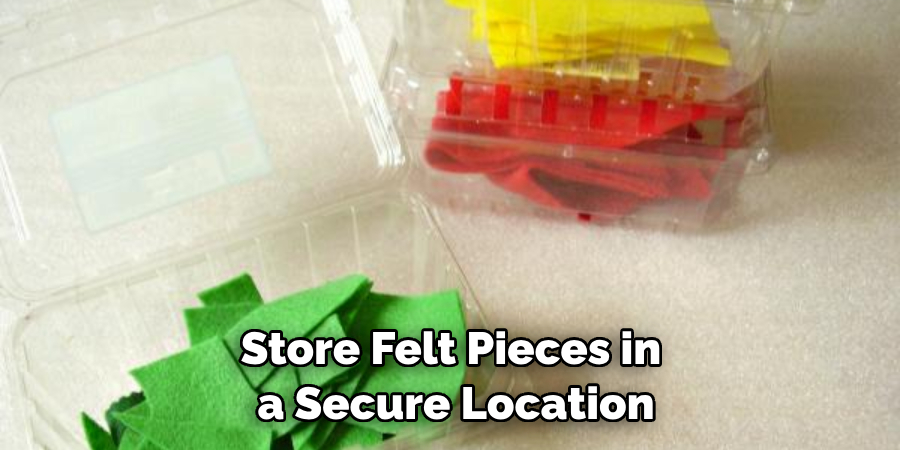
- The store felt pieces in a secure location away from small children and pets, as the small pieces present a choking hazard.
- Keep scissors and other sharp tools away from children’s playing areas, as these can be very dangerous if mishandled.
These safety tips will help ensure your project is safe and successful when making felt letters.
How Should You Prepare the Materials for Making Felt Letters?
Making felt letters can be an enjoyable and creative project. Before you get started, it’s important to ensure you have the right materials. Here are some of the items you will need:
- Felt fabric in the color(s) of your choice
- Scissors
- Pencil and a marker for tracing
- Sewing needle and colored thread
- Heat transfer vinyl (optional)
- Iron and ironing board (optional)
For the felt fabric, many craft stores carry a variety of colors. Choose whichever one you like best for your project. If you use heat transfer vinyl, buy the appropriate kind for either light or dark fabrics. Once you have all the materials gathered, trace your desired letter onto the felt fabric with a pencil or marker. You can also find pre-made stencils in craft stores if you prefer not to hand draw your letters.
What Type of Felt is Best to Use When Making Felt Letters?
When making felt letters, using the right type of felt is important. The best type for this project is a high-quality wool or acrylic felt with a low pile. This makes the material easier to work with and will ensure that your finished product looks neat and professional.
Additionally, you should always use craft glue when gluing pieces of felt together since this will provide a stronger bond. Avoid using hot glue, as it can cause the felt to become stiff and brittle.
Cut out each letter with scissors or a craft knife when making felt letters. Ensure that the edges of the letters are neat and even so that they look professional when complete. Next, use craft glue to attach the felt pieces, pressing them firmly together. Depending on the project, add additional elements, such as buttons or beads, for decoration.
Are There Any Special Techniques or Tips That Can Help Make Your Felt Letters Look Professional?
Yes. Although the basics of making felt letters are fairly straightforward, a few special techniques can help make your finished product more professional-looking. For starters, always use high-quality felt when making your felt letters. This will give you a better surface for cutting and stitching your pieces. Consider using multiple colors of felt to create a unique look.
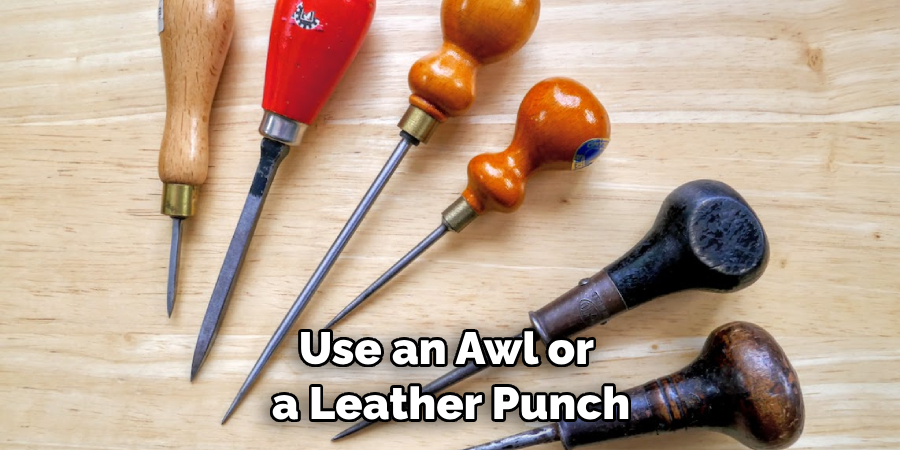
Another helpful tip is to use an awl or a leather punch to make holes in the felt where the stitches will be placed. This will ensure the stitches are secure and there won’t be any gaps between the edges of your lettering. Also, when cutting out your letters, make sure you have high-quality scissors sharp enough to cut through the felt.
This will help ensure that the edges of your letters are nice and clean. Finally, when stitching together your pieces of felt, use a strong thread that is an appropriate color for the felt you’re using. This will make sure your finished product looks as professional as possible.
How Do You Finish and Display Your Felt Letters After They Are Complete?
Once you have finished your felt letters, there are several ways that you can display them. If the letters will be used as decorations or wall hangings, an easy way is to hot glue a loop of ribbon to the back of each letter so they can be hung on a nail, hook, or other mounting device.
You could also use adhesive Velcro strips to attach your felt letters to a wall or other surface. If the letters are used as part of a costume, you can sew them directly onto an article of clothing with needle and thread. It’s important to ensure that the stitches are tight enough so the letter won’t easily come off when worn.
Use fabric glue or fusible bonding web with your stitches for added strength. Finally, if you would like to create a more permanent display of your letters, you can use an iron-on adhesive to adhere them to other fabrics. This option provides the strongest bond and personalizes items such as t-shirts, bags, and other fabric items. Turn the item inside out before pressing it with an iron to avoid damage.
Conclusion
One main disadvantage of making felt letters is that it can be time-consuming. It takes patience and practice to create a neat and professional-looking finished product. Additionally, because of the delicate nature of felt, it may be difficult to ensure that all pieces are firmly attached without causing damage or distortion.
In conclusion, making felt letters is a great way to spruce up any room. With just a few materials and tools, you can easily create a unique felt letter design to bring a personal touch to your home. Best of all, it’s relatively inexpensive and enjoyable!
By following the above steps, you can make your own beautiful felt letters with ease. This article has been beneficial for learning how to make felt letters. Make Sure the preventive measures are followed chronologically.

