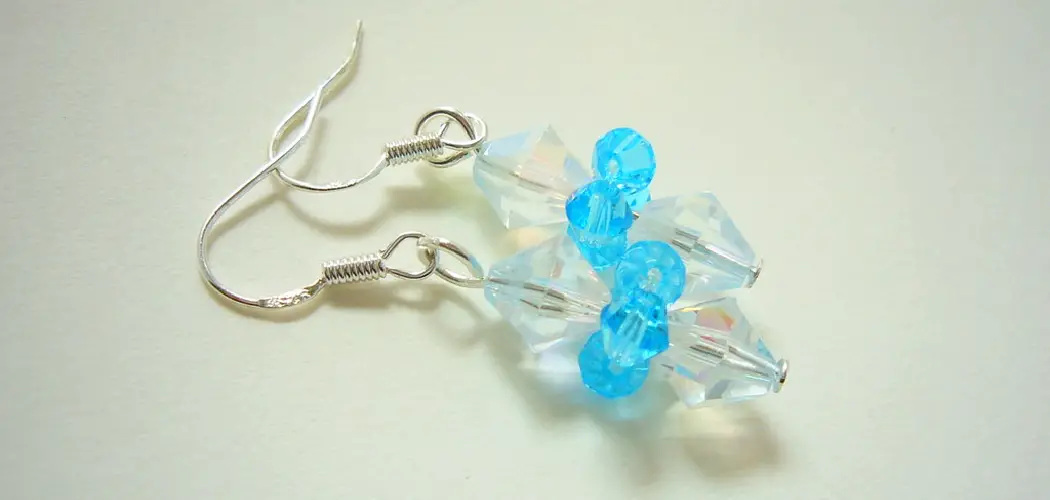
Ear wires are an essential component of any handmade earring. They provide a secure attachment point for the earring, ensuring that it stays in place and doesn’t accidentally fall off. As a jewelry maker, learning to make ear wires can greatly enhance your skills and give your creations a professional touch.
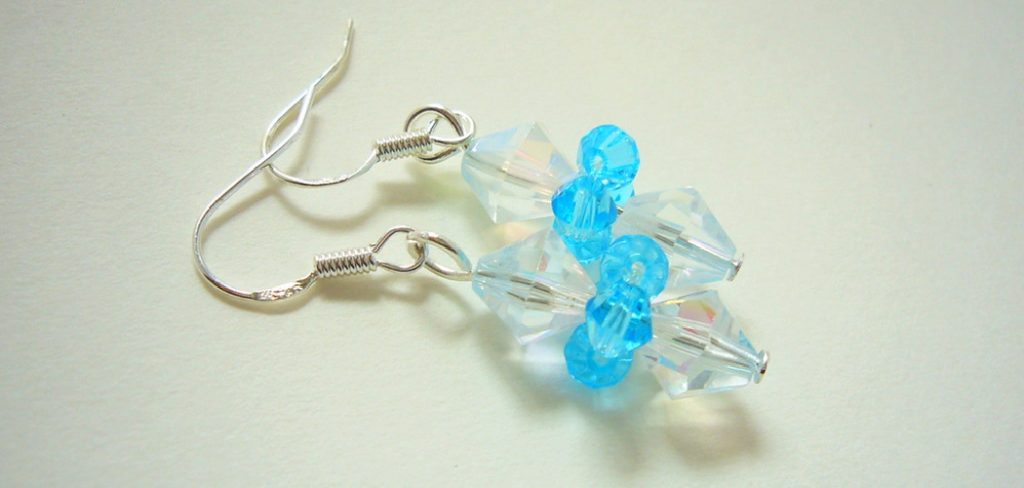
Making your own ear wires not only saves you money, but it also allows you to customize and create unique designs for your jewelry pieces. By learning of making ear wires, you can add a personal touch to your creations and stand out from other jewelry makers. In this blog post, You will learn in detail how to make ear wires.
Step-by-step Instructions for How to Make Ear Wires
Step 1: Inspect the Wire
Before you begin, inspect your wire for any kinks or bends. It’s important to work with straight wire when making ear wires to ensure a clean and professional finish. Using a pair of pliers, measure and cut a length of wire that is twice the size you want your finished ear wire to be. This will give you enough wire to create the loop and hook ends.
Step 2: File One End
With your pliers, file one end of the wire into a smooth point. This will make it easier to create a loop in the next step. Using round nose pliers, grip the filed end of the wire and begin to create a loop by bending the wire around the pliers. Make sure to keep the loop centered and symmetrical.
Step 3: Shape the Hook
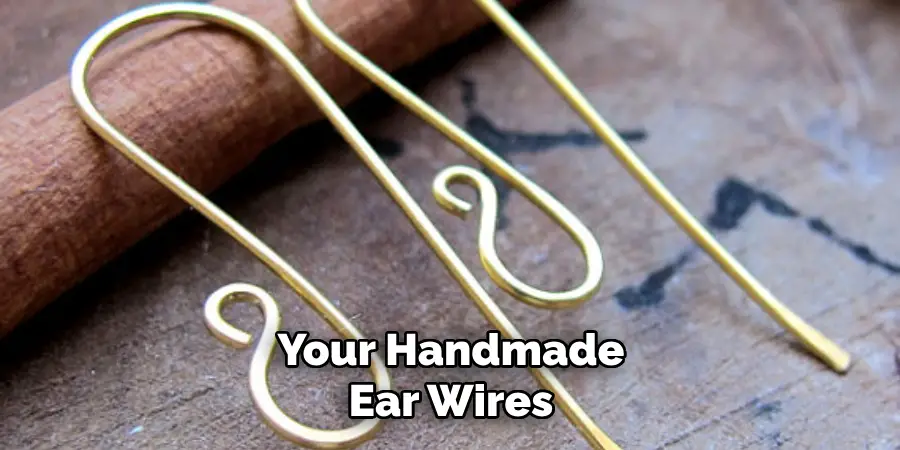
Next, using your fingers, shape the straight end of the wire into a slight curve to form the hook of your ear wire. Using your pliers, file and smooth any rough edges to give your ear wire a polished look. Using the same steps, create a second ear wire to match the first one.
Step 4: Check for Symmetry
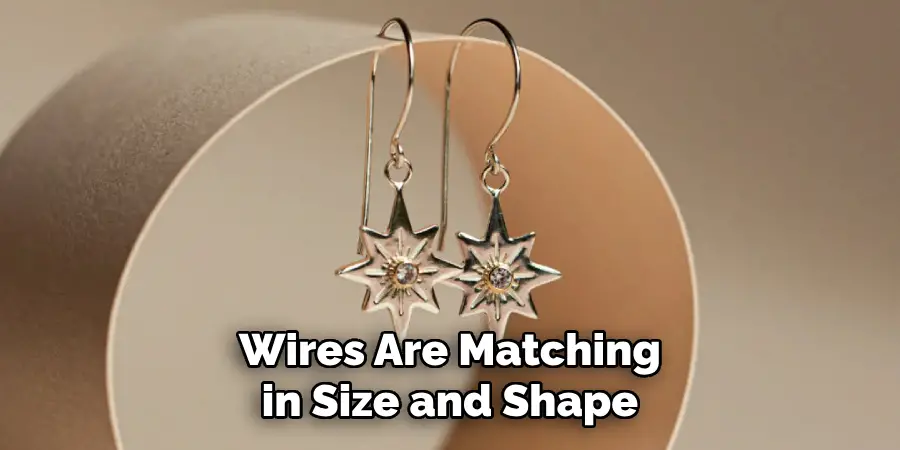
Once you have both ear wires created, check them for symmetry by placing them side by side. Make any necessary adjustments to ensure they are matching in size and shape. If desired, you can add beads to your ear wires by sliding them onto the wire before shaping the hook end. This will give your earrings a personalized touch and make them stand out.
Step 5: Secure the Bead
If you have added beads, use your pliers to secure the bead in place by gently bending the wire around it. Using your pliers, gently curve and shape the straight end of the ear wire to create a small hook. This will prevent your earrings from slipping out of your ear.
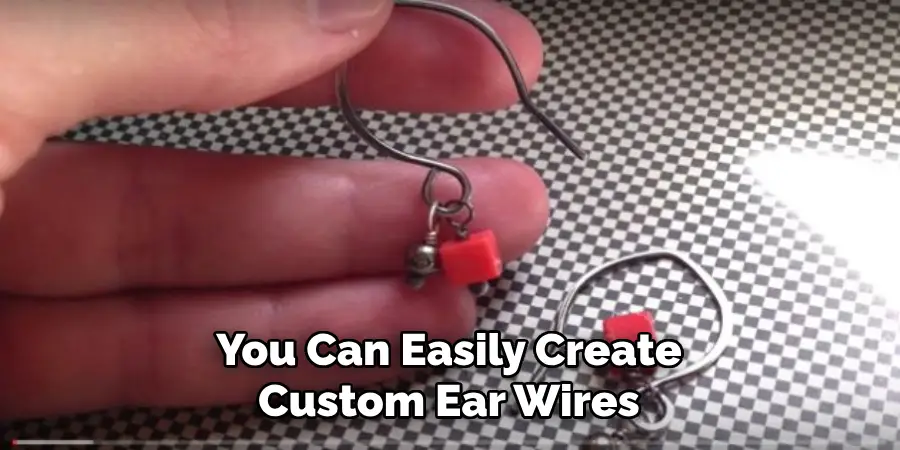
Simply attach them to your handmade or store-bought earring designs and enjoy wearing your unique and personalized jewelry. With this step-by-step guide, you can easily create custom ear wires in various sizes and styles for all of your earring needs.
Safety Tips for How to Make Ear Wires
- Always wear protective gloves when working with wire to prevent cuts and scrapes.
- Use proper tools, such as pliers and wire cutters, to avoid injury.
- Be careful of sharp edges on the wire or any beads you may be using.
- Make sure your work space is well-lit and free of clutter to avoid accidents.
- Take breaks periodically to rest your hands and avoid straining your muscles.
- Keep small children and pets away from your work area to prevent them from getting injured by tools or materials.
- If using a wire gauge, use caution when handling sharp edges and always follow the manufacturer’s instructions.
By following these safety tips, you can ensure a safe and enjoyable experience while making ear wires for your jewelry designs. Remember to always prioritize your safety and take precautions to prevent any accidents.
What Are Some Common Mistakes to Avoid When Making Ear Wires?
- Using the Wrong Gauge Wire: It’s important to use the correct gauge wire for making ear wires, as using a thicker or thinner wire than recommended can result in an ill-fitting or weak ear wire.
- Not Properly Filing and Smoothing the Ends: Rough edges on your ear wires can cause discomfort when wearing them and also give them a less professional finish. Always take the time to file and smooth any sharp edges.
- Skipping the Symmetry Check: It can be easy to overlook this step, but it’s important to make sure your ear wires are matching in size and shape for a more polished look.
- Not Securing Beads Properly: If you choose to add beads to your ear wires, it’s crucial to secure them properly so they don’t fall off and potentially cause harm.
- Not Taking Breaks: Working with wire can be physically taxing, so it’s important to take breaks to rest your hands and avoid straining your muscles.
Remember to take your time and pay attention to detail when making ear wires, as it will result in a better final product. By avoiding these common mistakes, you can ensure your ear wires are well-made and safe to wear.
How Do You Care for and Maintain Your Handmade Ear Wires?
Making your own ear wires is a fun and rewarding experience. However, just like any handmade items, they require proper care and maintenance to ensure their quality and longevity. In this section, we will discuss some tips on how to properly care for and maintain your handmade ear wires.
1. Handle with Care
First and foremost, it’s important to handle your ear wires with care. Be gentle when taking them out of storage or when wearing them. Rough handling can cause bends and kinks in the wire, which can weaken its structure and make it prone to breaking.
2. Store Properly
Proper storage is key in maintaining your ear wires. When not in use, store them in a jewelry box or container with compartments to prevent tangling and damage. You can also use a small pouch or ziplock bag to keep them safe.

3. Avoid Exposure to Water and Chemicals
Exposure to water and chemicals, such as perfumes, lotions, and hairsprays, can tarnish and corrode your ear wires. It’s best to remove them before swimming or showering and avoid getting any products on them.
4. Clean Regularly
To keep your ear wires looking shiny and new, it’s important to clean them regularly. You can use a soft cloth or jewelry cleaning solution specifically designed for metal to remove any dirt or tarnish buildup.
5. Check for Damage or Weakness
It’s always a good idea to periodically check your ear wires for any signs of damage or weakness. If you notice any bends, kinks, or thinning areas, it’s best to replace them to prevent breakage and potential injury.
6. Use Quality Materials
Finally, using high-quality materials to make your ear wires can also contribute to their longevity. Choose metal wire that is sturdy and resistant to tarnishing, such as sterling silver or gold-filled wire.
By following these tips, you can ensure that your handmade ear wires will last for a long time and continue to bring joy to those who wear them. So go ahead and create beautiful ear wires with confidence, knowing that they will be well-cared for and maintained.
Are There Any Alternative Methods or Tools That Can Be Used to Make Ear Wires?
Some people might prefer a different method or tool to make ear wires, depending on their level of expertise and personal preference. Here are some alternative methods and tools that you can try:
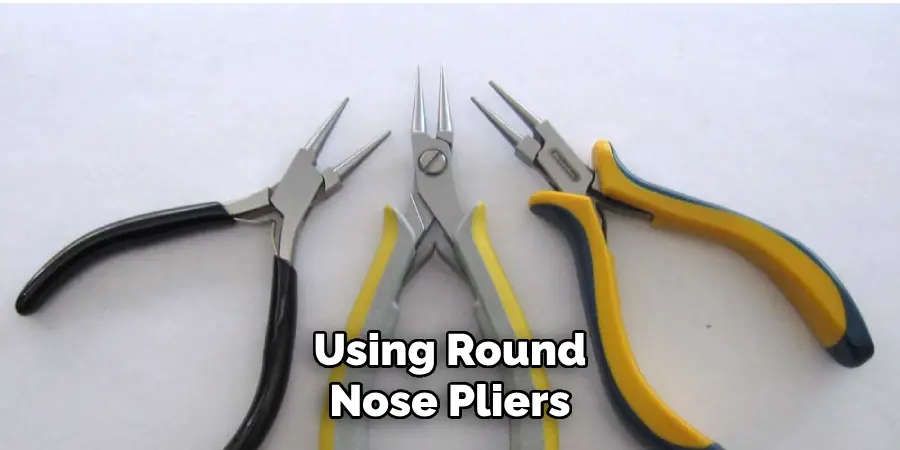
1. Using Round Nose Pliers
While the basic technique for making ear wires is the same regardless of the tools used, some people find that using round nose pliers gives them more control and precision. These pliers have a round tip instead of a flat one, making it easier to create perfect loops and curves for the ear wires.
2. Using Wire Jigs
A wire jig is a tool specifically designed for wire wrapping and shaping. It consists of pegs or pins arranged in various patterns that you can use to guide your wire as you shape it into different designs. Using a wire jig can make it easier to create consistent and uniform ear wires, especially if you need to make a large number of them.
3. Using a Mandrel
A mandrel is another tool that can be used to shape wire into different curves and sizes. It usually comes in the form of a rod or dowel with various diameters, allowing you to create ear wires of different sizes and shapes. Some people prefer using a mandrel over pliers because it gives them more control and precision.
4. Hammering Technique
Instead of shaping the wire by hand, some people prefer to use a hammer to create their ear wires. This technique involves hammering the wire onto a flat surface, such as an anvil or bench block, to create a flat and uniform shape. This method can be helpful for those who struggle with hand-shaping or want a more consistent look for their ear wires.
5. Using Prefabricated Ear Wires
If you are not confident in your wire shaping skills, you can always opt for prefabricated ear wires. These are ready-made ear wires that come in various shapes, sizes, and materials. You can find them at most craft stores or online, and they are a great option for beginners or those who want a quick and easy solution.
No matter which method or tool you choose, the key to making beautiful ear wires is practice and experimentation. Don’t be afraid to try different techniques until you find one that works best for you.
Conclusion
In conclusion, making ear wires is an easy and fun process that can add a personal touch to your jewelry pieces. By following the steps outlined in this blog, you can create unique and customized ear wires for any project.
Additionally, by learning to make ear wires, you not only save money on buying pre-made ones but also have the ability to experiment with different materials and styles. This skill can also give you the opportunity to turn your passion into a small business, as customized ear wires are in high demand among jewelry makers.
Remember, practice makes perfect. I hope this article has been beneficial for learning how to make ear wires. Make Sure the precautionary measures are followed chronologically.
You Can Check It Out to Make Santa Beard

