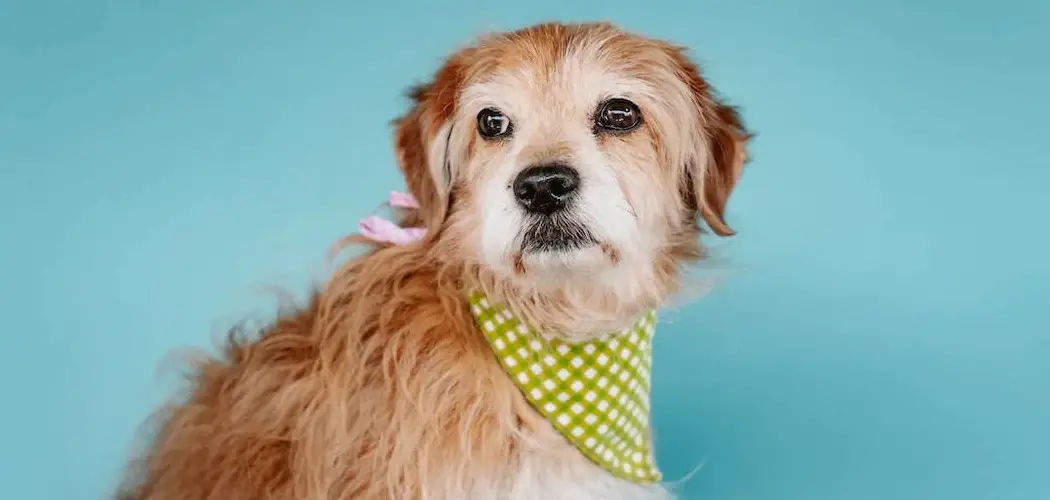
As the temperature drops and winter begins to set in, many dog owners start to worry about keeping their furry companions warm during long walks and playtime in the snow. While you can buy dog scarves and sweaters commercially, there truly is nothing better than creating something special with your own two hands to show your pup how much they mean to you.
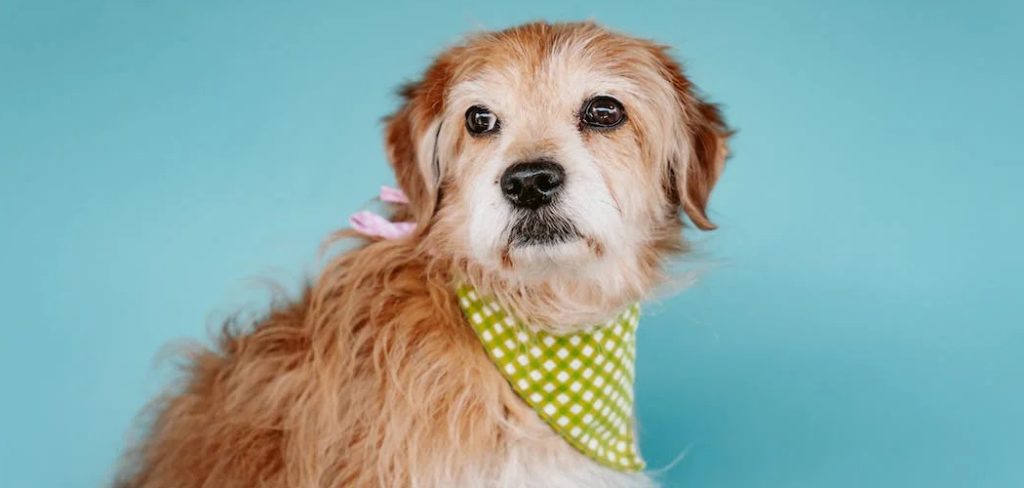
In this tutorial on how to make dog scarves, I will share my simple and cozy dog scarf pattern along with step-by-step instructions and tips to help you craft the perfect accessory to keep your dog’s neck snug and stylish throughout the cold season. Let’s get started making your pup the talk of the neighborhood with their handmade scarf!
What Are Dog Scarves?
Dog scarves are a simple and practical accessory that can provide warmth to your furry friend during chilly weather. They are typically made of soft, warm fabrics such as fleece, wool, or flannel and come in various colors and patterns to suit your dog’s personality. Not only do they keep your dog cozy, but the right scarf can also add a touch of style to their outfit and make them stand out in a crowd. Plus, making your own dog scarf allows you to customize it to fit your dog’s specific needs and preferences.
Materials You Will Need
To get started on making your dog scarf, you will need the following materials:
- Soft Fabric (Fleece, Wool, or Flannel)
- Fabric Scissors
- Measuring Tape
- Sewing Machine (Optional)
- Thread and Sewing Needles
- Fabric Marking Pen or Tailor’s Chalk
11 Step-by-Step Instructions on How to Make Dog Scarves
Step 1: Measure Your Dog’s Neck
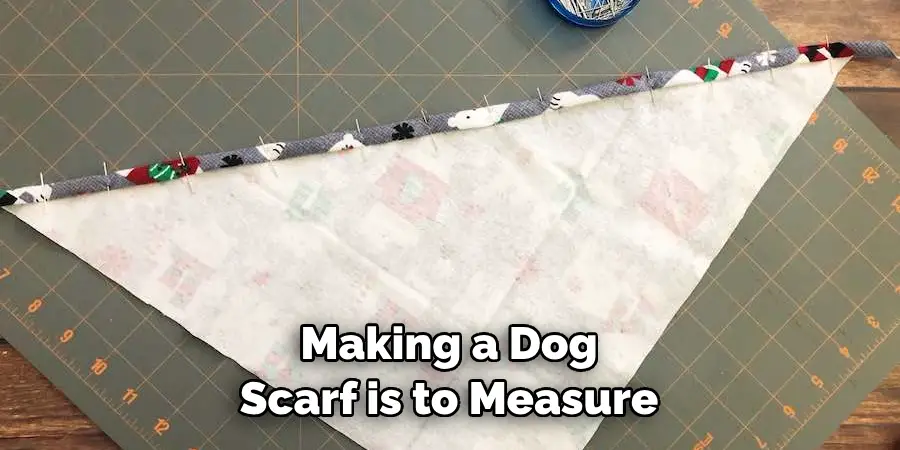
The first step in making a dog scarf is to measure your dog’s neck circumference. Use a measuring tape to get an accurate measurement, and add 2-3 inches for seam allowance. This will help ensure that the scarf fits comfortably around your dog’s neck. You can also measure the length of your dog’s neck to determine how long you want the scarf to be.
Step 2: Choose Your Fabric
Select a soft and warm fabric that will keep your dog cozy during winter walks. Fleece, wool, or flannel are highly recommended for their warmth and comfort. But feel free to choose a fabric that suits your dog’s style and personality. This is where you can get creative! The best part of making your own dog scarf is choosing a fabric that reflects your pup’s unique character. It’s also a great opportunity to repurpose old clothing or materials.
Step 3: Cut Your Fabric
Using the measurements from step 1, cut out a rectangle of fabric in the desired length and width. Make sure to leave enough room for seam allowance on all sides. It’s always better to cut slightly bigger than smaller since you can always trim off excess fabric later. If you want a thicker scarf, you can also cut two identical rectangles and sew them together. The choice is yours!
Step 4: Fold the Fabric
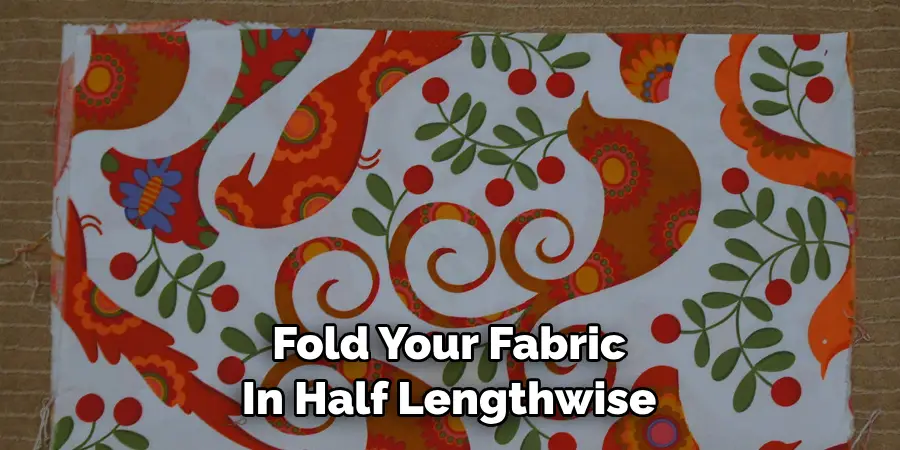
Fold your fabric in half lengthwise with the right side facing each other. This will create a long, thin rectangle that you will sew together to create your scarf. But don’t sew just yet! It’s important to mark out the fabric first. You can use a fabric marking pen or tailor’s chalk for this. It’s also a good idea to pin the fabric together to keep it in place while marking and sewing.
Step 5: Mark the Sewing Lines
Using your measuring tape, mark out the sewing lines on the wrong side of your fabric. Make sure to leave enough room for seam allowance. You can create a straight line with your fabric marking pen or chalk by using a ruler or simply eyeballing it if you prefer a more rustic look. But don’t worry, it doesn’t need to be perfect!
Step 6: Sew Along the Sewing Lines
Now it’s time to sew! Using a sewing machine or a needle and thread, sew along the marked lines. Be sure to backstitch at the beginning and end of your seam for extra strength. If you’re using a sewing machine, follow your fabric’s edge while sewing. If you’re hand-sewing, use large and even stitches throughout.
Step 7: Trim Off Excess Fabric
Once you have sewn along the sewing lines, trim off any excess fabric on the edges. Be careful not to cut into your seam. This will help ensure that your scarf looks neat and tidy. The extra fabric will also help create a fuller and fluffier scarf. You can also choose to trim the edges with pinking shears for a decorative touch. It’s all up to you!
Step 8: Turn Your Scarf inside out
After trimming off the excess fabric, turn your scarf inside-out so that the right side is now facing outwards. You should also have two open ends ready to be sewn together. But before you do, don’t forget to iron your scarf flat. This will give it a more polished and professional look. You can also iron in a small seam allowance on the open ends before sewing. But this is optional.
Step 9: Sew the Open Ends Together
Using your sewing machine or needle and thread, sew together the open ends of your scarf. Again, be sure to backstitch at the beginning and end for added strength. If you’re hand-sewing, use a whip stitch or blanket stitch to join the ends. Once you’re done, turn your scarf right-side out again. This will hide the seam and give your scarf a clean and finished look.
Step 10: Give Your Scarf a Final Press
To create crisp and sharp edges, give your scarf a final press with an iron. This will also help set the stitches and give your scarf a professional finish. If you prefer a more rustic look, you can skip this step. However, it’s always a good idea to give your scarf one last once-over with the iron to make sure everything is in place.
Step 11: Try It on Your Dog and Enjoy!
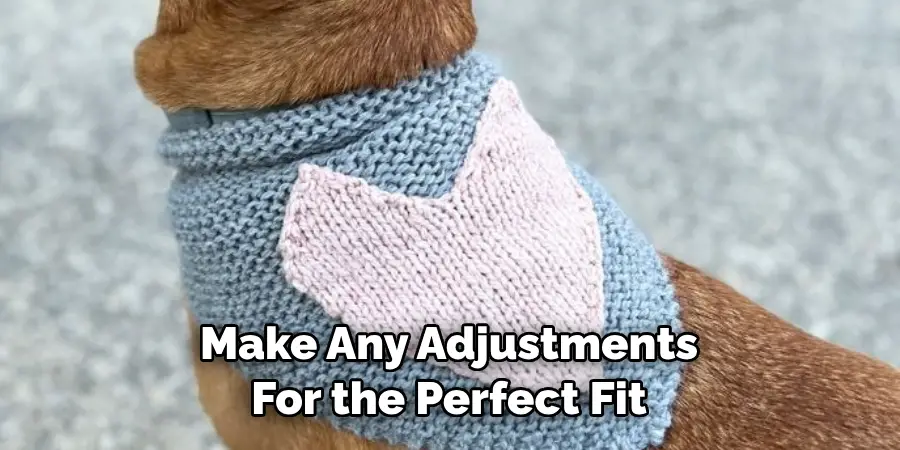
Congratulations! You have successfully made your own dog scarf. Now it’s time to try it on your furry friend and see how they like it. Make any necessary adjustments for the perfect fit and then take your dog out for a walk in their new stylish and cozy accessory. Don’t forget to snap a photo and show off your creation on social media! Your dog will be the talk of the town with their personalized scarf. And who knows, you may even get requests from other pet owners on how to make dog scarves themselves! Have fun
Frequently Asked Questions
Q: How Long Should a Dog Scarf Be?
A: The length of a dog scarf can vary depending on the size of your dog and personal preference. It’s recommended to measure your dog’s neck and add 2-3 inches for seam allowance. You can also measure the length of your dog’s neck to determine the desired length of the scarf.
Q: Can I Use Different Fabrics for the Dog Scarf?
A: Yes, you can use different fabrics for your dog scarf. However, it’s important to choose a soft and warm fabric that will keep your dog comfortable during colder months. Fleece, wool, or flannel are highly recommended for their warmth and comfort.
Q: Can I Make Adjustments to the Measurements?
A: Absolutely! The measurements provided in this guide are just a guideline. You can adjust the length and width of your scarf according to your dog’s size and your personal preference. Just make sure to add enough seam allowance for a clean and sturdy scarf.
Q: Can I Add Embellishments to the Scarf?
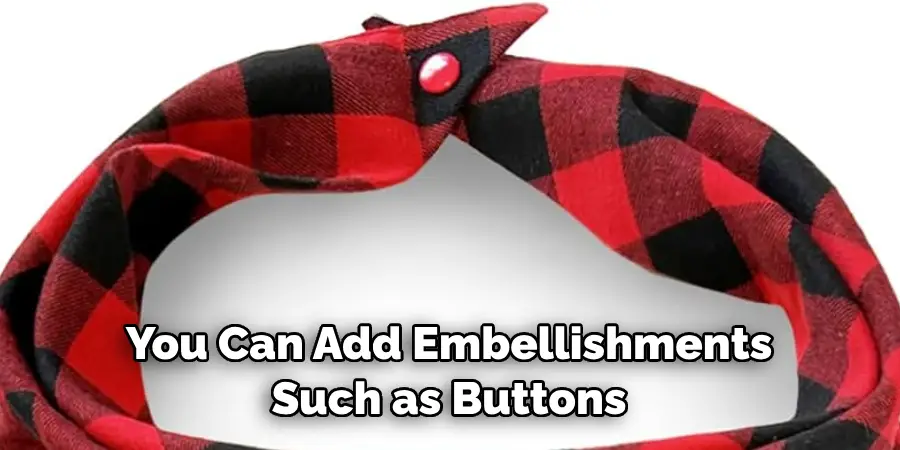
A: Of course! The beauty of making your own dog scarf is that you can get creative with it. You can add embellishments such as buttons, bows, or patches to personalize your dog’s scarf even further. Just make sure they are securely attached and won’t pose a choking hazard to your dog.
Conclusion
In conclusion, making dog scarves can be a fun and creative activity for both you and your furry friend. With the right materials and techniques, you can create stylish and unique scarves that will keep your dog warm and fashionable. From choosing the perfect fabric to adding personalized embellishments, there are endless possibilities to make each scarf one-of-a-kind.
Not only is this a great way to bond with your pet, but it also allows you to express your creativity and showcase your love for dogs. So don’t wait any longer, gather your supplies and start making some adorable scarves for your furry companion! If you have any tips or ideas on how to make dog scarves, feel free to share them in the comments section below so we can all learn from each other. Let’s spread the joy of crafting for our beloved four-legged companions together! Happy scarf-making everyone!
Expertise:
Crafting expert with a focus on innovative techniques and diverse materials.
Specialization:
- Textile arts (weaving, embroidery, and fabric dyeing)
- Woodworking and furniture design
- Mixed media and upcycling projects
Recognition:
- Featured in local art exhibits showcasing innovative craft projects
- Collaborated with community organizations to promote crafting workshops
- Received accolades for contributions to sustainable crafting initiatives
Mission:
- To inspire and empower crafters of all levels to discover their creative potential
- Encourages experimentation and self-expression through hands-on projects

