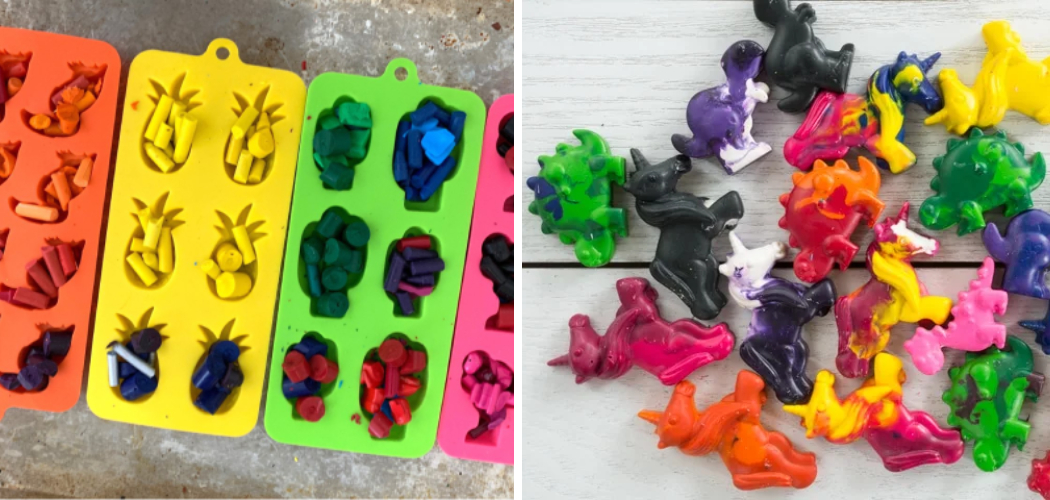
Have you ever wanted to make your crayons in custom shapes and sizes? Now, you can! Making crayons in molds is a fun and easy way to create colorful little works of art.
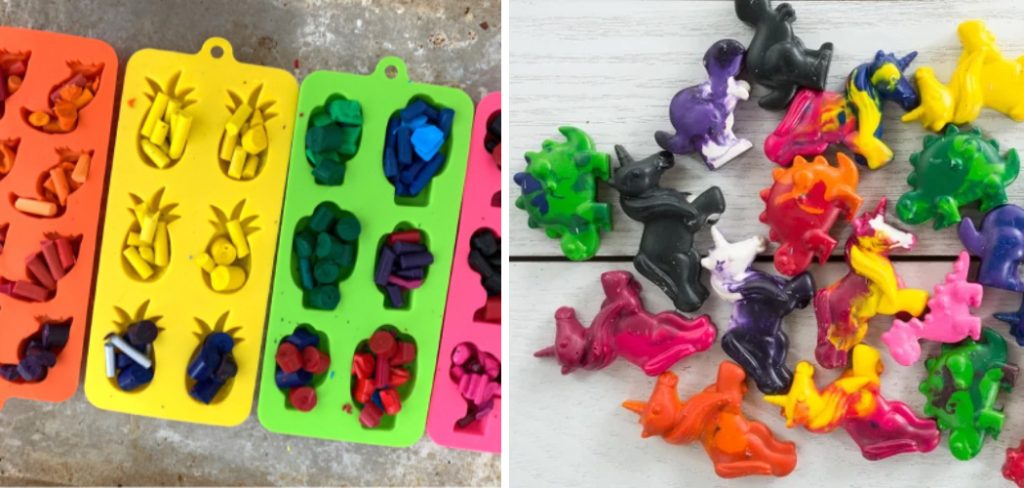
Creating homemade crayons in molds is a great way to make educational, fun, and unique gifts for kids and adults alike! Not only is it effortless to do, but there are tons of creative ways you can draw inspiration from your imagination. You could make custom names, shapes, numbers, and more – endless possibilities! Plus, you’ll love how simple it is to set up and execute with minimal supplies.
In this blog post, we will cover exactly how to make crayons in molds so that everyone involved has fun learning and playing safely every step of the way. So grab some wax chunks, get creative with your designs & let’s start creating!
What Are the Uses of Making Crayons in Molds?
Making crayons in molds is a fun way to create custom shapes, sizes, and colors for creative projects. When you make your crayons, it allows for endless possibilities when it comes to the end product. You can make alphabet letters, numbers, animals, geometric shapes, and more! Not only is it fun and easy, but it’s also an excellent way to foster creativity.
Making crayons in molds is also a great way to teach kids about safety and health precautions when working with hot materials. It’s a hands-on experience that can help them understand and practice good habits for dealing with potentially dangerous items. Plus, it’s a great opportunity to discuss the science behind melting and solidifying wax.
What Supplies Do You Need?
The supplies you need to make crayons in molds are straightforward. All you need are bellowed:
- Wax chunks of various colors
- Mold of your choice
- Double boiler or a heat source such as a microwaveable bowl with water
- Popsicle sticks or craft sticks
- Oven mitts (for safety!)
- Bowl of cold water
- Paper towels
Now that you have the supplies let’s get started! Follow the steps given below for a successful crayon-making experience.
10 Easy Steps on How to Make Crayons in Molds
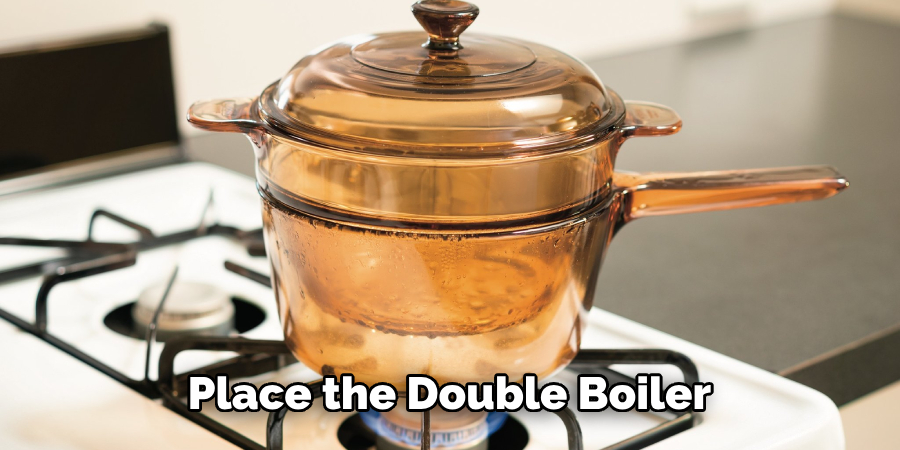
Step 1: Set Up the Double Boiler or Microwaveable Bowl:
Place the double boiler or microwaveable bowl filled with a few inches of water over medium heat. Ensure it’s not too hot. Otherwise, you risk burning the wax. You can also use an electric hot plate or stovetop for this step.
Step 2: Prepare the Wax Chunks:
Place the wax chunks into the double boiler or microwaveable bowl and let them melt. Stir with a popsicle stick if needed. If you’re using a microwave, heat in 30-second intervals until melted. Try to keep the wax moving to avoid hot spots.
Step 3: Prepare the Molds:
Lightly grease your molds with vegetable oil or butter. This will help the crayons release easily once they are solidified. If you’re using multiple molds, label them so you know which color is which.
Step 4: Fill Your Molds With Wax:
Using craft sticks, stir up your melted wax and transfer it into each mold section that you have prepared. Make sure to fill all sections evenly with wax for the best results. Be careful not to overfill.
Step 5: Allow Your Crayons To Cool & Solidify:
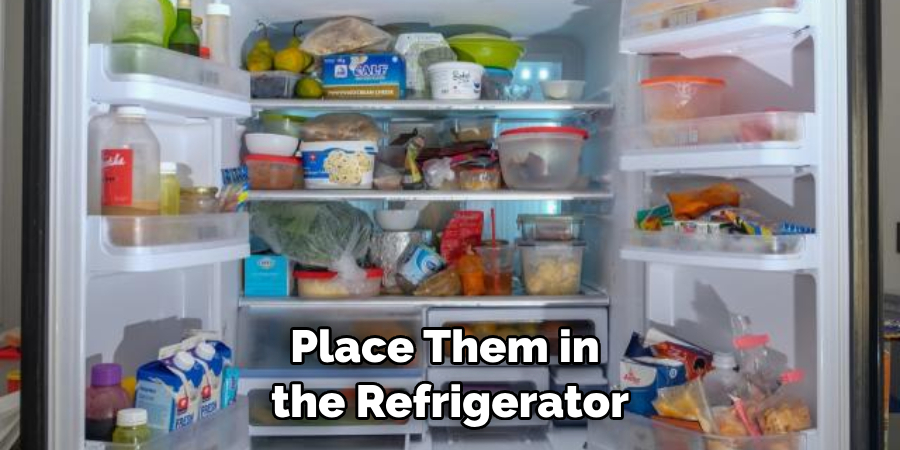
Once all molds are filled, place them in a cool area and allow them to solidify completely. This can take anywhere from 30 minutes to an hour. You can also place them in the refrigerator to speed up the process.
Step 6: Remove Your Crayons From The Molds:
Carefully remove your crayons from the molds by lightly pressing them on the sides of each mold section and then popping them out with your finger. If you’ve greased the molds well enough, they should release without any problems. Once removed from the molds, dip them into a bowl of cold water for 10-15 minutes to harden faster.
Step 7: Dry & Package Your Crayons:
Remove your crayons from the water and place them on a paper towel to dry. Once completely dry, you can package them in any way you’d like. You can wrap them in tissue paper, use ribbon or bows, create personalized labels, etc.
Step 8: Get Creative & Enjoy Your Crayons:
Once your crayons are packaged and ready, it’s time to get creative! Whether you make custom names, numbers, or shapes – the possibilities are endless for homemade crayons! Have fun using your new creations, and enjoy every minute of it!
Step 9: Clean Up & Store Your Supplies:
When finished playing with your crayons, clean up all of your supplies. Put away the double boiler or microwaveable bowl, molds, and popsicle sticks in a safe place for future use. It will save you time and energy for next time!
Step 10: Reuse & Recycle Your Wax Chunks:
When you’re done making crayons in molds, don’t forget to reuse your wax chunks. You can melt them down and make more custom crayons with different shapes and colors or use them for other fun craft projects. Also, be sure to recycle the wax chunks if possible – it’s an easy way to help the environment!
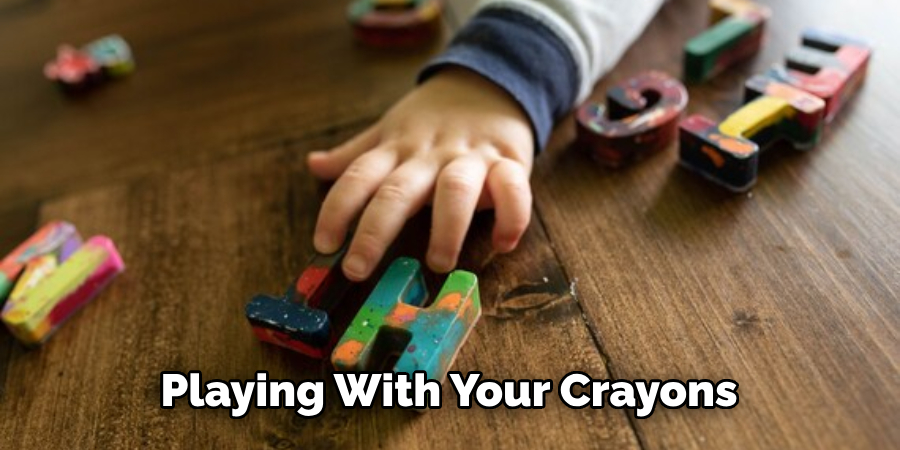
Now that you know how to make crayons in molds, it’s time to have some fun creating your own unique pieces of art! So gather your supplies, get creative with the designs, and start melting away!
5 Additional Tips and Tricks
- To make sure your crayons are properly cooled, freeze them in the molds. This will help to keep their shape and colors uniform when you remove them from the mold.
- Experiment with different types of wax to get different effects, such as scented or glittery crayons.
- Choose a variety of fun shaped molds for your crayons – star, heart, or even alphabet shapes!
- To get creative, try melting two different colored waxes together to create swirls and patterns in each crayon.
- Make sure to label each color with a marker so children can easily identify which color they should use when coloring! Have fun creating unique and colorful crayons!
With these five tips, you can make crayons in molds successfully. Have fun creating unique and colorful creations!
5 Things You Should Avoid
- Don’t overheat or boil your wax – it may splatter and could cause burns.
- Be careful when removing the crayons from the molds, as they will be hot. Use heat-safe tongs or wear protective gloves when handling them.
- Avoid using plastic molds for making crayons, as they can be dangerous when heated.
- Don’t let young children handle the molds or melted wax – it can be dangerous!
- Do not use regular, store-bought crayons for making crayon molds, as they may contain toxic chemicals that could be harmful when heated.
Following these five tips and avoiding common mistakes, you can easily make beautiful and unique crayons in molds!
5 Different Design Ideas
- Create layered crayons using two or more wax colors in the same mold.
- Try creating a rainbow effect in each crayon by adding several colors to the mold before cooling.
- Make fun patterned crayons with stripes, polka dots, and other shapes.
- Spell out names or words with letters shaped molds to create personalized crayons.
- Use different types of glitter and scented waxes for unique and eye-catching results!
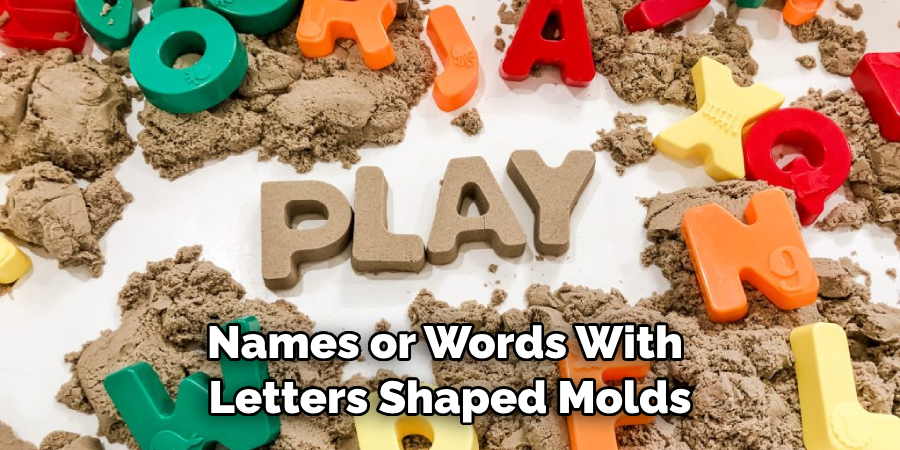
With these five design ideas, you can quickly make creative and beautiful crayons! Have fun experimenting with different colors, shapes, patterns, and designs to create unique crayons that will make any coloring page come to life.
What Kind of Wax is Used for Crayons?
The most common type of wax used for making crayons is paraffin wax. Paraffin wax is a petroleum-based product with a low melting point and is easy to work with. It also holds its shape when cooled, which makes it ideal for creating colorful and unique crayon molds.
You can find paraffin wax at craft stores or online retailers. Other types of waxes, such as beeswax and soy wax, may also be used, though they may require additional steps in the process.
You can make beautiful and creative crayons in molds using the right kind of wax! With these tips and tricks, you can create amazing works of art that will brighten any coloring page. Have fun crafting unique creations!
Conclusion
How to make crayons in molds is an easy project with many rewards. You can impress your children or grandchildren with creative, homemade crayons and save money by reusing other broken pieces of wax or materials.
To create a successful outcome, read up on the supplies required for the project and buy molds with larger openings so your colored wax has an easy melting transition. Consider finding a new way to personalize your crayon creations, such as adding custom hang tags or labels.
Use the tips this blog post shares and allow your creativity to run wild! Why not get started right away? After all, who doesn’t love homemade gifts that come straight from the heart?

