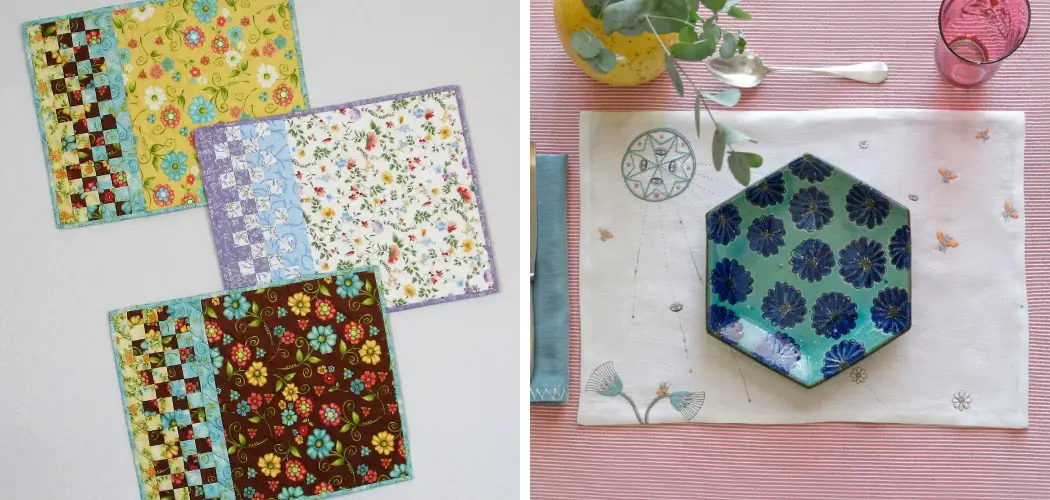
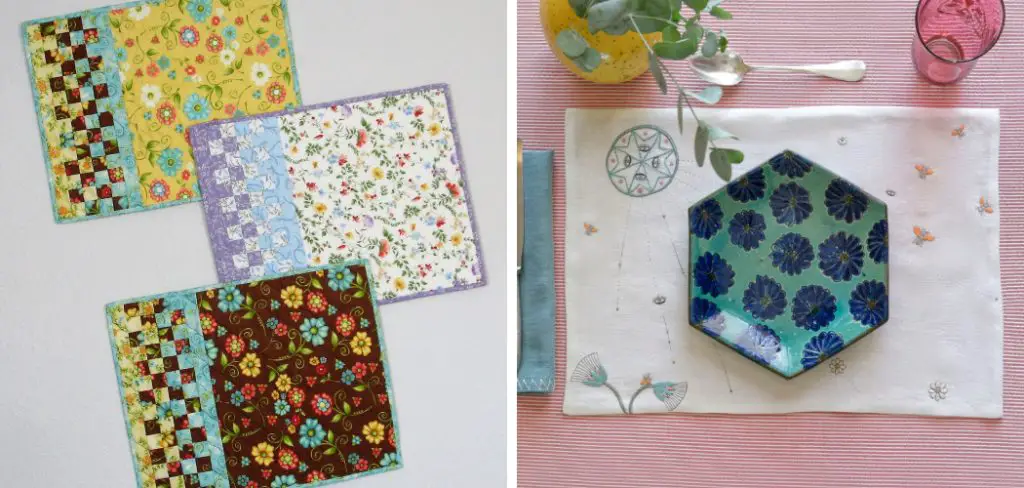
Creating your own cloth placemats is a delightful way to add a personal touch to your dining table. Whether you’re looking for functionality, aesthetics, or both, DIY placemats allow you to choose the perfect fabric and design to match your home decor and personal taste. Not only do they serve as protection for your table, but they can also be a conversation starter during meals, showcasing your crafting skills.
In this guide on how to make cloth placemats, we will walk you through the steps to make durable, stylish, and easy-to-clean cloth placemats that are sure to impress your guests and make every meal a special occasion.
What is a Placemat?
In simple terms, placemats are protective table linens that sit under your plates and silverware. They provide a barrier between the dinnerware and the table surface, preventing scratches, spills, and stains while also adding a decorative element to your dining experience.
Cloth placemats are typically made from sturdy fabrics such as cotton, linen or polyester blends, and range in size from small square mats to larger rectangular ones. Now that we have an understanding of what placemats are let’s dive into the steps to make our very own cloth placemats. It’s time to get creative!
Materials Needed
To make your own cloth placemats, you will need the following materials:
Fabric of Your Choice (Cotton, Linen, or Canvas Work Best):
1 yard for each placemat (you can adjust the amount depending on the size you prefer)
Scissors:
To cut your fabric to the desired size.
Ruler:
For precise measurements and straight edges.
Sewing Machine/Needle and Thread:
A sewing machine will make this project faster and easier, but hand-sewing is also possible.
Pins or Clips:
To hold the fabric in place while sewing.
Iron and Ironing Board:
To press and flatten the fabric for a polished finish.
Fabric Marker/Chalk:
For marking measurements and lines on the fabric.
12 Step-by-step Guidelines on How to Make Cloth Placemats
Step 1: Choosing Fabric for Cloth Placemats
As mentioned earlier, cotton, linen, or canvas are the best options for cloth placemats. These fabrics are durable, easy to clean, and come in a variety of colors and patterns. You can also mix and match different fabrics to create a unique set of placemats that coordinate with each other.
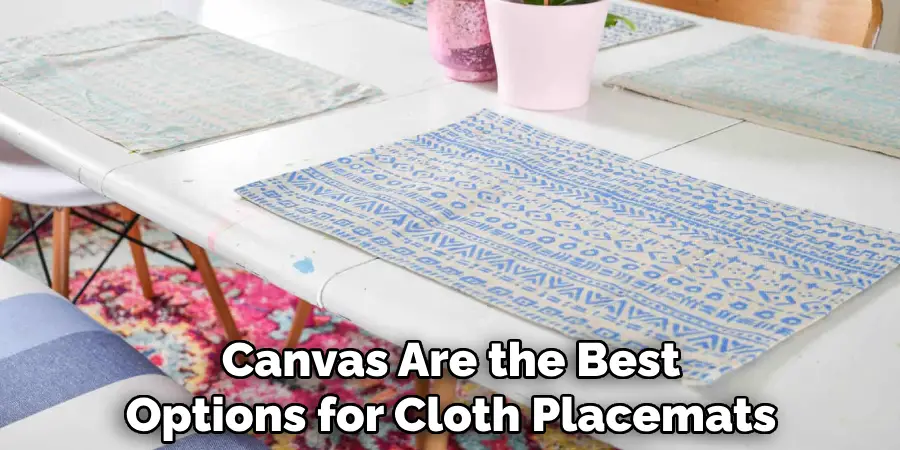
It’s recommended to prewash and iron the fabric before starting the project to prevent any shrinkage or wrinkles in the finished product. The ideal size for each placemat is 14×18 inches, but you can adjust it to your liking. It’s also a good idea to add an extra inch on each side for seam allowance.
Step 2: Determine the Size of Your Placemats
Decide on the size of your placemats based on your table or personal preference. Standard placemat size ranges from 12-15 inches wide and 16-20 inches long. You can also use an existing placemat as a template to trace the size onto your fabric. But don’t be afraid to experiment with different sizes and shapes to add a touch of creativity to your placemats.
It’s always helpful to draw the size on the fabric with a fabric marker or chalk before cutting. You can use a ruler to ensure the edges are straight and even. The finished size will be slightly smaller than the fabric you cut, so keep that in mind when measuring.
Step 3: Measure and Cut the Fabric
Using your ruler and fabric marker, measure and mark the desired size on your fabric. Then, use scissors or a rotary cutter to cut along the marked lines. Make sure to cut two pieces for each placemat, one for the front and one for the back. Otherwise, you can also use a different fabric for the back to create a reversible placemat.
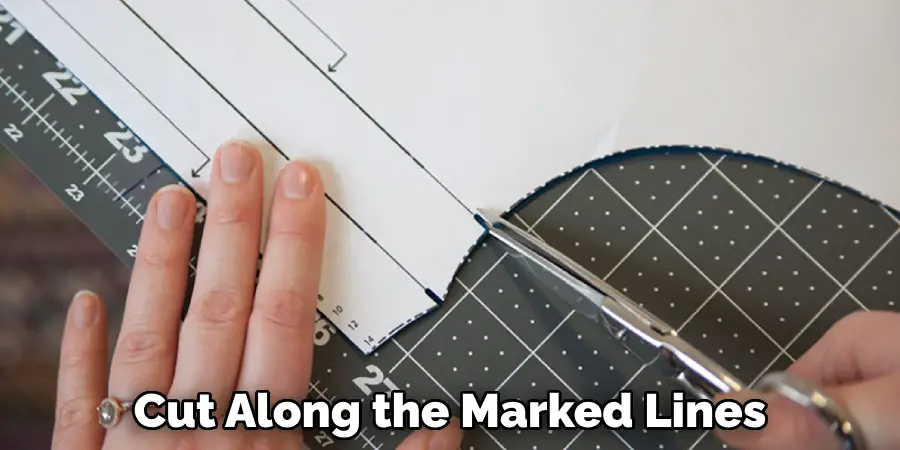
You can also add an extra half inch to each side for seam allowance. It’s essential to cut the fabric with precision to ensure that your placemats are even and symmetrical. But don’t worry if they’re not perfect, it adds to the charm of handmade items.
Step 4: Pin or Clip the Fabric Pieces Together
Place the two pieces of fabric together, with the right sides facing each other. In other words, the side of the fabric you want to show should be touching each other. Use pins or clips to secure the edges, leaving a small gap for turning the placemat right side out later. The pins/clips also help keep the fabric in place while sewing. It’s best to pin/clip the corners first, then work your way to the center on all sides. The fabric should be smooth and wrinkle-free to achieve a polished look. You can iron the fabric before pinning/clipping if needed.
Step 5: Sew Around the Edges
Using a sewing machine or hand-sewing needle and thread, sew around the edges of your pinned fabric pieces. Leave a one-inch gap at one corner to allow for turning. Make sure to sew along all four sides, backstitching at the beginning and end of your stitches for added durability.
If you’re using a sewing machine, use the edge of your presser foot as a guide to sew straight and even seams. it’s essential to sew close to the edge, leaving only a quarter of an inch of fabric between your stitches and the edge. The closer your stitches are to the edge, the less noticeable they will be once the placemats are turned right side out.
Step 6: Trim the Corners
Once you’ve completed sewing around the edges, trim the corners diagonally. This will help reduce bulkiness when turning the placemat right side out. Be careful not to cut too close to the stitches to avoid unraveling. The closer you cut, the sharper your corners will look. It’s a small detail, but it adds to the overall finished look of your placemats.
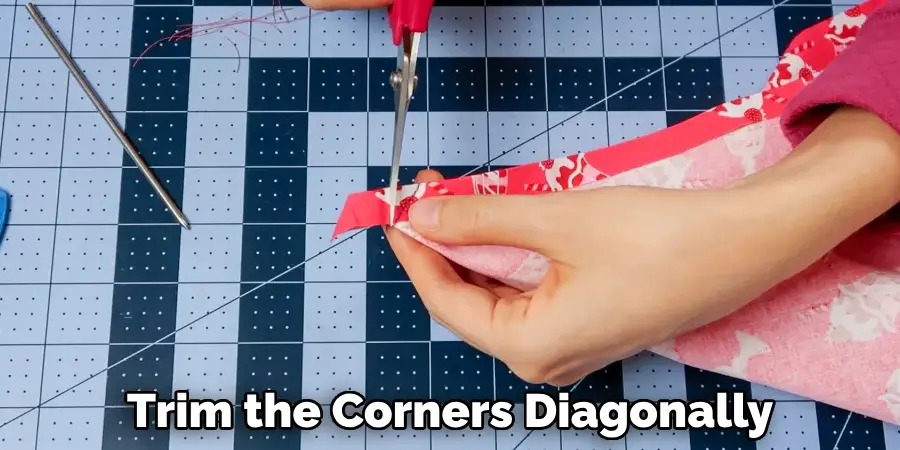
But if you prefer rounded corners, skip this step. You can use a pencil or chopstick to push out the corners for a clean finish. But make sure not to push too hard and break through the stitches. You can also use the gap you left open for turning to pull the fabric through, ensuring all corners are turned out.
Step 7: Turn the Placemat Right Side Out
Gently pull the fabric through the gap that was left open. Use a pen or chopstick to push out the corners and edges for a crisp finish. Take your time with this step to avoid damaging the seams or fabric. Once you’ve turned the placemat right side out, use an iron on low heat to flatten and press the edges. But be careful not to iron over the pins/clips, as they may melt or leave marks on your fabric. It’s best to remove them before ironing. It’s also helpful to iron along the seams to ensure they’re open and flat, giving your placemats a polished look.
Step 8: Sew the Gap Closed
Fold in the raw edges of the gap and carefully sew it closed using a needle and thread. You can also use a ladder stitch for an invisible closure. If you’re using a sewing machine, you can topstitch around the entire placemat for added durability and to close the gap. You can also use a decorative stitch to add some flair to your placemats. The choice is yours!
It’s essential to sew as close to the edge as possible for a clean finish. You can also use an iron to press the edges after sewing to give it a polished look. You’ve now completed the basic structure of your cloth placemat. The following steps will provide additional ideas and tips for embellishing your placemats.
Step 9: Press the Placemat
Use an iron on low heat to press and flatten your finished placemat. This will give it a polished and professional look. Make sure to press along all edges and corners for consistent result. If you’re using a fabric that’s prone to wrinkles, add some spray starch while ironing for a crisp finish. But avoid using too much starch, as it can make the fabric stiff and difficult to fold.
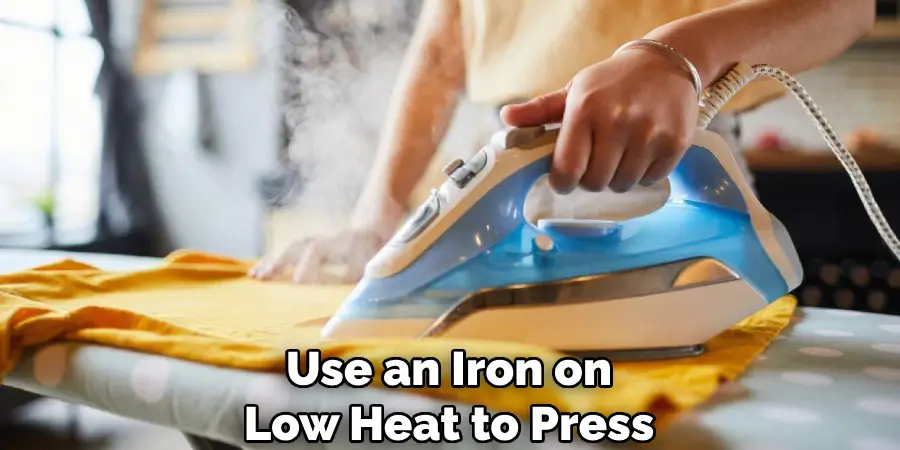
Though it’s a personal preference, so feel free to experiment. But in general, it’s best to avoid using starch on placemats that will be used for dining. It’s not necessary, but you can also topstitch around the edges of your placemat for added durability and a finished look.
Step 10: Repeat for the Remaining Placemats
Follow the same steps to create the desired number of placemats. It’s recommended to make at least four placemats so that you have a complete set for your dining table. But feel free to make more or less depending on your needs. You can also mix and match different fabrics for a unique set of placemats that complement each other.
It’s all about personal preference and creativity! You can also experiment with different shapes and sizes for a more unique look. The possibilities are endless when it comes to creating your own cloth placemats.
Step 11: Add Finishing Touches (Optional)
Once you’ve completed all the steps, you can add some finishing touches to your placemats. This could be adding decorative trim along the edges, embroidery, or hand-painted designs for a personalized touch. You can also add a layer of interfacing between the fabric pieces for added durability and to prevent slipping on smooth surfaces.
The possibilities are endless, so don’t be afraid to get creative! You now have a set of beautiful and unique placemats that will add style and functionality to your dining table. You can also make extras as gifts for friends and family or sell them at craft fairs. Have fun with it and enjoy your handmade placemats!
Step 12: Enjoy Your Homemade Cloth Placemats
Congratulations! You have successfully made your very own cloth placemats from scratch. Not only are you left with a practical and functional product, but also one that’s unique and customizable. These placemats make for great gifts, especially if you personalize them for the recipient. So go ahead and enjoy your new set of placemats at your next family dinner or special occasion. It’s a simple yet meaningful way to add a personal touch to your table setting.
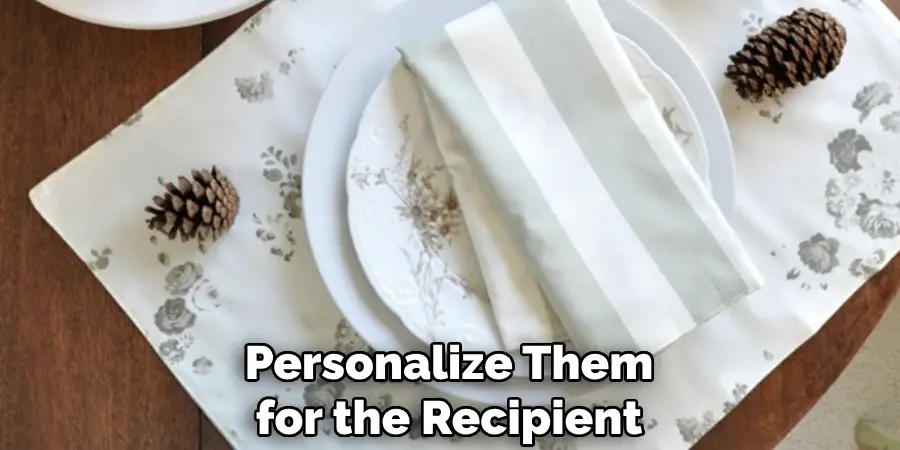
Following these steps on how to make cloth placemats, you can easily create a set of cloth placemats that will elevate your dining experience and impress your guests. Feel free to experiment with different fabrics, sizes, and designs to add your own personal flair.
Additional Tips and Ideas
- Consider Using Different Types of Fabric to Add Texture and Variety to Your Placemats. For Example, You Could Combine a Smooth Cotton Fabric With a Patterned Linen or Even Use a Faux Leather for a More Elegant Look.
- Add a Pop of Color by Using Contrasting Thread or Binding to Finish Off the Edges of Your Placemats.
- Don’t Limit Yourself to Traditional Rectangular Shapes – Try Experimenting With Different Shapes Like Circles, Ovals, or Even Hexagons for a Unique Touch.
- Personalize Your Placemats by Adding Embroidery, Patches, or Fabric Paint to Create a One-of-a-kind Design.
- Consider Making Matching Napkins or Table Runners to Complete Your Dining Set.
- Don’t Be Afraid to Mix and Match Fabrics for a Fun and Eclectic Look.
- Save Scraps of Fabric From Previous Projects to Use as Accents or Trim on Your Placemats.
- Get Inspiration From Online Tutorials and Sewing Communities to Find New Techniques and Designs.
- Consider Making a Set of Placemats as a Gift for a Loved One – It’s a Thoughtful and Practical Present That They Will Surely Appreciate.
- Now That You Have Learned the Basics of How to make cloth placemats, the possibilities are endless. Have fun experimenting with different fabrics, patterns, and designs to create your own unique set of placemats that will add a special touch to every meal.
Examples and Inspirations
- Check Out Pinterest or Instagram for Creative Ideas and Designs for Cloth Placemats. You Can Find Everything From Minimalist to Bold and Colorful Designs.
- Look Through Online Fabric Stores or Local Markets to Find Unique and Interesting Fabrics That Will Add Personality to Your Placemats.
- Browse Through Home Decor Magazines or Websites for Inspiration on How to Style Your Placemats and Table Setting.
- Ask Friends and Family for Their Input and Ideas – They Might Have Some Great Suggestions That You Haven’t Thought of Before.
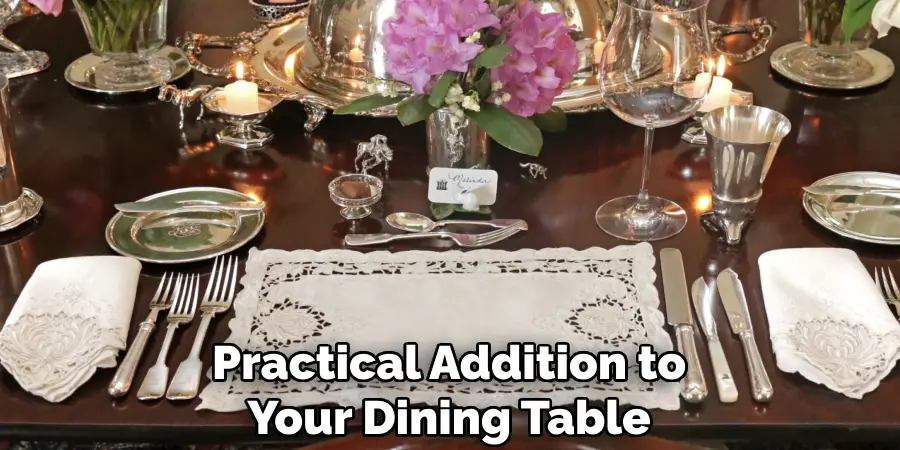
- Attend Sewing or Crafting Events to Learn New Techniques and Exchange Ideas With Other DIY Enthusiasts. Overall, have fun with this project and make it your own! These homemade cloth placemats are not only a practical addition to your dining table, but also a reflection of your personal style and creativity.
Frequently Asked Questions
Q: Can I Use a Sewing Machine to Make Cloth Placemats?
A: Yes, you can use a sewing machine for faster and more precise stitching. However, hand-sewing is also an option if you prefer a more personal touch. The choice is yours!
Q: Do I Need to Pre-wash My Fabric Before Making Placemats?
A: It’s always a good idea to pre-wash your fabric before sewing, as it helps prevent shrinkage and ensures that the colors won’t bleed when you wash your finished placemats.
Q: How Do I Clean and Care for Cloth Placemats?
A: It’s best to follow the care instructions on your fabric, but in general, you can machine wash your placemats on a gentle cycle with mild detergent. Hang them or lay them flat to dry to avoid any potential shrinkage from the dryer.
Q: Can I Use Insulated Batting for My Placemats?
A: Yes, insulated batting can be used for heat-resistant placemats. Just make sure to use a fabric that is safe for ironing on top of the batting if you plan on using your placemats as hot pads. It’s also a good idea to test the heat resistance before using them for hot dishes.
Q: How Many Placemats Should I Make?
A: It depends on how many people you typically have at your table, and whether you want extras in case of spills or stains. A general rule of thumb is to make at least one placemat per person, plus a few extras for guests or accidents. Overall, it’s always better to have more than not enough!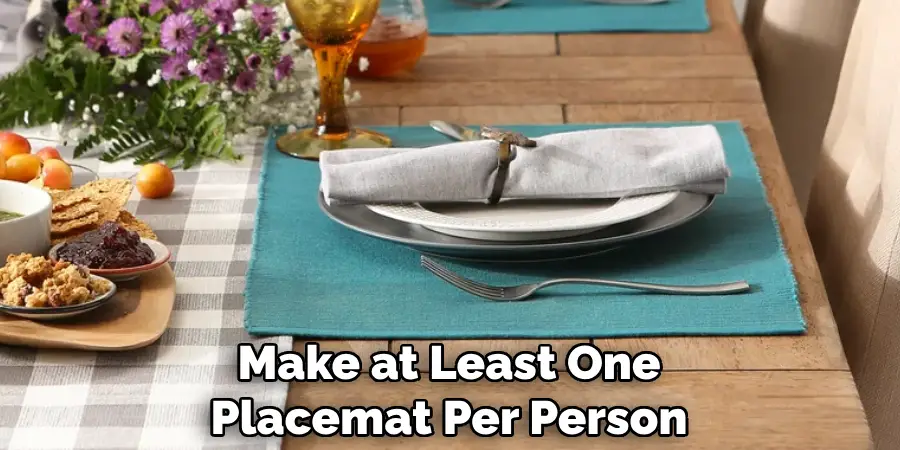
Conclusion
Creating your own cloth placemats is an enjoyable way to add a personal touch to your dining table while also diving into the world of DIY home crafts. With some basic sewing skills, a pinch of creativity, and your choice of fabric, you can transform an ordinary meal into a delightful dining experience. Remember, the beauty of making placemats yourself is the freedom to tailor the designs to fit your style and occasion perfectly.
So, have fun and happy sewing! So, go ahead and get started on making your very own set of cloth placemats today. Trust us, once you start using them, you’ll wonder why you didn’t make them sooner! Thanks for reading this article on how to make cloth placemats.

