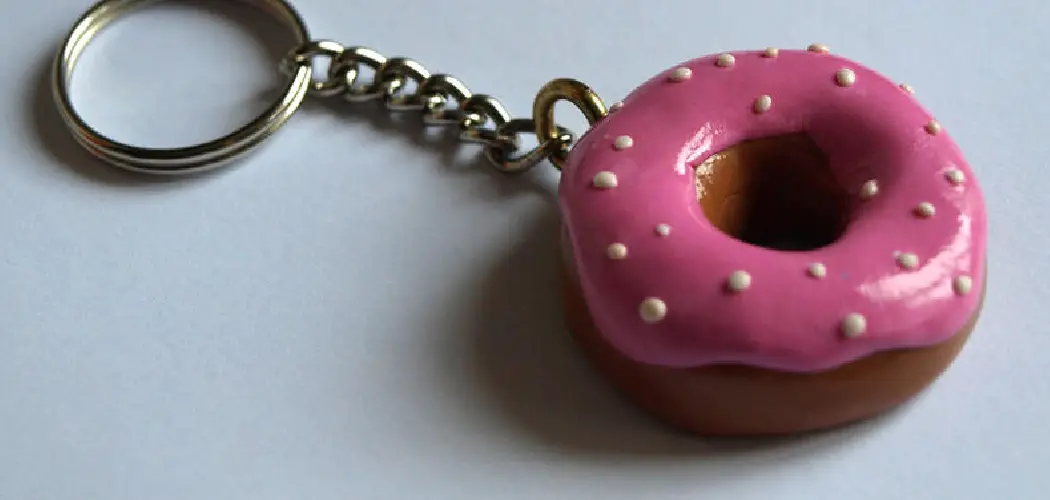
Keychains are a great way to accessorize and keep your keys organized. While you can purchase a variety of keychains from stores, nothing beats creating your own design to attach to your personal set of keys. In today’s blog, we’re going to show you how to make clay keychains that are simple, customizable, and fun to create. Just follow the steps below to get started!
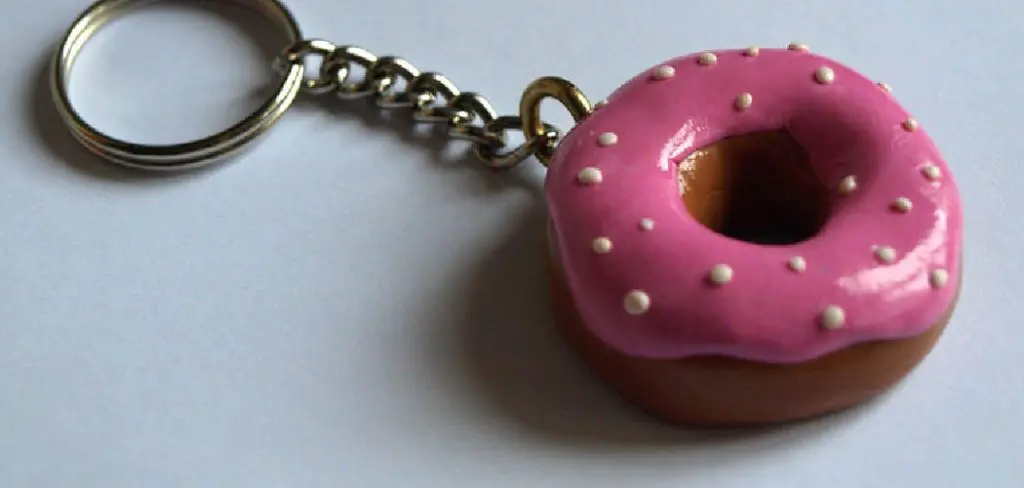
Can You Make Clay Keychain?
Have you ever wanted to make a unique keychain that shows off your creative side? Making a keychain out of clay might be just the project for you. With a few simple tools and imagination, you can create a one-of-a-kind piece that can be used daily. Not only is making a clay keychain fun and easy to do, but it also makes for a great gift for loved ones. Plus, it’s a wonderful way to unwind and tap into your artistic talents. So, gather your materials, and let’s start molding!
Why Should You Make Clay Keychain?
Creating your very own clay keychain can be an immensely rewarding experience. Not only does this allow for a perfect opportunity to unlock your creativity, but it also allows you to showcase your personalized piece of art to the world. The process of making a clay keychain is relatively simple yet incredibly satisfying.
From molding the clay to crafting the perfect design, you have full control over the finished product. Whether you prefer funky shapes or delicate designs, clay can be molded into any shape or form that you desire. You can take your truly one-of-a-kind piece with you wherever you go, reminding you of your inner artist and the joy of creating something by hand. Making a clay keychain can assert your individuality, imagination, and passion for crafting.
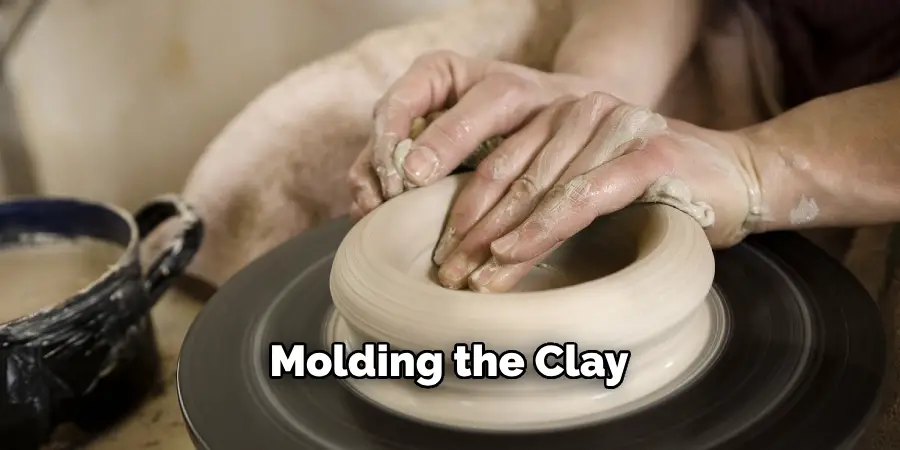
Crafting Made Easy: A Step-by-Step Guide on How to Make Clay Keychain
Step 1: Materials Needed
For this craft, you’ll need several essential materials, including air-dry clay, a rolling pin, a cookie cutter, a keyring, and acrylic paint. Air-dry clay works best for this project because you won’t need a kiln to dry it out.
Additionally, acrylic paint is easy to use and will dry quickly, allowing you to move on to the next step in no time. If you are looking for inspiration or design ideas, search the internet for images of keychains or ask your crafty friends for help!
Step 2: Roll Out the Clay
Begin by taking your air-dry clay and using a rolling pin to flatten it. The clay should be about 1/4 inch thick and rolled out to a size that can accommodate your cookie cutter. Make sure to roll the clay out onto a non-stick surface or a piece of parchment paper.
Step 3: Cut the Clay into Shape
Next, press your cookie cutter firmly into the clay to create your desired shape. If the clay sticks to the cookie cutter, gently push the clay out to keep the shape intact. You can use any shape you like, such as a circle, heart, or star, as endless possibilities exist.
Step 4: Make a Hole for the Keyring
With your shape now cut out, use a toothpick or a skewer to create a small hole near the top of your clay keychain. This is where you will attach the keyring later on, so make sure the hole is big enough to easily slide it through. You can also make multiple holes if you want to add additional decorations.
Step 5: Let the Clay Dry
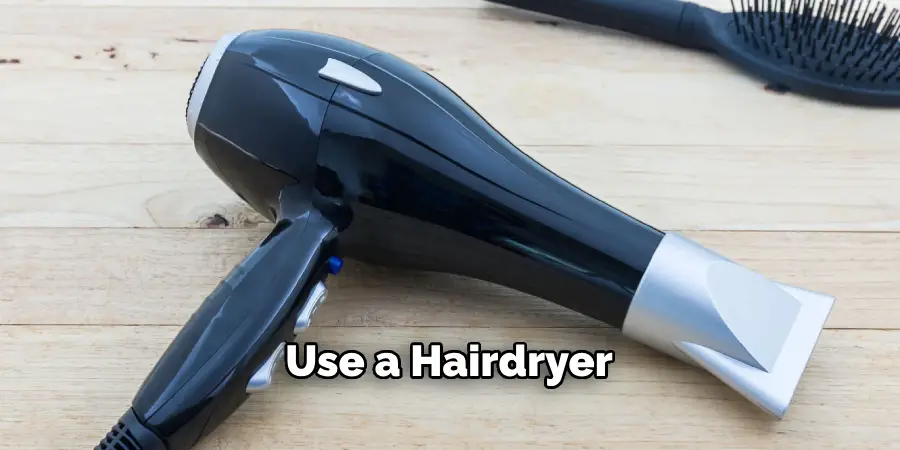
Once you have finished cutting and creating your keychain, set it aside to dry for at least 24 hours. During this time, the air-dry clay will harden and become durable enough for everyday use. If you are in a rush, you can also use a hairdryer on low heat to speed up the drying process.
Step 6: Paint Your Keychain
After your clay keychain is completely dry, it’s time to add some color! Use acrylic paint and small brushes to create any desired design or pattern. You can also use markers, glitter, or other decorations to make your keychain unique. Let the paint dry completely before moving on to the final step.
Step 7: Attach the Keyring
Finally, once your keychain is painted and fully dry, it’s time to attach the keyring. Simply slide the ring through the hole you created in step 4 and make sure it is securely attached. And that’s it! Your clay keychain is now complete and ready to be used or given as a gift.
So go ahead and let your creativity flow as you create unique and personalized clay keychains for yourself or your loved ones. And remember, don’t be afraid to experiment with different shapes, designs, and colors to make each keychain one-of-a-kind.
5 Considerations Things When You Need to Make Clay Keychain
1. Type of Clay
The first consideration when making a clay keychain is the type of clay you will use. There are various types of clay available, such as air-dry clay, polymer clay, and oven-bake clay. Each type has its own unique properties and may require different techniques for shaping and hardening.
2. Design
Before starting your project, it’s important to have a clear design for your keychain. This will help you determine the size and shape of the clay needed and any additional materials or tools that may be necessary. You can create a simple design or get creative with shapes, textures, and colors.
3. Tools
Depending on the type of clay you choose and your desired design, you may need specific tools to shape and decorate your keychain. Some common tools used for working with clay include rolling pins, sculpting tools, cookie cutters, and stamps. Ensure you have all the necessary tools before starting your project.
4. Hardening Method
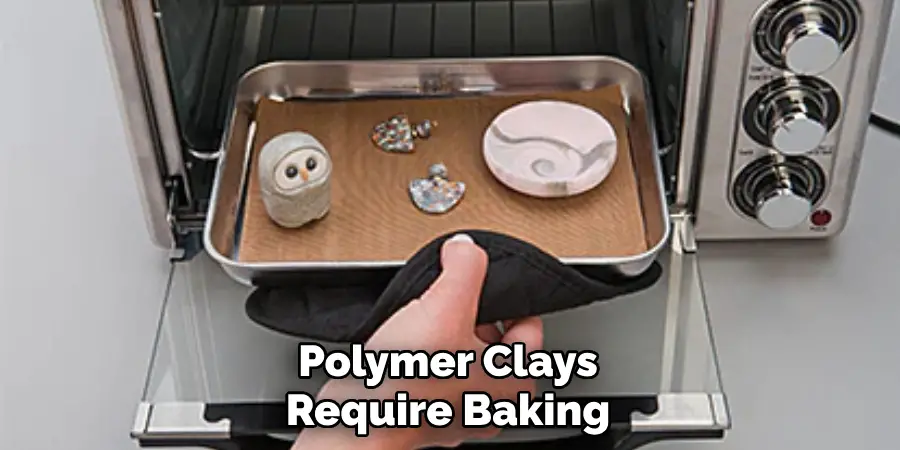
Once your keychain is shaped and decorated, it must be hardened to become durable enough for daily use. The hardening method will depend on the type of clay used – air-dry clays simply need time to dry out, while polymer clays require baking in an oven at a specific temperature for a certain amount of time.
5. Finishing Touches
After hardening, you can add final touches to your keychain, such as a glossy glaze or varnish for shine, or attach additional embellishments like beads or charms. These finishing touches can add a personal touch to your creation and make it stand out even more as a unique accessory.
4 Benefits of Making Clay Keychain
1. Creative Outlet
Making clay keychains is a great way to express your creativity and create something unique. With various colors and shapes of clay available, you can design and personalize your keychain to match your style or give it as a thoughtful gift to someone special. The design possibilities are endless, making it a fun and enjoyable activity for all ages.
2. Handmade Quality
One of the main benefits of making clay keychains is that they are handmade. This means each keychain is one-of-a-kind and has its own unique character. Unlike mass-produced items, handmade keychains have a personal touch and are made with care and attention to detail, making them more special and valuable.
3. Affordable Hobby
Clay keychain making is also an affordable hobby compared to other crafting activities. The materials needed are relatively inexpensive, and you can easily find them at most craft stores or online shops. Plus, once you have the necessary tools, you can continue making keychains without having to constantly purchase new supplies.
4. Stress Relief
Creating something with your hands can be therapeutic and help reduce stress levels. Making clay keychains allows you to focus on the task at hand and let go of any worries or anxieties. It can also be a mindful activity as you concentrate on shaping the clay into your desired design, providing a sense of relaxation and calmness.
Some Common Mistakes People Make When Trying to Make Clay Keychain
Crafting a clay keychain is a fun and creative way to show off your personality and add a personalized touch to your keys. However, there are some common mistakes people make when trying to make clay keychains. One mistake is not properly conditioning the clay, making it difficult to mold and shape the keychain.
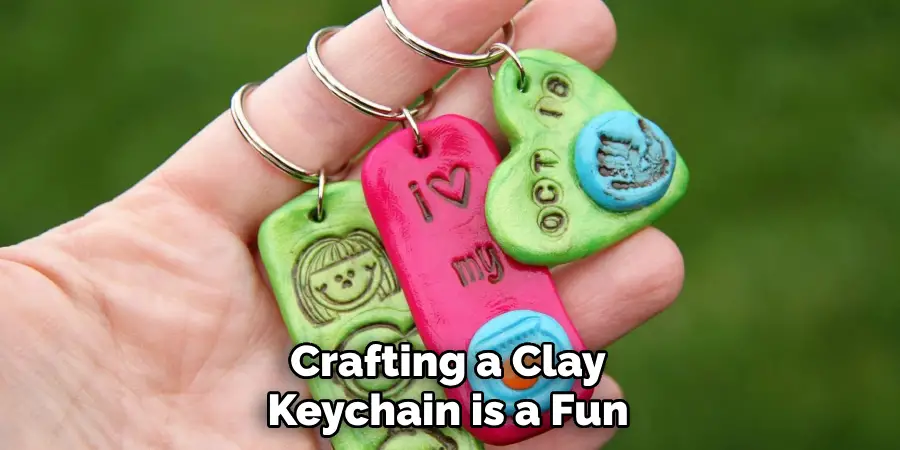
Another mistake is not adding enough texture or details to the keychain, which can make it look plain and uninteresting. It’s also important not to rush the baking process, as this can cause the keychain to crack or break. By avoiding these common mistakes and taking your time with crafting, you can create a one-of-a-kind clay keychain that you’ll be proud to display.
Conclusion
Making your own clay keychain is a simple and personalized craft that you can easily complete in the afternoon. With a little imagination, you can customize your keychain with any shape, design, or image you like. Not to mention, this is a great project to do with kids or family. We hope you found this guide helpful and love to see your creations. Feel free to share your unique clay keychains with us! Thanks for reading our post about how to make clay keychain.
You Can Check It Out to Seal Air Dry Clay

