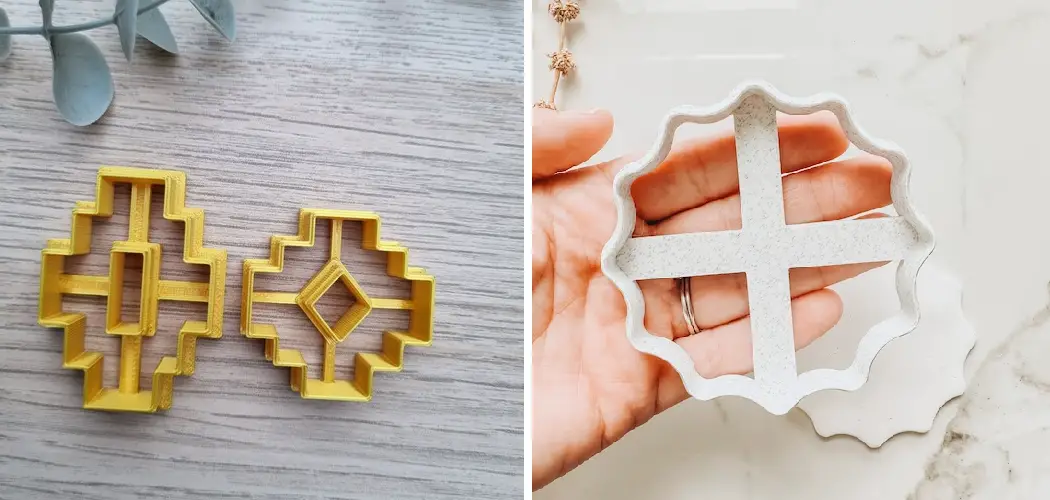
Clay art is a fantastic way to express your creativity. However, creating perfect shapes when working with clay is not always easy. That’s where clay cutters come in handy. They allow you to cut out shapes in perfect symmetry with ease. The best part is that you can make your own clay cutters at home, and it’s super easy to do. In this blog post, we will provide you with a comprehensive guide on how to make clay cutters.
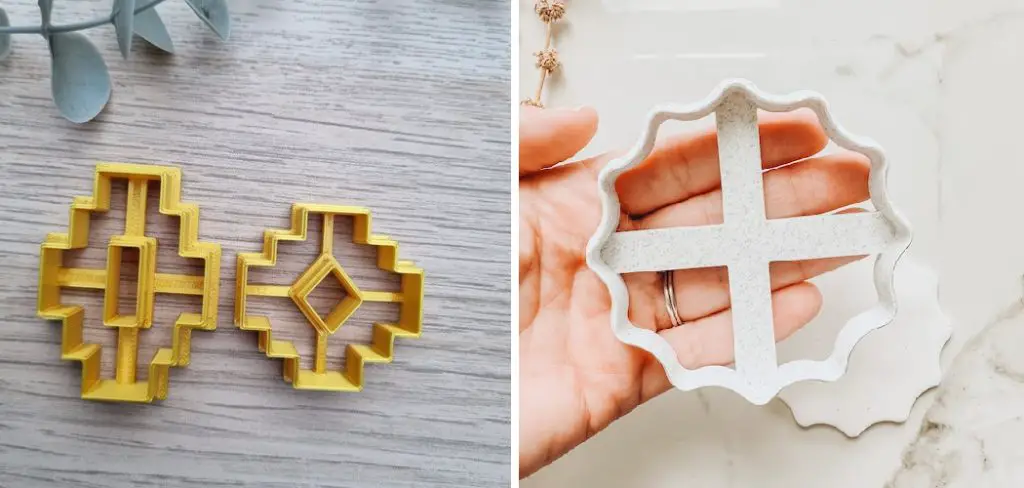
Can You Make Clay Cutters?
If you have ever worked with clay, you know how crucial it is to have the right tools to create the perfect shapes and designs. One tool that is essential for any clay artist is a clay cutter. While you can buy premade clay cutters at most craft stores, nothing beats the satisfaction of creating your own custom cutter.
Making clay cutters is a fun, easy project that requires only a few materials and can be completed in just a few hours. Plus, by making your own clay cutters, you have the freedom to customize the shapes and sizes to fit your unique creative vision. So why not try it and make your own set of clay cutters? The possibilities are endless!
Why Should You Make Clay Cutters?
If you’re someone who loves working with clay, then making your own clay cutter can be a game-changer. Clay cutters are an essential tool when creating intricate shapes and designs, and having one tailored to your specific needs can take your craft to the next level. Not only will creating a clay cutter be cost-effective, but it will also be a fun and rewarding experience.
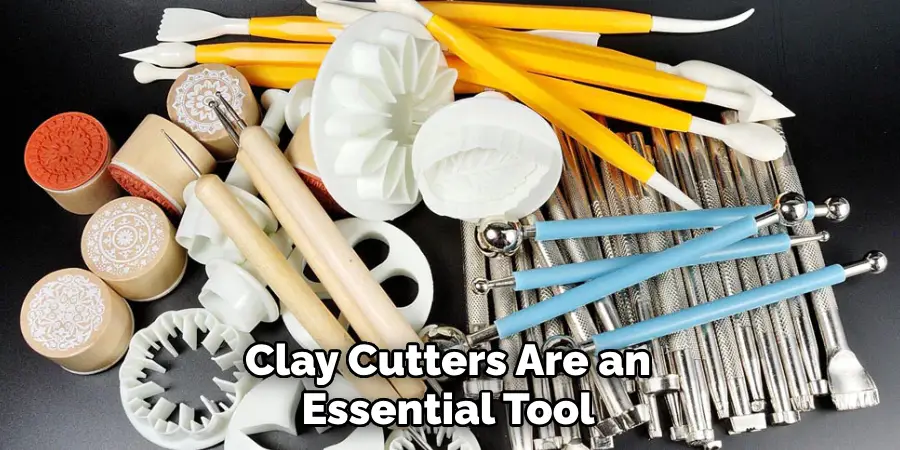
You’ll be surprised how easy it is to create a custom tool by using simple materials found around your home. Plus, the end result will be a unique cutter that no one else in the world has. So, take the plunge and create your very own clay cutter. It’s time to unleash your creativity and see what amazing creations you can come up with.
How to Make Clay Cutters: A Comprehensive Guide
Step 1: Gather Your Materials
Before you begin making your clay cutters, you need to gather all the materials required. You will need a few basic things like a pencil, ruler, corrugated cardboard, scissors, and glue. Additionally, you will also need aluminum or tin sheets; you can easily find these at a craft store or online.
Step 2: Create the Template
The next step is to create a template for your clay cutter. You can use a pencil and ruler to draw the shape you want on the cardboard. For example, if you want to make a circle-shaped clay cutter, you can trace a circle on the cardboard. You can also make a template using a computer if you prefer.
Step 3: Cut the Aluminum/Tin Sheets
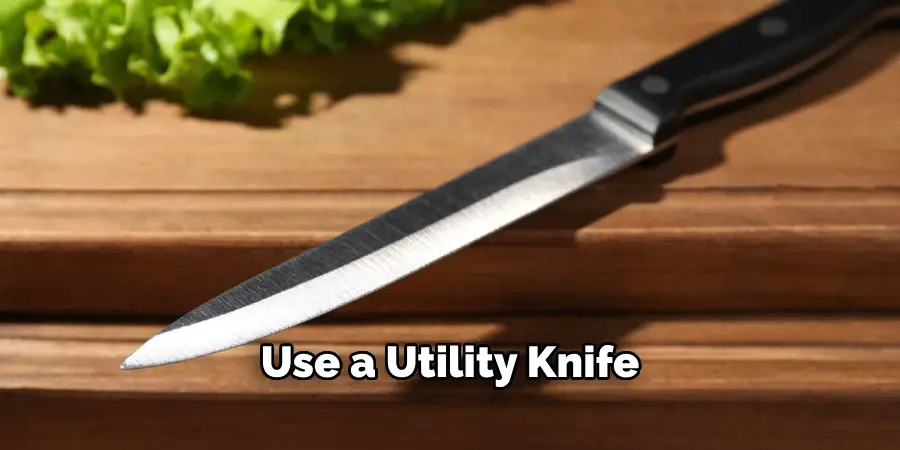
Now, it’s time to cut the aluminum/tin sheets. Place the template you created on the sheet and use scissors to cut around the edges. Make sure to cut through the sheet slowly and carefully so you don’t end up with rough edges. You can also use a utility knife for more precise cuts, but be careful not to cut yourself.
Step 4: Glue the Cutters
The next step is to glue the cutters together. To do this, simply place a small amount of glue on the inside of one of the cutters and place it on the other cutter. Make sure to line the edges up correctly. Then, apply pressure to seal the two cutters together. Leave the cutters to dry for a little while before using them.
Step 5: Test the Cutters
Once the glue has dried, it’s time to test your clay cutters. Roll out some clay and use your new cutter to create a shape. If you’re happy with the results, move on to the next step. If not, you can always make adjustments to your template and try again.
Step 6: Decorate Your Cutters
Now that you have your basic cutters, you can get creative and decorate them however you like. You can use paint, markers, or even clay to add designs and patterns to your cutters. This step is completely optional but can add a personal touch to your creations.
Step 7: Clean and Store Your Cutters
After using your clay cutters, it’s important to clean them properly before storing them away. Use warm water and soap to wash off any clay residue, and dry them thoroughly with a towel. Store your cutters in a cool, dry place for future use. If properly cared for, your homemade clay cutters can last long.
5 Considerations Things When You Need to Make Clay Cutters
1. Material
When making clay cutters, the first thing to consider is the material you will be using. The most common materials used for clay cutters are metal and plastic, but you can also use wood or even recycled materials. Each material has its own pros and cons, so it’s important to choose one that fits your needs and budget.
2. Size and Shape
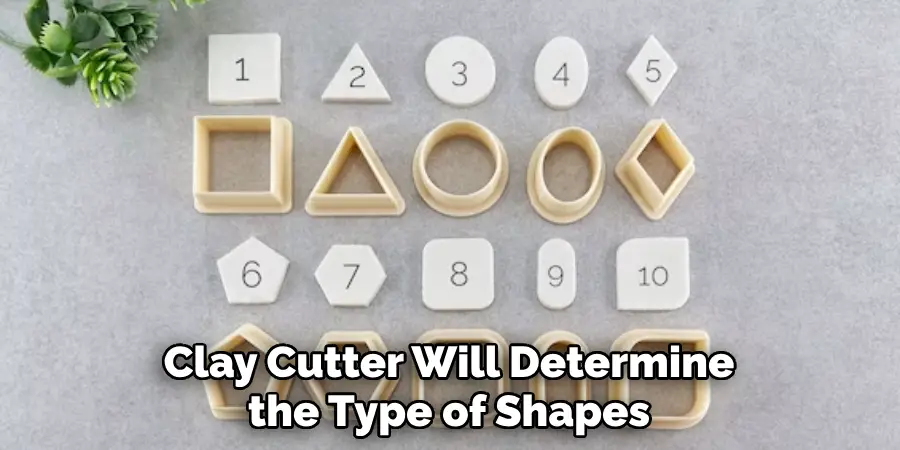
The size and shape of your clay cutter will determine the type of shapes you can create with it. If you want to make small intricate designs, a smaller cutter would be more suitable. On the other hand, if you want to create larger shapes or cut through thicker layers of clay, a larger cutter would be more appropriate.
3. Durability
Durability is another important consideration when making clay cutters. You want your cutter to last for multiple uses without bending or breaking easily. Metal cutters tend to be more durable than plastic ones, but they can also be more expensive.
4. Handle Comfort
Since you will be using your hands to press down on the cutter, it’s important to consider the comfort of the handle. Some handles have ergonomic designs that make them easier to grip and use for extended periods of time. It’s also important to check if the handle is securely attached to the cutting blade.
5. Cutting Blade Sharpness
The sharpness of your cutting blade will greatly affect how clean and precise your cuts are in the clay. Dull blades may result in jagged edges, while overly sharp blades may cause too much pressure on the clay and distort its shape. It’s important to find a balance between sharpness and smoothness when choosing or sharpening your cutting blade.
4 Benefits of Making Clay Cutters
1. Customizability
One of the main benefits of making clay cutters is the ability to create unique and customized designs. Unlike store-bought clay cutters, which often come in standard shapes and sizes, making your own allows you to tailor the design to your specific needs and preferences. Whether you want a particular shape or size for a specific project or simply want to add a personal touch to your creations, making clay cutters allows for endless possibilities.
2. Cost-effective
Another advantage of making clay cutters is that it can save you money in the long run. While purchasing pre-made clay cutters may seem convenient, they can also be expensive, especially if you need multiple sizes or shapes. By making your own clay cutters, you can use materials that are easily accessible and affordable, such as polymer clay or metal wire, and create as many different designs as you need without breaking the bank.
3. Durability
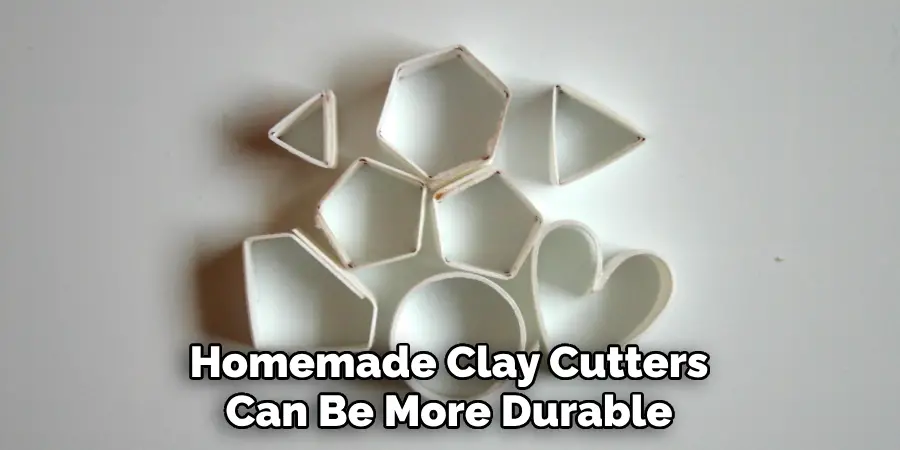
When properly made and cared for, homemade clay cutters can be more durable than store-bought ones. This is because you have control over the materials used and can ensure they are sturdy enough to withstand frequent use. Additionally, if one of your homemade clay cutters does break or become damaged, it is much easier and cost-effective to replace or repair compared to buying a new one.
4. Creative Outlet
Making clay cutters can also serve as a creative outlet for self-expression and relaxation. The process of designing and creating unique shapes can be therapeutic and satisfying for those who enjoy working with their hands. It also allows for experimentation with different techniques and materials, leading to endless possibilities for creativity in your crafting projects.
Some Common Mistakes People Make When Trying to Make Clay Cutters
Clay cutters are popular among pottery enthusiasts because of their versatility and ease of use. However, when making your own clay cutters, there are certain mistakes to avoid. One of the most common mistakes is using the wrong type of wire. Some wires are too thin or too thick, which can result in imperfect cuts or damage to the clay.
Another mistake is not securing the wire properly in the handle, which can result in the wire slipping or breaking off. Additionally, not taking the time to properly shape the handle can make the cutter uncomfortable to use. By avoiding these mistakes and taking the time to carefully create your clay cutter, you can create a tool that will enhance your pottery-making experience.
Conclusion
As you can see, making your own clay cutters is a pretty simple process. With just a few materials and some patience, you can create a range of clay cutters in different shapes and sizes. Making your own clay cutters allows you to create more unique shapes and saves you money in the long run. So, go ahead and get creative with your clay art and make your own set of clay cutters. Thanks for reading our post about how to make clay cutters. Happy crafting!

