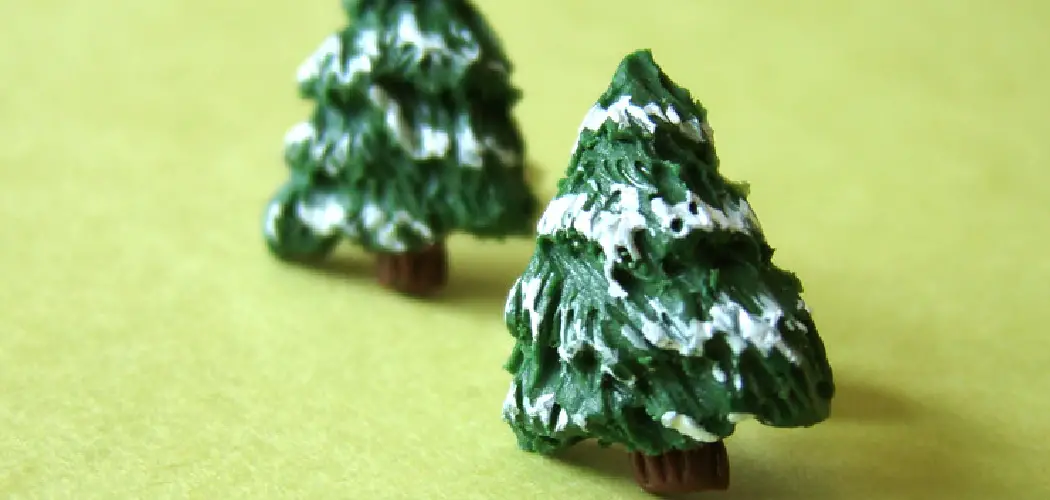
For many people, the holidays are about creating something beautiful and festive to decorate their homes. One of the best ways to do this is by making a DIY Christmas tree out of clay. Whether you are an experienced sculptor or a complete beginner, creating a clay Christmas tree is a fun and rewarding project you can enjoy with friends and family. In this blog post, we will show you how to make christmas tree with clay that you can use to decorate your home for the holidays.
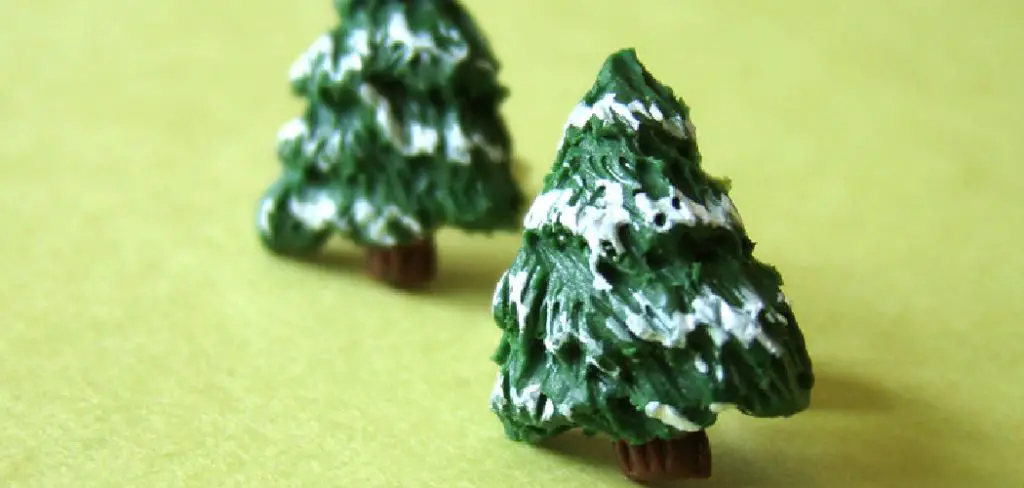
Can You Make Christmas Tree with Clay?
The holiday season is a time for joy, celebration, and a little bit of creativity. If you’re looking for a unique and handmade way to decorate your home this year, consider making a Christmas tree out of clay! This fun and festive craft idea is a perfect activity for all ages, and it doesn’t require any expensive materials or special equipment. With just a few basic tools and some clay, you can create a beautiful and personalized tree that will add a touch of holiday cheer to any room. So why not try it and see what kind of masterpiece you can create?
Why Should You Make Christmas Tree with Clay?
Crafting your own Christmas tree with clay is a one-of-a-kind DIY project that is both fun and rewarding. You should consider giving it a shot this holiday season for several reasons. A clay Christmas tree can be the perfect addition to your festive decorations and a standout piece in your home.
The beauty of working with clay is that it lets your creative juices flow and is a low-cost option that you can customize to your heart’s content. Besides, making your tree with clay allows you to enjoy quality time with your family or friends and create memories that will last a lifetime. Whether you’re an experienced artist or a novice, crafting a Christmas tree with clay is an activity everyone can enjoy and appreciate.
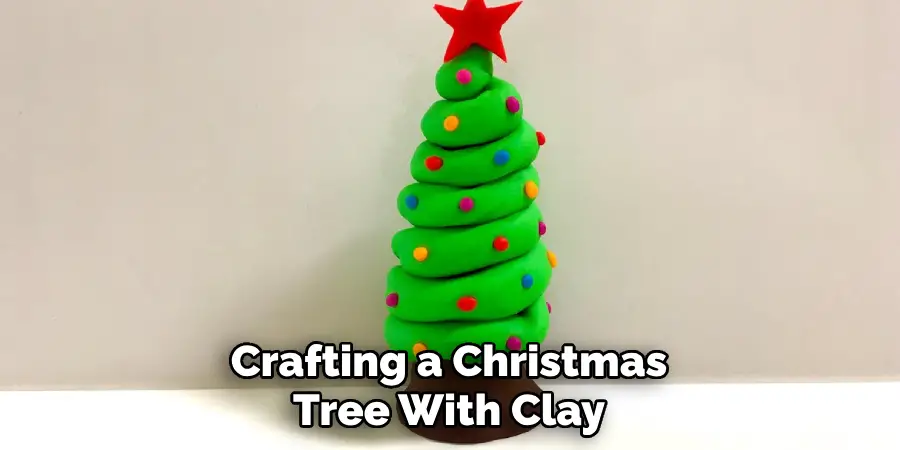
7 Steps to Follow on How to Make Christmas Tree with Clay
Step 1: Gather Your Supplies
To make a clay Christmas tree, you will need the following supplies:
- Oven-bake clay (in green and brown)
- A rolling pin
- A plastic or ceramic tree form
- A small star-shaped cookie cutter
- A small paintbrush
- Acrylic paint (in gold or silver)
- Ribbon or twine (for hanging)
Step 2: Create the Tree Form
To create your tree form, roll out a ball of green clay to a thickness of about 1/4 inch. Then, place the clay on a plastic or ceramic tree form and shape it into a cone. Use your fingers to smooth out any bumps or dents in the clay, ensuring a symmetrical cone. Once you are happy with the shape of your cone, use a small knife or toothpick to create small ridges that mimic the texture of branches.

Step 3: Add Branches and Ornaments
To add branches to your tree, roll out small balls of green clay and flatten them slightly. Then, use your fingers to press the flatted ends onto the ridges you created in Step 2. Continue adding branches until your tree looks full and lush. Next, create little star-shaped ornaments by using a small cookie cutter to cut out stars from brown clay. Use a paintbrush to add a layer of gold or silver paint to the stars, then press them onto the branches of your tree.
Step 4: Bake Your Tree
Once your tree is fully decorated, carefully remove it from the tree form and place it on a baking sheet. Bake it in the oven according to the instructions on your clay package. Once the tree is fully baked and cooled, add a ribbon or piece of twine to the top to hang it on your tree. If you wish, you can also add a small loop of twine to the top of the tree so that it can be hung as an ornament.
Step 5: Add Detailing
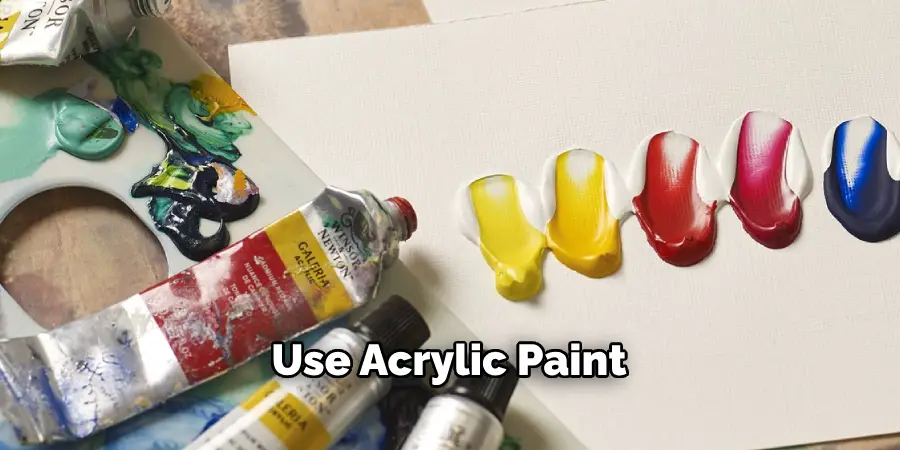
If desired, you can add additional detailing to your Christmas tree once it has cooled. Use acrylic paint or markers to add lights, ornaments, and other festive decorations to your tree. You can also add glitter or other embellishments for some extra sparkle.
Step 6: Make a Miniature Version
If you want to make a miniature clay Christmas tree, simply follow the same steps but use smaller amounts of clay and a smaller tree form. These mini trees can be used as tabletop decorations or given as gifts to friends and family.
Step 7: Get Creative
While the steps listed above are a basic guide, feel free to get creative and add your own personal touches to your clay Christmas tree. You can experiment with different clay colors, add additional decorations, or even try making different shapes for your tree form. The possibilities are endless, so have fun and make it your own! Happy crafting!
5 Considerations Things When You Need to Make a Christmas Tree with Clay
1. Type of Clay
The first consideration when making a Christmas tree with clay is the type of clay you will use. Various types of clay are available, each with its own properties and characteristics. For this project, it is recommended to use air-dry clay or polymer clay as they are easy to work with and do not require firing in a kiln.
2. Size and Shape
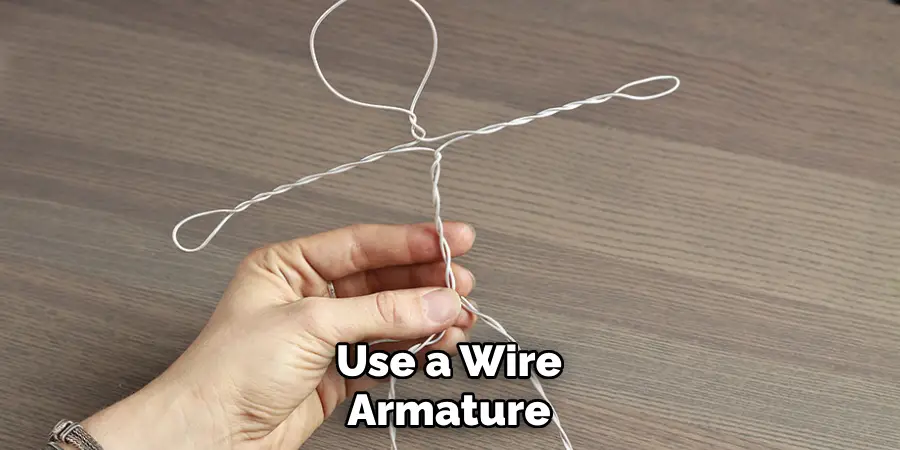
The size and shape of your Christmas tree will depend on your preference and available space. If you want a larger tree, you may need to use a wire armature for support. You can also choose between a traditional triangular shape or a more abstract design.
3. Tools
Having the right tools is crucial when working with clay. Some essential Christmas tree-making tools include rolling pins, sculpting tools, and cookie cutters for creating different shapes and textures. Having a damp cloth nearby is also helpful to keep your hands clean while working.
4. Decorating Techniques
Once your clay Christmas tree is formed, it’s time to decorate! You can use various techniques, such as painting with acrylics or glazes for a glossy finish. You can also add texture by imprinting designs or using small objects like beads or sequins.
5. Drying Time
The final consideration when making a Christmas tree with clay is the drying time. Air-dry clay typically takes 24-48 hours to dry completely, while polymer clay needs to be baked in an oven according to the manufacturer’s instructions. It’s important to allow enough time for your tree to dry before handling it or adding any decorations.
Benefits of Making Christmas Tree with Clay
Making a Christmas tree with clay is a fantastic way to get into the festive spirit while also enjoying a new crafting experience. One of the most significant benefits of using clay for this project is its versatility. Clay can be molded and shaped into any form or size, allowing you to create a unique and personalized tree to add to your holiday decor. In addition to being able to customize your tree, clay is an eco-friendly crafting material that is safe for you and the environment. So why not switch things up this holiday season and try making a Christmas tree out of clay? You’ll be amazed at the results!
4 Common Mistakes People Make When Trying to Make Christmas Tree with Clay
1. Not Kneading the Clay Properly
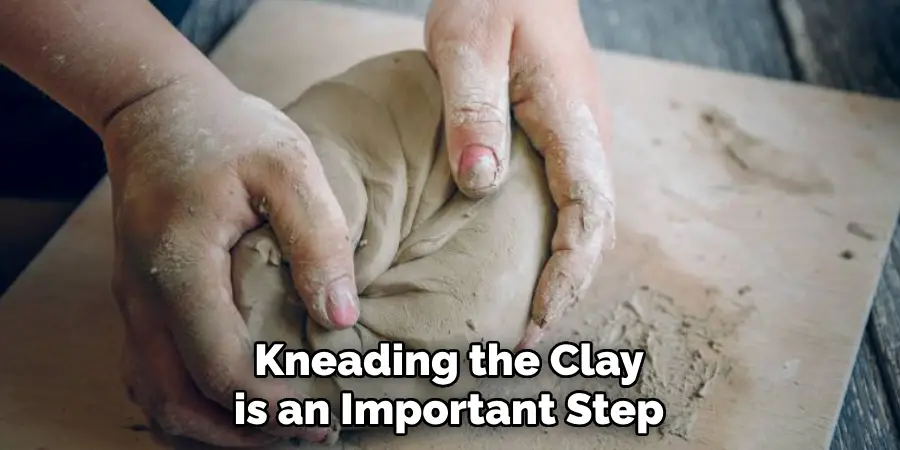
One of the most common mistakes people make when trying to make a Christmas tree with clay is not kneading the clay properly. Kneading the clay is an important step as it helps to soften and condition the clay, making it easier to work with. If the clay is not kneaded enough, it may be too stiff and difficult to mold into the desired shape.
2. Using Too Much Water
Another mistake people often make when working with clay is using too much water. While water can help to soften and smooth out the clay, using too much can cause it to become too wet and difficult to work with. It can also cause the clay to lose its shape or break apart.
3. Not Planning Ahead for Support
When making a Christmas tree with clay, planning ahead for support is important. This means creating a sturdy base or armature for your tree before adding layers of clay. Without proper support, your tree may collapse or become misshapen over time.
4. Rushing Through Steps
Lastly, one of the biggest mistakes people make when working with clay is rushing through steps to finish their project quickly. Clay requires time and patience to achieve the desired result. Rushing through steps such as shaping and detailing can lead to a sloppy and unfinished-looking final product. Take your time and pay attention to detail for a more successful outcome.
Conclusion
Creating a clay Christmas tree is a fun and easy way to add a personalized touch to your holiday decor. With just a few simple supplies and some creativity, you can make a beautiful, one-of-a-kind decoration that will look great in any room of your home. So grab some clay and get started today – we can’t wait to see what you come up with! Thanks for reading our post about how to make christmas tree with clay.
Expertise:
Crafting expert with a focus on innovative techniques and diverse materials.
Specialization:
- Textile arts (weaving, embroidery, and fabric dyeing)
- Woodworking and furniture design
- Mixed media and upcycling projects
Recognition:
- Featured in local art exhibits showcasing innovative craft projects
- Collaborated with community organizations to promote crafting workshops
- Received accolades for contributions to sustainable crafting initiatives
Mission:
- To inspire and empower crafters of all levels to discover their creative potential
- Encourages experimentation and self-expression through hands-on projects

