
Are you looking for a way to make lasting memories during the holidays? If so, look no further than making ceramic ornaments! Caring for and crafting these pieces can bring your family closer together – creating an experience that will last far past the holiday season. So, we need to learn How to Make Ceramic Ornaments. Whether you are new to ceramics or have been using them for years, this guide is sure to help you create special presents and decorations with lovely homemade touches. So gather around – get some clay, spark your imagination, and learn how to make ceramic ornaments with ease!
The holidays are quickly approaching, and this is the perfect time to create unique and adorable decorations for your home or tree. Ceramic ornaments make a beautiful addition to any holiday decorating scheme, but they can seem daunting if you’ve never made them before. Thankfully, creating ceramic ornaments is easier than it seems! In this post, we will be going over all the tips and tricks you need to know about how to make ceramic ornaments!
Benefits of Making Ceramic Ornaments
1. Looks Aesthetic
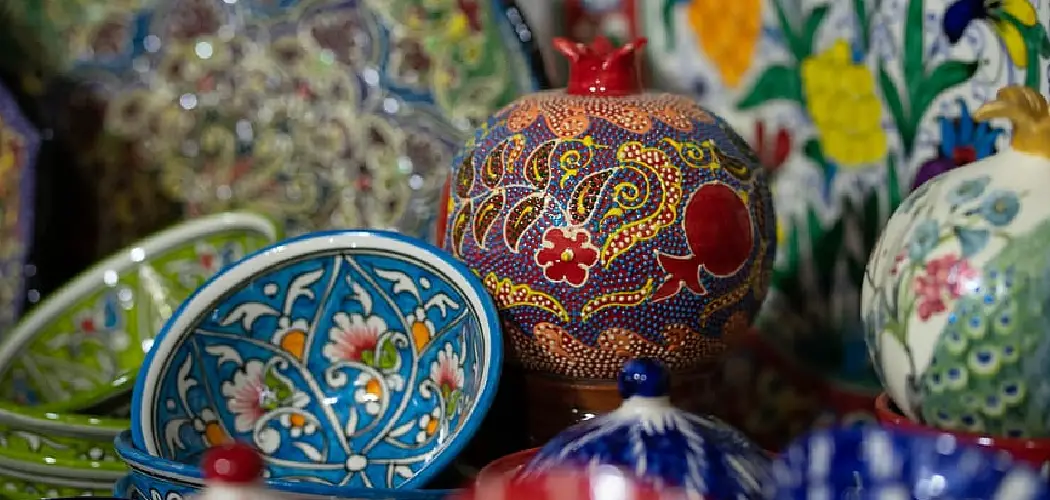
One of the reasons why people choose to make ceramic ornaments is that they look great in a variety of settings. Whether it’s a tree in your living room or an outdoor garden feature, these pieces can add aesthetic and visual interest to any space. Plus, you get the satisfaction of knowing that you made something beautiful with your own hands!
2. Perfect Gift Idea
Making ceramic ornaments makes for a great personalized gift idea, and you can customize the design to suit the recipient’s tastes. You can get as creative as you want with it – try mixing different colors or adding unique embellishments like beads or sequins to make each ornament special and unique. Plus, the recipient will know how much work and care you put into it!
3. Fun Crafting Activity
Making ceramic ornaments can be a fun and enjoyable activity. It’s an opportunity to express your creativity while developing new skills along the way. Plus, kids love getting involved in making them, too – so it’s a great activity to do with the family.
4. Low Cost and Easy to Make
Another great thing about making ceramic ornaments is that it’s affordable and easy to do. You can use air-dry clay which is widely available in craft stores, and you don’t need any special tools or equipment either – just your hands and some imagination! Plus, if you make a mistake, you can always start again with fresh clay.
Overall, making ceramic ornaments is a fun and rewarding activity for all levels – from beginners to pros. It’s an opportunity to create something beautiful with your own two hands while exercising your creative muscles in the process. Plus, the end results make for stunning decorations or unique and thoughtful gifts! So why not give it a try? With a little bit of patience and creativity, you’ll be able to create beautiful ceramic pieces that you can be proud of.
How to Make Ceramic Ornaments in 5 Easy Steps
Step 1: Gather All The Materials:
The very first thing to do when making ceramic ornaments is to gather all the materials that you will need. This includes clay, a rolling pin, cookie cutters (to make shapes), glazes, and oven-safe molds. So make sure you have all the materials ready before starting.
Step 2: Roll Out The Clay:
Using the rolling pin, roll out the clay until it’s about 1/4 inch thick. This will make it easier to work with and form the shapes you want. You have to be very careful when rolling out the clay because if it’s too thin, it can break easily.
Step 3: Cut Out Shapes:
Using the cookie cutters, cut out various shapes from the rolled-out clay. You can make as many ornaments as you want! Make sure that you handle the clay carefully and don’t press too hard when cutting out the shapes.
Step 4: Bake The Shapes:
Now it’s time to bake the clay shapes in an oven-safe mold. Make sure that you preheat your oven before putting the mold in. This will ensure that the ornaments are baked properly and come out looking great.
Step 5: Glaze/Decorate The Ornaments:
Once the ornaments have cooled down, you can glaze them with various colors and decorations to add a unique touch. You can also use paints, markers, and other materials for decoration. Now your ceramic ornaments are ready to hang up!
Some Additional Tips to Make Ceramic Ornaments
1. Use a Soft-bristled Brush for Smoothing Out
This is very important when it comes to creating a finished product. A soft-bristled brush can help you get rid of any imperfections and create a smooth finish on the ornament. So make sure you are using a soft-bristled brush when smoothing out the surface of your ceramic ornament.
2. Use Sandpaper for a Smoother Finish
Sandpaper can be used to smooth out any imperfections on your ornaments and give them an even smoother finish. Make sure you are using sandpaper that is fine enough so it doesn’t damage the ceramic surface.
3. Invest in Quality Clay
When making ceramic ornaments, quality clay is key! Make sure to invest in high-quality clay that will stand up against the elements and that won’t crack or break. It will also be easier to work with and allow you to create more intricate designs.
4. Prepare Your Work Surface
When you are working with ceramic clay, it is essential to make sure your work surface is properly prepared. Make sure it is clean and completely dust-free so that the clay will adhere to it properly and not create any air bubbles when drying.
5. Use Glaze for a Shiny Finish
Adding glaze to your ceramic ornaments is a great way to give them a shiny and polished look. Make sure you are using the right kind of glaze that won’t damage the clay and make sure you apply it properly so it gives off the desired finish.
Frequently Asked Questions
What Precautions Should I Take When Making Ceramic Ornaments?
It is important to take safety precautions when making ceramic ornaments. Wear protective eyewear, use an apron and gloves to protect your clothing, and work in a well-ventilated area. Make sure that all tools and surfaces are clean so that the pieces will adhere properly. Always keep your hands away from the kiln and never leave it unattended.
What Is Kiln Firing?
Kiln firing is the process of exposing ceramic pieces to extreme heat in order to harden them. The pieces are placed into a kiln, which is a specialized oven that can reach temperatures up to 2000 degrees Fahrenheit. The pieces are heated for a specific period of time in order to create the desired finish and strength.
What Decorative Techniques Can I Use When Making Ceramic Ornaments?
There are a variety of decorative techniques that can be used when making ceramic ornaments. You can paint with glazes, use stencils to create patterns or emboss the pieces with stamps. You can also use molds to form shapes and add texture to your ornaments. Additionally, you can layer different colors of clay together for a unique effect.
What Should I Do After Firing My Ceramic Ornaments?
Once the ceramic ornaments have been fired, you should allow them to cool for a few hours before handling them. Store the pieces in an airtight container or wrap them individually in tissue paper to prevent any damage. If desired, you can add additional embellishments such as ribbons or beads, before displaying the ornaments.
Do I Need Special Equipment To Make Ceramic Ornaments?
Yes, you will need some specialized tools and equipment to make ceramic ornaments. This includes a kiln, clay, rolling pin, cutting tools, and glazes. You may also want to invest in protective eyewear as well as an apron and gloves to protect your clothing while working. Additionally, you may need a variety of molds and stamps to create decorative patterns or textures on the ornaments.
What Type Of Clay Should I Use To Make Ceramic Ornaments?
The type of clay that should be used for making ceramic ornaments depends on the desired effect. Low-fire clay is best for hand-building techniques and is easy to work with. Mid-range clays can be used for molds and casting and are great for intricate details. For a glossy finish, high-fire stoneware or porcelain should be used as these clays need to be fired at higher temperatures.
Conclusion
After attempting to make a ceramic ornament for the first time, you may find out that it’s not as easy as it looks! Crafting these pieces of art with clay requires patience, skill, and an eye for detail, so don’t give up if your ornament isn’t perfect on the first try. But with practice, persistence, and dedication to learning all the tips and tricks about how to make ceramic ornaments, you will soon be creating beautiful ornaments that’ll become lasting gifts and mementos.
With the right tools, a bit of imagination and creativity, the possibilities of creating with clay are endless. So whether you just want to make one simple ornament or embark on a journey through many different craft projects utilizing clay, go forth now knowing how to make ceramic ornaments!