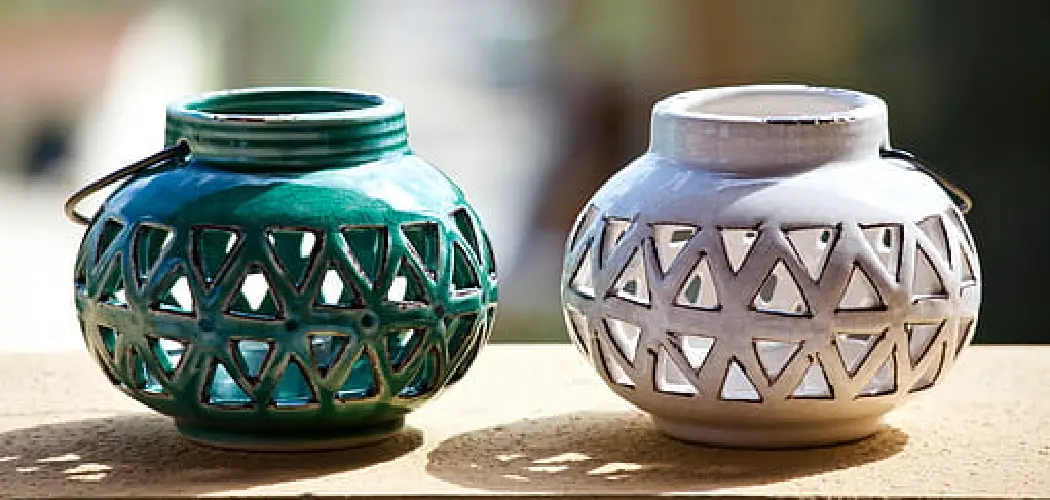
Embarking on the captivating journey of ceramic artistry, understanding the alchemy behind creating the perfect ceramic glaze adds a layer of finesse and individuality to your pottery endeavors. The art of making ceramic glaze is a harmonious blend of science and creativity, where precise formulations and artistic instincts converge.
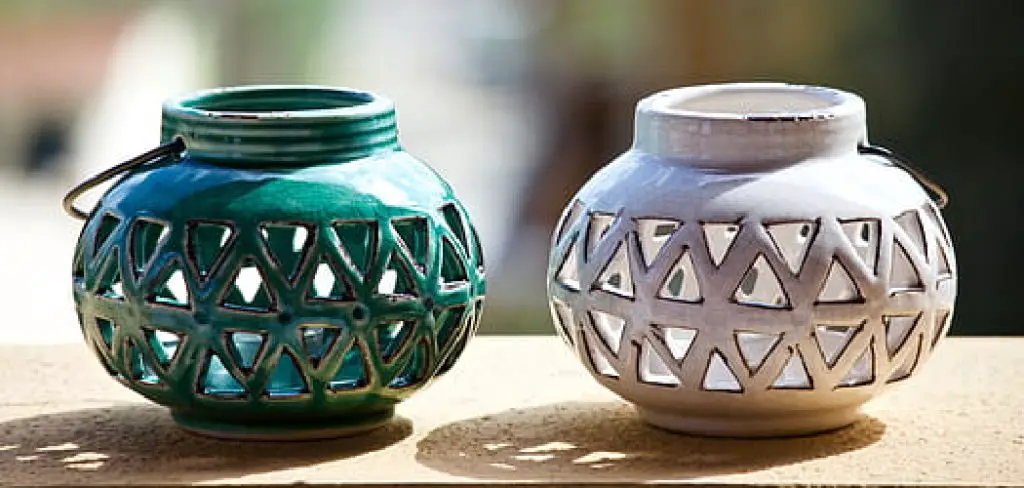
Crafting your own glaze opens a world of possibilities, allowing you to customize colors, textures, and finishes that breathe life into your pottery creations. Whether you’re a seasoned ceramicist seeking to expand your repertoire or a novice eager to delve into the intricacies of glaze formulation, this process promises a rewarding and fulfilling experience.
Join us as we unravel the secrets and techniques of how to make ceramic glaze, empowering you to imbue your pottery with a distinctive aesthetic signature and a unique vibrancy that captivates the eye and touch alike.
Importance of Ceramic Glaze
Ceramic glaze is an essential component in pottery making, as it not only adds aesthetic appeal but also provides a protective layer for the clay body. It plays a crucial role in creating unique and durable ceramic pieces that can be both functional and decorative.
Creating your own ceramic glaze allows you to have full control over the color, texture, and overall appearance of your final piece. With a basic understanding of the different types of glazes and their ingredients, you can experiment and create new glaze recipes to achieve your desired results.
Types of Ceramic Glazes
There are several types of ceramic glazes available, each with its own unique properties and characteristics. Some common types include:
- Glossy Glaze – This type of glaze produces a shiny and reflective surface, giving the ceramic piece a smooth and polished look. Glossy glazes are often used for decorative pieces as they tend to be less durable than other types of glazes.
- Matte Glaze – Unlike glossy glazes, matte glazes produce a non-reflective and slightly textured surface. They are usually less vibrant in color but have a more natural and earthy appearance.
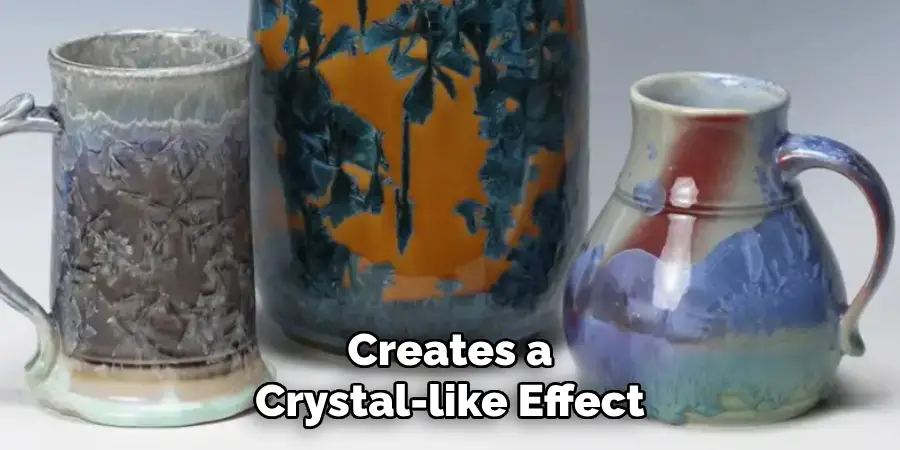
- Crystalline Glaze – This type of glaze creates a crystal-like effect on the surface of the ceramic piece, making each piece unique and visually stunning. However, producing crystalline glazes can be challenging as they require precise control over firing temperatures and cooling rates.
- Underglaze – As the name suggests, underglaze is applied underneath the glaze layer. It allows for intricate designs and patterns to be created on the surface of the ceramic piece.
- Overglaze – Overglazes are applied on top of the glaze layer, usually after the initial firing. They add a glossy finish and can create a range of colors and effects.
10 Methods How to Make Ceramic Glaze
1. Choose Your Clay
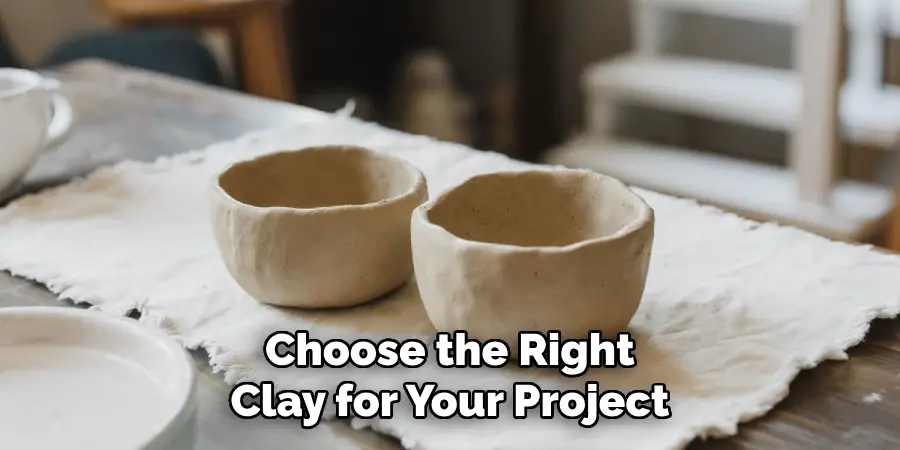
The first step in making ceramic glaze is to choose the right clay for your project. Different clays have different properties and will react differently to glazes, so it’s important to select a clay that is suitable for the type of glaze you want to use. For example, if you’re planning to use a high-fire glaze, you’ll need to choose a clay that can withstand high temperatures.
2. Prepare Your Clay
Before you can apply a glaze, you need to prepare your clay by shaping and drying it. This process may involve throwing on a pottery wheel, hand-building, or using molds. Make sure your clay is completely dry before applying any glazes. Otherwise, the moisture from the clay can affect the glaze’s consistency and application.
3. Clean Your Pieces
Before applying a glaze, make sure your pieces are clean and free from dust or debris. You can use a damp sponge or cloth to wipe down the surface of your pieces and remove any particles that may interfere with the glaze application. If your pieces are particularly dirty, you may need to use a mild soap and water solution. Once your pieces are clean, let them dry completely before proceeding with the glazing process.
4. Choose Your Glaze
There are many types of ceramic glazes available, including gloss, matte, satin, and textured finishes. Consider the desired look and function of your piece when selecting a glaze. For example, a functional piece like a mug or bowl may need a food-safe glaze that is also durable and easy to clean. You can also mix different glazes together to create unique effects.
5. Mix Your Glaze
If you are using powdered glazes, follow the instructions on the package to mix them with water or other additives as needed. For homemade glazes, carefully measure out all ingredients according to your recipe. It is important to mix your glaze thoroughly before using it. You can do this by shaking the container, stirring with a stick or brush, or using a paint mixer attachment on an electric drill for larger quantities.
6. Test Your Glaze
Before applying your chosen glaze to your final pieces, it’s important to test it on some scrap clay first. This will allow you to see how the color and finish will turn out on your specific clay and firing temperature. It’s also a good idea to test different thicknesses and application methods to see the effects they have on the glaze.
7. Apply the Glaze
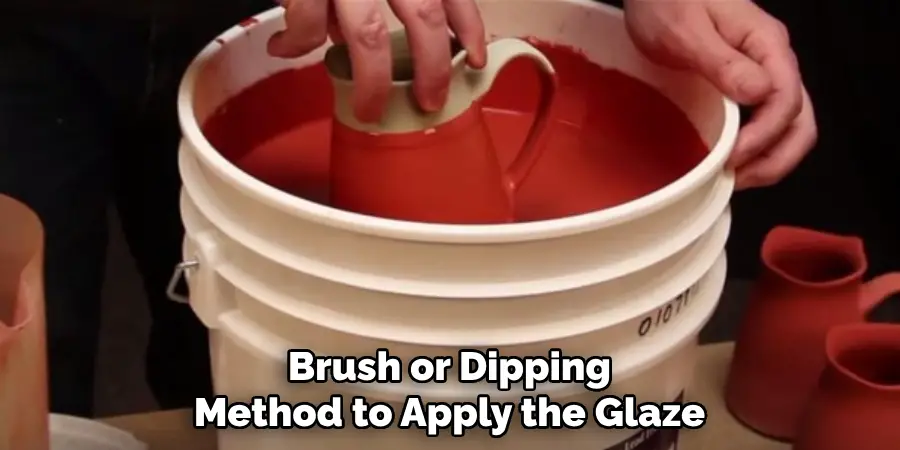
Using a brush or dipping method, apply the glaze evenly over the surface of your piece. Be careful not to leave any drips or missed spots as they can affect the final result. It’s important to note that the glaze will appear different when applied, but it will transform into its true color after firing.
8. Fire Your Pieces
Once your pieces are glazed and dry, they need to be fired in a kiln at high temperatures in order to melt the glaze and fuse it to the clay. Follow the recommended firing temperature for your specific glaze. It is important to use a kiln that has been calibrated and is in good working condition. If your kiln hasn’t been used for a while, it’s a good idea to do test firings before using it for your glazed pieces.
9. Consider Layering
For more depth and complexity, you can layer different glazes on top of each other or use techniques like wax resist to create unique designs and patterns. This will require experimentation and practice, but the results can be stunning.
10. Experiment and Have Fun!
Making ceramic glaze is a creative process, so don’t be afraid to experiment with different techniques and combinations of glazes. Have fun and enjoy the journey of discovering new ways to make beautiful ceramic pieces.
Things to Consider When Making Ceramic Glaze
Ceramic glazes are an essential element in the production of pottery and ceramic art. They add color, texture, and protection to the surface of clay pieces. While there are many commercially available ceramic glazes, making your own can give you more control over the final result. However, creating a successful glaze requires proper planning and careful consideration.
Here are some things to keep in mind when making ceramic glaze.
Safety First
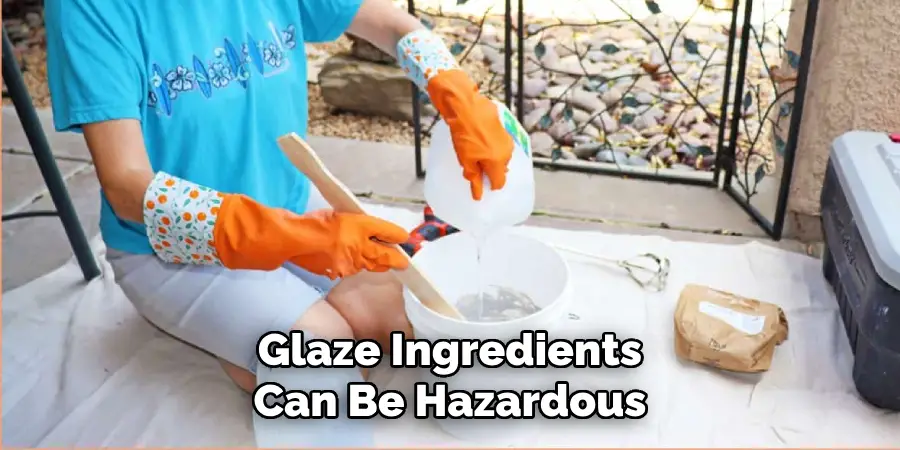
Before embarking on the journey of making your own ceramic glaze, it’s essential to note that glaze ingredients can be hazardous. Most glazes contain harmful substances such as heavy metals like lead and cadmium. So, ensure you wear protective gear like gloves and a mask while handling the ingredients. It’s also advisable to work in a well-ventilated area to minimize exposure to fumes.
Know Your Ingredients
The key components of any ceramic glaze are silica, alumina, and flux. Silica is responsible for forming glass during firing, while alumina acts as a stabilizer. Flux helps lower the melting point of the glaze mixture, making it more fluid. Other ingredients such as colorants and opacifiers can also be added depending on the desired result.
It’s crucial to understand the function of each ingredient so you can make informed decisions when formulating your glaze recipe.
Understand the Color Theory
Color is an essential component of ceramic art. Different glaze ingredients produce various colors when fired, and understanding the color theory will help you achieve your desired result. For instance, adding iron oxide to a glaze mixture will result in earthy tones, while cobalt oxide produces vibrant blues.
Test, Test, Test
One of the most important things when making ceramic glazes is testing. Even with precise measurements and calculations, it’s challenging to predict how a glaze will behave during firing. So, always test your glazes on small pieces of clay before using them on your prized pottery.
Conclusion
Congratulations! You have now reached the end of our ultimate guide on how to make ceramic glaze. From understanding the different types of glazes and their ingredients, to learning about the essential tools and techniques for successful application, we have covered everything you need to know to create beautiful, long-lasting glazes for your pottery pieces.
It may seem like a daunting process at first, but with patience and practice, you will become a master at making your own unique glazes.
So what are you waiting for? Go grab your materials and start experimenting with different recipes and color combinations. Remember to document your results and make notes along the way – this will help you perfect your glazes as well as inspire new ideas.

