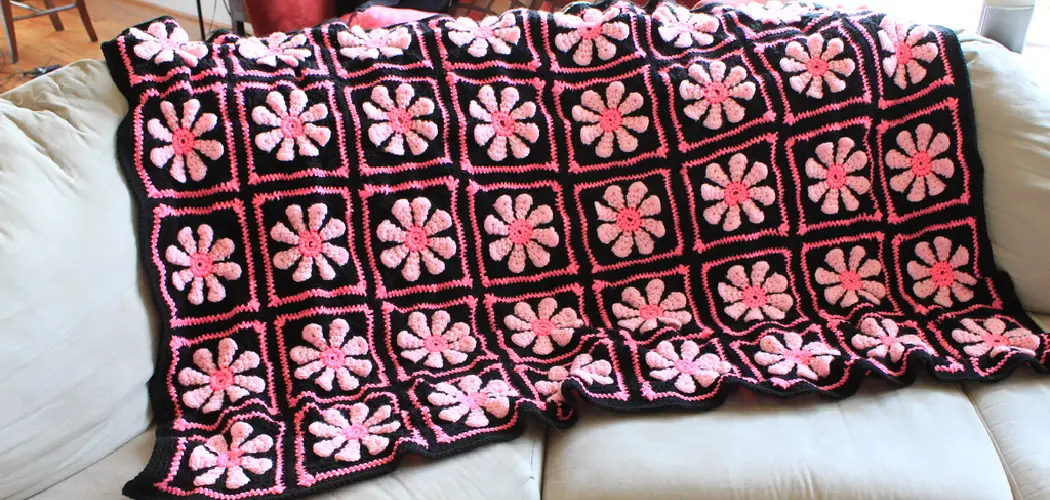
Are you looking for a cozy, creative way to spruce up your bedroom or living space? Look no further than the classic braided blanket—an easy-to-make and stylish craft that anyone can make in their own home. Not only are these blankets incredibly attractive and fun to look at, but they also provide excellent warmth and comfort.
With just a few materials required, minimal time commitment (219 stitches in total!), and simple instructions on how to make braided blankets, you’ll be ready to start crafting your very own unique piece of art in no time!
What is a Braided Blanket?
A braided blanket, also known as a plaited or woven blanket, is made by intertwining three long pieces of fabric together to form a strong and visually appealing braid. The braiding process creates unique patterns and textures that make each blanket one-of-a-kind.
These blankets can be used for decoration, and warmth, or even given as a thoughtful handmade gift. It’s also a great way to repurpose old fabric or clothing, making it both environmentally friendly and budget-conscious.
Safety First
Before we dive into the steps on how to make braided blankets, it’s essential to take a few safety precautions. Be sure to use sharp scissors when cutting fabric and always supervise children if they are involved in the crafting process.
You may also want to keep a first-aid kit handy, just in case. You wouldn’t want any accidents to spoil your fun! There may be a few sharp edges when cutting fabric and some stray pins along the way, so it’s important to stay safe while creating.
Needed Materials
- Fabric of Your Choice (1.5 Yards Per Strip)
- Broadcloth or Cotton Fabric (in Coordinating Colors/patterns if Desired)
- Scissors
- Sewing Machine (Optional)
- Needle and Thread
- Straight Pins
11 Step-by-step Guidelines on How to Make Braided Blankets
Step 1: Cut Fabric into Strips
Start by cutting your fabric into 4-inch wide strips, making sure they are all the same length. For a twin-sized blanket, you will need approximately 9-11 strips of fabric; for a queen-sized blanket, you will need around 13-15 strips; and for a king-sized blanket, aim for about 16-18 strips. You can use one type of fabric or mix and match different colors and patterns for a more unique look. It’s all up to you!
Step 2: Decide on Your Pattern
Take your cut fabric strips and arrange them in the order you would like them to appear in your blanket. Remember to keep the right side of the fabric facing up so that you can see the pattern (if there is one). It’s essential to have a clear understanding of your pattern before you start braiding. But don’t worry, if you’re feeling spontaneous, there’s nothing wrong with experimenting as you go along.
Step 3: Start Braiding
This is where the real fun begins! Take three fabric strips and start braiding them together, much like you would braid hair. You can braid tightly or loosely, depending on your preference. As you near the end of each strip, overlap a new one and keep braiding until all strips are joined together. This will create one long braided strip. It’s that simple!
Step 4: Secure Braids with Pins
Once your braid reaches the desired length, secure it at both ends with straight pins to prevent unraveling. This will also help when sewing the braided strips together. You can also use rubber bands or hair ties to secure the ends if you prefer. It’s all about finding what works best for you. But make sure to use pins with caution, so you don’t accidentally prick yourself.
Step 5: Repeat and Create More Braided Strips
Continue braiding the rest of your fabric strips in the same manner until you have enough braids for your desired size of blanket. And remember, if you run out of fabric strips, you can always cut more and continue braiding. It’s essential to have enough braided strips for your blanket to maintain a consistent pattern. This is where having some extra fabric on hand can come in handy.
Step 6: Lay Out Your Braids
With all your braided strips complete, it’s time to start laying them out on the floor or a large flat surface. Arrange them in the pattern you have chosen previously. This step is crucial for achieving the desired look of your blanket, so take your time and make sure everything is in the right place before moving on. You can also use this time to trim any uneven ends or secure any loose braids.
Step 7: Start Sewing
Now it’s time to start sewing your braided strips together. You can use a sewing machine for faster results, but hand sewing will work just as well. If you’re using a sewing machine, make sure to adjust the stitch length accordingly for a strong and durable bond.
Sew the braids together one by one, making sure to stitch as close to the edge as possible without cutting off any fabric. It’s recommended to use a thread color that matches your fabric.
Step 8: Add a Border (Optional)
For a more finished look, you can add a border around the edges of your blanket. Cut out two strips of broadcloth or cotton fabric that are slightly longer than the width and length of your finished braided blanket. Sew these strips onto the edges of your blanket, making sure to tuck in the unfinished edges for a clean look. You can also add additional rows of stitching for extra reinforcement if you wish.
Step 9: Flip Your Blanket
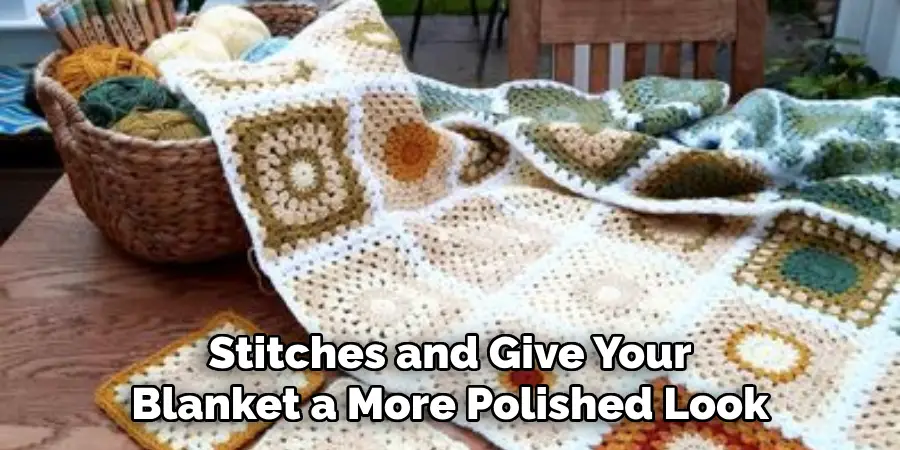
Once you have completed sewing all your braided strips together and added any desired border, it’s time to flip your blanket inside out. This will hide all of the stitches and give your blanket a more polished look. Make sure to take your time and double-check all seams for any loose threads or uneven stitches. Otherwise, your blanket may start to unravel over time.
Step 10: Secure the Ends
To prevent any fraying or unraveling, make sure to secure the ends of your braided strips with a few hand stitches. You can also add some decorative tassels or pom-poms if you want to get even more creative! It’s all about making your blanket unique and personal. Therefore, have fun with it!
Step 11: Enjoy Your New Braided Blanket
Congratulations! You have successfully made your very own braided blanket. All that’s left to do now is to enjoy its warmth and add a cozy touch to your living space. These blankets also make excellent homemade gifts for friends and family, so don’t be afraid to show off your new skills and give them as presents. Happy braiding!
Following these 11 easy steps on how to make braided blankets, you can now create your very own braided blankets. With a little creativity and some basic materials, you can make a one-of-a-kind piece that is sure to catch everyone’s eye.
Braided blankets are not only functional but also beautiful works of art that add a personal touch to any room. So don’t be afraid to experiment with different patterns and colors to make your braided blanket truly unique. Enjoy the process and have fun making your new cozy creation!
Do You Need to Use Professionals?
While it’s possible to make braided blankets on your own, you may also consider hiring a professional for a more polished result. Professional seamstresses and crafters have experience and expertise in creating high-quality blankets that can last for years to come. They can also offer insights and tips to help make the process easier.
However, if you’re feeling up for a creative challenge, making a braided blanket on your own can be a fun and rewarding experience. So whether you choose to do it yourself or hire a professional, the end result will be a beautiful braided blanket that you can cherish for years to come. Thus, by following these simple steps, anyone can make their very own braided blankets in no time! Happy crafting!
How Much Will It Cost?
The cost of making a braided blanket will vary depending on the materials and tools you use. However, it is generally an affordable craft project that can be done on a budget. You can repurpose old fabrics or shop for discounted materials to save money.
Additionally, investing in quality fabric and sewing tools may result in a longer-lasting and more professional-looking blanket. Overall, the cost can range from $20 to $100, depending on individual preferences and choices. So with a little creativity and resourcefulness, you can make a beautiful braided blanket without breaking the bank.
Frequently Asked Questions
Q1: Can I Use Different Types of Fabric for My Braided Blanket?
A1: Absolutely! You can mix and match fabrics to add more texture and variety to your blanket. Just make sure the width and length of your strips are consistent for a more consistent look.
Q2: How Long Will It Take to Make a Braided Blanket?
A2: The time it takes to make a braided blanket will depend on the size and complexity of your chosen pattern. On average, it can take anywhere from a few hours to a couple of days. But remember, the more you practice, the faster you’ll become!
Q3: Do I Need Any Special Tools or Equipment?
A3: No, you don’t need any special tools or equipment to make a braided blanket. However, having a sewing machine can speed up the process. Otherwise, all you need are fabric strips, pins or clips, some thread and a needle.A Basket That Falls Apart Once You Start Using It
Q4: Can I Make Larger or Smaller Braided Blankets?
A4: Yes, you can make braided blankets in any size you want. Just adjust the number of fabric strips and their length accordingly. Keep in mind that larger blankets may require more time and effort to complete.
Conclusion
All in all on how to make braided blankets, making a braided blanket is super simple and doesn’t take much time! Even if you’re new to crafting, braiding might be the perfect way to begin your journey into creating beautiful handmade items. It can be a fun activity for you and your family, or even just for yourself – so why not give it a try? The possibilities are only limited by your creativity.
Don’t forget to add some of your own style, flair, and personalization when making your own braided blanket; it will make it truly unique! So don’t hesitate any longer – grab some yarn and get started on creating your very own masterful masterpiece today!

