
Are you in search of a unique and beautiful gift for that special someone, or just looking to add something special to the decor of your home? An origami flower bouquet is an elegant way to create art while also expressing yourself. Not only can it be used as a present for someone who appreciates handmade crafts, but it can also make for gorgeous romantic decorations – neither time nor trends can ever strip away its charm.

If you’re new to making bouquets out of folded paper, don’t worry! We’ve put together this comprehensive guide with easy-to-follow instructions on how to make an origami flower bouquet so you will be able to craft wonderful floral arrangements with ease. Read on today and enjoy making these delightful works of art!
Supplies You Will Need to Make an Origami Flower Bouquet
- Origami paper (or any other type of paper that can be easily folded)
- Floral tape
- Floral wire or pipe cleaners
- A few stems of decorative filler (baby’s breath, grass, etc.)
- Scissors
Step-by-step Guidelines on How to Make an Origami Flower Bouquet
Step 1: Prepare the Origami Paper
Start by cutting your origami paper into 3” squares, then folding them in half diagonally to create a triangle shape. You will need multiple pieces of paper for this project, so cut and fold as many as you like to get the desired size of your bouquet. Preparing the paper this way will give you plenty of material to use for your origami flowers.

Step 2: Create the Origami Flowers
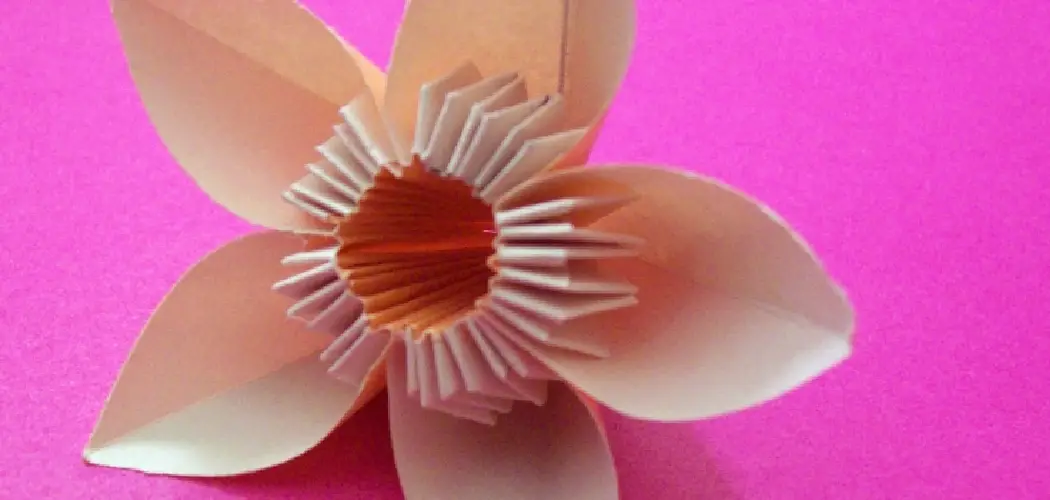
If you’re new to origami, don’t fear – it’s actually quite simple! Start by folding each triangle in half again diagonally. Then, bring the bottom right corner up and fold it into the center of the shape. You can now create “petals” by folding each side corner in towards the center as well, making sure all folds are crisp and even. Your origami flower should look like a miniature sunburst when you’re done – so pretty!
Repeat this process for however many origami flowers you would like in your bouquet.
Step 3: Arrange the Flowers
Now that you have all of your origami flowers ready, it’s time to assemble them into an eye-catching bouquet. Start by placing a few stems of decorative filler into the center of your bouquet, and using floral tape to secure them together. Then, arrange each flower around the center, using floral wire or pipe cleaners to secure them as desired. Don’t be afraid to play around with the placement of your flowers – experimenting with different arrangements can create a truly unique and personal work of art!
Step 4: Finishing Touches
Once you’re happy with your arrangement, it’s time to give it the final touches. Use the decorative ribbon to cover the floral tape and give the bouquet a clean, finished look – you can also add extras such as beads or charms for an extra special touch!
And there you have it – your very own origami flower bouquet! Now all that’s left to do is enjoy your beautiful creation. You can place it anywhere in your home for a beautiful piece of art, or present it to someone special as an unforgettable gift.

Additional Tips and Tricks to Make an Origami Flower Bouquet:
1. If you’re using colored paper for the petals, add some glitter or sparkles to the center of each flower as well. This will give the bouquet extra sparkle and shine.
2. For a more elaborate look, use patterned paper or add foil accents to the petals of your flowers.
3. You can also bend the tips of each petal upward for a fuller flower effect.
4. To make an even grander statement, create some larger origami flowers in addition to the smaller ones.
5. To keep your flowers from wilting, spray them with a mix of water and hairspray before arranging them in the bouquet. This will help to preserve their shape for longer periods of time.
6. For an especially unique look, use different colors and patterns of paper when making each flower. You can even alternate between traditional origami paper and patterned paper for a truly unique bouquet.
7. Don’t forget to add green leaves to your origami flower bouquet! This will not only give the arrangement depth and texture but also make it look more realistic.
8. You can also tie some coordinating ribbon around the stems of your flowers or wrap the entire bouquet in ribbon for an extra special touch.
9. Finally, for a truly impressive display, try arranging your origami flowers into a larger bouquet or centerpiece. This can be great for gifting to others or decorating your own home.
Happy folding! With these tips and tricks, you’re sure to create the perfect origami flower bouquet every time. Whether you’re looking for a gift or simply want to add some origami art to your home, you’ll be sure to make something beautiful with these instructions. Go ahead and give it a try today!

Things You Should Consider to Make an Origami Flower Bouquet
1. Choose the paper you’ll use for your bouquet. Origami paper is preferred because it’s thin and easy to fold, but if you don’t want to purchase specific paper, other types can be used too. Just keep in mind that thicker papers may not hold their shape as well.
2. Select an origami flower type or design for your bouquet. Choose something simple that can be easily folded and replicated multiple times, such as a tulip or rose.
3. Set aside a large enough workspace with plenty of space to work on your flowers. This will make it easier for you to move around and fold the paper without feeling cramped.
4. Gather the necessary tools to help you in making origami flowers. This could include a ruler, scissors, and glue.
5. Take your time when making the flowers to avoid any mistakes or crumpled paper. It’s important to be patient and careful with each step of the process so that you have beautiful origami flowers at the end.
6. When you’ve finished all of your origami flowers, arrange them into a bouquet. This can be done in any way you want – whether you make them all the same flower or mix different types together.
7. Secure the flowers to one another using wire and thread or glue. This will ensure that your bouquet stays together without falling apart.
8. You can also add small decorations such as beads or ribbons to the stems of the flowers for some extra flair.
9. Finally, enjoy your beautiful origami flower bouquet! With a bit of patience and skill, you can make something that looks just as stunning as any store-bought one.

Following these considerations can help to make your origami flower bouquet a unique and long-lasting gift. It’s an easy way to show someone you care, as handmade gifts are always appreciated. Plus, it can be fun and rewarding to craft something yourself! Try making one for any upcoming special occasion or just because. You’ll be happy with the results either way!
Frequently Asked Questions
How Long Does It Take to Make an Origami Flower Bouquet?
The time taken depends on the type of flowers you are making and how intricate the designs are. Generally speaking, a simple design can be made in around 15 minutes, whereas more complex models can require anywhere from 45 minutes to 2 hours or even longer.
What Type of Paper Should I Use?
For making origami flowers, it’s best to use paper that is thin and light. If you are using a patterned paper, choose one with small prints as this will allow for more intricate details. Plain-colored paper is also ideal; however, if you do want to use patterned paper, make sure that the pattern’s direction is always facing the same way.
How Do I Take Care of My Origami Flowers?
To make sure your origami flowers last for a long time, avoid putting them in direct sunlight or exposing them to moisture. If you need to clean them, carefully wipe each petal with a clean cloth and then let it dry. Additionally, it is best to store them in a box or container with a lid to prevent dust and other particles from settling on the paper.
Is It Possible To Make Origami Flower Bouquets for Special Occasions?
Yes! Origami flower bouquets make beautiful gifts for birthdays, anniversaries, weddings, graduations, and other special occasions. You can make the bouquet as big or small as you like and add ribbons to personalize it even further. Plus, they are a great way to show someone how much you care without spending too much money.
What Other Types of Origami Can I Make?
The possibilities are endless! You can make traditional origami models like cranes, boats, and boxes. Or, if you’re feeling creative, try making your own unique creations such as animals or flowers with multiple petals. The great thing about origami is that it’s a fun activity that can be enjoyed by people of all ages and doesn’t require any tools or materials. So, let your imagination run wild and start folding!
How Should I Display My Origami Flower Bouquet?
Once you’ve finished making your bouquet, you can display it in a variety of ways. You can use a vase for a more formal look or add some greenery for an outdoor feel. Or, if you’re looking to keep your origami flower bouquet as the focal point of the room, try a glass bowl or container. This will draw the eye to your beautiful creation and create a great centerpiece for any space.

Conclusion
These origami flowers are a great way to add a unique touch of creativity and craftsmanship to your home and can make a very thoughtful gift for someone special. With endless combinations of colors or patterns, the possibilities for your bouquet are endless! Now that you know how to make an origami flower bouquet, it’s time to start folding your own creative work of art. With patience and practice, you will be able to quickly create your own beautiful creations, perfect for any occasion.
So don’t wait – jump in and start folding your way toward a blooming rainbow of colors! Who knows, maybe one day you’ll be able to show off your skills at the next origami festival. All these tips on making an origami flower bouquet have equipped you with the knowledge necessary to be successful in crafting your own masterpiece!