
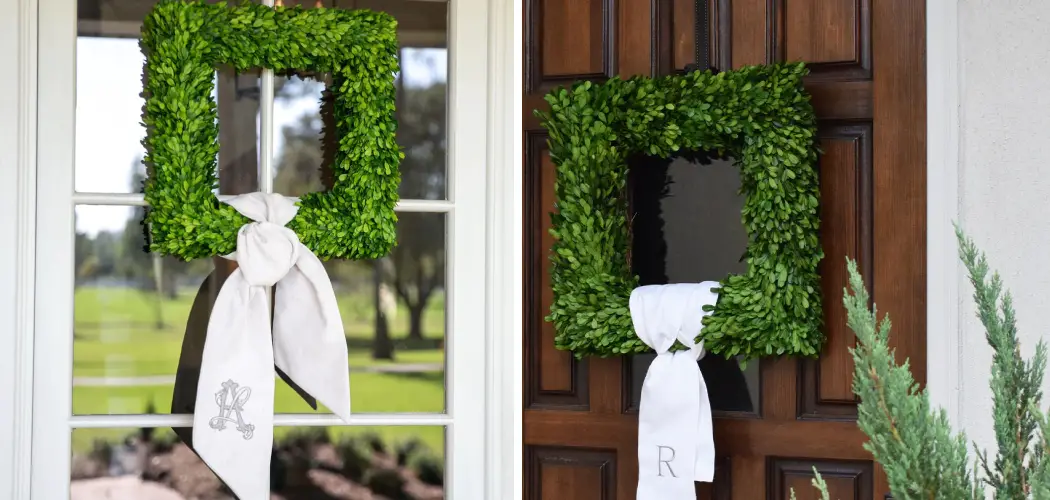
Wreaths have been used as decorative items for centuries and come in various types and styles. One great idea that has been trending lately is using a wreath sash. A wreath sash is a ribbon or fabric wrapped around a wreath to create a beautiful appearance.
It is an easy and inexpensive way to give your wreath an added touch of elegance. You can use a wreath sash for all sorts of occasions, from weddings to Christmas and everything in between.
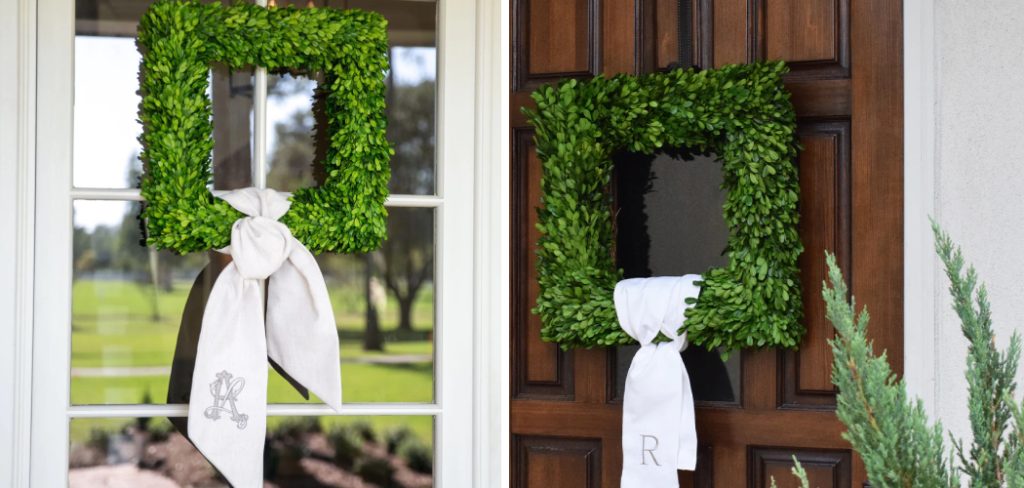
In this blog post, we will show you how to make a wreath sash that will take your wreath game to the next level.
Can You Make a Wreath Sash?
Fall is officially here, meaning it’s time to spruce up your front door decor. Nothing says “welcome” quite like a wreath, but have you ever considered making a wreath sash instead? It’s a fun and unexpected twist on the classic wreath and easier than you might think.
First, pick out a ribbon that matches your fall color scheme and style. Then, use wire to attach small fall-themed decorations like leaves, pine cones, or miniature pumpkins to the ribbon.
Finally, tie the ribbon into a sash and wrap it around your wreath or even hang it on its own. The possibilities are endless! With a little creativity and simple materials, you can create a wreath sash that will impress all your guests.
Why Should You Make a Wreath Sash?
Making a wreath sash is a perfect DIY project if you’re looking for a stunning, personalized accessory to add to your wardrobe. These sashes are not only gorgeous, but they’re also versatile.
You can wear them with a simple outfit to add a bold pop of color, or you can dress them up for a special occasion. Moreover, making a wreath sash is a fun and easy way to express creativity and showcase your unique style.
With a few simple materials and creativity, you can create a beautiful and eye-catching accessory that will get you compliments wherever you go. So why not try making a wreath sash for your next fashion project?
The Ultimate Guide to How to Make a Wreath Sash
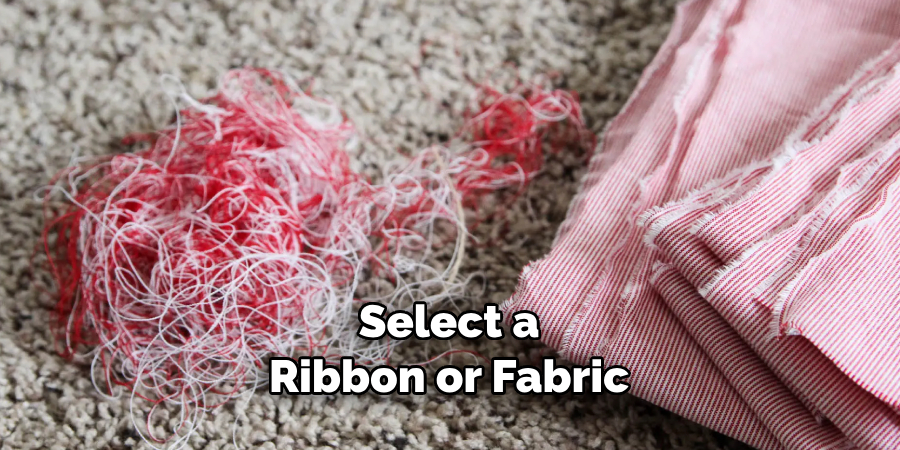
1. Choose the Right Materials
The first step in making a wreath sash is to choose the right materials. You will need a long ribbon or fabric (depending on your preference), a pair of scissors, and a hot glue gun. Select a ribbon or fabric that matches the color and style of your wreath. A wide ribbon will give your wreath a more prominent appearance, while a thinner ribbon will provide a more delicate touch.
2. Measure and Cut the Ribbon
Depending on the size of your wreath, you will need to measure and cut the ribbon accordingly. A general rule of thumb is to cut the ribbon or fabric to three times the circumference of your wreath. For example, if your wreath has a diameter of 12 inches, you will need to cut a 36-inch long ribbon. Make sure to measure accurately to avoid cutting too much or too little.
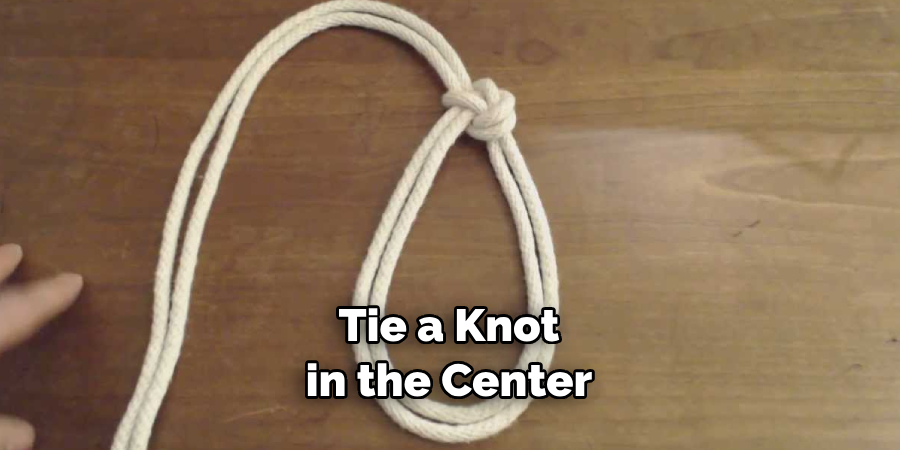
3. Create a Bow
Once you have cut the ribbon to the desired length, you can shape it into a bow. To create a simple bow, fold the ribbon into two equal-sized loops. Place one loop on the other, and tie a knot in the center. Fluff and adjust the loops to create a beautiful bow.
4. Wrapping the Wreath
After creating the bow, wrap the ribbon around the wreath. Secure one end of the ribbon to the back of the wreath with hot glue. Wrap the ribbon around the wreath, keeping the bow at the top center. When you reach the starting point, cut off any excess ribbon and secure it with hot glue.
5. Adding the Tail
To add a tail to your wreath sash, cut a ribbon or fabric and glue it to the back of the bow. The length and size will depend on your preference; you can make a long, flowing tail or keep it short and neat. Secure the end with hot glue for extra stability.

6. Finishing Touches
When you have finished adding the tail, it’s time to make any final adjustments. Ensure the bow and sash are securely attached to the wreath; if necessary, add a few more dabs of hot glue for extra security. You can also fluff up the loops or adjust the width of the ribbon as needed.
7. Hang and Enjoy
Once the sash is complete, it’s time to hang your beautiful wreath! Choose a spot in your home that will best display your handmade work of art – and admire it every day. With these steps, you can now easily create a unique and stylish wreath sash.
That’s it! You’ve now learned how to make a wreath sash with ease. Enjoy your handmade creation and get creative with different ribbon colors, textures, and patterns!
5 Considerations Things When You Need to Make a Wreath Sash
- The first thing you must consider when making a wreath sash is the fabric you want to use. There are a variety of fabrics you can choose from, including satin, organza, and tulle. You will also need to decide on the color of the fabric. White is a popular choice for wreath sashes, but you can also choose a color that coordinates with the colors in your wreath.
- The next thing you need to consider is the size of the sash. You will need to measure the circumference of your head to determine how long the sash needs to be. You will also need to take into account the width of the sash. A wider sash will be more visible, so you may choose a narrower sash if you want a more subtle look.
- Another thing to consider is how you want to attach the sash to your head. You can tie it in place or use bobby pins to secure it. If you are using bobby pins, use ones that match your hair color so they are less visible.
- You must also decide what decoration you want on your sash. Some people like to keep it simple with just a bow, while others like to add beads or other embellishments. If you add beads or other decorations, be sure they are securely attached so they do not fall off during wear.
- Finally, you must decide how to wear your sash. You can wear it like a scarf across your forehead or down around your neck. You can also drape it over one shoulder or across your back. The choice is up to you and what looks best with your outfit. With these five considerations in mind, you should be able to make a beautiful and unique wreath sash!
5 Benefits of Making a Wreath Sash
1. Wreath Sashes Are Inexpensive
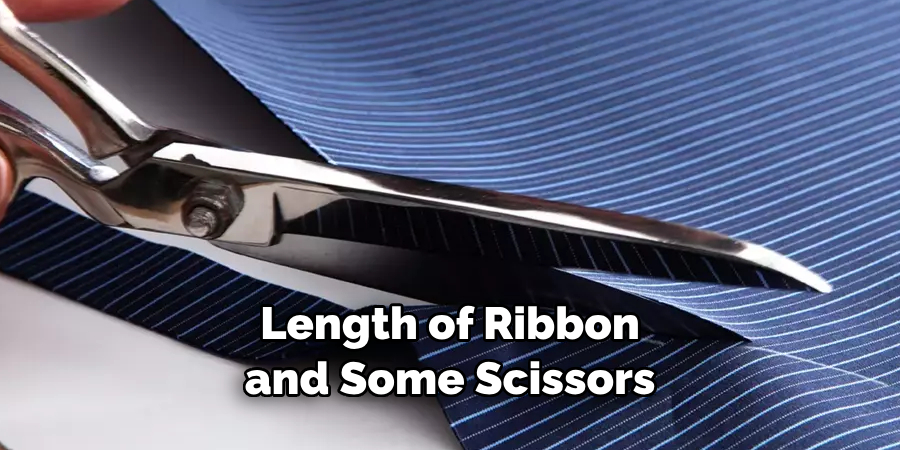
One of the primary benefits of making a wreath sash is that they are relatively inexpensive. All you need is a length of ribbon and some scissors, and you can make a beautiful sash in just a few minutes. You can also find ribbons in various colors and patterns to suit any decorating theme.
2. Wreath Sashes Are Easy to Make
Another benefit of making wreath sashes is that they are very easy to make. Even if you have never made a sash before, you should be able to do it easily. Simply measure out the length of ribbon you need, cut it to size, and then tie it around your wreath form. It’s as easy as that!
3. Wreath Sashes Can Be Customized
Another great thing about wreath sashes is that they can be customized to suit your needs. For example, if you want a longer or shorter sash, you only need to adjust the length of the ribbon you use. You can also add embellishments such as beads, sequins, or feathers to make your sash unique.
4. Wreath Sashes Make Great Gifts
If you want a unique gift idea, why not make a wreath sash? Wreath sashes make great gifts for family and friends, and they are sure to be appreciated. Best of all, since they are so easy to make, you can make them for anyone on your list!
5. Wreath Sashes Are Fun to Make
Last but not least, wreath sashes are fun to make! Whether you are making them for yourself or as a gift, creating a beautiful sash will surely be enjoyable. So go ahead and give it a try – you might just find that you love it!
Conclusion
There you have it! This a simple guide on how to make a wreath sash for any occasion. It’s a great way to add personality and sophistication to your wreath. Remember, feel free to experiment with different ribbons, fabrics, and decorative elements to create a one-of-a-kind sash that reflects your uniqueness. With a little creativity and effort, your wreath game will impress. Happy crafting!