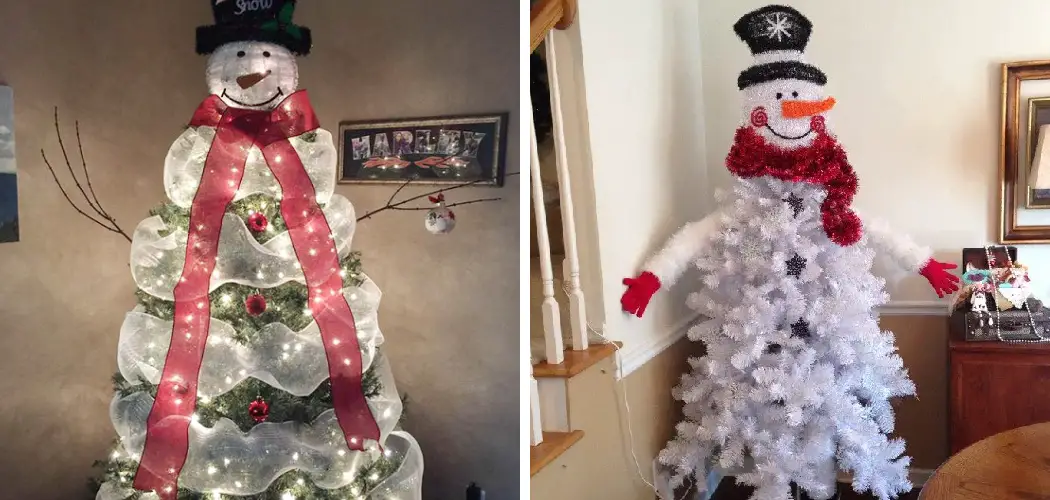
As the festive season approaches, creativity blooms, especially when it comes to holiday decorations. This year, why not bring a unique twist to traditional decorations by creating a Snowman Christmas Tree? This delightful project merges the charm of a frosty snowman with the warmth of a Christmas tree, making for an eye-catching piece that is sure to draw smiles and become a topic of conversation among guests.
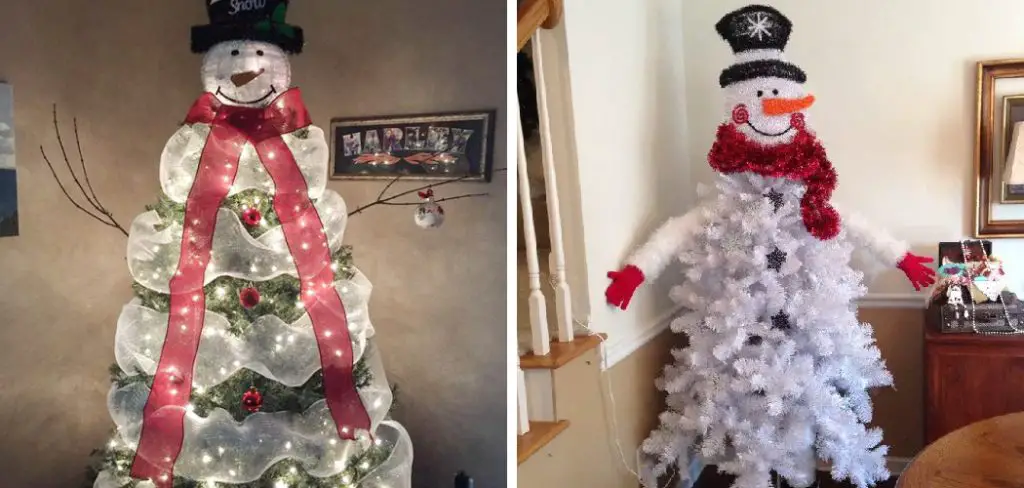
In this guide on how to make a snowman christmas tree, we’ll take you through the steps to transform a regular Christmas tree into a jolly snowman, infusing your holiday decor with whimsy and wonder. So, let’s get started!
Why Make a Snowman Christmas Tree?
There are many reasons to make a snowman christmas tree. For one, it’s a fun and unique way to bring the holiday spirit into your home. It adds a touch of personality and creativity to your decor, making it stand out from the typical store-bought decorations.
Not only is this project enjoyable to create, but it also serves as a great bonding activity with family or friends. You can involve everyone in the process and make it a group project, creating cherished memories in the process.
But perhaps the best reason to make a snowman christmas tree is that it’s budget-friendly. With simple materials and some DIY tricks, you can transform a regular tree into a festive snowman without breaking the bank. Plus, you can customize it to your liking, making it as simple or elaborate as you’d like.
Materials
Before you begin, make sure to gather all the necessary materials. You will need:
- A Christmas Tree (Either Real or Artificial)
- White Spray Paint
- Black and Red Felt Sheets
- Scissors
- Hot Glue Gun
- Buttons, Ribbon, or Other Decorations of Your Choice
- Optional: Snowman Hat and Scarf
12 Step-by-step Guidelines on How to Make a Snowman Christmas Tree
Step 1: Planning and Designing
Before you start flinging tinsel and popping baubles onto your tree, it’s crucial to plan your approach. A coherent design scheme can turn a good tree into an exceptional one. Begin by deciding on the color palette and style you want. Are you leaning towards a traditional look, with reds, greens, and golds? Or perhaps a winter wonderland of silvers and blues?
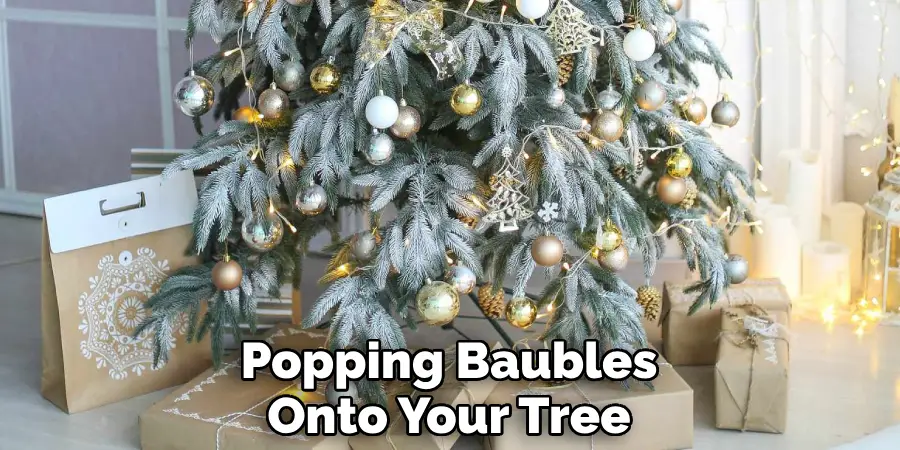
Next, figure out the size and type of tree that works best for your space. Consider the room’s dimensions and how much floor area you have to work with. Remember, larger trees can handle more decorations, but smaller trees can be just as beautiful with a more minimalist approach.
Step 2: Choosing the Right Christmas Tree
When it comes to selecting a tree for your snowman theme, there’s plenty to consider. A classic green pine is a timeless canvas, but a white-flocked tree can mimic the appearance of snow, providing an exceptional base for your snowman décor. Alpine or slim trees also work well, as their narrow profile allows you to play with height without overwhelming a space. Artificial trees are available in various shades and sizes, ensuring you can find one that perfectly fits your vision. You can also opt for a real tree, but keep in mind that it will need to be sprayed with white paint.
Step 3: Snowman Christmas Tree Decorations
Ornaments are the heart of your snowman theme. Start with traditional snowman ornaments, which can range from top hats and scarves to carrot noses and coal eyes. Keep an eye out for ornaments that reflect different parts of the snowman, like miniature brooms, winter-themed hats, and whimsical carrot noses. Mix in solid color bulbs in your chosen palette to maintain visual interest and balance. Although you can purchase ready-made snowman decorations, making your own adds a personal touch to your tree.
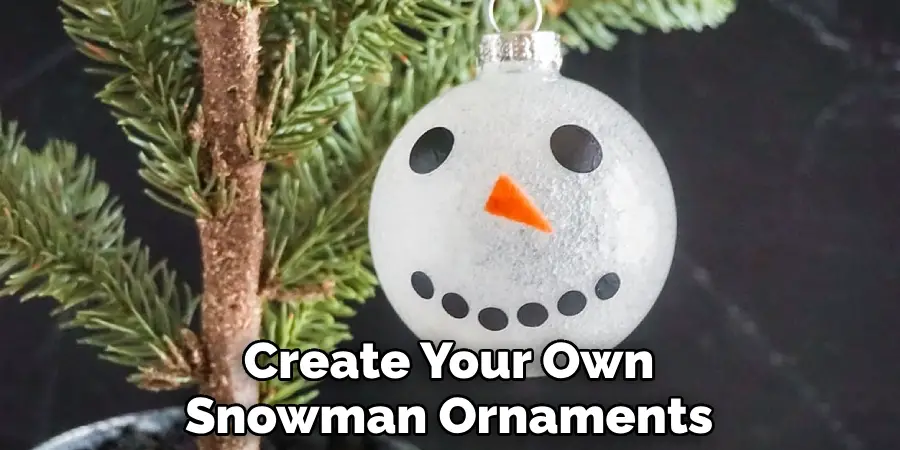
Step 4: DIY Snowman Ornaments
No snowman-themed tree is complete without a touch of the homemade. Get crafty and create your own snowman ornaments, such as painted baubles, fabric snowmen, or even photographs of real snowmen. This personal touch not only adds character but also makes your tree unique. You can also involve the kids in this step and make it a fun family activity.
But remember, keep the decorations lightweight so that they don’t weigh down your tree branches. The last thing you want is for your snowman to have a lopsided head! It’s also a good idea to make extras in case some get damaged or lost over the years.
Step 5: Tree Skirt and Base Decor
The area around your tree should complement the theme. A white or silver tree skirt can represent the snow, as can a faux fur or knitted option to add texture. Consider placing a collection of snowballs or artificial snow at the base to enhance the wintery look. If you have enough space, you can also create a snowman scene at the base of your tree with small figures or props. You can also wrap the base of your tree with white tulle or cotton batting to give it a fluffy snowdrift appearance. The options are endless!
Step 6: Building a Snowman Topper
Crowning the tree with a snowman topper ties the theme together. You have several options here, from a traditional snowman head with a top hat to a sparkly snowman star. You can even craft a mini snowman family to sit at the top. It’s all about creativity and bringing your vision to life. But remember to keep the topper light so that it doesn’t weigh down your tree. It should also be secure enough to withstand any movement or shifts in the tree. It’s best to use a hot glue gun for this step.
Step 7: Garland and Ribbon Techniques
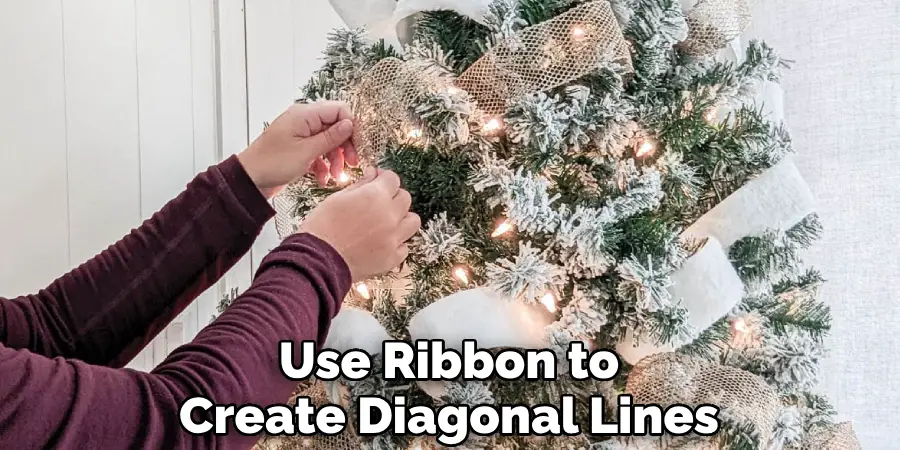
Garlands and ribbons provide structure to your tree and help guide the eye. Opt for snowflake-patterned or sparkly white garlands to simulate winter charm. Use ribbon to create diagonal lines from top to bottom or weave it around the tree like a candy cane for a more dynamic effect. The key is to use these elements sparingly so that they don’t overwhelm the rest of the decorations. It’s all about balance. You can also add in some faux snowball garlands for a whimsical touch. But be careful not to make it too busy.
Step 8: Lights Placement
Lights are the life of your tree, and for a snowman theme, less isn’t more. Heavily string your tree with white or blue lights to give the illusion of a snow-covered tree. Consider using different light materials such as icicle lights for a unique glow. But remember, always place lights before adding any decorations to avoid tangling and damage. Otherwise, you’ll have a hard time finding the end of your light string. The general rule is 100 lights for every foot of tree height. The more, the merrier!
Step 9: Adding Snowflakes and Snowy Accents
Incorporate snowflakes of various sizes and materials throughout the tree to bolster the wintry ambiance. Whether it’s crystal snowflakes dangling from branches or paper snowflakes hanging from wires, their delicate nature complements the robust form of the snowman.
If you have light-colored or white ornaments, try smudging them with a bit of spray paint for a snowy effect. You can also add other wintry accents such as pinecones or silver branches to enhance the overall look. Although, be mindful of the size and weight of these additions to avoid them overpowering the tree.
Step 10: Creating a Snowman Family Theme
Why stop at just one snowman? Transform your tree into a snowman shelter, with parents, kids, and perhaps even a few pets. Each ‘family member’ can have its own personality, complete with unique decorations that reflect their individuality. You can also add miniature props, such as a snowman sleigh or tiny snowman figurines, to enhance the family theme.
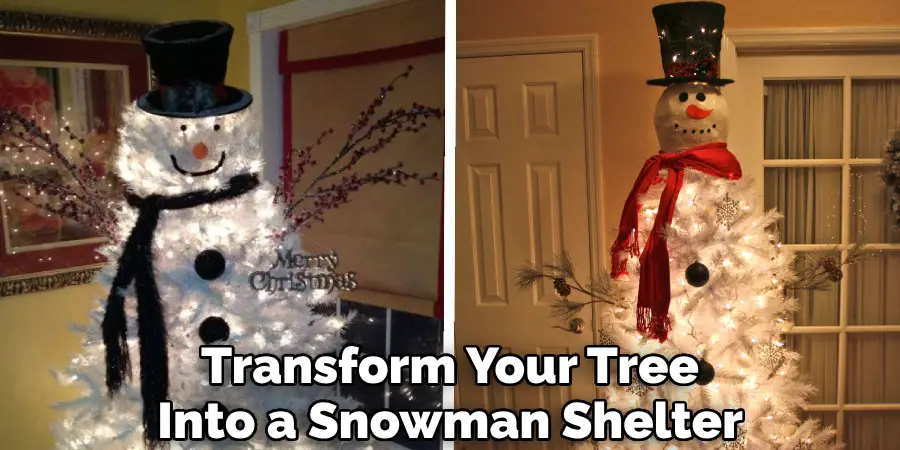
Get creative and have fun with it! The more unique and personal your tree is, the more memorable it will be for years to come. Remember, there’s no end to your imagination when it comes to decorating a snowman-themed Christmas tree.
Step 11: Tree Placement and Display
Once you’ve adorned your tree to full frosty splendor, give it the backdrop it deserves. Clear a space that allows for a full view of the tree, ensuring it’s the centerpiece and focal point of your holiday décor. Dim the lights and step back to take it all in. Your snowman Christmas tree is a celebration of the season’s magic and is sure to bring joy to all who behold it. But don’t forget to add some presents wrapped in coordinating wrapping paper and ribbon for an extra festive touch.
Step 12: Maintenance and Storage
When the holiday season comes to a close, carefully remove ornaments and decorations from your snowman Christmas tree. Store them in a durable container for future use. Consider investing in an artificial tree storage bag to keep your tree safe year-round. Proper cleaning and maintenance will help extend its life span, ensuring you can enjoy it for many winter seasons to come. The memories and joy that come with your snowman-themed tree are what make it truly special.
Following these 12 steps on how to make a snowman christmas tree will guide you toward creating your very own snowman Christmas tree. Remember to have fun and get creative with your decorations. Your snowman tree is sure to be a delightful addition to your holiday festivities! Happy decorating!
Troubleshooting and Common Issues
Uneven or Unbalanced Tree:
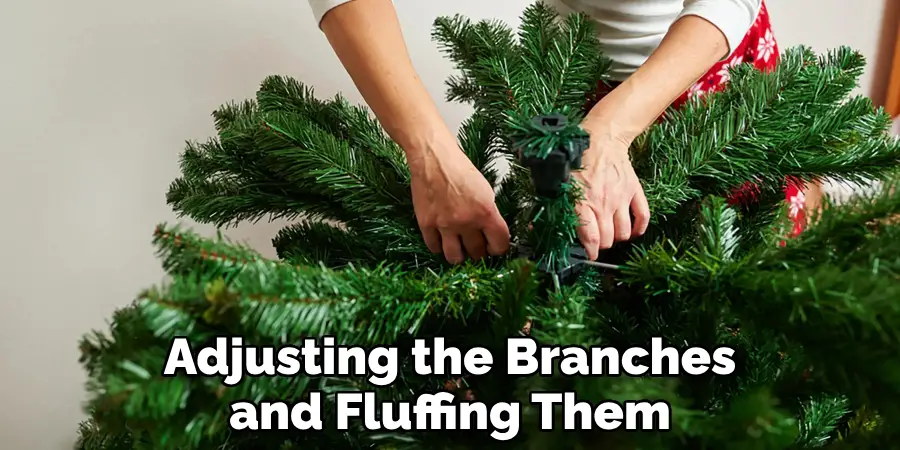
This can be solved by adjusting the branches and fluffing them out to create a more symmetrical shape. You can also use additional wire or string to secure any loose branches.
Lights Not Working:
Check for broken bulbs and replace them as needed. If the entire strand is not working, check the outlet and make sure it is properly plugged in. If the issue persists, consider purchasing new lights.
Ornaments Falling Off:
Use ornament hooks or strings to secure them onto branches instead of relying on the tree’s built-in hangers. This will help prevent ornaments from easily falling off.
Tree Tipping or Tilting:
Make sure your tree stand is sturdy and secure. You can also add weight to the base of the tree or secure it to a wall for added stability.
Flocked Snow Falling Off:
Gently shake the branches when setting up your tree to remove any loose flocking. Avoid touching or brushing against the flocking too much, as this can cause it to fall off more easily.
Pets and Small Children:
If you have pets or young children, consider using shatterproof ornaments or placing breakable ones higher up on the tree. You can also use a gate or barrier around the tree to prevent any accidents.
By following these tips and addressing any common issues that may arise, you can ensure your snowman Christmas tree stays looking its best throughout the holiday season.
Additional Tips
- Utilize Different Textures and Materials, Such as Faux Fur or Glitter, to Add Dimension to Your Snowman Christmas Tree.
- Don’t Be Afraid to Mix in Other Holiday Themes, Such as Winter Animals or Traditional Christmas Motifs, for a Unique Twist on the Snowman Theme.
- Consider Incorporating Real Branches or Pinecones Into Your Tree Decorations for an Added Natural Touch.
- To Save Time, You Can Purchase Pre-made Snowman Ornaments and Decorations to Add to Your Tree.
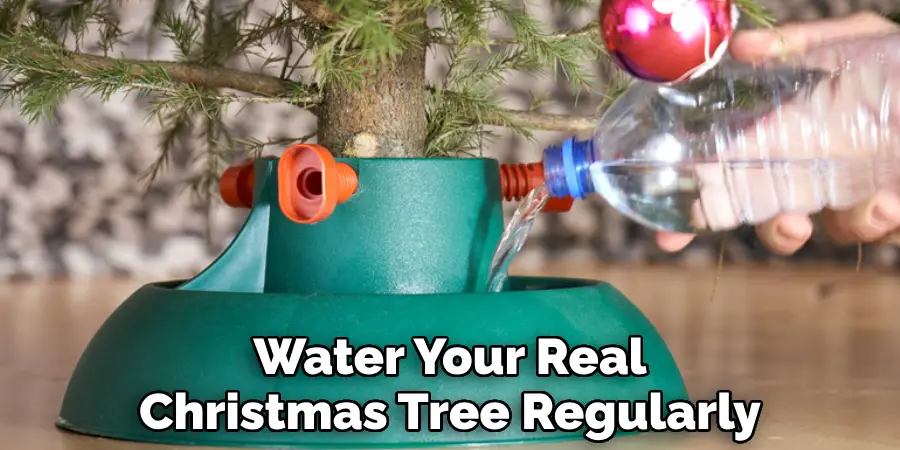
- Don’t Forget to Water Your Real Christmas Tree Regularly to Keep It Looking Fresh and Healthy Throughout the Season.
As you decorate your snowman Christmas tree, remember that it’s all about showcasing your own personal style and creativity. Don’t be afraid to think outside the box and add your own unique touches to make it truly special. Whether you opt for a classic snowman look or put a modern spin on it, the most important thing is to have fun and enjoy the holiday spirit. Happy decorating!
Examples and Inspirations
To further inspire your snowman Christmas tree creation, here are some examples and ideas from other crafters and designers:
- A Snowman Family-Themed Tree with Coordinating Snowman Ornaments and Decorations.
- An All-white Flocked Tree with Pops of Color Through Snowflake and Ornament Accents.
- A DIY Miniature Snowman Village as the Base of the Tree.
- An Elegant Silver and White Snowman Tree, with Sparkling Lights and Glittery Ornaments.
- A Rustic-Themed Tree, with Burlap Accents and Wooden Snowman Decorations.
Don’t be afraid to mix and match elements from different styles and incorporate your own personal touch. The possibilities are endless with a snowman Christmas tree! So go ahead, gather your supplies, and let your imagination run wild as you create a festive and whimsical tree that will surely bring joy to your home during the holiday season.
Frequently Asked Questions
Q: How Long Does It Take to Make a Snowman Christmas Tree?
A: The time it takes will depend on the size and complexity of your tree, as well as how much detail and customization you want to add. On average, it can take anywhere from 1-3 hours to decorate a snowman Christmas tree.
Q: Can I Use a Live Tree for My Snowman Christmas Tree?
A: Yes, you can use a live tree for your snowman Christmas tree. Just be sure to water it regularly to keep it looking fresh and healthy throughout the holiday season. It’s also important to note that live trees may not hold up as well for future use, so you may need to replace it each year.
Q: How Do I Keep My Artificial Snow from Falling Off?
A: You can use hairspray or a clear adhesive spray to help keep the snow on your tree. Just be sure to apply it in a well-ventilated area and allow it to dry before decorating.
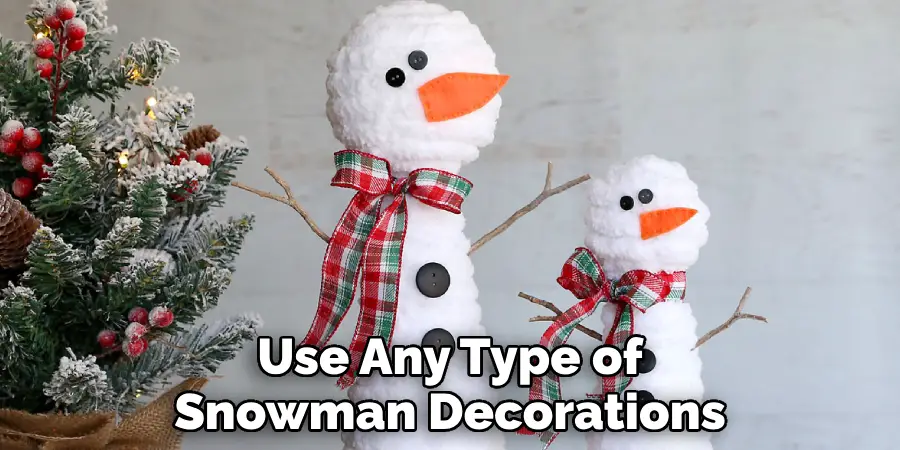
Q: Can I Use Any Type of Snowman Decorations?
A: Yes, you can use any type of snowman decorations you like! Whether they are store-bought or handmade, as long as they fit the overall theme of your tree, they will make a great addition.
Conclusion
As our guide on how to make a snowman christmas tree comes to an end, remember that creating a snowman Christmas tree is more than just an act of decoration—it’s an opportunity to build holiday memories and bring a whimsical winter wonderland into your home. Season after season, your snowman Christmas tree can evolve with new ornaments and ideas, making it a festive tradition that grows with you and your loved ones.
So, cherish the moments spent trimming the tree, witness the shimmering lights and glittering snow bring warmth to chilly evenings, and let your snowman-themed centerpiece be a testament to the creativity and joy of the holiday season. Happy holidays, and may your snowman Christmas tree fill your home with laughter and cheer!

