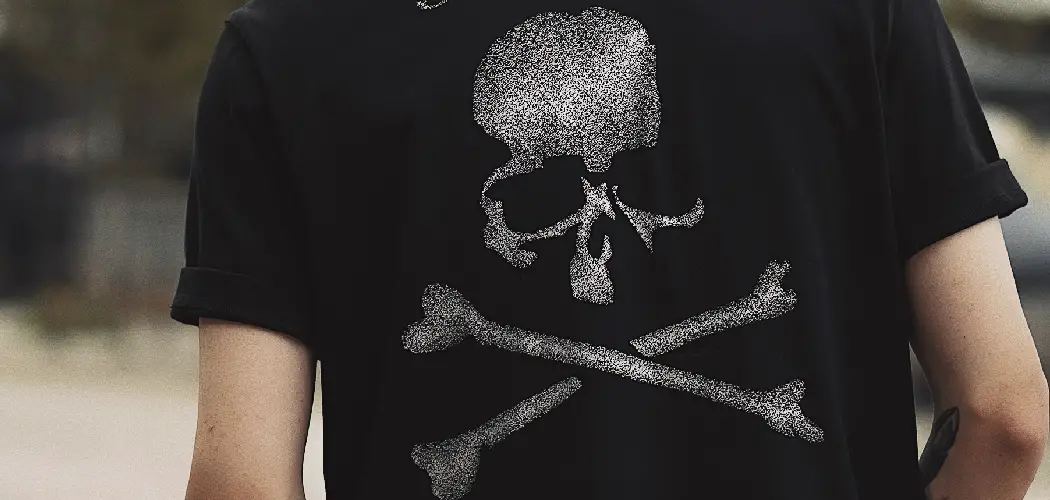
Do you want to add some unique flare to your wardrobe? Are you looking for ways to stand out and express yourself through fashion? If so, creating a skeleton t-shirt might just be the perfect project!
This guide will provide step-by-step instructions on how to make a skeleton t shirt that is sure to get some compliments. With a few basic supplies and a little bit of creativity, even novices can easily create their own custom designs using this technique. So put away your scissors, grab your art supplies, and let’s get started making stylish skeleton shirts!
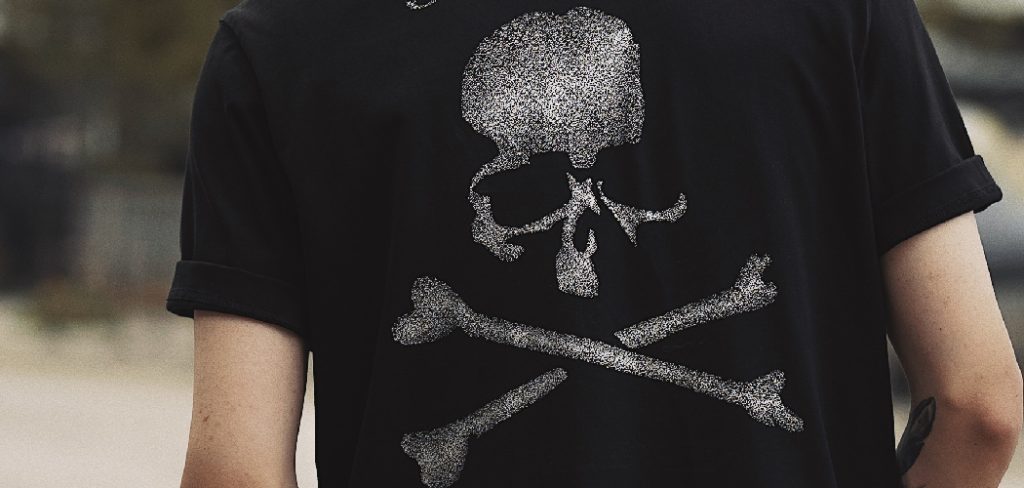
Supplies You Will Need to Make a Skeleton T-Shirt
- Plain white T-shirt
- Black fabric paint or a Sharpie marker
- White paper or cardstock
- Pencil and eraser
- Paintbrush (optional)
- Iron and ironing board
Step-by-Step Guidelines on How to Make a Skeleton T Shirt
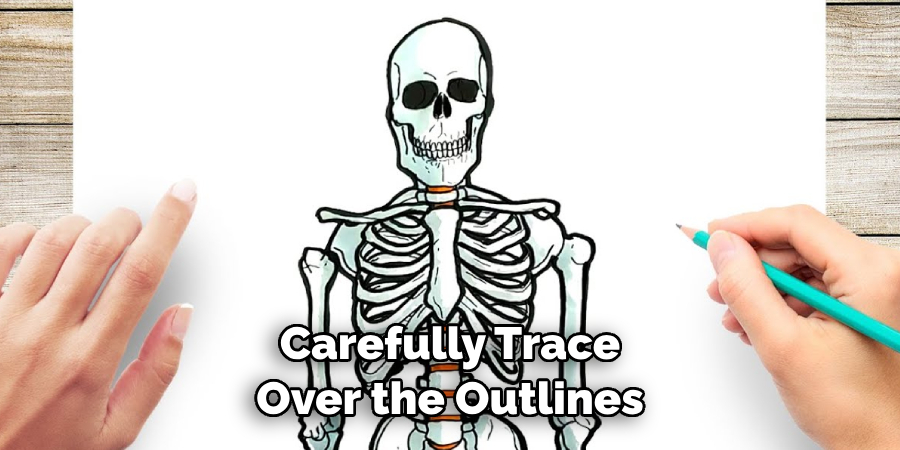
Step 1: Begin by Drawing the Outline of a Skeleton:
To begin, trace the outline of a skeleton onto white paper or cardstock. Make sure to draw lightly so that you can easily erase any mistakes. This will help ensure an accurate representation of the skeleton’s shape later on. So take your time and keep it as precise as possible!
Step 2: Transfer the Skeleton Outline to the Shirt:
Once you are satisfied with your skeleton drawing, place the paper on top of the t-shirt. Secure it in place by placing a thin cloth over it and carefully ironing over both layers. This will transfer the design onto the fabric and make it easier to trace. Make sure to use low heat or you risk burning the fabric.
Step 3: Trace the Skeleton Outline onto the Shirt:
Now, take your black paint or marker and carefully trace over the outlines of the skeleton that has been transferred to your t-shirt. If you are using paint, use a thin brush for more accuracy. Taking your time will help the design appear more professional and make it easier to clean up any mistakes. While tracing, be sure to stay within the lines of the skeleton image.
Step 4: Color in the Skeleton Design:
Once you have finished tracing the skeleton outline, color in the details such as bones, eyes, etc. Again, don’t rush through this step, and take your time to get a perfect look. Add some sparkle by using glitter glue or fabric sparkles for a magical effect. Choose whatever color scheme you like, and have fun with it!
Step 5: Let the Shirt Dry and Set:
Once your design is complete, let it dry for 24 hours before wearing or washing it. Make sure to read the instructions that come with your paint products so you know how long it will need to set properly. Once this is done, you are ready to show off your new skeleton t-shirt creation!
Making a skeleton t-shirt is a great way to add some fun and unique style to your wardrobe. With just a few supplies and a bit of creativity, anyone can create their own custom designs in no time. So get creative and express yourself with this fun project! Have fun!
Additional Tips and Tricks to Make a Skeleton T-Shirt
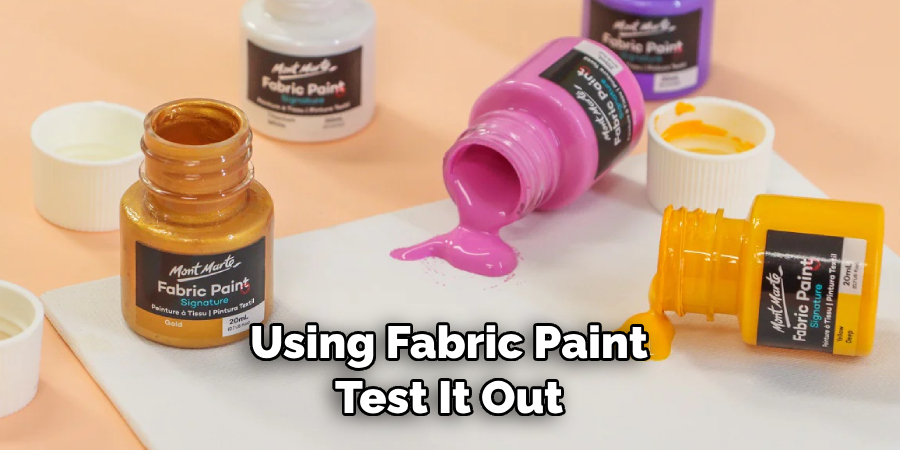
1. If you are using fabric paint, test it out on a piece of scrap fabric before applying it to the t-shirt. This will help you become familiar with how the paint handles and make sure you get the design just right.
2. If you are using an iron-on transfer to make the skeleton, make sure you follow the instructions carefully. It is important to use a pressing cloth and set the temperature of your iron correctly for the best results.
3. Make sure that the t-shirt and fabric paint or iron-on transfer are both clean before beginning your project. Dirty surfaces can affect the finished results.
4. If you are using fabric paint, consider using a stencil or template to help you make a symmetrical design. This will ensure that your skeleton looks even and professional.
5. For extra protection and durability, consider sealing the edges of your t-shirt with a clear sealant after it has been painted or ironed on. This will help prevent the design from fading over time.
6. Have fun with your skeleton T-shirt! Consider adding a few other spooky elements such as bats, spiders, or ghosts for an extra festive look.
Following these tips and tricks will help you create the perfect skeleton t-shirt for your Halloween costume! Have a spooky and safe time!
Things You Should Consider to Make a Skeleton T-Shirt
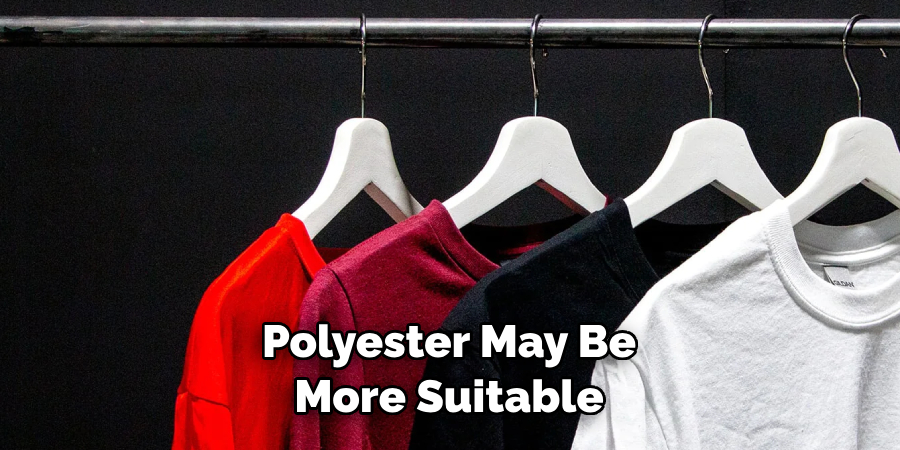
- Choose a comfortable fabric. Cotton is the most popular choice for t-shirts, but other fabrics like polyester may be more suitable if you’re looking for something more lightweight or durable.
- Pick a color that stands out. You want to make sure your skeleton design stands out against the background of the shirt, so choose a bright color like red or yellow.
- Consider the size of your design. If you’re making a skeleton t-shirt with an intricate design, be sure to measure it before printing so that it will fit on the shirt properly.
- Decide if you want to use screen printing or digital printing. Screen printing is often cheaper, but digital printing gives you more options for colors and designs.
- Choose a design that suits your style. Whether you go for a classic skeleton print or something more modern, make sure it reflects your personal style.
- Consider the placement of your design. If you want to show off the full skeleton design, consider placing it on the back of the shirt. For a subtler look, opt for the front of the shirt.
- Think about adding some extra features. You can add a pocket, contrast stitching or buttons to give your t-shirt an extra special touch.
- Choose the right fit. Make sure you get a good fit by measuring yourself and using size charts to find the perfect size for you.
These considerations will help you create a unique skeleton t-shirt that is both stylish and comfortable. With the right design, fabric, and fit, you’ll be sure to stand out from the crowd!
Once your t-shirt is complete, don’t forget to showcase it by taking lots of pictures. You can share them on social media or use them to inspire others looking for creative ideas. Enjoy your new skeleton t-shirt!
Frequently Asked Questions
What Type of Shirt Should I Use?
The best type of shirt to use is a 100% cotton T-shirt. Cotton is more breathable and comfortable than synthetic materials, but you can also use other fabrics depending on the look you’re going for.
Do I Need to Pre-Wash the Shirt?
Yes, it’s important to pre-wash the shirt before you begin. This will help ensure that the design adheres properly and won’t fade after multiple washes.
How Do I Make a Stencil?
If you want to make your own stencil, use an X-Acto knife or a craft cutter to cut out the desired design from a piece of paper. Trace this onto your shirt and then fill it in with fabric paint.
How Do I Apply the Paint?
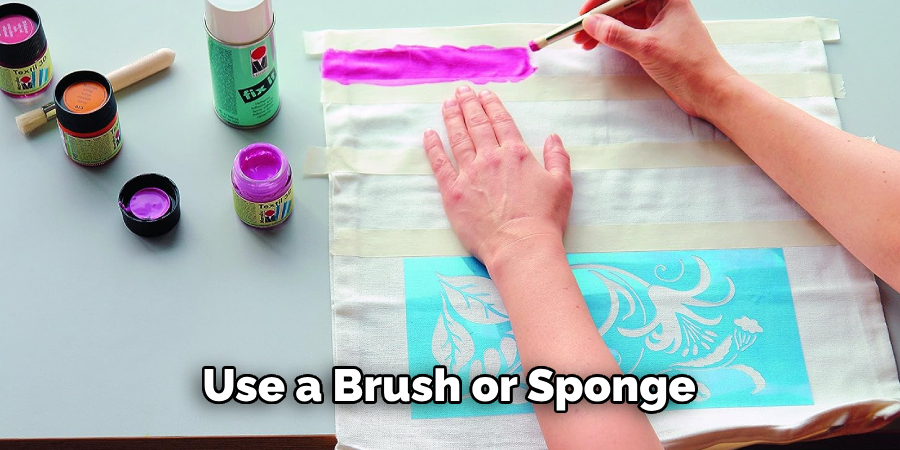
Once you have transferred your design onto the shirt, use a brush or sponge to apply the paint. Start with light layers and let them dry before applying additional coats. Once you are finished, set the design into place by ironing over it (on the reverse side of the fabric). To make sure that your design doesn’t fade or peel off, turn your shirt inside out when washing it.
How Can I Make My Design Stand Out?
Adding a few embellishments to your t-shirt can really make it stand out. Adding fabric gems, sequins, or rhinestones to the design is an easy way to give it some extra sparkle. You can also use glitter fabric paint for a shining effect. If you want to go all out, try screen-printing your design using a mesh stencil and special inks.
Conclusion
Making a skeleton t-shirt is a fun and creative way of getting your fashion fix. Not only does the shirt come with an interesting conversation piece, but the creative process will help sharpen your design skills. With the right materials, just about anyone can create a one-of-a-kind piece of clothing that they can be proud to show off in public!
Now that you’ve acquired some tips for crafting the perfect skeleton tee, it’s time to get sewing! Just remember – although it takes some patience, persistence, and skill to complete this project; creating something on your own has its rewards. So be sure to practice safety when using sharp objects and enlist the help of someone experienced with thicker materials.
Good luck and happy crafting! If you’d like additional resources for turning a skeleton t-shirt into reality and other awesome fashion projects, join our “How To Make a Skeleton T Shirt” group where you’ll find more helpful information shared by fellow crafters all around the world. I hope that this blog post helped you out – so why not give DIY crafting a try today? To start creating!
You Can Check It Out to Minion Shirt

