Silk screen printing is a versatile and creative way to add intricate designs to various surfaces, from fabric to paper and beyond. However, creating the perfect stencil for your silk screen project can often be a challenging and time-consuming task.

Fortunately, with the advent of cutting-edge technology and tools like the Cricut cutting machine, the process has become more accessible and efficient than ever before. In this article, we will delve into the fascinating world of silk screen stencils and guide you through the step-by-step process of how to make a silk screen stencil with Cricut.
Whether you’re a seasoned DIY enthusiast or a beginner looking to explore the world of screen printing, our comprehensive tutorial will empower you with the knowledge and skills needed to produce stunning and professional-quality stencils with ease.
Get ready to unlock your creativity and transform your artistic visions into reality as we embark on this exciting journey of silk screen stencil creation with Cricut!
What Is Silk Screen Stencils?
Silk screen stencils are a great way to add unique designs to fabric, paper, wood, and other materials. They’re relatively easy to make with the help of a Cricut machine – all you need is some transfer tape and the right kind of ink for your project! With this guide, you’ll learn how to make beautiful silk screen stencils quickly and easily.
First, you’ll need to select a design for your stencil. There are a lot of options, from intricate patterns to simple shapes – feel free to experiment! Once you have your design ready, open it up in the Cricut Design Space software and adjust any settings as needed.
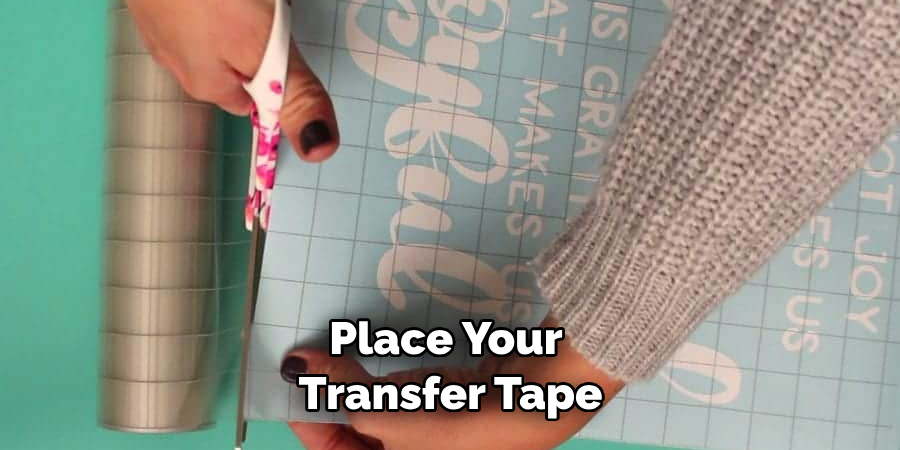
Next, place your transfer tape onto your cutting mat, smooth side down. Load your design onto the Cricut, and make sure your blade is set to “Cut” – this will ensure that the Cricut cuts through the transfer tape instead of just scoring it. Then start the cut!

The Role of a Cricut Machine in Creating Silk Screen Stencils
Creating a silk screen stencil with a Cricut machine can be an easy and cost-effective way of transferring images onto fabric. A Cricut machine is a type of cutting plotter, which utilizes computerized controls to cut out shapes from materials such as vinyl, paper, cardstock, or even fabric. This same process can be used to create custom stencils for textile printing.
When creating a silk screen stencil with a Cricut machine, the first step is to design your artwork on the computer using a vector graphics program such as Adobe Illustrator or Corel Draw. The artwork should be designed in reverse (i.e. printed onto the back of the material). Once the artwork is created, the Cricut machine can be used to cut out the design from a sheet of material such as vinyl or fabric.
The next step is to transfer the stencil onto the printing surface, which may require an adhesive spray. Once this step is completed, the stencil can be applied and left in place while ink is applied with a squeegee. After drying, the stencil can be peeled away to reveal the finished design.
10 Steps How to Make a Silk Screen Stencil with Cricut
Gather Your Supplies
To make a silk screen stencil with Cricut, you will need the following supplies: a Cricut machine, a cutting mat, silk screen fabric, transfer paper, and an inkjet printer. You may also want to have some scissors or an X-Acto knife on hand for more precise cuts.

Design Your Stencil
Once you have all of your supplies gathered, it’s time to create your stencil design in Cricut Design Space. You can either upload an existing image file or create your own design from scratch. Make sure that your design is cuttable and that all of the elements are connected so that they will be cut out as one piece.
Cut Your Stencil
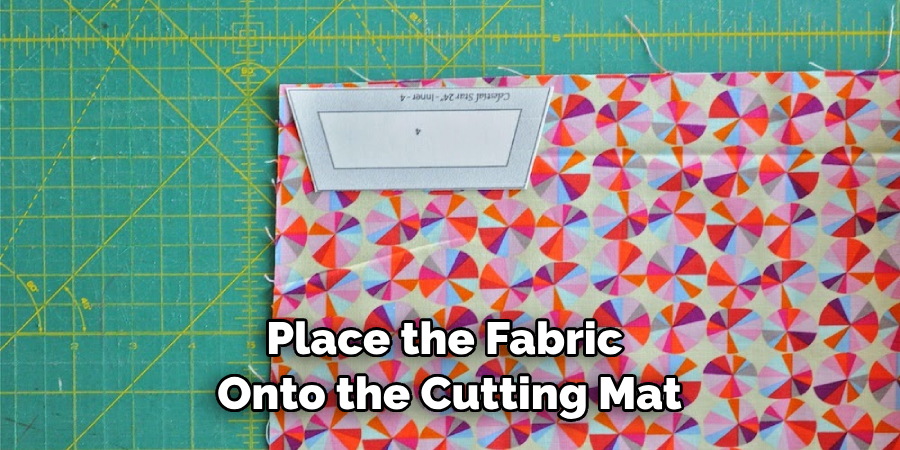
Once you have designed your stencil in Cricut Design Space, it’s time to cut it out on the fabric. Place the fabric onto the cutting mat and load it into the machine. Select “Silk Screen Fabric” as your material setting and press “Go” to begin cutting out your stencil design.
Transfer the Design
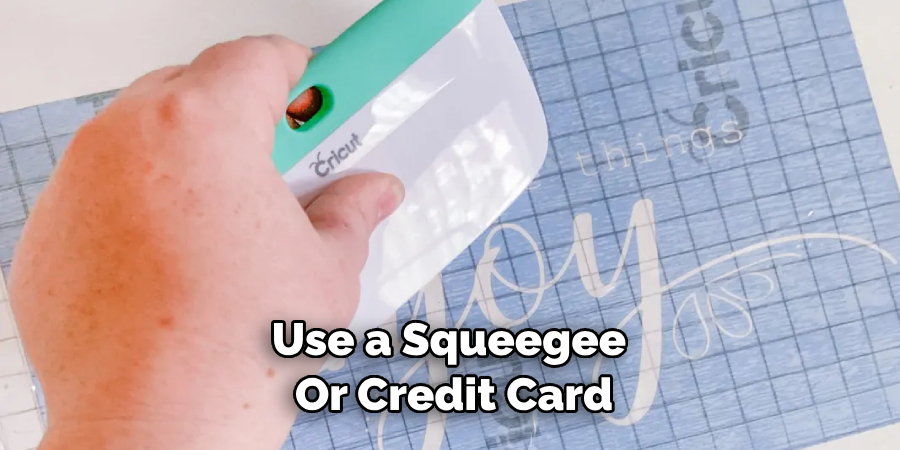
Once the stencil has been cut out on the fabric, you will need to transfer it onto a sheet of transfer paper before applying it to the silk screen frame. To do this, place the transfer paper over the fabric and use a squeegee or credit card to firmly press down on top of it until all of the elements are transferred onto the paper. Peel away any excess paper from around the edges of your design before moving on to step 5.
Apply Transfer Paper
Now that you have transferred your design onto a sheet of transfer paper, you can apply it directly onto the silk screen frame using a squeegee or credit card again for extra pressure if necessary. Make sure that all of the elements are firmly pressed down against the frame before peeling away any excess paper from around them.
Cure with Heat Gun
Once you have applied your design onto the frame, use a heat gun to cure it in place for about 30 seconds at medium heat settings (about 300°F). This will help ensure that all of the elements stay securely attached when printing later on in this process. Be sure not to leave any hot spots while curing as this could cause damage to both your materials and equipment over time!

Prepare Inkjet Printer
Before printing with your inkjet printer, make sure that you have loaded up some high-quality ink cartridges so that there won’t be any issues during printing later on in this process! Once everything is set up correctly, go ahead and print out whatever image or text you would like printed onto your final product using either black or white ink depending on what type of look you are going for!
Print Stencil Onto Frame
Now that everything is set up correctly and ready to go, place your printed image face down onto the silk screen frame where you applied your transfer paper earlier in this process and use a squeegee or credit card once again for extra pressure if necessary, until all of its elements are firmly pressed down against its surface! Peel away any excess paper from around its edges before moving on to step 9!
Cure with Heat Gun Again
Now that everything has been printed onto its surface, use a heat gun once more at medium heat settings (about 300°F) for about 30 seconds in order to cure both its ink and its original adhesive backing together securely so nothing comes off while printing later on! Be sure not to leave any hot spots while curing as this could cause damage to both materials and equipment over time!

Print Final Product
Finally, once everything has been cured properly with heat gun settings at medium temperatures (about 300°F), go ahead and print out whatever image or text was originally printed onto its surface using either black or white ink depending on what type of look you were going for!
Once finished printing, let everything cool down before removing it from its frame so nothing comes off during removal!
Things to Consider When Making a Silk Screen Stencil with Cricut
When making a silk screen stencil with Cricut, it is important to consider various factors. Here are some tips that will help you get the best results:
- Choose your design carefully. Look for an image or artwork that will translate well into the stencil you wish to create. It should have a clear outline and be of a high enough resolution to make the stencil look sharp and crisp.
- Consider the size of your design. Depending on the size of your silk screen frame, you may need to adjust the scale of your artwork when making a stencil with Cricut. If it is too small or too large, it may not fit properly in your frame or provide adequate coverage.
- Select the right type of paper. You will need a special type of paper or vinyl that is suitable for use with your Cricut machine. Not all materials are compatible with this cutting device, so make sure you check before starting your project.
Common Mistakes to Avoid
Making a silk screen stencil with Cricut can be quite intimidating, but it doesn’t have to be. To make the process go more smoothly and ensure you get the best results possible, there are some common mistakes to avoid. Here are some of the most common mistakes people make when making a silk screen stencil with Cricut:

- Not taking the time to properly measure, cut and prepare your stencil – Taking shortcuts when it comes to measuring and cutting your silk screen stencil can lead to a lot of frustration down the line. Make sure you take the necessary time to get an accurate measurement, use the correct tools for cutting, and make any necessary adjustments before starting the printing process.
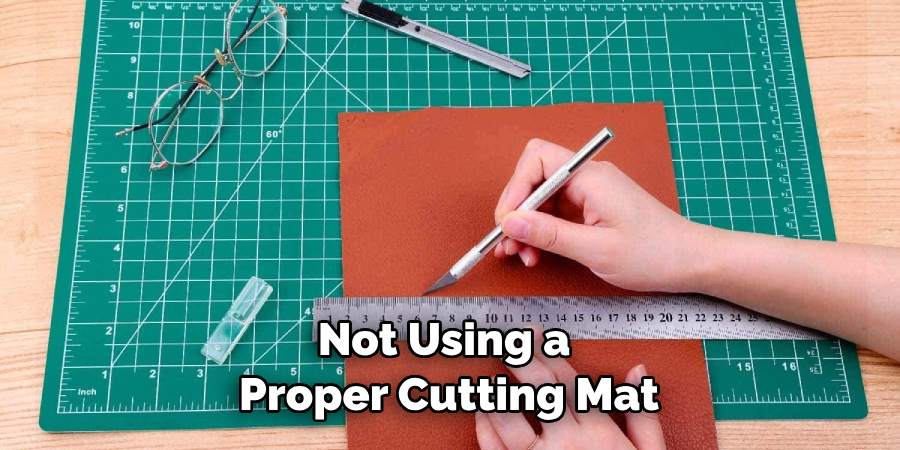
- Not using a proper cutting mat – Using the wrong type of cutting mat can be detrimental to your project. Cricut mats are designed to be used with the appropriate materials, so make sure you have the right one before starting.
- Not paying attention to detail – When it comes to making silk screen stencils, it’s important to pay attention to the details. Make sure you double-check your measurements and cut lines before you start the printing process, as even small inaccuracies can lead to poor results.
Conclusion
Ultimately, making a silk screen stencil with the Cricut can be an incredibly fun and rewarding experience. With practice, you’ll find yourself quickly crafting stunning designs for t-shirts, tote bags or whatever your heart desires! Be sure to take your time and allow the distance from the cutting blade to the fabric surface to determine how intricate and successful each design will be.
Never fear as this process is both forgiving and enjoyable – so don’t hesitate to experiment and play around as you go. Success is just a few clicks away when you use the Cricut for silk screening, so get started today! And if you need more help getting started on your classic DIY project, check out our guide on how to make a silk screen stencil with Cricut.

