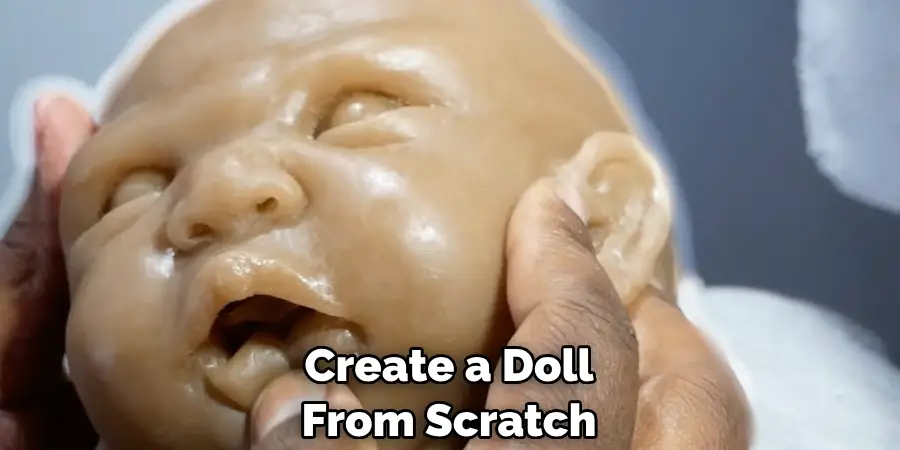
Are you curious about how to make a silicone doll? Doll-making may sound like an intimidating art to master, but it is actually a surprisingly straightforward process. With enough patience and some creative input, anyone can create their own custom-made dolls!

Within this guide, we’ll delve into the details of what silicone dolls are made of, how they differ from other material types, and the specific steps required to get the job done right — providing you with all the information you need to construct your very own one-of-a-kind creations. So let’s get started!
11 Step-by-Step Guidelines on How to Make a Silicone Doll
Step 1: Gather your Materials
Before you begin, you’ll need to collect all the necessary materials. This includes a set of doll molds, silicone rubber, resin, and other sculpting tools. You can purchase these items from most craft stores or online. This step is essential for ensuring a successful outcome. So take your time to gather all the items on your list before you begin.
Step 2: Prepare the Doll Mold
Once you have everything you need, prepare your doll mold by cleaning it thoroughly with soap and water. An unclean mold can result in irregularities and imperfections on your final product, so remember always to clean your mold before use. You can then coat the inside of the mold with a layer of petroleum jelly or a similar release agent to make it easier to remove the doll later.
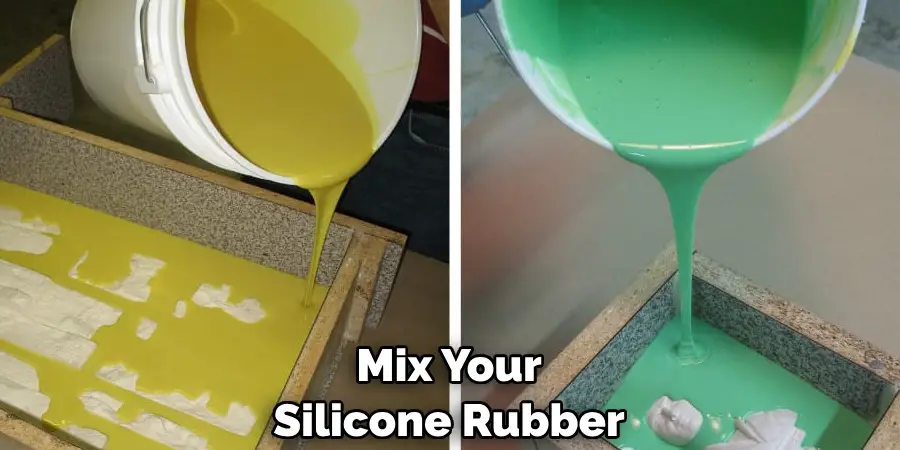
Step 3: Mix Your Silicone Rubber
Next, mix your silicone rubber according to the manufacturer’s instructions. Some types may require you to measure out specific ratios of base and curing agents, while others may come premixed and only require heating. Make sure you mix the silicone thoroughly and remove any air bubbles before pouring it into the mold.

Step 4: Pour Silicone into Mold
Pour your mixed silicone rubber into your mold, making sure to get it into all the nooks and crannies. Once filled, tap the mold gently on a hard surface to help release any trapped air bubbles. You can also use a vacuum chamber to remove air bubbles for more precise results. It is vital to ensure that your mold is entirely filled with silicone for a complete and accurate model.
Step 5: Let the Silicone Dry
Once you have poured the silicone into the mold, leave it to dry according to the manufacturer’s instructions. This process can take anywhere from a few hours to a few days, depending on the type of silicone used and the thickness of your doll mold. But be patient and resist the urge to remove the doll too soon, as this can ruin your final product.
Step 6: Remove the Doll from the Mold
Once your silicone is completely dry, it’s time for the exciting part – removing your doll from its mold! Gently peel back the edges of the mold from any release agent you used earlier and slowly remove your doll. If you encounter any resistance, don’t pull too hard as this could damage your creation. Instead, try applying some more release agent around the edges to help loosen it from the mold.
Step 7: Fix Any Imperfections
If you find any imperfections or air bubbles on your doll’s surface after removing it from the mold, don’t worry. You can easily fix them by sanding down the surface or using a heat gun to smooth out any bumps. Remember, this is your chance to get creative and add any unique features or details to your doll.
Step 8: Mix and Pour Resin
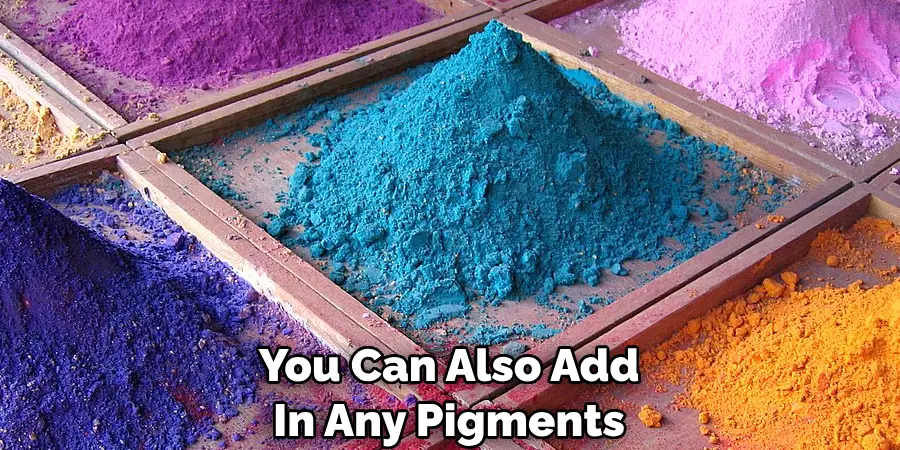
After fixing any imperfections, it’s time to mix and pour resin into your mold. This will give your doll a sturdy and durable body. Follow the manufacturer’s instructions, and make sure to remove any air bubbles before pouring. You can also add in any pigments or glitter to give your doll a unique and personalized appearance.
Step 9: Place the Silicone Doll into the Resin
Once you have poured your resin, gently place your silicone doll back into the mold. Make sure it is positioned correctly and allow the resin to cure according to the instructions. This step will bond the silicone and resin together, creating a strong and realistic doll. It’s essential to follow the recommended curing time to ensure a strong and long-lasting bond.

Step 10: Remove the Doll from the Mold
Once your resin has completely cured, it’s time to remove your doll from the mold for the final time. Gently peel back the edges of the mold and carefully remove your creation. Congratulations, you now have a fully assembled silicone doll! You can now add any final touches, such as painting or dressing your doll to bring it to life.
Step 11: Enjoy Your Creation
Now that you have completed all the steps, it’s time to enjoy and showcase your beautiful silicone doll! You can use it for display purposes, gift it to a loved one, or even start a collection. The possibilities are endless, and the satisfaction of creating your own custom-made doll is priceless. Always remember to have fun and let your creativity flow when making silicone dolls. You never know what unique and amazing creation you might come up with!
Following these step-by-step guidelines on how to make a silicone doll, you can now confidently embark on your doll-making journey. With time and practice, you’ll be able to create more complex and intricate dolls, perfecting the art of doll-making. So go ahead and let your imagination run wild – who knows what kind of magical creatures or characters you’ll bring to life through your silicone dolls!
Do You Need to Use Professionals?
Making a silicone doll may seem like a daunting task, but it’s entirely possible to do it on your own with the proper materials and instructions. However, if you’re still unsure or don’t have the time to create a doll from scratch, you can always reach out to professional doll makers.

They have the experience and expertise to bring your vision to life and create high-quality silicone dolls for you. So whether you choose to make your own doll or enlist the help of professionals, the most important thing is to enjoy the process and have fun bringing your ideas to life! Besides being a creative and fulfilling hobby, making silicone dolls can also be a profitable business venture. Many people are willing to pay top dollar for unique and high-quality custom-made dolls, so don’t be afraid to explore this avenue and turn your passion into a profitable venture.
Frequently Asked Questions
Q: Is It Necessary to Use a Release Agent When Making a Silicone Doll?
A: Yes, using a release agent is crucial in ensuring that your doll can be easily removed from the mold without any damage. It also prevents the silicone from sticking to the mold. It is recommended to use a release agent specifically designed for silicone molds.
Q: Can I Use Any Type of Silicone for Making Dolls?
A: No, not all types of silicone are suitable for making dolls. It is best to use specialized silicone specifically made for creating molds and dolls. These types of silicone have the right consistency and properties necessary for achieving realistic results.
Q: Is It Possible to Make a Silicone Doll without Using Resin?
A: Yes, you can make a silicone doll using only silicone. However, adding resin will give your doll a sturdier and more durable body. It also enables you to add unique features and details to your creation. So while it is possible to make a silicone doll without resin, it is highly recommended to use it for the best results.
Q: How Long Does It Take for a Silicone Doll to Fully Cure?
A: The curing time can vary depending on the type of silicone and thickness of your doll mold. However, on average, it takes anywhere from a few hours to a few days for the silicone to completely dry and cure. It’s crucial to follow the manufacturer’s instructions for specific curing times and methods.
Conclusion
Crafting a silicone doll can be an exciting and fun craft project. Although time-consuming and requiring some artistic skill, the hard work always pays off in the end. The joy of customizing and personalizing your own doll to look like you or someone you know is a great way to show your creative side.

Additionally, once you create a successful silicone doll it could even become an item that could be sold. With all of this considered, making a silicone doll can be an enjoyable and potentially financially rewarding adventure if done properly. Take the plunge today and start creating memories with these amazing creations, who knows how far they may take you! Thanks for reading this article on how to make a silicone doll.
