The luck of the Irish is always in style around St. Patrick’s Day, but instead of wearing just a simple clover pin, why not craft a festive decoration for your home with a bit of green flair? A beautiful shamrock wreath is the perfect way to celebrate the season in style. Full of classic four-leaf clovers and strands of ivy woven into a decorative circle, a homemade shamrock wreath instantly puts you and anyone who sees it in a cheerful, celebratory mood.

Through this easy step-by-step tutorial on how to make a shamrock wreath, you’ll learn how to assemble your unique wreath using basic supplies and a little creative spark. Get ready to dress up your front door, mantle, or wall with a charming handmade accent practically begging for likes on Instagram – your new shamrock wreath is waiting to spread its St. Patrick’s Day spirit!
Necessary Items
- Wire wreath frame
- Green felt or fabric
- Hot glue gun and hot glue sticks
- Scissors
- Pencil or pen for tracing
10 Steps on How to Make a Shamrock Wreath
Step 1: Gather Supplies & Prepare Work Space
Before diving into crafting, ensure you have everything you need to complete the project. Set up a clean, flat surface as your workspace and gather all your supplies. This will help you stay organized and focused on the task at hand.

Step 2: Trace Shamrock Shapes
Using scissors, cut out a template of a shamrock shape from cardstock or cardboard. If you need more confidence in your drawing skills, simply print a free shamrock template online. Trace this template onto the green felt or fabric and cut out multiple shamrock shapes. The number of shamrocks you need will depend on the size of your wreath frame.
Step 3: Prepare Wreath Frame
Take the wire wreath frame and ensure it is clean and free of dust or debris. This will ensure that your hot glue adheres to the frame properly. If you want a fuller, thicker wreath, wrap the wreath frame with green fabric or ribbon before gluing on the shamrocks.
Step 4: Begin Gluing Shamrock Pieces
Turn your first shamrock shape upside down and apply a small amount of hot glue to the back. Place it onto the wire frame in the desired position and gently press down. Continue this process, slightly overlapping each shamrock shape until you have covered one-third of the wreath frame.
Step 5: Add Ivy Strands
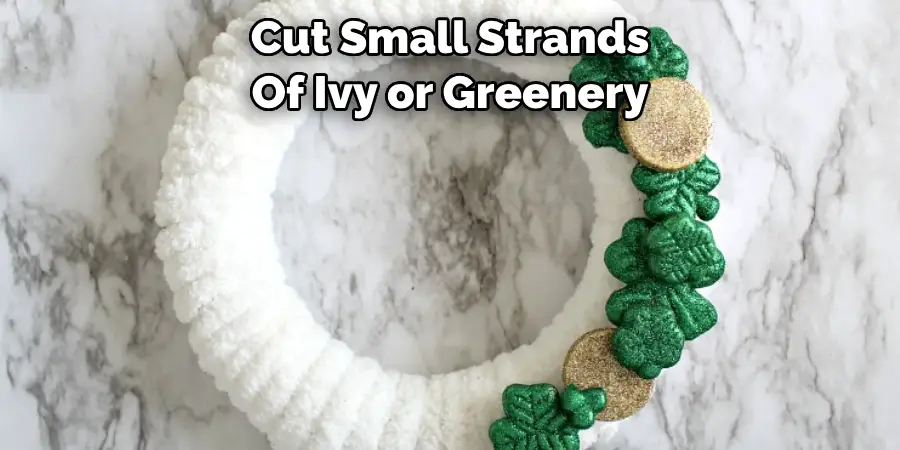
Cut small strands of ivy or greenery to weave throughout the shamrocks to give your wreath some additional texture and depth. Secure these into place with hot glue as well.

Step 6: Repeat Steps 4 and 5
Continue gluing on shamrock shapes, slightly overlapping each other and weaving in strands of ivy until you have covered two-thirds of the wreath frame. Make sure to leave some space for the final third of the wreath.
Step 7: Add Final Shamrock Pieces
Take your remaining shamrock shapes and glue them onto the wire frame, filling in gaps and giving the wreath a complete, cohesive appearance. Try to vary the angles and positions of the shamrocks to create a natural, organic look.
Step 8: Secure Shamrocks & Ivy
Once all the shamrock shapes and ivy strands are in place, add additional dabs of hot glue for extra security. Make sure everything is firmly attached before moving on to the next step.
Step 9: Let Glue Dry and trim Excess
Allow the wreath to dry for at least an hour before handling it. Once the glue is completely dry, use scissors to carefully trim off any excess fabric or felt around the edges of the shamrocks and frame.
Step 10: Hang & Enjoy!
Congratulations, your shamrock wreath is now complete! Hang it on your front door, mantle, or wall to add a festive St. Patrick’s Day spirit to your home. Enjoy the compliments from family and friends as they admire your lovely handmade decoration.

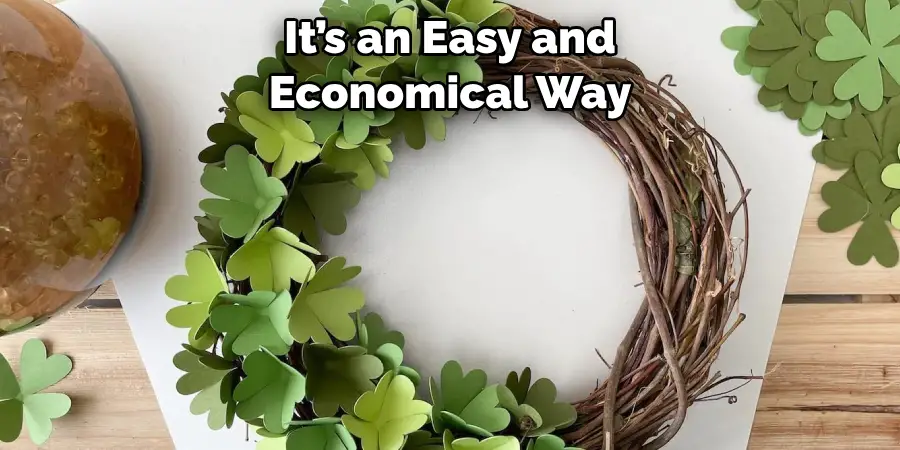
With just a few supplies and imagination, you can make an eye-catching, festive shamrock wreath to hang on your door. It’s an easy and economical way to get into the Irish spirit! If you have further questions or need more ideas as you craft your shamrock wreath, our blog has information on many other fun DIY decoration projects that are perfect for celebrating this Saint Patrick’s Day.
8 Things to Avoid When Making a Shamrock Wreath
1. Low-quality or Thin Wire Wreath Frames
A flimsy or low-quality wreath frame can result in a less stable and durable wreath. Use a robust, sturdy frame to hold up your shamrocks and decorations.
2. Skipping the Template or Tracing Step
Rushing through the tracing step can result in uneven or poorly shaped shamrocks, making your wreath look smooth and complete. Take the time to trace your shamrock shapes neatly and accurately for the best results.
3. Using Too Much Glue
Too much hot glue can result in a messy wreath with visible globs of dried glue. Remember, a little goes a long way – use just enough to secure the shamrocks and ivy in place without excess oozing.
4. Not Checking for Burned Fingers
Be careful when handling hot glue, and check for accidental burns on your fingers. Keep a bowl of ice water nearby to dip your fingers in.
5. Not Varying the Shamrock Placement
To create a more natural and visually appealing wreath, vary the placement and angles of the shamrocks as you glue them onto the frame. Avoid placing them in straight lines or perfect patterns.
6. Rushing Through the Drying Process
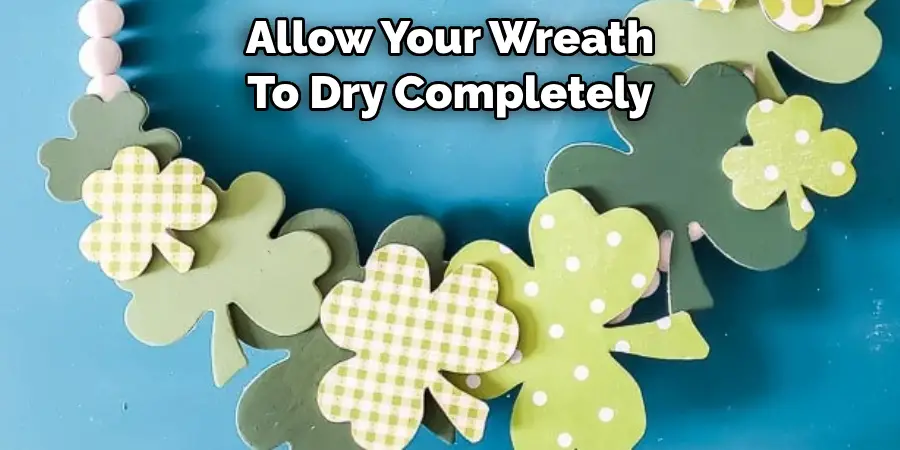
Be patient and allow your wreath to dry completely before handling it. Rushing this step can result in shifting or falling shamrocks, ruining all your hard work.
7. Not Adding Additional Decorations
While the shamrock wreath is beautiful, adding some extra decorations can take it to the next level. Feel free to get creative and add your personal touch with additional items like gold coins or lights.
8. Forgetting to Admire Your Handiwork
Take a step back and admire your finished wreath! Remember to appreciate all the time, effort, and love you put into creating this festive decoration. It’s a great sense of accomplishment and will bring joy to your home for St. Patrick’s Day.
As you can see, making your shamrock wreath is a straightforward and fun project that can bring the luck of the Irish into your home for any occasion. Not only will it add some color to your space, but by gathering some friends to help you craft, it can also serve as a fun activity or social event. Indeed, when they see the results of your beautiful shamrock wreath, they’ll be inspired to make their own.

Frequently Asked Questions
Can I Use a Different Color for My Shamrock Wreath?
Absolutely! While green is the traditional color for St. Patrick’s Day, you can use any color combination that speaks to you and fits your home decor. Consider using shades of gold, rainbow colors, or pastel hues for a unique twist on this wreath.
How Long Will the Wreath Last?
With proper care and storage, your shamrock wreath can last for years! Keep it in a cool, dry place when not used, and avoid storing it in direct sunlight.
Can I Use Real Shamrocks Instead of Fabric?
You can use real shamrock leaves for a more natural and authentic look. Secure them onto the wreath frame with hot glue and gently handle them to avoid wilting or damage. However, using fabric or felt is a more convenient and longer-lasting option. Ultimately, the choice is yours!
Can I Make a Smaller or Larger Shamrock Wreath?
Absolutely! This tutorial can be easily adapted to make a smaller or larger wreath. Simply adjust the size of your shamrock template and wireframe accordingly. You can also use this method to create other holiday or seasonal wreaths by changing the shape and color of your fabric or felt pieces. Get creative and have fun with it! So go ahead, grab your supplies, and get started on this festive DIY project.
What Other Materials Can I Use Instead of Felt or Fabric?
You can use various materials for this project, including paper, foam sheets, or artificial leaves. Remember that some materials may be more challenging to work with and require different glue types. Experiment and find what works best for you!
Conclusion
Give your home a touch of Irish luck and charm with this fun and easy shamrock wreath DIY project. With just a few simple materials and creativity, you can create a beautiful handmade decoration that will impress your guests and bring festive cheer to your home. As you can see, making your shamrock wreath is easy and fun – so why not try it?
With the right supplies and creative eye for how to make a shamrock wreath, you’ll be able to make the perfect addition to your home. You can even make it a family project! Whether you drive a holiday-themed shamrock wreath for Saint Patrick’s Day or an entire wall of decorative shamrock wreaths all year round, your one-of-a-kind craft will surely impress everyone visiting your home.

