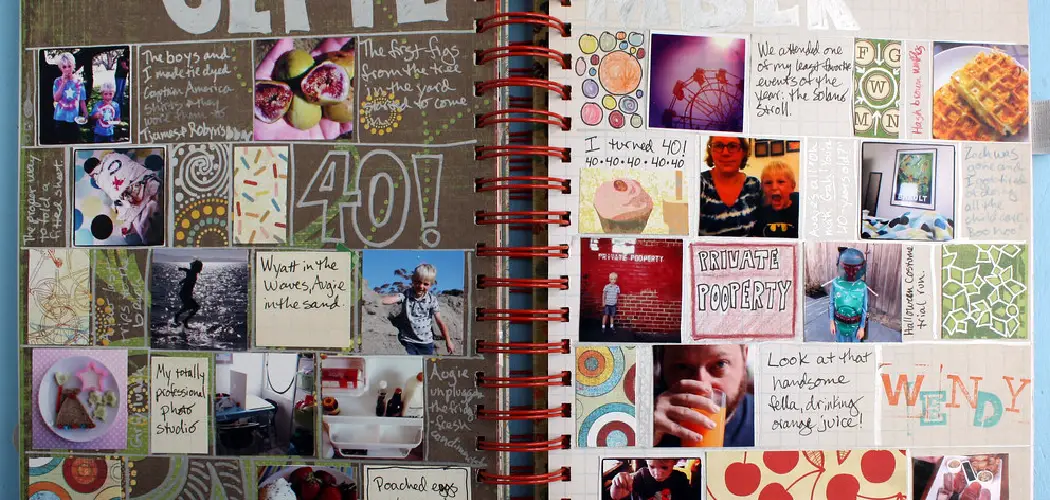
Scrapbooking is a creative and delightful way to preserve memories, combining photos and memorabilia with artistic flair. An eye-catching scrapbook layout serves as the backdrop of your cherished memories, setting the scene and guiding the viewer through your narrative.
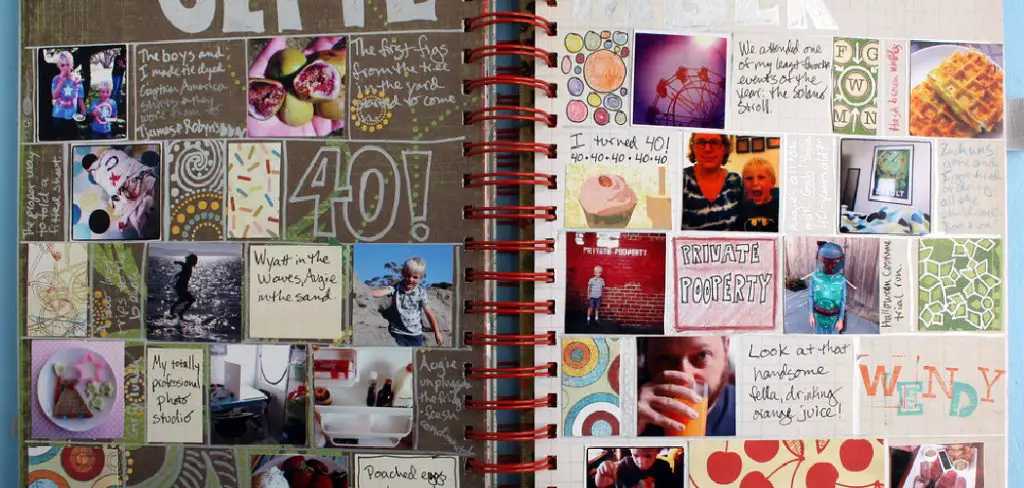
Whether you’re commemorating a special event, capturing a family history, or cataloging your personal milestones, the layout of your scrapbook is just as important as the memories it holds. In the following sections, we will explore the steps on how to make a scrapbook layout to create a scrapbook layout that is both aesthetically pleasing and personally meaningful.
Gather Your Materials
To start making a scrapbook layout, you will need to gather all your materials. These include:
- Photos
- Memorabilia (Tickets, Invitations, Letters, Etc.)
- Patterned Paper and Cardstock
- Embellishments (Stickers, Die-cuts, Washi Tape)
- Adhesives (Glue, Double-sided Tape)
- Scissors or Paper Trimmer
- Ruler
- Pens or Markers for Journaling
- Any Other Desired Decorative Elements
Once you have all your materials, it’s time to get creative!
12 Step-by-step Guidelines on How to Make a Scrapbook Layout
Step 1: Choose Your Theme
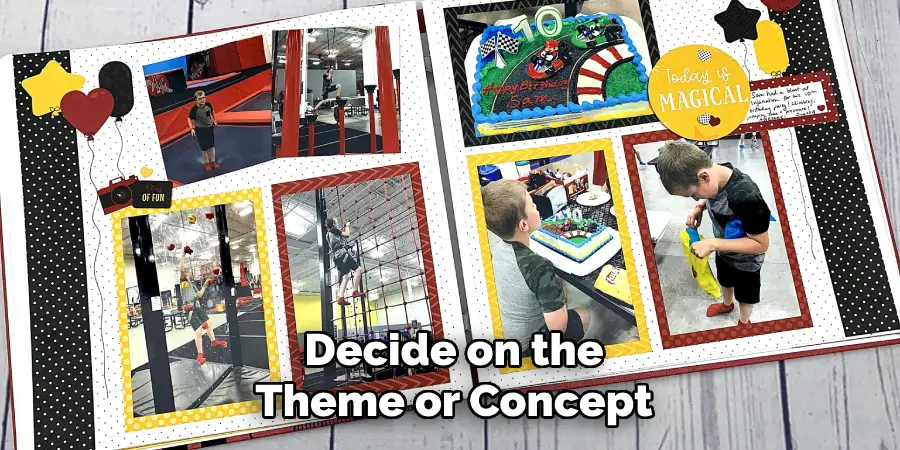
Decide on the theme or concept of your scrapbook layout. This could be a specific event, holiday, person, or any other idea that holds significance to you. Choosing a theme will help guide your design choices and ensure cohesiveness in your layout. You can also mix and match themes for a more eclectic feel. The possibilities are endless! It’s all about what speaks to you. But remember, less is often more when it comes to scrapbook layouts.
Step 2: Sketch Your Layout
Before you start cutting and gluing, it’s helpful to have a rough sketch of your layout. This will give you an idea of how everything will look together and help you plan your design. You don’t have to be an artist; a simple sketch with placement of photos and elements will do.
The sketch will also come in handy as a reference while you work. If you’re making a two-page spread, sketch out both pages together so that they complement each other. But don’t worry if your final layout differs slightly from your sketch; it’s all part of the creative process!
Step 3: Choose Your Background
The background paper sets the tone for your layout. You can choose patterned or solid cardstock, or create your own using techniques like stamping or watercolor. Remember to keep in mind your theme and color scheme while selecting the background paper. It’s also a good idea to choose a sturdy paper as the base for your layout. But don’t be afraid to mix and match different patterns and textures for added interest.
Step 4: Arrange Photos and Memorabilia
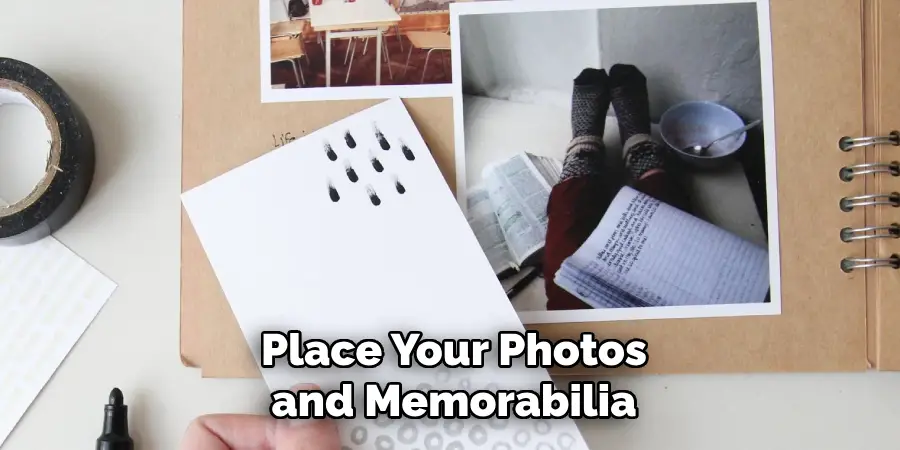
Place your photos and memorabilia on the background paper according to your sketch. This will help you visualize the final layout and make any necessary changes before committing to gluing everything down. The placement of photos and memorabilia is entirely up to you, but try to balance out different sizes and orientations for a more visually appealing layout.
If you have multiple photos, consider creating a photo collage for a unique look. But don’t overcrowd the page; leave some negative space for a cleaner design. If you’re using any bulky memorabilia, consider creating pockets or flaps to hold them in place. The possibilities for incorporating memorabilia into your layout are endless!
Step 5: Add Embellishments
Embellishments are what make your layout truly stand out. They add dimension, texture, and visual interest to your design. Choose embellishments that complement your theme and color scheme. You can use stickers, die-cuts, washi tape, or even create your own with stamps and punches.
Be mindful of the placement of embellishments; they should enhance your photos and not overpower them. And don’t be afraid to mix different types of embellishments for a more eclectic look. The key is to strike a balance between simplicity and complexity.
Step 6: Incorporate Journaling
Journaling is an essential part of scrapbooking as it adds personal meaning and context to your memories. It can be as simple as a date, location, or names of people in the photos or a more detailed description of the event. You can handwrite your journaling with pens or markers, use a typewriter for a vintage feel, or print it out on your computer.

You can also make the journaling part of your design by writing it on tags, strips of paper, or creative fonts. But remember to keep the journaling legible and easy to read.
Step 7: Use Design Principles
Design principles such as balance, alignment, contrast, and repetition can help you create a visually appealing layout. Balance is achieved by distributing elements evenly throughout the page to avoid any one part looking too heavy or empty. Alignment refers to how elements are placed in relation to each other; they should be aligned either horizontally or vertically for a neater look.
Contrast helps highlight certain elements and creates interest through the use of opposites, such as light and dark colors or big and small elements. Repetition creates unity in your layout by repeating certain elements, such as a specific shape or color.
Step 8: Consider Dimension
Adding dimension to your scrapbook layout can make it more visually appealing and tactile. This can be achieved through layering different elements or using foam adhesive to lift elements off the page. You can also create dimension by adding texture through techniques like embossing or using textured paper.
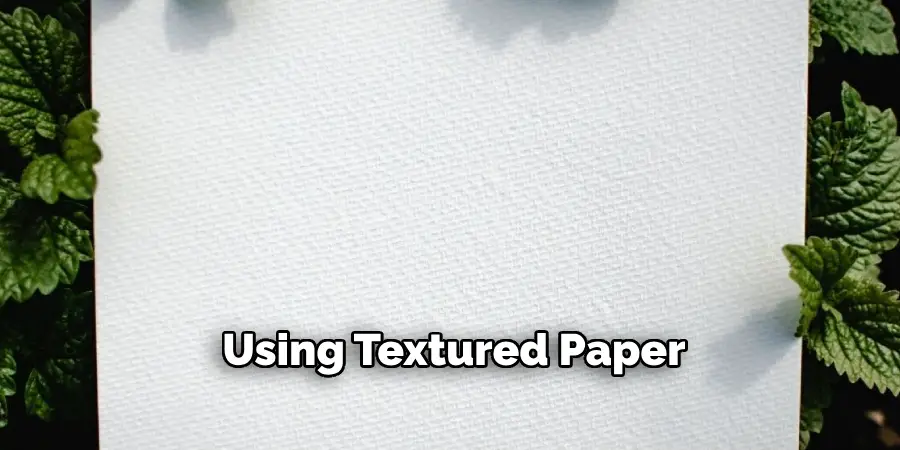
But be mindful of not making your layout too bulky, as it may not fit comfortably in your scrapbook. You can also use shadows to create a sense of depth and make your layout look more realistic. It’s all about playing with different elements to make your layout pop!
Step 9: Pay Attention to Color
Color plays a crucial role in creating a cohesive and visually appealing scrapbook layout. When choosing colors, consider your theme and the mood you want to convey. You can use a monochromatic color scheme for a more subtle look or mix complementary colors for a bold and vibrant layout.
You can also create contrast and visual interest by using different shades of the same color or incorporating pops of metallic or neon elements. But remember not to go overboard with too many colors; stick to a few main colors for a cleaner layout.
Step 10: Have Fun and Be Creative
The most important step in creating a scrapbook layout is to have fun and let your creativity flow! Don’t be afraid to experiment with different techniques, materials, and design elements. Scrapbooking is all about preserving memories and expressing yourself through art, so don’t worry about making mistakes. Embrace imperfections and trust your instincts when it comes to designing your layout. And remember, there are no rules in scrapbooking, so let your imagination run wild!
Step 11: Share and Preserve Your Layout
Once your layout is complete, share it with others! You can post it on social media, display it in your home, or gift it to someone special. But don’t forget to protect and preserve your layout by using archival-safe materials and storing it in a protective sleeve or album.
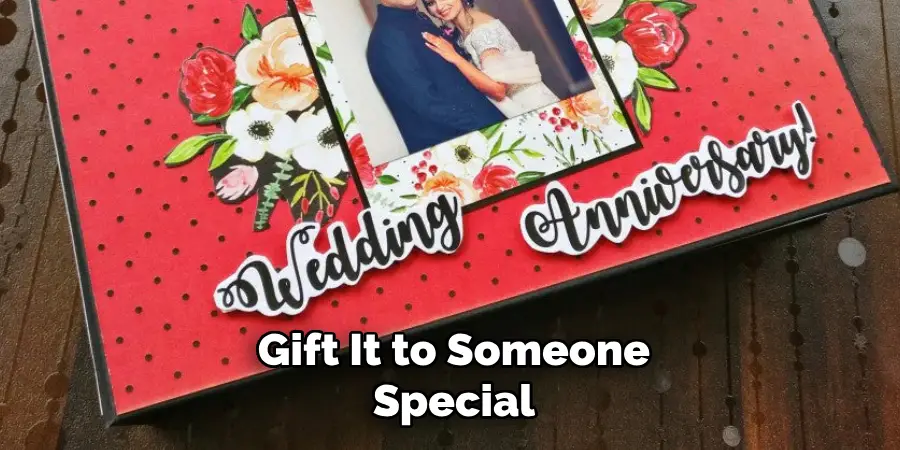
This way, you can ensure that your memories will last for years to come. And don’t forget to keep creating and documenting your memories through scrapbooking! So, grab your supplies and start preserving those precious moments today.
Step 12: Continuously Update Your Scrapbook
Scrapbooking is an ongoing process, so don’t forget to continuously update your scrapbook with new memories and experiences. Set aside time regularly to print out photos, gather memorabilia, and create layouts. You can also add journaling or captions to previous layouts to provide more context and details about your memories.
And don’t be afraid to revisit old layouts and make changes or additions as needed. Your scrapbook is a reflection of your life, so make sure to keep it updated with all the special moments and memories that come along. So, have fun and happy scrapbooking!
Following these steps on how to make a scrapbook layout will help you create beautiful and meaningful layouts that you can cherish for years to come. Remember, there is no right or wrong way to scrapbook; it’s all about personal expression and preserving memories. So, have fun, be creative, and enjoy the process! Happy scrapbooking!
Inspiring Scrapbook Layout Ideas
Travel Adventures:
Create a layout featuring photos, tickets, and souvenirs from your recent travels. Add a map cutout or use stamps to mark the places you visited.
Childhood Memories:
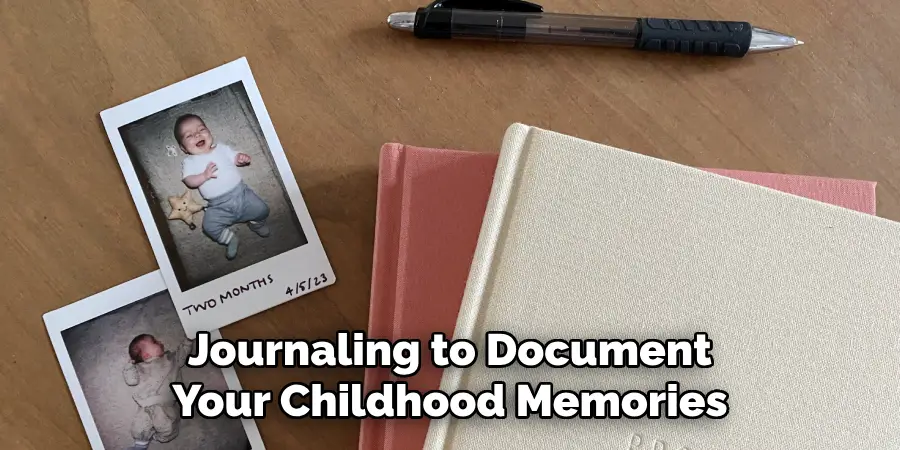
Use old photos and journaling to document your childhood memories. You can include funny anecdotes or facts about yourself as a child.
Family Tree:
Create a family tree layout using photos and information about your ancestors. You can incorporate vintage elements, such as old family documents or handwritten letters.
Milestone Celebrations:
Mark important milestones in your life, such as graduations, weddings, or birthdays with a special layout. Use decorative borders and embellishments to make it extra festive.
Bucket List:
Create a layout featuring your bucket list items and check them off as you accomplish them. You can also include photos or mementos from each experience.
Monthly Highlights:
Document your favorite moments of each month in a layout, including birthdays, holidays, and other special events. This is a great way to see how much you’ve accomplished and grown each month.
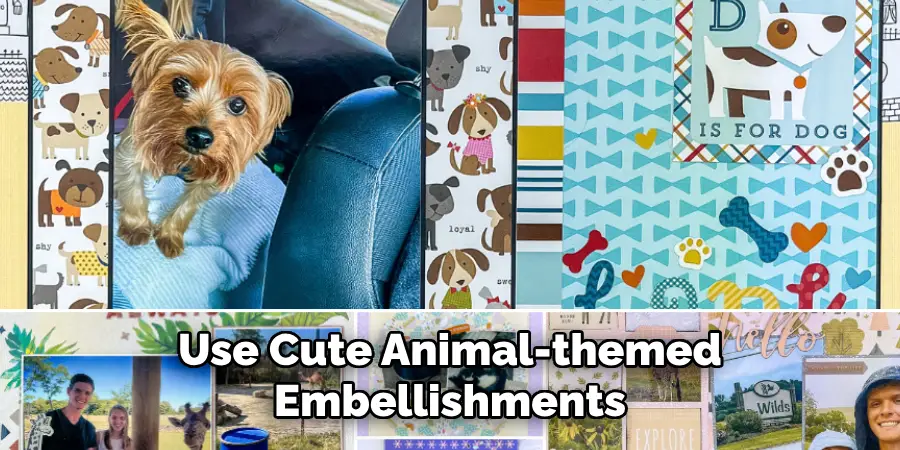
Pet Love:
Create a layout showcasing your furry friends. Use cute animal-themed embellishments and include stories or funny anecdotes about your pets.
Gratitude Journal:
Make a layout featuring things you’re grateful for each day, week, or month. This is a great way to practice gratitude and reflect on the positive aspects of your life.
Inspirational Quotes:
Create a layout showcasing your favorite inspirational quotes. Use different fonts and colors to make it visually appealing.
Recipe Book:
Make a layout featuring your favorite family recipes. Include photos of the dish, handwritten recipes, and any special memories associated with each recipe. So, get creative and start documenting your memories in unique and meaningful ways! Happy scrapbooking! So, grab your supplies and start preserving those precious moments today. So, get creative and start documenting your memories in unique and meaningful ways!
Additional Tips
- Experiment With Different Layouts, Colors, and Textures to Add Variety to Your Pages. Don’t Be Afraid to Step Out of Your Comfort Zone and Try New Techniques.
- Use a Variety of Photos, From Close-ups to Group Shots, to Add Interest and Capture Different Perspectives of the Same Event or Moment.
- Incorporate Meaningful Items Such as Ticket Stubs, Maps, or Handwritten Notes Into Your Layout to Add a Personal Touch.
- Don’t Forget About Negative Space; Sometimes, Leaving Areas of Your Page Blank Can Create a Powerful Impact and Draw Attention to Your Photos or Journaling.
- Get Inspiration From Other Sources Such as Pinterest, Instagram, or Scrapbooking Magazines. But Always Put Your Unique Spin on Any Ideas You Borrow.
- Lastly, Have Fun and Enjoy the Process of Creating a Scrapbook Layout. It’s Not About Perfection; It’s About Preserving Memories and Expressing Yourself. Don’t Get Too Caught Up in Making Everything Perfect, as the Imperfections Often Add Character and Charm to Your Pages.
Showcasing Successfully Created Scrapbook Layouts
- Include a Photo of the Layout, or Multiple Photos if It’s a Double-page Spread.
- Write a Short Description of the Theme or Event Featured in the Layout.
- Share Any Special Techniques, Materials, or Tips Used to Create the Layout.
- Mention Any Personal Significance or Memories Associated With the Layout.
- Encourage Others to Try Out Scrapbooking and Share Their Creations as Well.
- Remember, Every Scrapbook Layout is Unique and Special in Its Own Way, So Don’t Be Shy to Show Off Your Creations! Keep Creating and Preserving Those Memories Through Scrapbooking. Happy Crafting!
Here Are a Few Examples of Successfully Created Scrapbook Layouts:
- “Travel Adventures” – Featuring Photos, Tickets, and Souvenirs From a Recent Trip to Europe. Used a Vintage Map Cutout and Stamped Images of Landmarks Visited.
- “Childhood Memories” – Featuring Old Photos, Handwritten Journaling and Embellishments Reminiscent of Childhood Toys and Games.
- “Family Tree” – Using Photos and Information About Ancestors, Added Vintage Elements Such as Old Family Documents and Handwritten Letters.
- “Milestone Celebrations” – Featuring Photos and Mementos From a Graduation Ceremony, Used Decorative Borders and Embellishments to Add Celebratory Vibes.
- “Bucket List” – Showcasing Checked Off Bucket List Items With Photos and Journaling About Each Experience. Used Fun Travel-themed Stickers and Stamps.
- “Monthly Highlights” – Using a Mix of Photos and Journaling, Documented Favorite Moments of Each Month. Added Colorful Washi Tape and Stickers to Match the Theme of Each Month.
Frequently Asked Questions
Q: Do I Need to Use Specific Materials or Tools for Scrapbooking?
A: No, There Are No Rules When It Comes to Scrapbooking! You Can Use Whatever Materials and Tools You Have on Hand or Prefer. The Most Important Thing is to Have Fun and Express Yourself. It’s All About Creativity and Personalization.
Q: How Often Should I Create Scrapbook Layouts?
A: That is Completely Up to You! Some People Enjoy Creating Weekly or Monthly Layouts, While Others Prefer to Do It Less Frequently. The Best Advice is to Listen to Your Own Creative Flow and Work at Your Own Pace. But Remember, the More Often You Create, the More Memories You’ll Preserve!
Q: Can I Make Digital Scrapbook Layouts Instead of Physical Ones?
A: Absolutely! Digital Scrapbooking is Just as Valid and Creative as Physical Scrapbooking. It’s a Great Option for Those Who Prefer to Work Digitally or Want to Save Space. There Are Many Online Tools and Software Available for Digital Scrapbooking, So Have Fun Exploring Your Options!
Q: Can I Include Non-Traditional Elements in My Layouts, Such as Ticket Stubs or Handwritten Notes?
A: Of Course! Scrapbooking is All About Personalization and Creativity. There Are No Limits to What You Can Include on Your Pages. Non-Traditional Elements Can Add a Unique Touch and Make Your Layouts Stand Out. Have Fun Mixing and Matching Different Items to Tell Your Story!
Q: How Do I Get Inspiration for My Layouts?
A: You Can Find Inspiration Everywhere! Look at Photos, Browse Online, Flip Through Magazines or Even Take a Walk Outdoors to Spark Your Creativity. But Remember to Always Put Your Own Spin on Any Ideas You Gather from Outside Sources. After All, It’s Your Scrapbook and Should Reflect Your Personal Style and Memories.
Conclusion
Creating a scrapbook layout is a deeply personal and creative process that preserves memories for years to come. By choosing a theme, selecting the right photos, and arranging them with embellishments and journaling, you’ll craft a page that tells a unique story.
Whether you’re a seasoned scrapbooker or a beginner, the key is to let your creativity flow and enjoy the journey of commemorating life’s special moments. Remember, there’s no right or wrong way to make a scrapbook layout; it’s all about capturing the essence of your experiences and treasuring them in your own special way.
So grab your supplies and get started on creating a beautiful and meaningful scrapbook layout today! Thanks for reading this article on how to make a scrapbook layout.

