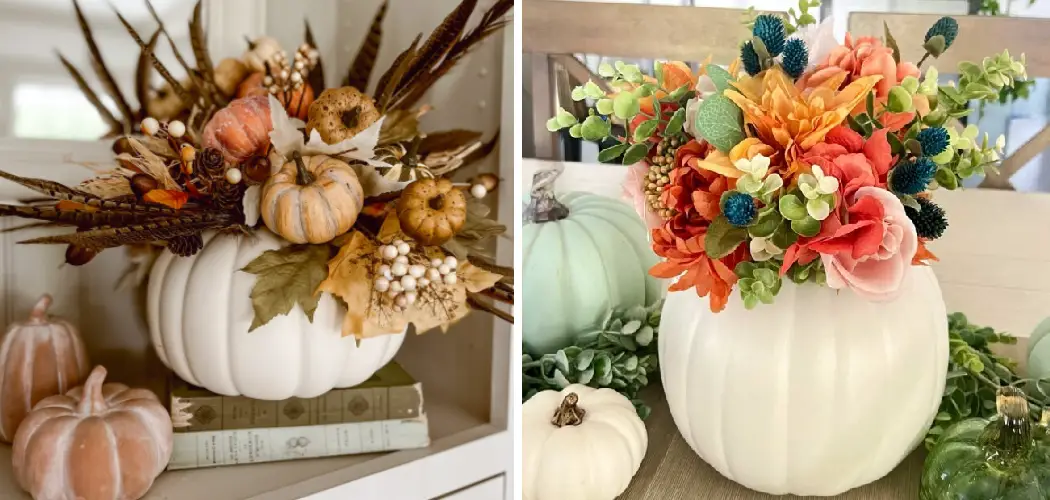
Thanksgiving is just around the corner, which means it’s time to start planning your holiday decorations. One classic decoration that never goes out of style is a pumpkin centerpiece. Not only is it festive and traditional, but it also adds a touch of warmth and coziness to your table.
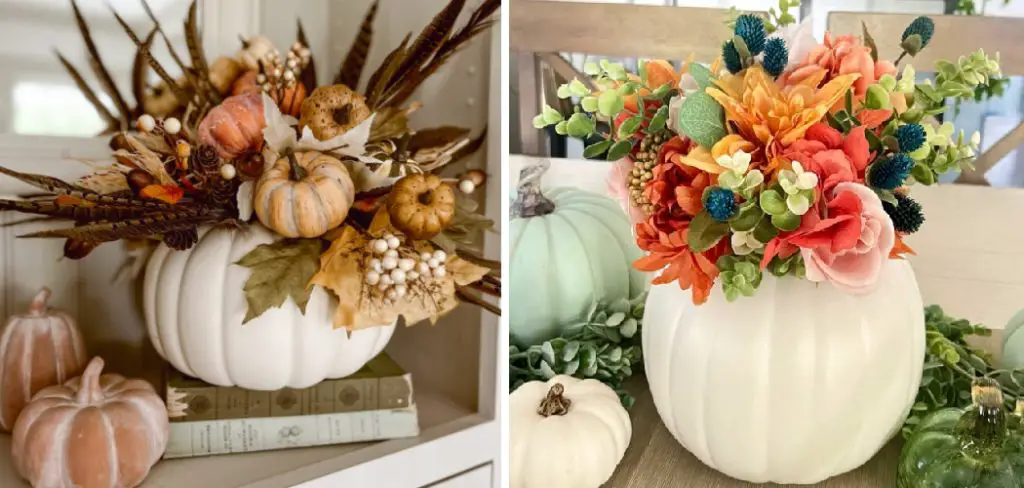
As fall approaches, it’s the perfect time to bring out your creativity and make a beautiful pumpkin centerpiece. Whether you’re hosting a Thanksgiving dinner or just looking for a fun autumn project, a pumpkin centerpiece is an easy and festive addition to any table.
To help you create the perfect pumpkin centerpiece for your Thanksgiving gathering, we’ve put together a step-by-step guide on hhow to make a pumpkin centerpiece. So let’s get started!
Materials Needed
- A medium-sized pumpkin (real or artificial)
- Sharp knife
- Spoon
- Floral foam block
- Fresh flowers in fall colors
- Scissors
What is Pumpkin Centerpiece?
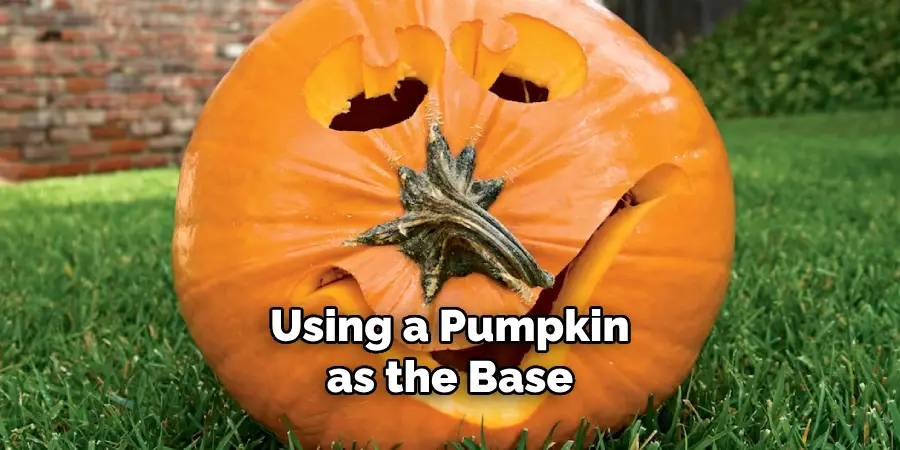
A pumpkin centerpiece is a decorative arrangement made using a pumpkin as the base. It can be used to add charm and warmth to any table setting, especially during the fall season. The best part about making a pumpkin centerpiece is that there are endless possibilities for creativity and personalization. You can use different types of pumpkins, floral arrangements, and other accessories to create a unique and beautiful centerpiece that fits your style and taste.
8 Things to Know Before You Start
1) Choose Your Pumpkin Carefully
When selecting a pumpkin for your centerpiece, make sure it’s not too large or too small. A medium-sized pumpkin works best as it gives you enough space to work with and isn’t overwhelming on the table. Additionally, make sure the pumpkin is symmetrical and has a flat bottom to ensure it can stand upright.
2) Pick Your Flowers Wisely
When choosing flowers for your centerpiece, opt for fall colors such as deep reds, oranges, yellows, and purples. You can also add greenery or other decorative elements like pinecones or berries for a more festive touch.
3) Keep the Pumpkins Fresh
If you’re using real pumpkins for your centerpieces, make sure to keep them fresh by storing them in a cool and dry place until ready to use. This will prevent them from rotting or molding before your event.
4) Prepare Your Work Area
Cover your work area with newspaper or a plastic tablecloth to prevent any mess. You can also use this as an opportunity to add some fall-themed decorations like leaves or small pumpkins for a festive touch.
5) Have Proper Tools Ready
Having the right tools on hand is essential for creating a pumpkin centerpiece. Make sure you have a sharp knife and spoon for carving, scissors for trimming flowers, and a floral foam block for holding the flowers in place.
6) Use Artificial Pumpkins
If you’re not comfortable using real pumpkins, or simply want to keep your centerpiece as a long-lasting decoration, consider using artificial pumpkins. They come in various sizes and can be reused year after year.
7) Get Creative with Carving
Instead of the traditional pumpkin carving methods, think outside the box and create unique designs on your pumpkin. You can use stencils or even freehand your design for a more personalized touch. While carving, make sure to hollow out the pumpkin enough to fit the floral foam block inside.
8) Timing is Key
To ensure your centerpiece looks fresh and beautiful on Thanksgiving Day, we recommend making it no more than a day or two in advance. This will prevent the flowers from wilting and keep your pumpkin looking its best.
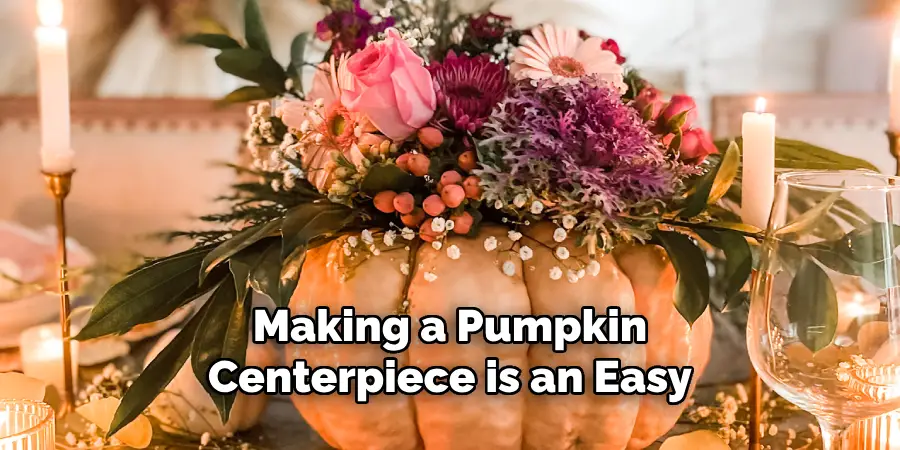
Making a pumpkin centerpiece is an easy and fun way to add some fall flair to your Thanksgiving table. With these tips on how to make a pumpkin centerpiece, you’ll be able to create a beautiful centerpiece that will impress your guests and add a festive touch to your holiday celebrations.
So gather your materials, get creative with carving, and enjoy the process of making your very own pumpkin centerpiece.
10 Steps on How to Make a Pumpkin Centerpiece
Step 1: Choose Your Pumpkin
The first step to making a pumpkin centerpiece is selecting the perfect pumpkin. As mentioned before, a medium-sized pumpkin works best for this project. If using a real pumpkin, make sure it’s symmetrical and has a flat bottom.
Step 2: Gather Your Materials
Make sure you have all the necessary materials on hand before starting. This includes your pumpkin, knife, spoon, floral foam block, flowers, and scissors. But feel free to add any additional decorative elements such as greenery or berries.
Step 3: Prepare Your Work Area
Cover your work area with newspaper or a plastic tablecloth to avoid any mess. This is also a great opportunity to add some fall-themed decorations for a festive touch. Then, place your pumpkin on the covered surface.
Step 4: Cut the Top of the Pumpkin
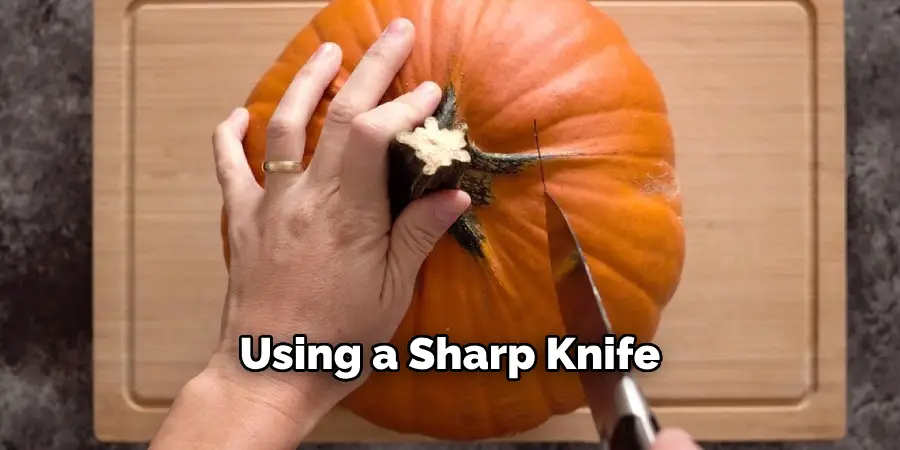
Using a sharp knife, carefully cut off the top of the pumpkin. You can make a straight or jagged cut, depending on your preference. Other ways to open a pumpkin include cutting the bottom or using a keyhole saw or pumpkin carving kit.
Step 5: Scoop Out the Insides
Using a spoon, scoop out all the seeds and pulp from inside the pumpkin. Make sure to scrape the walls of the pumpkin until they are clean and smooth. Another tip is to rinse the inside with cold water and pat it dry.
Step 6: Carve Your Design
Now comes the fun part – carving your pumpkin! You can use stencils or freehand a design onto the pumpkin. Some ideas for designs include traditional faces, fall leaves, or even geometric shapes. Make sure to carve deep enough to fit the floral foam block.
Step 7: Insert the Floral Foam Block
Place the floral foam block inside the pumpkin, making sure it fits snugly. You can also use a small amount of hot glue to secure it in place if needed. And if using artificial pumpkins, you can skip this step and insert the flowers directly.
Step 8: Trim Your Flowers
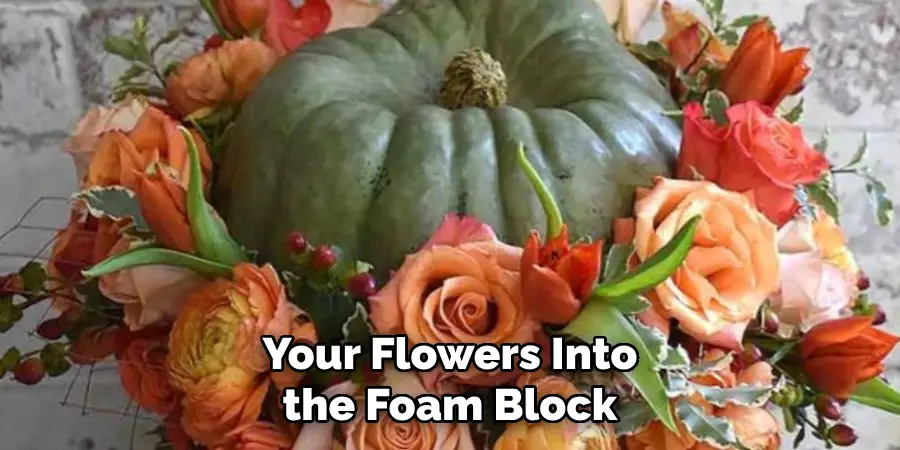
Before inserting your flowers into the foam block, trim them to your desired length. It’s better to start with longer stems and trim as needed to avoid cutting them too short. With scissors, cut the stems at a diagonal for easier insertion into the foam.
Step 9: Arrange Your Flowers
Now it’s time to get creative and arrange your flowers inside the pumpkin. Start with larger flowers in the center and work your way outwards with smaller blooms or greenery. Make sure to evenly distribute flowers and fill any gaps or empty spaces.
Step 10: Add Final Touches
To complete your centerpiece, add any final touches such as greenery, berries, or other decorative elements. You can also use a small amount of water to keep the flowers fresh or add battery-operated candles for a cozy touch.
Congratulations, you have successfully made your own pumpkin centerpiece! Place it on your Thanksgiving table and enjoy the festive and beautiful addition to your holiday celebrations. And don’t forget to take some pictures to remember your creation for years to come.
Happy Thanksgiving! So, these are the steps you can follow on how to make a pumpkin centerpiece to make a beautiful pumpkin centerpiece for your Thanksgiving table. Get creative and have fun with it, and don’t be afraid to experiment with different designs and elements.
8 Things to Avoid When Making a Pumpkin Centerpiece
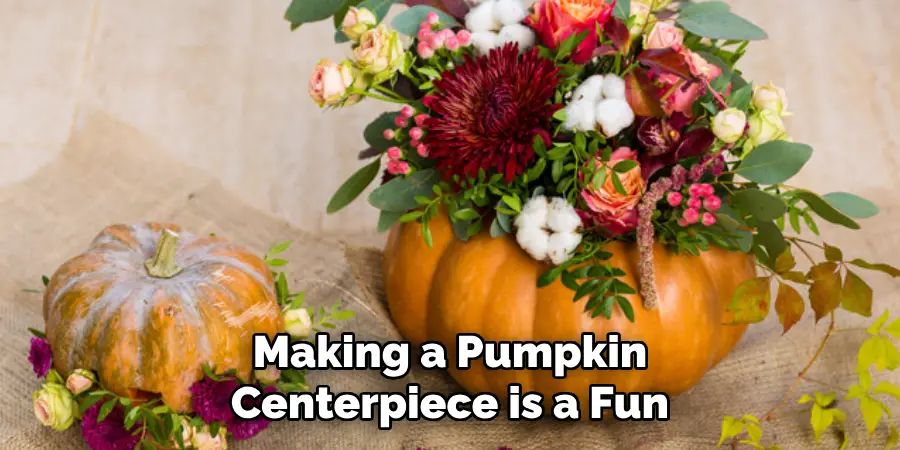
While making a pumpkin centerpiece is a fun and easy project, there are some common mistakes that you should avoid to ensure your centerpiece turns out perfectly. Here are eight things to avoid when making a pumpkin centerpiece:
1) Choosing the Wrong Size Pumpkin
Choosing the wrong size pumpkin can throw off the balance of your centerpiece. A pumpkin that is too small won’t hold enough flowers, while one that is too large can overpower the rest of your table decor.
2) Using Dull Tools
Using dull tools can make carving and scooping out the pumpkin much more difficult. Make sure to use a sharp knife and spoon for easier and cleaner cuts. And if you’re struggling, don’t be afraid to switch to a keyhole saw or pumpkin carving kit.
3) Not Hollowing Out the Pumpkin Enough
If you don’t hollow out your pumpkin enough, it may not fit all of your flowers and greenery. Make sure to scrape the walls of the pumpkin until they are clean and smooth, leaving enough space for the floral foam block.
4) Cutting the Flowers Too Short
Cutting your flowers too short can make it difficult to insert them into the foam block and create a lopsided arrangement. It’s better to start with longer stems and trim as needed until you’re happy with the length.
5) Not Securing the Foam Block
If not secured properly, the floral foam block may shift and ruin your arrangement. Use a small amount of hot glue or push it firmly into the pumpkin to keep it in place. While artificial pumpkins don’t require a foam block, you can still secure the flowers with hot glue if needed.
6) Not Adding Enough Variety
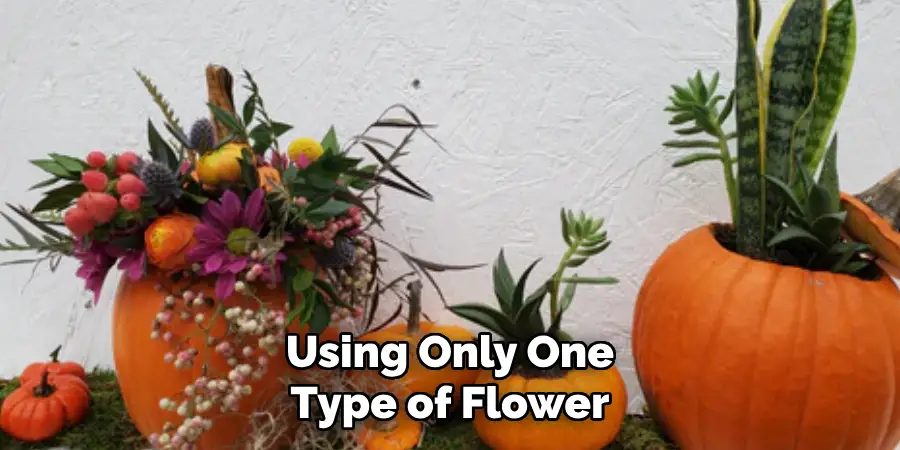
Using only one type of flower or greenery can make your centerpiece look dull and uninteresting. Add variety by using different types, sizes, and colors of flowers and foliage to create a more dynamic arrangement.
7) Neglecting Final Touches
Adding final touches such as greenery, berries, or decorative elements can elevate your centerpiece from good to great. Don’t forget these small details that can make a big impact on the overall look of your centerpiece.
8) Not Taking Care of Your Flowers
To keep your pumpkin centerpiece looking fresh and beautiful, make sure to take care of your flowers. You can add a small amount of water to the foam block or mist them with water daily. And if using artificial flowers, dust them regularly to keep them looking vibrant. With these tips on how to make a pumpkin centerpiece in mind, you can create a stunning pumpkin centerpiece that will be the talk of your Thanksgiving dinner.
Have fun and enjoy the process! So, remember to avoid these common mistakes and let your creativity shine when making a pumpkin centerpiece. With the right tools, techniques, and attention to detail, you can create a beautiful and unique centerpiece that will add a special touch to your Thanksgiving celebrations.
8 Additional Tips for Making a Stunning Pumpkin Centerpiece
To take your pumpkin centerpiece to the next level, here are eight additional tips to keep in mind:
1) Use Seasonal Flowers and Foliage
Incorporate seasonal flowers and foliage into your centerpiece for a festive touch. Some examples include mums, dahlias, sunflowers, and autumn leaves. These will not only add color and texture but also enhance the fall theme of your centerpiece.
2) Experiment with Different Pumpkin Shapes
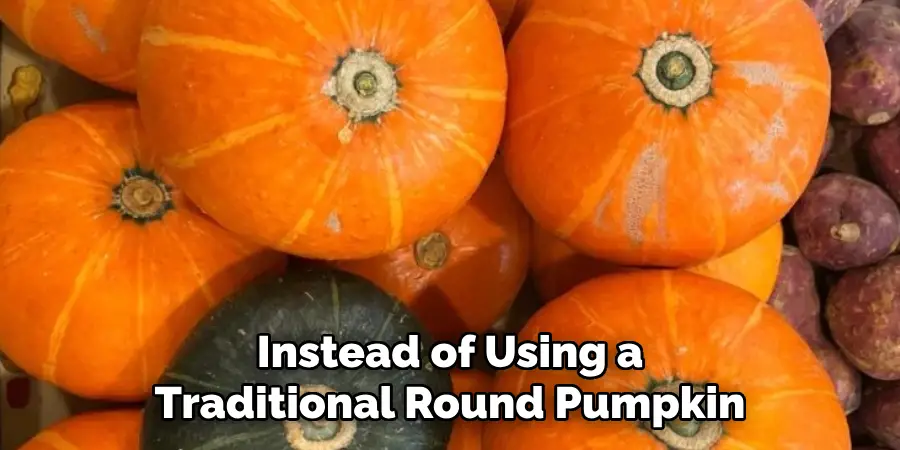
Instead of using a traditional round pumpkin, try using different shapes such as oblong or squat pumpkins for a unique look. You can also mix and match different sizes and shapes to create an interesting display.
3) Incorporate Non-Floral Elements
Add some non-floral elements like pinecones, acorns, or dried berries to your centerpiece for a rustic touch. These can be hot glued to the pumpkin or added into the arrangement for an extra dimension.
4) Try Different Carving Techniques
Instead of a traditional jack-o-lantern style, try out different carving techniques such as etching, carving patterns, or creating designs with a drill. These can add a fun and creative element to your centerpiece.
5) Use Different Types of Pumpkins
Don’t limit yourself to just orange pumpkins. Experiment with different colors like white, green, or even blue pumpkins for an unexpected twist on your centerpiece. But make sure they are still in the fall color palette.
6) Add a Pop of Metallic
Incorporating metallic elements like gold or copper can add a touch of elegance and glamour to your centerpiece. This can be done by spray painting the pumpkin or adding metallic accents to the flowers and foliage.
7) Create a Theme
For a cohesive look, you can create a theme for your centerpiece. This can be anything from a rustic farmhouse theme to a bohemian fall vibe. Choose elements and colors that fit with your chosen theme.
8) Use LED Candles Instead of Real Ones
To avoid any fire hazards, consider using battery-operated LED candles instead of real ones in your pumpkin centerpiece. These will still provide a warm and cozy ambiance without the risk of a fire.
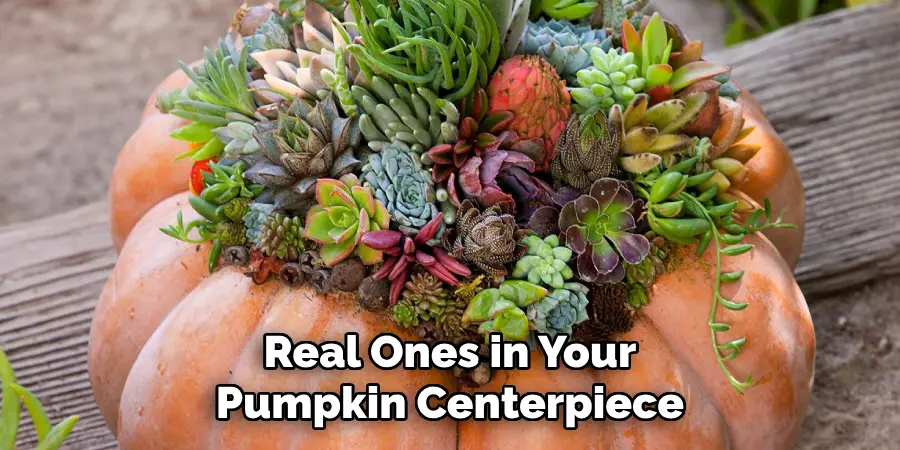
By keeping these additional tips on how to make a pumpkin centerpiece in mind, you can take your pumpkin centerpiece from good to amazing. Remember to have fun, be creative, and let your personality shine through in your arrangement. Happy crafting! So, don’t be afraid to experiment and try new things with your pumpkin centerpiece.
Frequently Asked Questions
Can I Use Real Pumpkins for My Centerpiece?
Yes, you can definitely use real pumpkins for your centerpiece as long as they are not too ripe and have a sturdy base to hold the floral foam block. Just be sure to take care of them properly to keep them looking fresh.
How Long Will My Pumpkin Centerpiece Last?
With proper care, your pumpkin centerpiece can last anywhere from a few days to a week. If using real flowers, they may wilt after a few days, but artificial flowers can last longer with regular dusting and cleaning. Remember to keep an eye on the foam block and add water as needed if you’re using real flowers.
Can I Use Different Types of Containers Besides Pumpkins?
Absolutely! You can use any container that is sturdy enough to hold the floral foam block and fits your desired aesthetic. Some examples include hollowed-out gourds, wooden boxes, or even a vintage vase. Get creative and think outside the pumpkin!
What Other Seasonal Elements Can I Add to My Centerpiece?
Besides flowers and foliage, you can incorporate other seasonal elements like branches, twigs, feathers, or dried grasses into your centerpiece. These can add texture and interest to your arrangement.
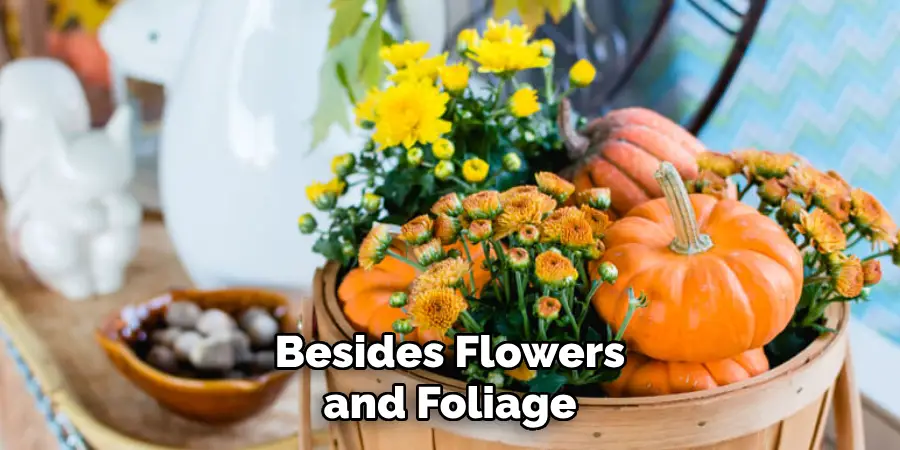
You can also use seasonal fruits such as apples or pears for a unique twist on a fall centerpiece. Just make sure they are not too ripe and will hold up with the flowers. Happy arranging! And there you have it, everything you need to know to create a stunning pumpkin centerpiece for your Thanksgiving table.
Conclusion
In conclusion, making a pumpkin centerpiece is a fun and creative way to add a festive touch to your Thanksgiving celebrations. By avoiding common mistakes and following these tips, you can create a unique and beautiful arrangement that will impress your guests.
With the right techniques on how to make a pumpkin centerpiece, tools, and creativity, you can make a beautiful pumpkin centerpiece that will impress your guests and add a special touch to your Thanksgiving celebrations.
Remember to avoid common mistakes like using a weak base or forgetting to care for your flowers, and don’t be afraid to experiment with different elements and designs. Have fun and happy crafting! Now go forth and create a centerpiece that will be the talk of your Thanksgiving dinner.

