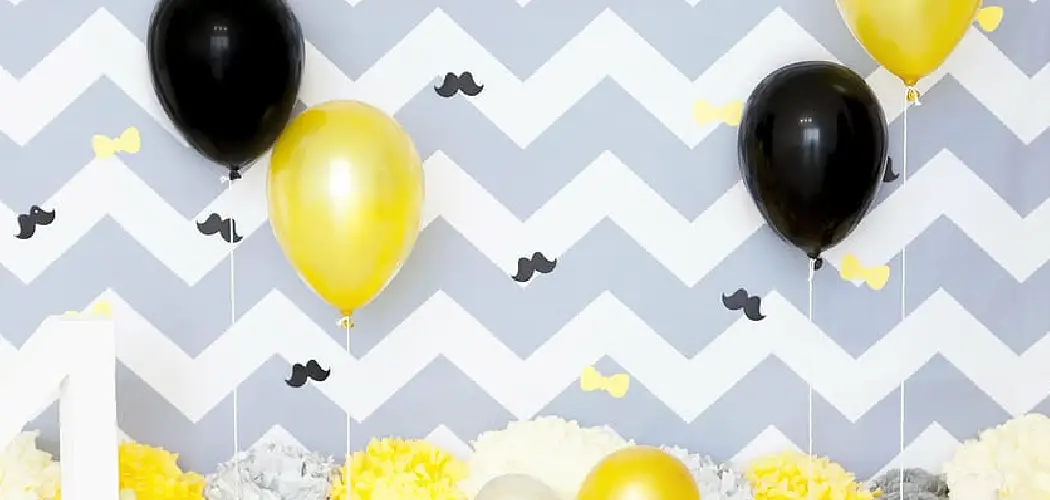
Welcome! Over the past few years, photo booths have become incredibly popular at weddings, parties, and events. Whether you’re looking to add some fun and unique memories to your upcoming celebration, or want to dive into this DIY trend yourself, creating your custom photo booth backdrop is easier than you might think.
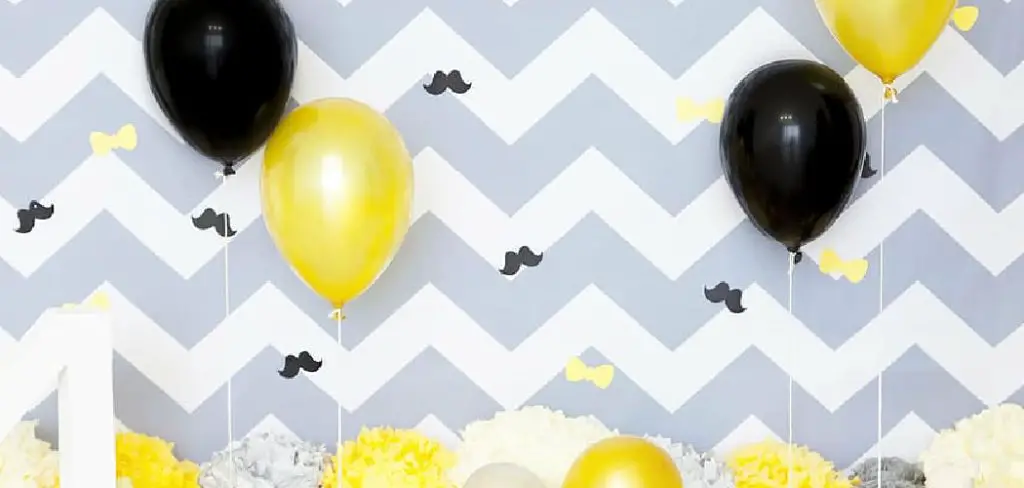
In this post, I’ll walk you through the simple steps on how to make a photo booth backdrop using affordable and accessible materials you likely already have lying around. By following along with the tutorial, you’ll have a stunning backdrop ready to add memorable impact to your next gathering without breaking the bank. Let’s get started!
Tools and Materials You Will Need to Make a Photo Booth Backdrop
- A sturdy frame for support (e.g. PVC pipes, wooden dowels)
- Curtains or fabric of your choice
- Scissors
- Measuring tape or ruler
- Zip ties or string
- Decorative elements (optional) such as balloons, streamers, or flowers
- A camera or phone to take photos
Step-by-step Guidelines on How to Make a Photo Booth Backdrop
Step 1: Choose Your Frame
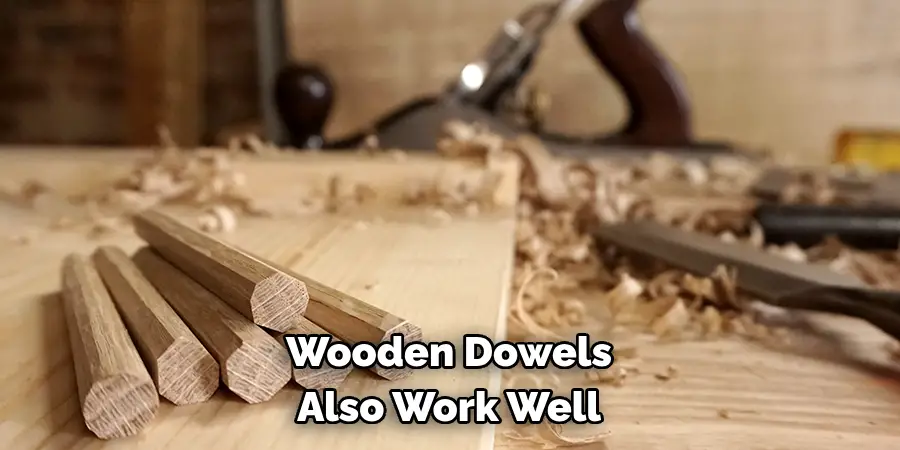
The first step is to determine the size and shape of your photo booth backdrop frame. PVC pipes are a popular choice as they are lightweight, affordable, and can easily be cut to any desired length. Wooden dowels also work well but may require more support if you plan on using heavier fabrics. Choosing a frame that is both sturdy and portable will make it easier to transport and store your photo booth backdrop for future use.
Step 2: Measure and Cut Your Fabrics
Using your measuring tape or ruler, measure the dimensions of your frame to determine how much fabric you will need. Remember to factor in enough length and width for any desired draping effect. Cut your fabric to size, leaving an extra 2-3 inches on each side for hemming. Measuring and cutting your fabrics accurately will ensure clean, professional-looking edges.
Step 3: Hem the Edges
Fold over the extra fabric on each side and secure it with hem tape or heat bond adhesive. Ironing the hems for a clean finish is recommended but not required. You can also use fabric glue or sewing to hem your edges if preferred. Heming the edges will prevent fraying and give your photo booth backdrop a polished look.
Step 4: Assemble Your Frame
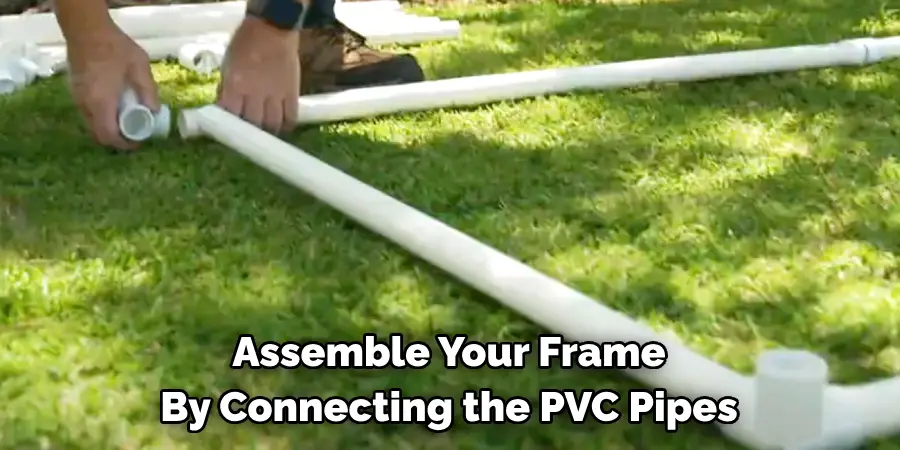
Once your fabric is ready, assemble your frame by connecting the PVC pipes or wooden dowels using the appropriate connectors. For added stability, secure the joints with zip ties or string to ensure they don’t come apart when in use. If you’re using a freestanding frame, make sure to place it on a flat surface that can support its weight.
Step 5: Hang and Drape Your Fabric
With your frame assembled, drape the fabric over the top and sides of the structure. Use zip ties or string to secure the fabric in place at various points along the frame. You can also incorporate decorative elements like balloons, streamers, or flowers for added flair. Get creative and have fun with it. If you’re using a backdrop stand, simply attach the fabric to the frame with clips or clamps.
Step 6: Test and Adjust
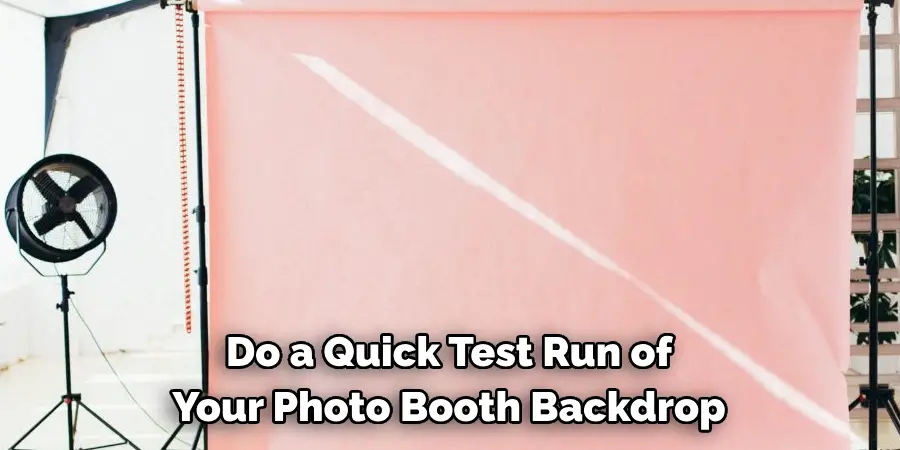
Before your event, do a quick test run of your photo booth backdrop to ensure everything is secure and looks how you want it to. This will also give you a chance to make any necessary adjustments before guests arrive. Make sure to leave enough space for people to stand in front of the backdrop and test your camera angles to get the best shots.
Step 7: Take Photos and Enjoy!
Your photo booth backdrop is now complete, and it’s time to start taking photos! Simply have guests stand in front of the backdrop and snap away. Encourage people to use any props you have available to add some fun and unique touches to their photos. Don’t forget to have a designated area for guests to share their photos on social media using your event hashtag or tag you directly. This will help capture the memories and spread the word about your awesome photo booth backdrop.
Following these simple steps, you can easily create a customized photo booth backdrop that will be the talk of your next event. Remember to have fun and get creative with your design, and don’t be afraid to experiment with different fabrics, colors, and decorations. Happy DIY-ing!
Additional Tips and Tricks to Make a Photo Booth Backdrop
1. If you want to add a pop of color to your backdrop, consider using different colored streamers or ribbons instead of just one color. This will give your backdrop a more dynamic look and make your photos stand out.
2. For a more unique and personalized touch, try using props or decorations that reflect the theme of your event. For example, if you’re hosting a birthday party, you can use cutouts of balloons or birthday hats to add a fun element to your backdrop.
3. Another idea for adding depth and texture to your backdrop is by using different materials such as lace, tulle, or even sequin fabric. These materials can create a stunning effect in photos and make your backdrop look more professional.
4. To avoid any wrinkles or creases on your backdrop, make sure to iron or steam the fabric before hanging it up. This will ensure a smooth and polished look in your photos.
5. Lighting is key when it comes to taking good photos. Make sure to test out the lighting in your photo booth area beforehand and adjust accordingly. You can also add string lights or LED lights behind your backdrop for an extra special touch.
6. If you want to create a more interactive experience for your guests, consider adding a chalkboard or whiteboard backdrop. This will allow them to write messages or draw pictures in their photos, making it a fun and memorable addition to your event.
7. Don’t be afraid to get creative with your backdrop by using unconventional materials such as balloons, paper flowers, or even old records. These unique elements will make your backdrop stand out and add a fun twist to your photos.
8. When it comes to the size of your backdrop, bigger is usually better. A larger backdrop will give you more room to work with and allow for group photos as well.
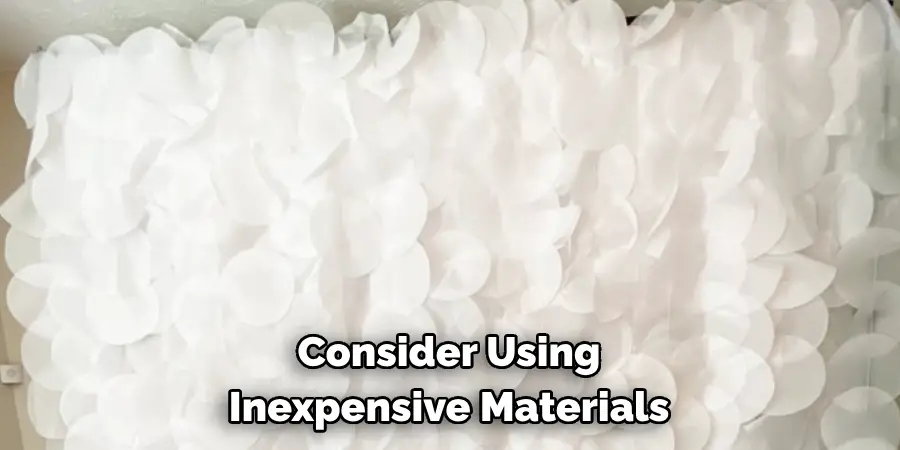
9. If you’re on a budget, consider using inexpensive materials such as plastic tablecloths or tissue paper to create a colorful and budget-friendly backdrop. These materials are easy to find and can be cut into different shapes for added interest.
10. Lastly, don’t forget to have fun with your photo booth backdrop! This is a great opportunity to let your creativity shine and add a personal touch to your event. So don’t be afraid to try out different ideas and have fun while doing it.
Following these tips and tricks will help you create a stunning and unique photo booth backdrop that will make your event even more memorable. So get creative and have fun with it! Happy snapping!
Frequently Asked Questions
Why Should I Make My Photo Booth Backdrop?
Making your photo booth backdrop allows you to customize the design and theme according to your event or personal preferences. It can also be more cost-effective compared to renting or purchasing a pre-made backdrop. Additionally, the process of making a photo booth backdrop can be a fun and creative activity for you and your friends or family to do together.
How Long Does It Take to Make a Photo Booth Backdrop?
The time it takes to make a photo booth backdrop will depend on the complexity of the design and your crafting skills. However, most backdrops can be completed in an hour or less. If you are working with more elaborate materials or designs, it may take longer.
Do I Need Any Special Skills to Make a Photo Booth Backdrop?
No, you do not need any special skills to make a photo booth backdrop. Basic crafting and cutting skills are all that is required for most backdrops. However, if you want to create more elaborate designs or use advanced techniques, it may be helpful to have some experience with crafting or sewing.
Can I Reuse My Photo Booth Backdrop?
Yes, you can reuse your photo booth backdrop for future events or parties. As long as it is made with durable materials and stored properly, you should be able to use it multiple times. You may also want to consider making a few different backdrops to rotate between events.
Are There Any Safety Precautions I Should Take When Making a Photo Booth Backdrop?
When working with any materials, it is always important to practice proper safety precautions. This can include using sharp tools carefully and keeping them out of reach of children, wearing protective gear such as gloves or goggles, and following instructions for any potentially hazardous materials.
Make sure to also work in a well-ventilated area and clean up any messes promptly to avoid accidents. Overall, use common sense and caution when crafting your photo booth backdrop. So, it is always important to be safe rather than sorry! Keep these tips in mind and have fun creating your unique photo booth backdrop.
Conclusion
Now you know how to make a photo booth backdrop! Whether you are planning a special event, hosting a party, or just want to add some personal touches to your photo booth experience, making your backdrop is an easy and enjoyable way to do so. With these tips and ideas in mind, you can get started on creating your very own custom photo booth backdrop today. Happy crafting!

