
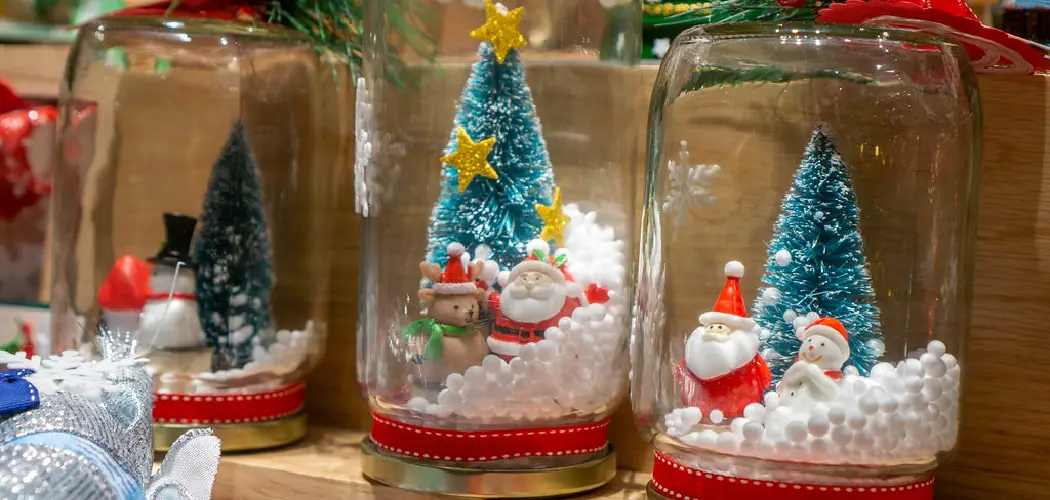
Do you want to give your home a festive and warm holiday atmosphere? Make it even more special by setting up your unique mini Christmas tree! It’s easier than you think, and with just a few basic supplies, you can have an adorable little tree that will bring the spirit of Christmas into any room.

Whether you’re limited on space or just looking for a fun and creative project, making your own mini Christmas tree is the perfect solution. Additionally, it can also serve as an excellent gift for friends and family. Just follow these simple steps and get ready to spread some holiday cheer!
Read on for some helpful tips on how to make a mini christmas tree for this holiday season. So let’s get started!
What Will You Need?
To make a mini Christmas tree, you will need the following supplies:
- A Styrofoam cone
- Green felt or fabric
- Scissors
- Hot glue gun and glue sticks
- Small ornaments, ribbons, or other decorations of your choice
10 Easy Steps on How to Make a Mini Christmas Tree
Step 1: Cut Out Felt/Fabric
Start by cutting out strips of green felt or fabric. The strips should be about 1.5 inches wide and long enough to cover the entire cone. Using felt, you can also cut out small triangles to resemble tree branches.
Step 2: Glue the Base
Using a hot glue gun, start at the base of the cone and wrap one end of a fabric strip around it, securing it with glue. Continue wrapping until you reach the top of the cone, gluing as needed to keep the fabric in place. Try to make sure the fabric is smooth and not wrinkled.
Step 3: Add Additional Layers
Once you’ve completed the base, it’s time to add volume to our mini Christmas tree. Take your triangular cutouts or additional fabric strips and start gluing them from the bottom of the cone upwards.

Overlap these extra layers a bit to give the appearance of dense, fluffy branches. Don’t forget to rotate the tree as you go along to ensure it’s evenly covered.
Step 4: Add Decorations
After the glue has dried and your tree is covered in fabric, it’s time to add some sparkle with decorations. Use a hot glue gun to secure small ornaments, ribbons, or other decorations of your choice onto your mini Christmas tree. Try to distribute these evenly for a well-balanced look.
Remember, it’s your tree – so feel free to get creative and customize it to your liking. This personal touch will make your mini Christmas tree truly special and festive.
Step 5: The Finishing Touch
Once you’ve decorated your tree to your satisfaction, it’s time to add the final flourish: the tree topper! You can choose anything that appeals to you, but traditional options include stars or angels. Consider a festive bow or a tiny Santa hat if you’re going for a more whimsical look.
Once you’ve selected your topper, use your hot glue gun to secure it to the top of your mini Christmas tree. And there you have it – your mini Christmas tree, ready to spread holiday cheer!
Step 6: Display Your Mini Christmas Tree
Now that your mini Christmas tree is complete, it’s time to find the perfect spot to display it. Consider places like your desktop, bedside table, or dining table. Wherever you place it, ensure it’s somewhere it can be easily seen and admired. You could even put it on a rotating stand for a fun, dynamic effect.
Remember, the aim is to add a festive touch to your space, so choose a location that helps achieve this.
Step 7: Care and Maintenance
Your mini Christmas tree, although small, still needs love and care. Keep it away from open flames or heat sources, as the materials can be flammable. Also, if you have used battery-operated fairy lights, remember to turn them off when not in use. This not only conserves energy but also prolongs their lifespan.

When the festive season is over, carefully store your mini Christmas tree in a dry and cool place to keep it looking its best for many Christmases.
Step 8: Share Your Creations
What’s the fun in creating something if you can’t show it off? Once you’ve finished making your mini Christmas tree, consider sharing photos of your masterpiece with friends and family on social media. You could also invite them over to see it in person. They will surely be impressed with your creativity and might even be inspired to create their own!
Step 9: Reuse and Recycle
Your mini Christmas tree doesn’t have to be a one-time holiday decoration. The beauty of making your decorations is that they can be easily updated and reused. After the holiday, you can remove the decorations and store the fabric-covered cone for next year.
When the next holiday season arrives, you can give your mini tree a new look with different ornaments, ribbons, or colors. It’s an eco-friendly and budget-conscious option that allows you to keep the holiday spirit alive year after year.
Step 10: Enjoy the Festive Season
Finally, and most importantly, enjoy the festive season. Your mini Christmas tree is not just a craft project; it’s a symbol of holiday spirit, joy, and creativity. It’s a reminder of the time and care you’ve put into bringing a piece of the holiday magic into your home or workspace.
So, as you gather around your mini tree, take a moment to appreciate your efforts, the beauty of your creation, and the joy of the season. After all, Christmas is all about creating happy memories and spreading cheer, isn’t it?
Following these ten steps, you can make your own mini Christmas tree and enjoy a festive touch in your home or workspace.
5 Additional Tips and Tricks

- Choose the Right Materials: When making a mini Christmas tree, the materials you choose can make a big difference in the final result. Consider using materials like small branches, paper, or felt for a unique and personalized touch.
- Decorate with Care: In the case of a mini Christmas tree, less is more. Consider using small, delicate decorations like mini baubles, string lights, and tinsel to avoid overwhelming the tree.
- Sturdy Base: Ensure your mini Christmas tree has a sturdy base to prevent it from toppling. This could be a small pot filled with rocks, a mini tree stand, or even a heavy ornament.
- Experiment with Colors: Don’t feel restricted to traditional green and red only. Experiment with different colors and themes for your mini Christmas tree to make it unique.
- Proper Storage: After the holiday season, properly store your mini Christmas tree to ensure it can be reused for years. Wrap it carefully and keep it in a cool, dry place.
With these additional tips and tricks, you can take your mini Christmas tree to the next level. Remember to have fun and let your creativity shine while making your miniature holiday masterpiece!
5 Things You Should Avoid
- Avoid Oversizing Decorations: Avoid using oversized decorations when decorating the mini Christmas tree. These can make the tree look crowded and unbalanced. Stick with miniatures to maintain a harmonious look.
- Remember Stability: Pay attention to the stability of your tree. A poorly balanced tree can easily topple over, causing a mess or damaging the decorations.
- Avoid Single Color Schemes: While a single color scheme may seem appealing, it can often make your mini Christmas tree look flat and uninteresting. Try to incorporate multiple complementary colors for a vibrant look.
- Do Not Rush: Crafting a mini Christmas tree is delicate, so avoid rushing through it. Take your time positioning each decoration carefully to achieve the best effect.
- Avoid Storing in Damp Areas: Never store your mini Christmas tree in damp or humid areas, as this can cause the materials to degrade or mold. Always opt for an excellent, dry storage space.
With these tips, you can avoid common mistakes and create a stunning mini Christmas tree that will impress your friends and family.
5 Different Theme Ideas
- Night Sky: Create a mini Christmas tree inspired by the night sky with deep blue decorations, silver stars, and twinkling lights.
- Woodland Wonderland: Bring the outdoors indoors with a woodland-themed mini Christmas tree adorned with pinecones, acorns, and miniature animal figurines.
- Candy Cane Lane: Embrace the traditional red and white candy cane colors with a mini Christmas tree decorated with striped ornaments and peppermint candies.
- Winter Wonderland: Go for an all-white winter wonderland theme with snowflake decorations, silver accents, and fairy lights to create a magical miniature scene.
- Gingerbread Delight: Use gingerbread-themed decorations like cookies, mini houses, and frosting to create a charming mini Christmas tree that will make your mouth water.
There are endless possibilities for themes for mini Christmas trees, so get creative and have fun with it!

Conclusion
How to make a mini christmas tree is a great project you and your family can do together this season. By including decorations made from everyday items around the house, you can make it unique and special for your home.
When finished, you’ll have a tree that stands proudly alongside other trees in the room, providing a cherished reminder of the holidays and time spent with loved ones.
So don’t delay any further – get out there and start crafting! Spend quality time creating something extraordinary with your family this holiday season.
This miniature tree may even become a building block for years, creating a fantastic yet unbreakable holiday tradition. Happy crafting!