
Have you ever wanted to add that Pinterest-like charm to your home during the holidays or any special occasion? Magnolia garlands are the perfect way to add a touch of Southern elegance to your home décor.
If you want to make one but don’t know where to start, don’t worry! This step-by-step guide has everything you need to create the perfect timeless piece! So, keep reading to learn more about how to make a magnolia garland.
Can You Make a Magnolia Garland?
Magnolia garlands are a beautiful and festive addition to any home décor. Following a few simple steps, you can create your stunning magnolia garland to add a touch of elegance to your space.
To make a magnolia garland, begin by gathering fresh or faux magnolia branches and floral wire. Then, measure the length of the area you want to adorn and begin attaching the branches to the wire, layering each branch until you have the desired thickness.
Once complete, hang your garland and enjoy the perfect touch of natural beauty. With a little effort, you can make a magnolia garland to make your home feel warm, welcoming, and full of holiday cheer.
Why Should You Make a Magnolia Garland?
If you want a unique way to decorate your home this holiday season, consider making a magnolia garland. Magnolia leaves have a natural shine that adds a festive touch to any room, and the garland’s muted green tones are perfect for those looking for a more subtle approach to decorating. Not to mention magnolia garlands are both affordable and easy to make.
Simply gather a few supplies like floral wire, snips, and, of course, lots of magnolia leaves. With some patience, you’ll have a stunning garland that will last all season long. So why not step away from the traditional red and green garlands this year and give the magnolia garland a try? Your holiday guests will be impressed with your creativity and eye for design.
The Perfect Step-by-Step Guide: How to Make a Magnolia Garland
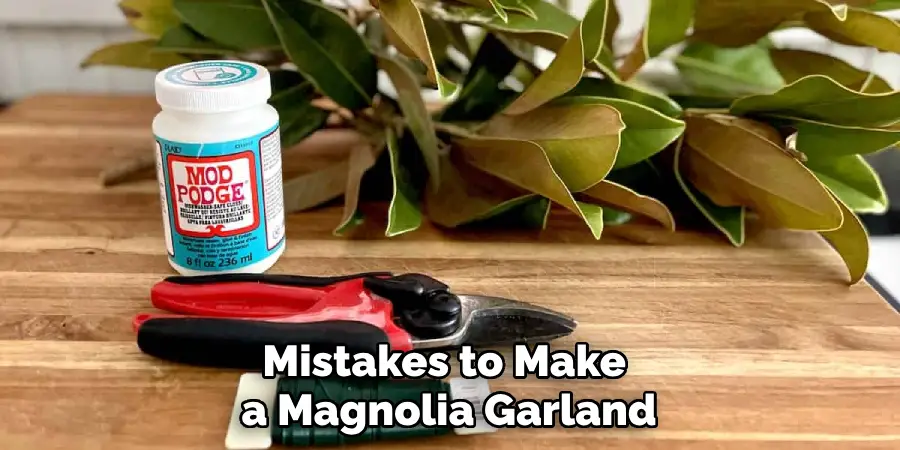
Step 1: Gather Materials
First, make sure you have all of your materials ready to go. You will need about ten fresh magnolia branches, floral wire, wire cutters, and a ribbon of your choice. Select magnolia branches with sturdy leaves that are glossy green on the top and rusty brown underneath.

Step 2: Prepare the Branches
Next, remove any excess leaves from the branches to create a cleaner appearance. Then, cut the branches into sections that are around the same length. The pieces can range between 12-24 inches in length, depending on what size garland you would like.
Step 3: Assemble the Garland
Once you have all of the pieces prepped and ready to go, it’s time to start creating the garland. Begin by taking your first magnolia section and wrapping a piece of floral wire around the first branch.
Secure the floral wire tightly to ensure that the branches stay in place. Then, take your next section and overlap it with the first. Twist the wire tightly around the second branch until you reach the desired length.
Step 4: Adding the Finishing Touches
Now that you have your garland assembled, it’s time to make it truly yours. There are many ways to add a personal touch to your magnolia garland. For example, add some string lights to create a cozy ambiance or attach pinecones for a rustic feel. Adding a ribbon around the garland can also be a great touch.
Step 5: Hanging the Garland
Once you have added your personal touches, it’s time to hang your garland. Use strong adhesive hooks or nails to secure the garland to your desired location. Make sure to test the weight of the branches before hanging them so that they don’t fall and damage any surfaces.
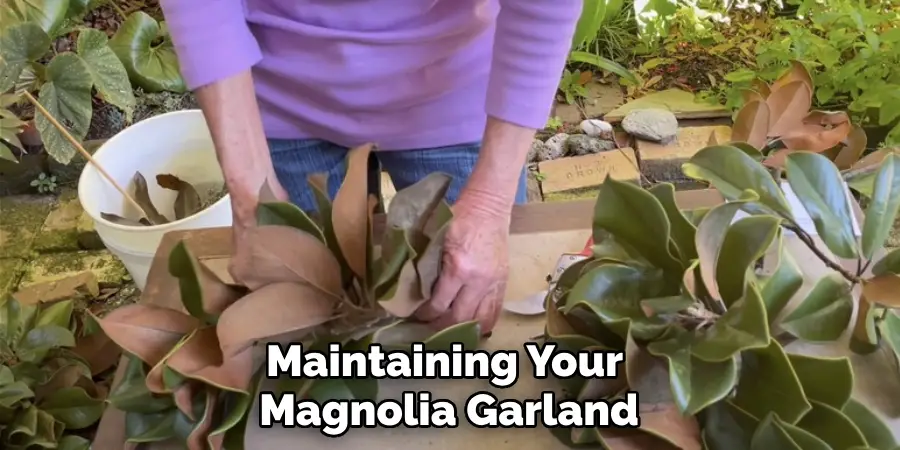
Step 6: Maintaining Your Garland
To keep your magnolia garland looking fresh and beautiful, lightly mist the leaves with water every few days. This will help to prevent them from becoming dry and brittle.
Step 7: Enjoy!
Congratulations, you have successfully made a beautiful magnolia garland! Now it’s time to sit back, relax, and enjoy the festive atmosphere that your garland has created. You can also experiment with different variations of this technique, such as adding other greenery or flowers to create a unique look. Have fun and happy decorating!
5 Considerations Things When You Need to Make a Magnolia Garland
1. Choose the Right Magnolia Blooms
When making a magnolia garland, it is important to choose the right blooms. Look for blooms that are firm and plump with no brown spots or wilting petals. If you are using fresh magnolia blooms, pick them just before you use them so they will stay fresh for as long as possible.
Additionally, if you are using artificial magnolia blooms, make sure to check that they look realistic and have no discoloration or damage.
2. Decide on a Length
Once you have chosen your magnolia blooms, decide how long you would like your garland to be. Measure out the desired length of your garland and cut any excess stems off the bottom of the blooms so they fit within this length. Make sure to leave enough stem length on each bloom so that it can be secured in place later on.
3. Create a Base
The next step is to create a base for your garland by attaching small pieces of wire or string in a loop shape. This will support the rest of your garland and help keep it from drooping over time. You can also use floral tape or hot glue instead of wire or string if desired.
4. Attach Your Magnolia Blooms
Once your base is ready, start attaching your magnolia blooms one by one onto the base with floral tape or hot glue until you have reached your desired length. Make sure to secure each bloom firmly into place so that it does not move around when handling the garland later on. Add extra greenery, such as eucalyptus leaves, between each bloom if desired for an extra decorative touch!
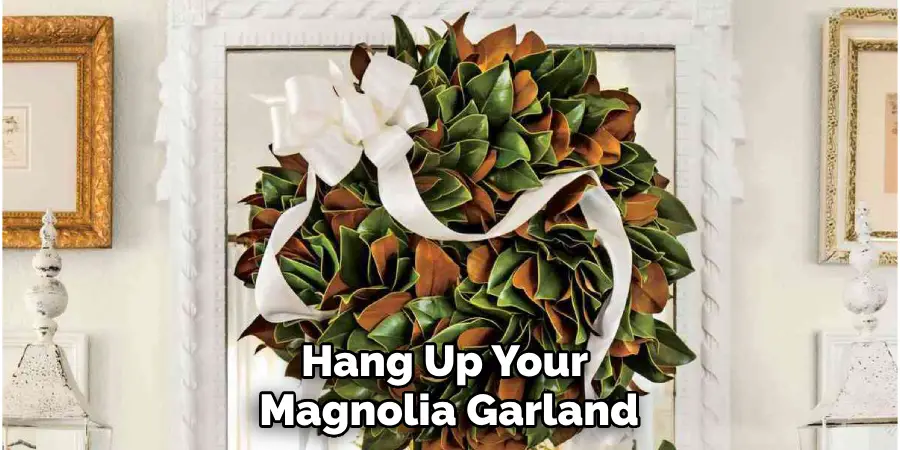
5. Hang Up Your Magnolia Garland
Finally, once all of your blooms are securely attached, hang up your magnolia garland wherever you would like! This could be above an archway at an outdoor wedding ceremony, along a staircase railing at home, or anywhere else where you need some extra decoration!
5 Benefits of Making a Magnolia Garland
1. Affordable
Making a magnolia garland is an affordable way to bring a touch of nature into your home. Magnolia branches are abundant in many parts of the world, and they can be collected for free or purchased at a local florist or garden center. The cost of making a garland can be kept low by using natural materials such as twine, yarn, or ribbon to tie the branches together.
2. Versatile
A magnolia garland is incredibly versatile and can be used in many different ways. It can be draped around doorways, mantles, staircases, or window frames to add a touch of beauty and elegance to any space. It can also be used as a table centerpiece or hung from the ceiling for an eye-catching display.
3. Easy to Make
Making a magnolia garland is easy and requires no special tools or skills. All you need is some magnolia branches, twine, yarn, or ribbon, and scissors to cut the branches into manageable lengths. Once you have gathered all the needed materials, simply tie the branches together with your chosen material until you have created your desired length of garland.
4. Long Lasting
Magnolia garlands are incredibly long-lasting and durable when made correctly. Magnolias are known for their strength and durability, so if your garland is made with quality materials, it should last for several years without fading or deteriorating significantly in quality over time.
5. Aromatic
The sweet scent of magnolias will fill your home when you make a magnolia garland! The aroma of fresh magnolias is known for its calming effects and has been used in aromatherapy treatments for centuries due to its soothing properties.
Creating your own fragrant garland will not only add beauty to your home but also provide you with an extra layer of relaxation every time you enter the room!
Some Common Mistakes People Make When Trying to Make a Magnolia Garland
Making a magnolia garland seems straightforward, but it’s easy to make mistakes that can leave you with an unsightly mess instead of a beautiful decoration. One common mistake is selecting magnolia branches that are too young or too old, as they may not have the ideal texture and may not last long.
Another mistake is failing to prune the branches properly, which can lead to uneven or sparse foliage on the garland. Lastly, not using enough wire to secure the branches together can result in a flimsy garland that falls apart easily. However, with a little patience and attention to detail, you can avoid these errors and create a stunning magnolia garland that will impress your guests.
Conclusion
In summary, creating a magnolia garland can be the perfect addition to any home, especially during times of festivity! By following this step-by-step guide, you can create a beautiful and timeless piece that will last for weeks and bring some Southern charm to your home.
Remember to have fun and add personal touches to make it your own! We hope you found this guide helpful, and we hope the finished product impresses you and your guests. Thanks for reading our post about how to make a magnolia garlan