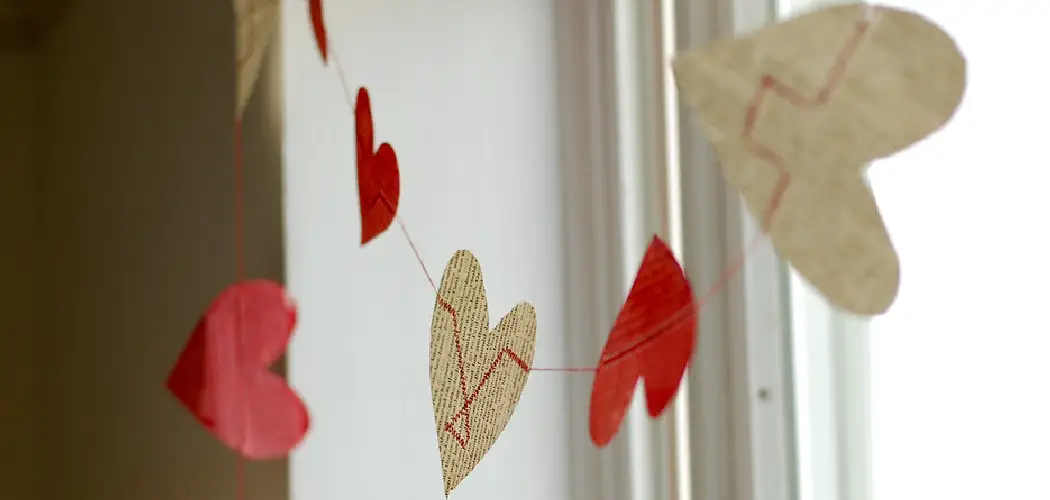
Are you looking for a fun and easy DIY project to spruce up your home decor or add some handmade charm to a special event? Look no further than this step-by-step guide on how to make a heart garland paper! Not only is this craft budget-friendly, but it also allows for personalization and creativity.
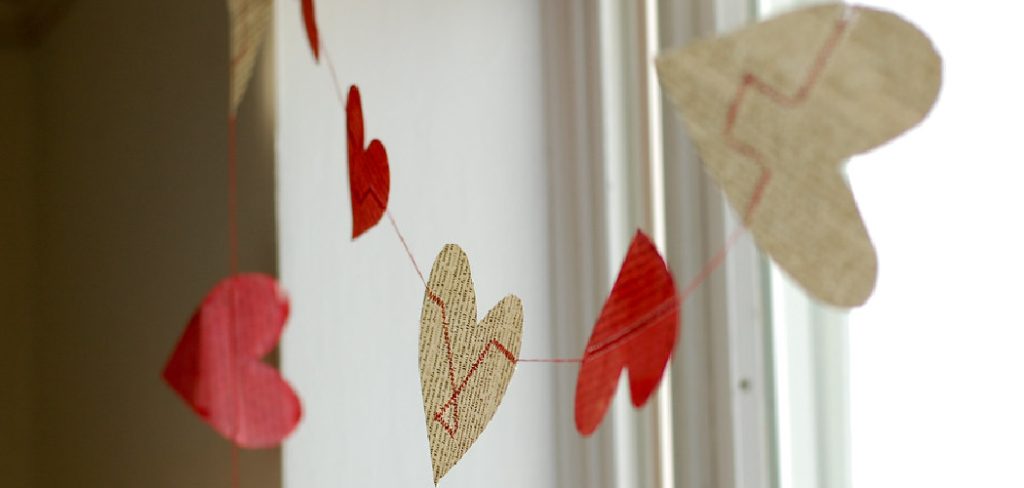
Whether you are an experienced crafter or just starting, follow along as we explore the simple yet beautiful process of creating your very own heart garland using only paper, scissors, and glue. Get ready to bring some love into any space with this versatile and delightful decoration.
Tools and Materials You Will Need to Make a Heart Garland Paper
- Colored or patterned paper (preferably cardstock)
- Scissors
- Glue or double-sided tape
- Pencil
- Ruler
- Heart-shaped template (optional)
- String or ribbon (for hanging)
Step-by-step Guidelines on How to Make a Heart Garland Paper
Step 1: Choose Your Paper
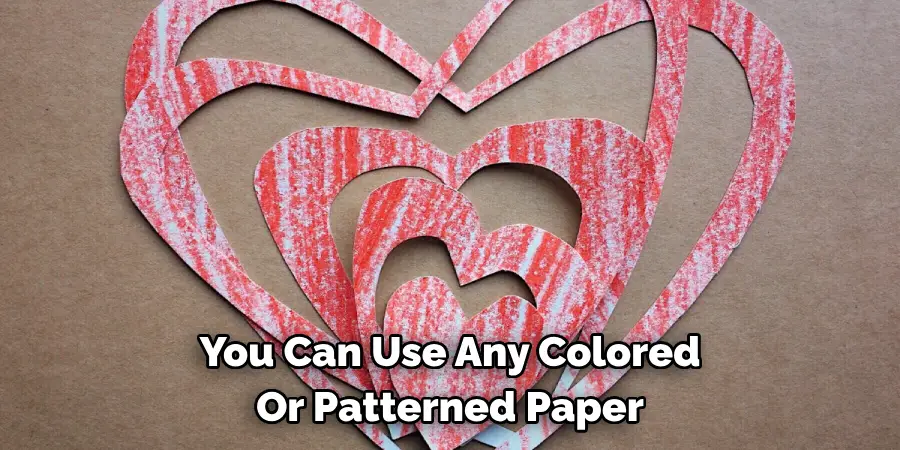
The first step in any paper craft project is selecting the right type of paper. For this heart garland, you can use any colored or patterned paper that suits your taste. If using cardstock, make sure it is not too thick as it may be difficult to fold and cut. You can also mix and match different colors or patterns for a more vibrant and playful look.
Step 2: Measure and Cut the Paper
Using your ruler and pencil, measure and mark out squares on your paper. The size of the square will determine the size of your heart. For example, if you want a garland with smaller hearts, use smaller squares (around 3 x 3 inches). Once you have marked out your squares, cut them out carefully using scissors. Measuring and cutting the squares may take some time, but it is an essential step for ensuring uniform and neat hearts.
Step 3: Fold the Squares
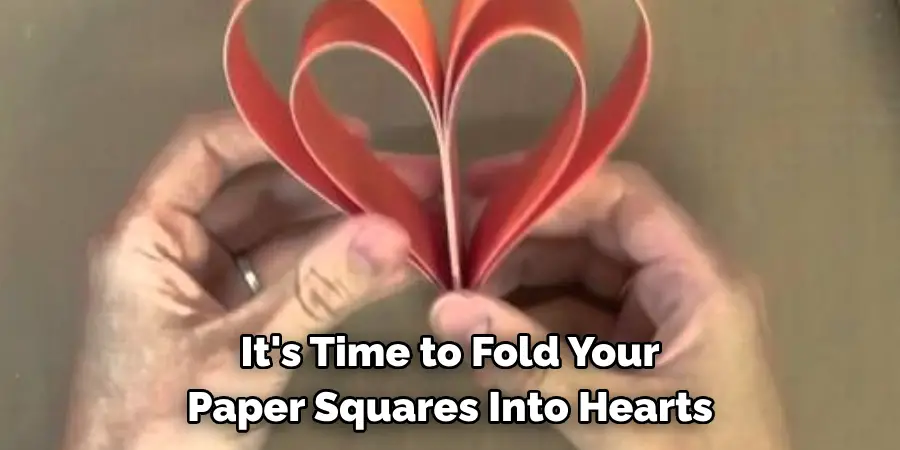
Now it’s time to fold your paper squares into hearts. If you are comfortable with freehand, you can fold a heart shape without any template. However, if you want more consistent and symmetrical hearts, use a heart-shaped template (which you can easily make by folding a square piece of paper in half and cutting out a half-heart shape). Place the template over your paper square, aligning the top edge with the folded edge of your paper. Trace the outline of the template onto your paper and cut it out. Repeat this step for all your paper squares.
Step 4: Glue or Tape Together
Once you have your hearts ready, it’s time to assemble your garland. Take two hearts and apply some glue or double-sided tape on one half of each heart, leaving the top edge untouched. With the glue side facing inwards, place the two halves together and press down firmly. Repeat this step for all your hearts. Make sure to leave some space between each heart as you will need it for hanging the garland.
Step 5: Attach String or Ribbon
To complete your heart garland, attach a string or ribbon to the top edge of each heart. You can use tape or glue to secure the string in place. Leave enough length at both ends of the string for easy hanging. You can also add additional decorations such as beads or glitter to the string for a more festive touch. Make as many hearts as you want to achieve the desired length for your garland.
Following these easy steps, you can create a beautiful and unique heart garland that will add warmth and love to any space. Hang it in your room, use it as a backdrop for photos, or even give it as a heartfelt gift to someone special. Once you master the basic technique, feel free to experiment with different paper sizes, colors, and patterns to make each garland one-of-a-kind. Get creative, have fun, and spread the love with your handmade heart garland paper! Happy crafting!
Additional Tips and Tricks to Make a Heart Garland Paper
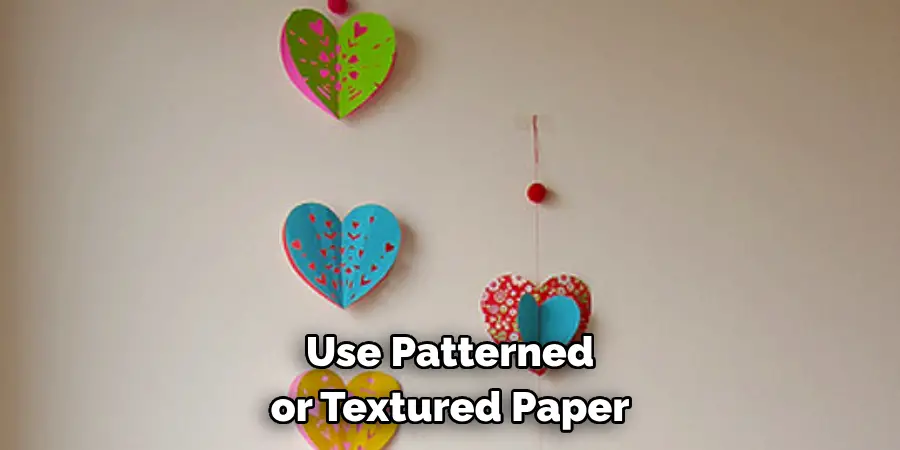
1. If you want your heart garland paper to be more colorful, use patterned or textured paper. This will add dimension and interest to your garland.
2. You can also experiment with different sizes of hearts to make your garland more interesting. Create smaller hearts for a delicate look or larger ones for a bold statement.
3. Add extra decorations such as glitter, sequins, or ribbon to your heart garland. These embellishments will make it stand out even more.
4. To personalize your garland, you can write messages or names on the hearts using markers, stickers, or vinyl lettering.
5. If you want to create a longer garland, simply attach multiple strands of hearts using string or ribbon.
6. Don’t limit yourself to just using paper for your hearts. You can also use materials such as felt, fabric, or even cardboard to create unique and textured hearts.
7. If you’re making a heart garland with children, involve them in the crafting process by allowing them to choose the colors and decorations for their hearts.
8. For a more eco-friendly option, instead of using new paper, repurpose old magazines or newspapers to create your hearts.
9. If you’re using a sewing machine to attach the hearts, try using different colored threads for a fun and colorful effect. You can also experiment with different stitching patterns.
10. Don’t be afraid to get creative and think outside the box when making a heart garland paper. There are endless possibilities and techniques you can use to make it unique and special.
Following these tips and tricks will help take your heart garland paper to the next level and make it a beautiful decoration for any occasion. Have fun crafting! So, don’t be afraid to try new things and see what works best for you. Happy crafting!
Things You Should Consider to Make a Heart Garland Paper
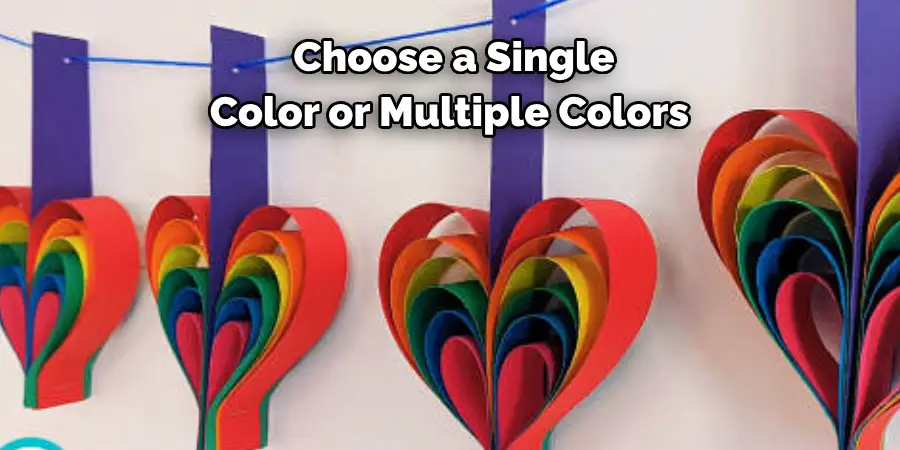
1. The first thing you should consider while making a heart garland paper is the color of the paper that you want to use. You can either choose a single color or multiple colors to make your heart garland more attractive and eye-catching. Choosing bright and vibrant colors like red, pink, purple, and gold will add a festive touch to your garland.
2. Next, you need to decide on the size of your heart. You can make large or small hearts depending on your personal preference and the space where you plan to hang the garland. If you are making a long garland, it may be better to stick with smaller hearts so that they don’t take up too much space.
3. Another important thing to consider is the type of paper you want to use. Regular construction paper or cardstock works well for making heart garlands. However, if you want to add a shiny or metallic touch to your garland, you can also use foil or glitter paper.
4. Before cutting out the hearts, make sure to have a template ready. You can either draw a heart shape on a piece of cardboard and cut it out or print out a heart template from the internet. This will ensure that all your hearts are uniform in size and shape.
5. Once you have chosen the color, size, and type of paper, it’s time to start cutting out your hearts. You can use scissors or a craft knife to cut through multiple layers of paper at once for faster results.
6. To make your garland more interesting, you can also add embellishments like glitter, stickers, or ribbons to each heart. This will make your garland stand out and give it a personalized touch.
7. After cutting out all the hearts, you can now start assembling your garland. Take a long piece of string or ribbon and place the hearts on it, leaving some space between each heart. You can also use a needle to thread the string through the hearts if they have holes.
8. Once all the hearts are on the string, you can adjust their placement and spacing as desired. Make sure to leave extra string at both ends so that you can hang your garland easily.
9. Finally, find a suitable place to hang your heart garland, such as a mantelpiece, doorway, or window. You can also add additional decorations like fairy lights or tassels to make your garland even more eye-catching.
Following these considerations, you can easily create a beautiful heart garland paper that will add a festive touch to any occasion or holiday. Get creative with your color and embellishment choices, and have fun making your unique garland that everyone will admire! Happy crafting!
Conclusion
All in all, knowing how to make a heart garland paper is a fun and easy way to add some festive charm to your home or event. With simple materials like paper, scissors and glue the possibilities of designs are endless.
The best part about making heart garlands is that you can customize them to fit any occasion or theme by simply changing the color or pattern of the paper used. It’s also a great activity for kids as it helps develop their fine motor skills and creativity. So next time you’re looking for a fun and budget-friendly way to decorate, give heart garland paper a try! Plus, handmade decorations add a personal touch that can’t be replicated by store-bought items.

