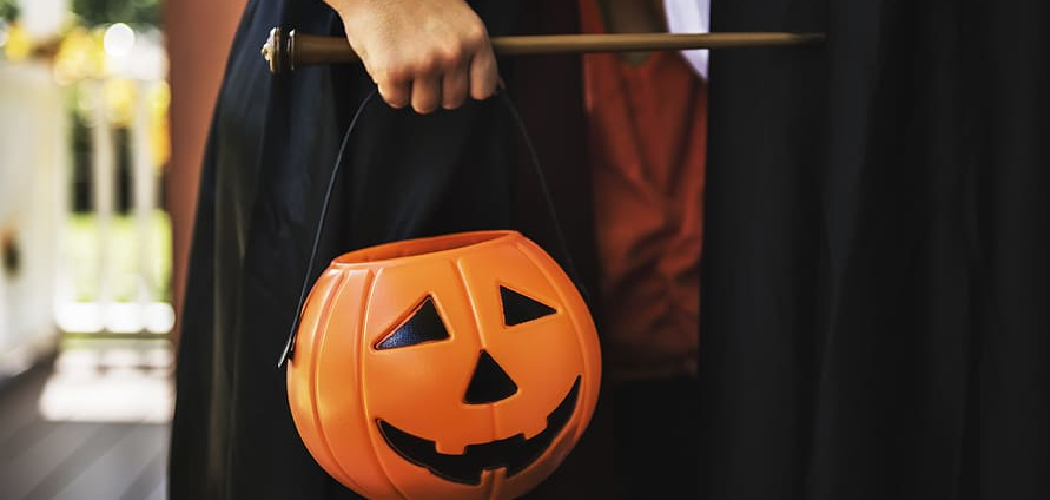
Are you getting ready for trick-or-treating? You’ll need the perfect bag for collecting your goodies! But why buy a store-bought bag when you can make one yourself? Here are the steps to making a spooky, personalized Halloween bag.
For those who want to dress up for Halloween, a festive bag is the perfect way to carry around all your candy and treats. Whether looking for something spooky or seasonal, making your own stylish DIY Halloween bag is easy. With minimal materials and some crafty creativity, this guide will show you how to create an eye-catching accessory that will last through your ghoulish celebrations!
You will need some stiff fabric (such as canvas), sewing thread, scissors, a ruler, and marking chalk. Read on to learn more about how to make a halloween bag.
What Will You Need
Before you start making your bag, gather the necessary supplies:
- Stiff fabric (such as canvas)
- Sewing thread
- Scissors
- Ruler
- Marking chalk
Once you have all the materials ready, it’s time to start!
10 Easy Steps on How to Make a Halloween Bag
Step 1: Cut the Fabric
Measure out two rectangles of fabric that measure 7” by 16” and cut them out. These will be the front and back of your bag. If you desire, you can make your bag larger by increasing the size of your rectangles.
Step 2: Sew Together
Place the two rectangles together with the wrong sides facing each other, then sew around three of the four edges using a 1/2 inch seam allowance. Leave the fourth edge open for turning later. Additionally, turn in the raw edges of your fabric at 1/4 inch so they won’t fray.
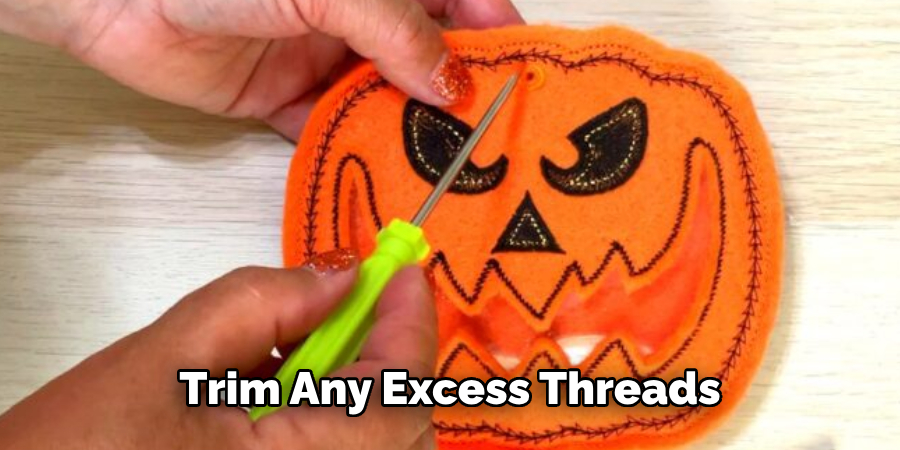
Step 3: Trim Seams
Trim any excess threads from your seams and clip them into corners so they lie flat once turned right side out. Try to keep your fabric as flat and precise as possible. You may want to redo your stitching if any edges don’t lie flat.
Step 4: Turn Right Side Out
Pull the right side of your fabric through the opening you left on the fourth edge. Gently push out all four edges so they lie flat with a ruler or chopstick, and take out any wrinkles. This will help your bag look smooth and professional.
Step 5: Make Handles
Cut two strips of fabric that are 2” wide by 15” long. Fold each strip in half lengthwise and press it flat with a warm iron. Sew along both sides, close to the raw edges, using a 1/4-inch seam allowance. Turn them right side out and press them flat again with an iron.
Step 6: Attach Handles
Place your bag front down on a flat surface and pin each handle 4 inches from each top corner of the bag. Sew down the handles, making sure to backstitch at each end. You can reinforce the stitching by going over it a few times.
Step 7: Make Bottom Corners
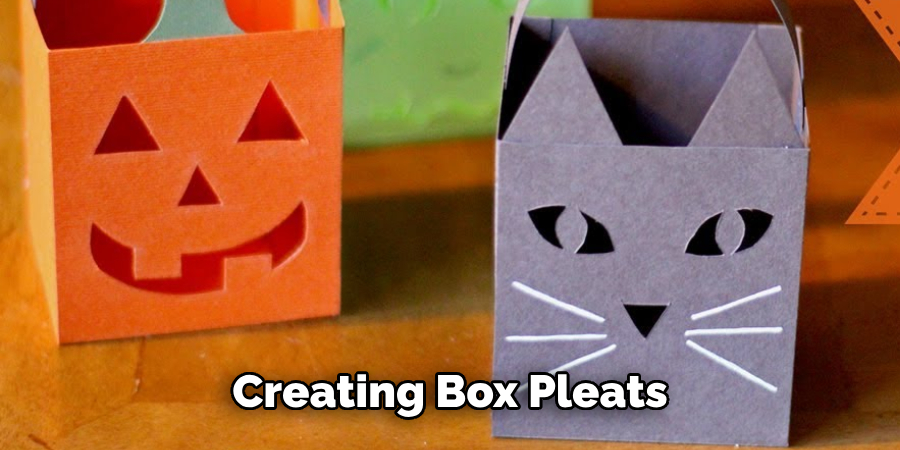
Fold each corner of your bag inwards so that the side seams meet the bottom seam and press flat with an iron. Measure 1” in from each corner and mark a line with chalk. Do this for both corners. Sew along these lines, creating box pleats on the bottom of your bag.
Step 8: Trim Excess Threads
Trim off any excess threads from your seams and make sure all your edges are pressed flat for a professional finish. Be careful not to cut too close to the stitch line. Otherwise, you may end up cutting your stitches.
Step 9: Add Decorations (Optional)
You can decorate your Halloween bag with fabric paint or other embellishments. If you’re using fabric paint, make sure to let your bag dry completely before moving on to the next step. Keep in mind that the decorations you choose will depend on your personal preference.
Step 10: Fill It Up!
Your Halloween bag is now ready to be filled with candy and treats! Whether you’re giving it away as a gift or using it for your trick-or-treating, this handmade bag will make collecting goodies so much more festive. Remember to take pictures of your awesome Halloween bag and share it with friends and family!
Following these simple steps, you have made your own personalized Halloween bag. So go on and show off your spooky creation!
5 Additional Tips and Tricks
1. Decorate the bag with spooky embellishments. You can use fabric markers, glow-in-the-dark paint, and sequins to bring your bag to life.
2. Add handles or straps for easy carrying. You can use ribbons, fabric strips, and even shoelaces to attach handles to the sides of the bag.
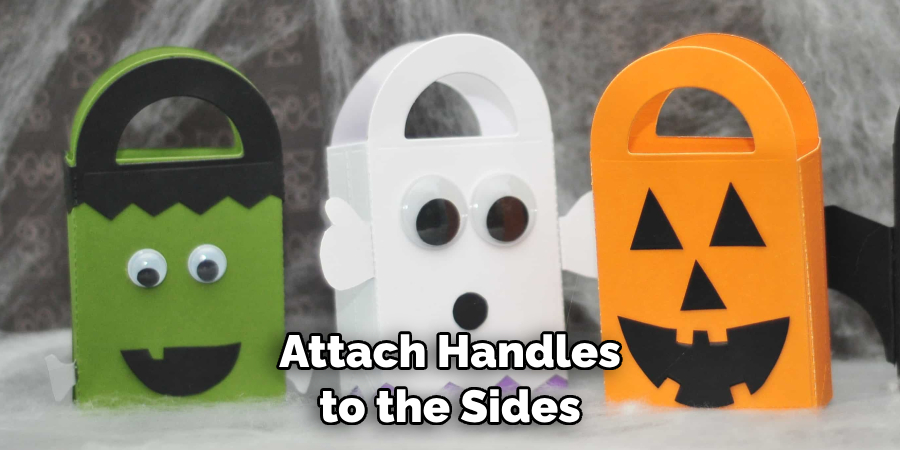
3. Use glow-in-the-dark paint or glitter to make the design stand out from a distance. This will give your bag an extra pop when trick-or-treating in the dark!
4. Attach pieces of felt or foam cutouts as decorations. For example, you can use black felt for bats and orange felt for pumpkins to create a spooky scene on the front of your Halloween bag.
5. Consider using reflective material such as tape, fabric, or sequins to make your bag visible when trick-or-treating in low light or at night. This will help keep you safe!
By following these tips and tricks, you can create the perfect Halloween bag for a spooktacular night of trick-or-treating! Have fun creating your unique design, and enjoy the holiday season!
6 Things You Should Avoid
1. Don’t use regular glue; it won’t hold up over time. Use fabric glue or a hot glue gun instead.
2. Avoid using heavy materials such as leather, suede, or canvas, as they make the bag too bulky to carry around. Opt for lighter materials such as cotton or polyester if you want a durable bag.
3. Don’t overload the bag with decorations; this will make it too bulky and difficult to carry for trick-or-treating.
4. Avoid using any material that is not fireproof in an emergency when carrying candles or other flammable items in your bag while out trick-or-treating.
5. Do not create a design that includes sharp edges or pointed objects like spikes that could cause injury if handled carelessly by children while out trick-or-treating.
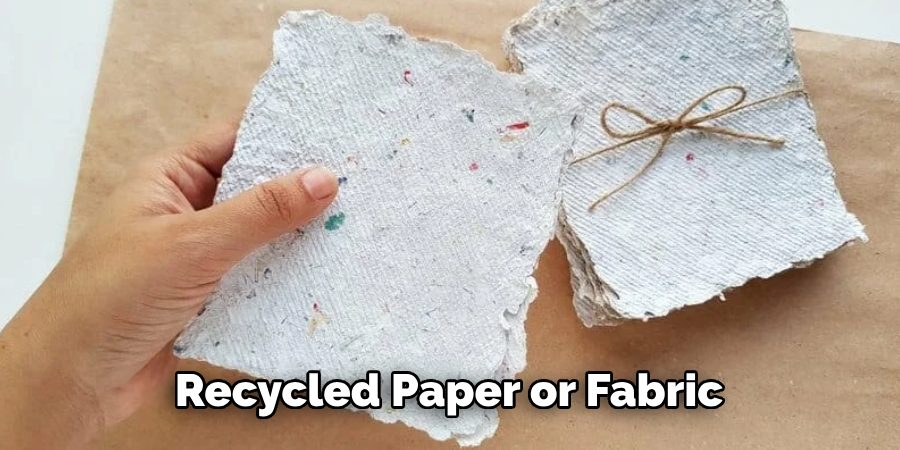
6. Do not use any toxic or hazardous material when making your bag, as it can be dangerous to the environment. As much as possible, use eco-friendly materials like recycled paper or fabric.
By avoiding these mistakes, you can create the perfect halloween bag that is safe and comfortable to carry around! Enjoy making your unique design and have a spooktacular Halloween!
5 Different Design Ideas
1. For a classic look, consider using orange and black fabrics to create your halloween bag. You can also add bat or pumpkin decorations for a festive flair.
2. If you’re looking for something more colorful, add fun colors like yellow and pink to the design. You can use felt shapes such as stars or moons to make the bag look unique.
3. For a spooky vibe, consider using black fabric and adding glow-in-the-dark paint or reflective material to the design. For a fun twist, you can also add felt shapes of bats and ghosts.
4. If you’re feeling creative, try creating an ombre effect with different shades of fabric to make your halloween bag stand out from the crowd. You can even add glitter or sequins to give it an extra sparkle!
5. opt for non-traditional colors such as pink, purple, and green instead of orange and black for a unique take on the traditional design. Add some fun embellishments like stars or moons for a whimsical look.
No matter which design you choose, have fun creating your personalized halloween bag, and make sure to take lots of pictures to share with friends and family!
What do you put in a Halloween bag?
There are a variety of items you can put in your Halloween bag. Some of those are given below:
- Candies and treats, of course! Choose your favorite chocolates, lollipops, candy bars, and other sweets to fill your bag.
- Fun snacks such as popcorn or chips are great options for a fun trick-or-treating experience.
- Small toys like rubber balls or bouncy balls make a great addition to the Halloween bag.
- Flashlights are essential when out in the night – ensure you include one in your bag!
- Stickers, glow sticks, and tattoos are always popular among kids – they make a nice addition to any Halloween bag!
- Include some goodie bags for friends and family to spread the Halloween cheer.
- Remember to include a few fun decorations (pumpkins, bats, spiders, etc.) that you can hang or attach to your bag for an extra spooky look.
- Lastly, add some festive accessories like hats or masks so you can dress up while collecting treats!
By including these items in your Halloween bag, you’ll surely have a memorable night of trick-or-treating!
What Kind of Fabric is Best for a Halloween Bag?
The type of material you use for your halloween bag depends heavily on what kind of look and feel you want to achieve. For a bag that is lightweight and easy to carry, nylon or canvas materials are good choices. Consider using heavy-duty fabrics such as denim or leather for a more durable and sturdy bag.
If you’re looking for something with more eye-catching design, felt fabric is the perfect choice! It’s great for creating 3D shapes and designs like pumpkins, bats, and spiders. Felt also comes in many colors to make your bag bright and festive!
For an eco-friendly option, use upcycled materials like t-shirts or sheets that would otherwise be thrown away. This will give your halloween bag both style and sustainability!
Conclusion
Making a Halloween bag can be a fun and fulfilling craft activity, regardless of if you’re looking for something simple to do with your family or seeking options for selling handmade items. With just a few supplies, it’s easy to make one-of-a-kind Halloween bags that bring charm and whimsy to any space.
Plus, since you could choose the design elements and accents yourself, you know no one else in the neighborhood will have the same set!
Hopefully, the article has provided you with plenty of ideas on how to make a halloween bag and the materials that are best for doing so. Now you can get creative and craft your unique design!

