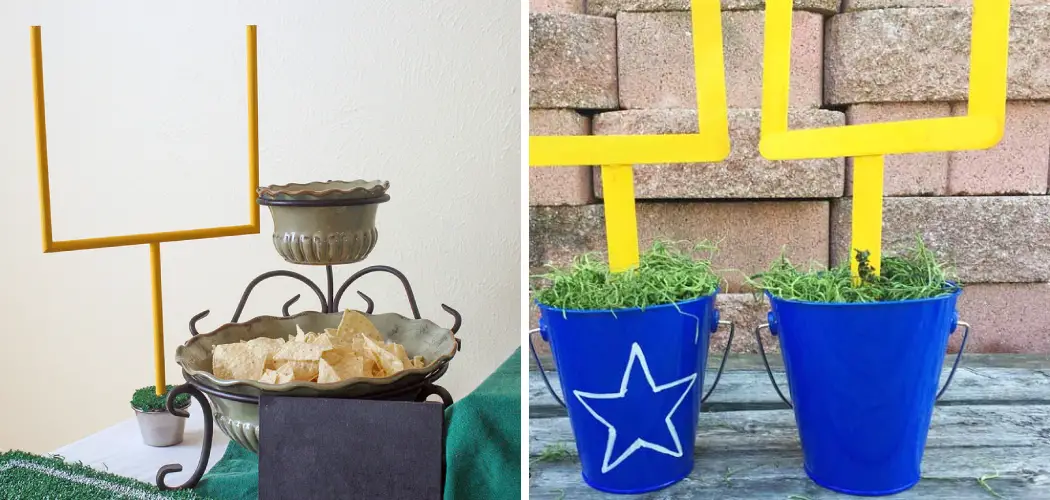
There is something indescribably satisfying about making your own decorative items. It’s the fulfillment of vision, the physical act of creation, and the pride in a well-done job. DIY enthusiasts often find that creating their own décor saves them a pretty penny and lends a unique touch to their homes that store-bought items rarely offer. In this mammoth guide, we’ll delve into how to make a goal post for decoration.
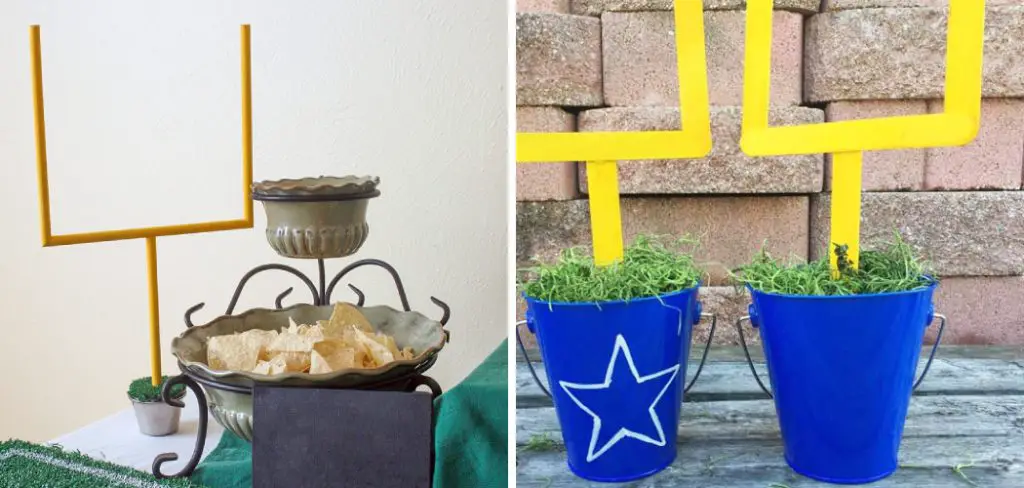
If you’re planning an athletic-themed event or simply want to add a sporting touch to your space, a DIY goal post is a fantastic, unique project to take on. It’s a way to transform a room, garden, or celebration into a space that’s dynamic and full of the energy of the game.
Can You Make a Goalpost for Decoration?
The short answer — absolutely! Even if you’re not a seasoned pro with a home workshop, with a little bit of patience and the right instructions, you can construct a decorative goalpost that will be the centerpiece of any sports-themed party.
We’ll walk through the entire process, from sourcing materials to putting the final touches on your creation, ensuring that you not only end up with a great-looking goal post, but also that you gain valuable experience with DIY crafting that you can carry forward into other projects.
Materials Needed
Before you start on any project, gathering all the materials is essential to avoid unnecessary breaks during your momentum. Here’s what you’ll need for your decorative goalpost:
Wood:
- Two long pieces for the uprights
- Two shorter pieces for the base
- Two pieces of support
- One long piece for the crossbar
Netting:
- A net can be made from string or purchased from a dollar store
Tools:
- Hammer or mallet
- Nails or screws
- Saw (unless you have the pieces pre-cut at the store)
- Drill and drill bits for pilot holes if using screws
- Staple gun or upholstery tacks
- Measuring tape
- Level
- Safety goggles
- Gloves
Decorative Materials:
- Paint or spray paint in the color of your choice
- Decorations like sports-themed ribbons, flags, or lights
Remember, versatility is key in DIY. If you don’t have some of these materials, your local hardware store may have simple alternatives.
How to Make a Goal Post for Decoration: Kickstarting Your DIY Dream
1. Preparing the Base
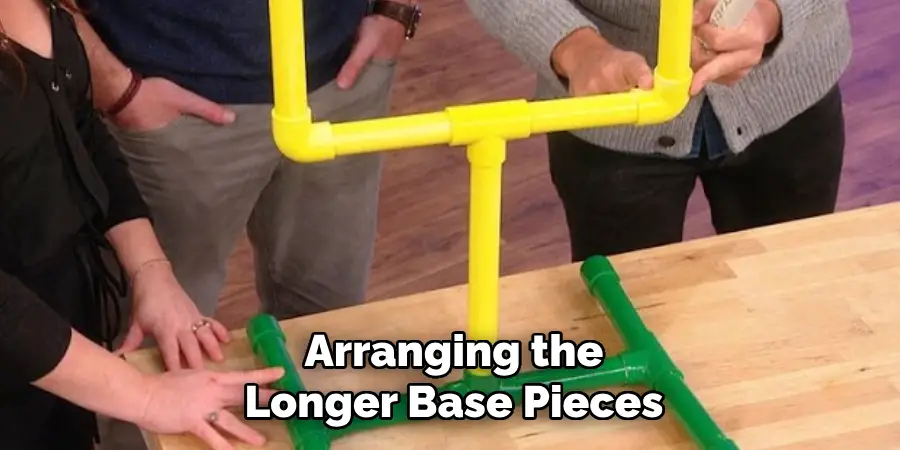
Start by arranging the longer base pieces, also known as the uprights, and the shorter support pieces, which will attach horizontally between the uprights. It might be a good idea to lay them out on a flat surface, the way you visualize your post standing. This will help you see how everything will fit together.
Next, using your hammer and nails or screws, secure the uprights and supports. Make sure everything is level and straight before going any further. If you are using screws, you will likely want to drill some pilot holes to avoid splitting the wood, especially if you’re working with thinner materials.
If the base of your goal post needs to be widened for more stability, this is the time to attach additional pieces across the length.
2. Building the Frame
Once the base is secure, you can attach the two long crossed pieces of wood to the top of the posts:
- Start by securing the top of each upright
- Then attach the crossbar across the top of the posts, joining them.
Remember, the frame doesn’t need to be built robustly since it’s decorative. It’s okay to use thinner pieces for a more elegant or lightweight look.
3. Attaching the Crossbar
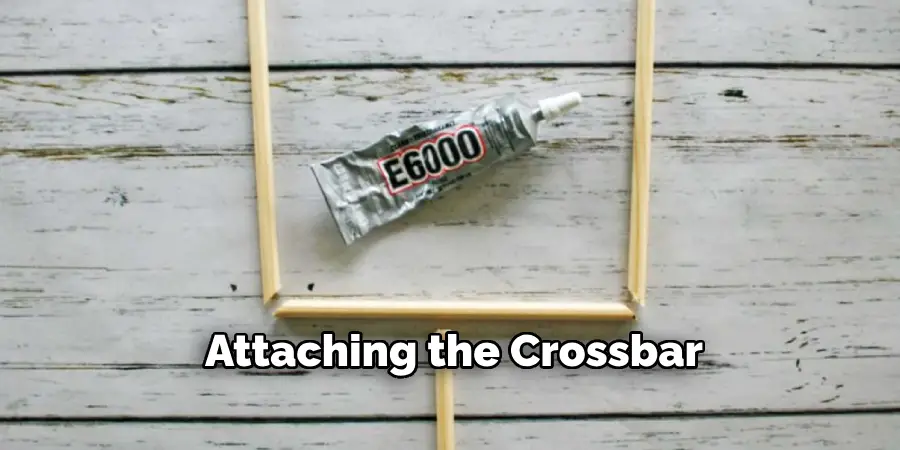
When attaching the crossbar, you’ll want it at a height that makes sense for your space. If it’s for a child’s party, it should be lower than for an adult gathering.
- Measure twice and cut once
- Center the crossbar so that there’s an equal amount of length extending beyond each upright
- Place screws or nails through the top of each upright into the crossbar
4. Adding the Net
You have some creative freedom here. Weave a net pattern between the front of the posts and the crossbar if you’re using string. For a quick solution, you can drape the net over the structure, ensuring it is secured.
If using a ready-made net, consider folding and tacking the edges onto the back of the structure using a staple gun for a clean finish.
5. Painting and Decorating the Goal Post
The post is functional at this stage but not quite ready to stand as a centerpiece. Painting is where you bring the post to life.
- Sand the wood to ensure the paint adheres well
- Prime the surface to lock in the color and improve longevity
- Apply the main color, dry it, and check for thin spots. A second coat might be necessary
- Use painter’s tape if you want to add varying colors
- Add logos, numbers, or any other personalization if desired
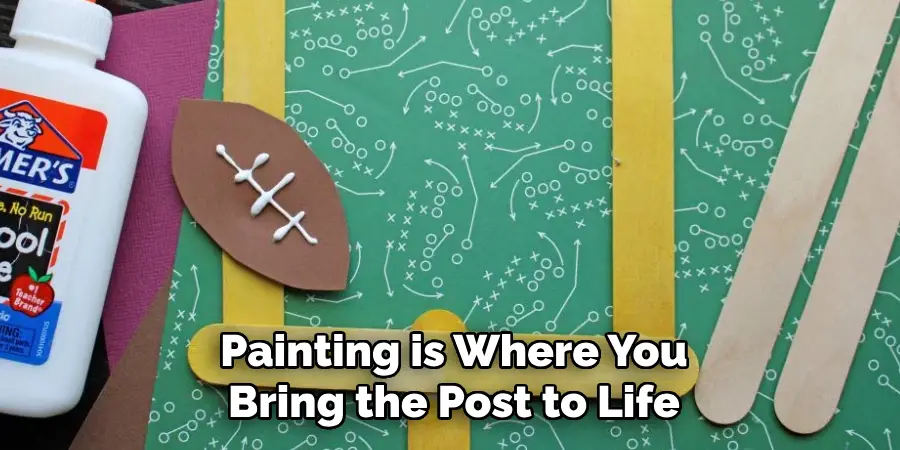
Remember, the aesthetics are personal, so let your creativity run wild. You can paint it the color of your favorite team or even use metallic or glow-in-the-dark paint for a unique finish.
5 Considerations When Making a Goal Post for Decoration
Turning a standard goalpost into a festive and expressive marker can add personality and flair to any sports event or outdoor celebration. Whether you’re gearing up for a backyard bash or your team’s homecoming game, adding a decorative touch to your goalposts is as much about creativity as practicality. Dive into these essential considerations before you don your DIY hat and grab the paintbrush.
1. Determine the Purpose or Theme of the Decoration
Before you start intricately weaving streamers or shaping balloons, ask yourself why you’re decorating the goalpost in the first place. Are you celebrating a specific event, such as a championship game? Or are you marking the field for a casual neighborhood kickabout?
Understanding the purpose will help you choose a theme and the appropriate decor. Themes could range from team colors to holidays like the 4th of July. The key is to ensure that your decoration reflects the spirit of the occasion and the community it serves.
2. Consider the Size and Location of the Goal Post
Size does matter when it comes to decorating goalposts. You don’t want to end up with oversized decorations that obscure the playing field or impede the players. Selecting decorations proportionate to the post and field is crucial for maintaining safety and functionality.
Also, consider the post’s location—will it be subjected to strong winds, direct sunlight, or even potential impact? Knowing this informs your material choices and attachment methods.
3. Gather the Necessary Materials and Supplies
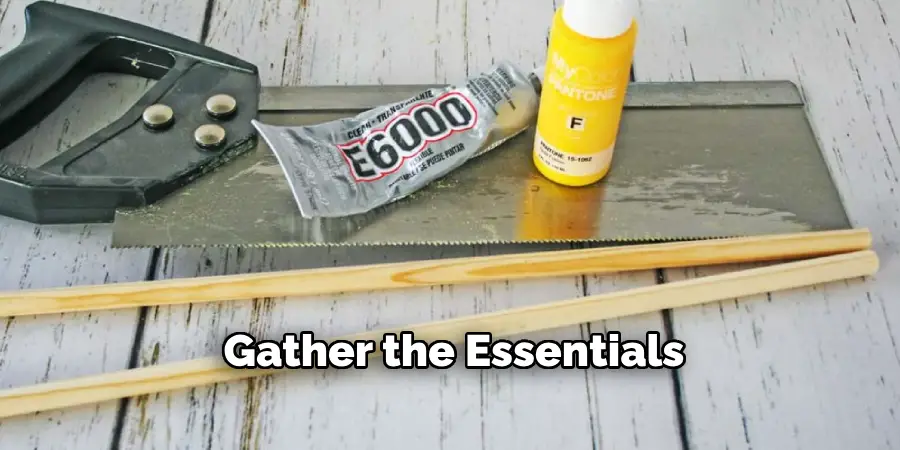
Once you know what you want your goal post to look like, it’s time to gather the essentials. The right supplies can make or break your decorating efforts. Here are a few materials commonly used for goalpost decorations:
- Weather-resistant fabrics for banners
- Biodegradable materials for eco-conscious events
- High-visibility, lightweight options for night-time festivities
- Non-toxic paints and adhesives safe for the outdoors
Proper tools will be necessary, too. Ladders, staple guns, and zip ties are all common tools for securing decorations to the post.
4. Choose a Design and Aesthetic that Aligns with the Theme
The design phase is where you can let your creativity shine. Whether it’s a simple stripe of colored tape or a fully immersive installation, your design should be eye-catching and coherent. You might consider:
- Incorporating team logos or mascots
- Using patterns and shapes that complement the field
- Adding lights or reflective materials for night games
Keep safety in mind—avoiding overly elaborate or flammable designs is essential, especially if the posts will be near open flames or fireworks.
5. Ensure Safety and Durability
Safety is the most crucial aspect of goal post decorations. Consider how your design could impact the game and players’ ability to use the field. Always ensure decorations are:
- Securely and unobtrusively attached
- Marked with flags or other indicators if they extend into the field
- Flame-resistant if they’ll be near any fire source
Durability is equally important, especially for posts that stay decorated for long periods. Choose materials that can withstand the elements and players’ and spectators’ general wear and tear.
Conclusion
In this comprehensive guide, you’ve learned how to construct your very own goalpost for decoration and the ins and outs of preparing, painting, and personalizing it.
The benefits don’t stop with the decorative aspect. Engaging in DIY projects like this one is a fulfilling way to spend your time, whether it’s a solitary pursuit or a group activity. Remember, learning these skills enables you to take on even more complex projects in the future.
As you embark on this exciting DIY adventure, take your time, use the resources at your disposal, and, most importantly, enjoy the process. Your hard work will be evident when you see the smiles of your guests or the personal satisfaction of a job well done in your everyday living space. Thanks for reading our post about how to make a goal post for decoration.

