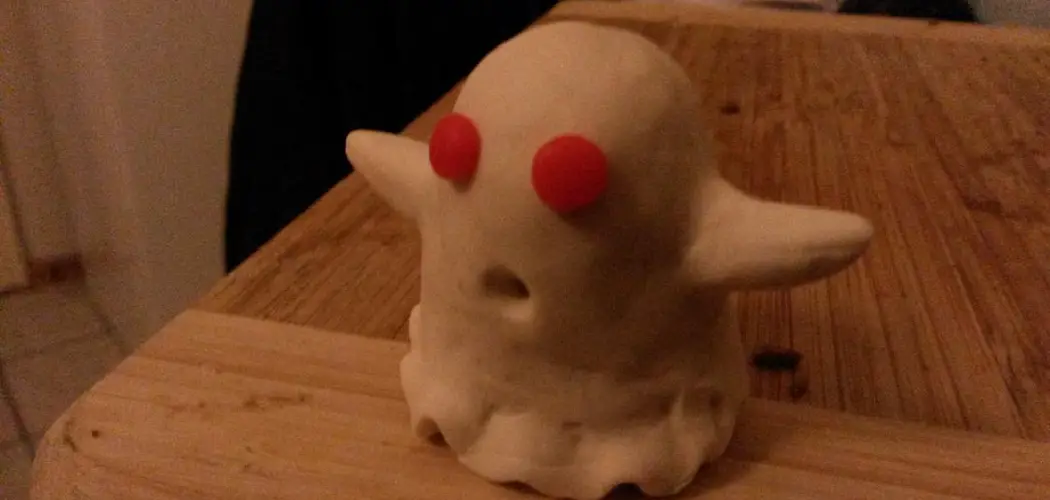
Halloween is just around the corner, and if you’re looking for a fun and spooky DIY project to do with your kids, why not make a ghost out of clay? This project is easy, affordable, and perfect for all ages.

Not to mention, the end result is an adorable and spooky decoration that you can display in your home. In this blog post, we will guide you through the steps of how to make a ghost out of clay, so grab your materials, and let’s get started!
Can You Make a Ghost Out of Clay?
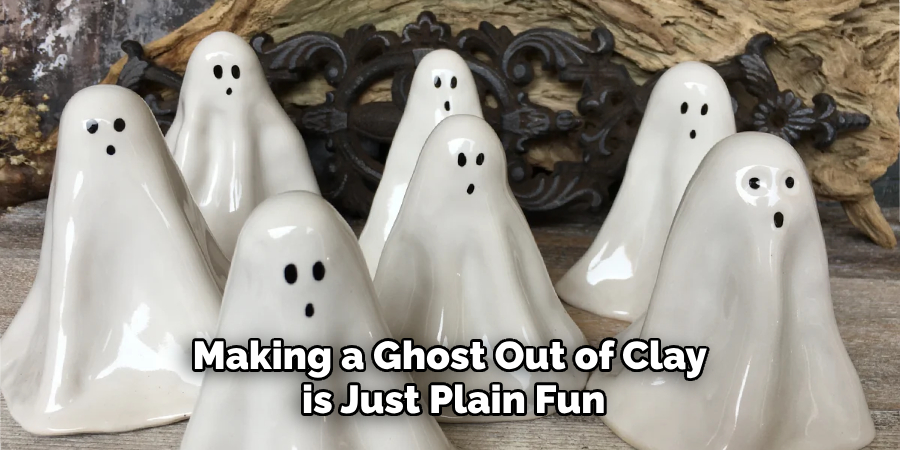
Many people believe ghosts are spirits of the dead, but what if ghosts could be created out of clay? While it may seem far-fetched, artists and sculptors have created eerie and haunting figures out of clay for centuries. The process of molding and shaping the clay into a ghostly form can be meticulous and meticulous, but the result can be breathtaking.
Some artists capture the ethereal essence of ghosts by creating figures that seem to defy gravity or by adding translucent glazes that create an otherworldly glow. While a clay ghost may not be able to haunt your house, it can certainly make an eerie addition to your home decor.
Why Should You Make a Ghost Out of Clay?
Have you ever wanted to create something spooky yet unique? Look no further than making a ghost out of clay! This fun and creative activity not only allows you to let your imagination run wild, but it also serves as a great decoration piece for the upcoming Halloween season.
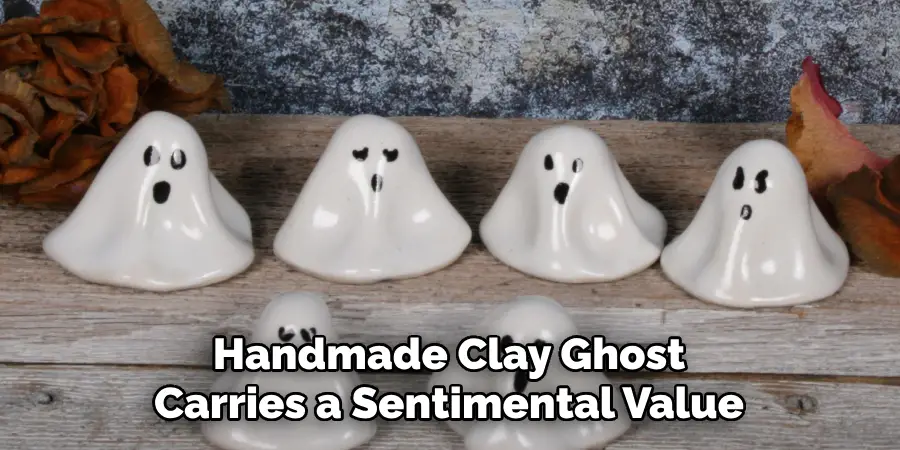
Unlike traditional store-bought decorations, a handmade clay ghost carries a sentimental value and personal touch that cannot be replicated. Plus, it’s a great activity to do with family or friends, allowing for bonding and memories to be made. So why settle for ordinary decorations when you can create your own hauntingly beautiful ghost out of clay?
How to Make a Ghost Out of Clay: A Spooky DIY Project
Step 1: Gather Your Materials
For this project, you will need a few materials. You will need white air-dry clay, a rolling pin or something to flatten the clay, a ghost-shaped cookie cutter, black paint, a paintbrush, and string or ribbon. You can find all of these materials at your local craft store or online.
Step 2: Roll Out Your Clay
Once you have all of your materials, it’s time to start rolling out your clay. Take a small piece of clay and use a rolling pin, or flatten it out until it’s about 1/4 inch thick. You want to make sure the clay is even and smooth so that your ghost looks nice and neat.
Step 3: Cut Out Your Ghost
Next, it’s time to cut out your ghost. Take your ghost-shaped cookie cutter and press it into the clay. Make sure to press down firmly so that the cookie cutter cuts through the clay cleanly. Once you’ve cut out your ghost, use a small tool or your fingers to smooth out any rough edges or imperfections.
Step 4: Add Details
Now it’s time to add some character to your ghost. Take your paintbrush and black paint and carefully paint on eyes and mouth. You can choose to make your ghost look friendly or spooky, depending on how you paint the face. Once you’ve added the details, leave your clay ghost to dry.
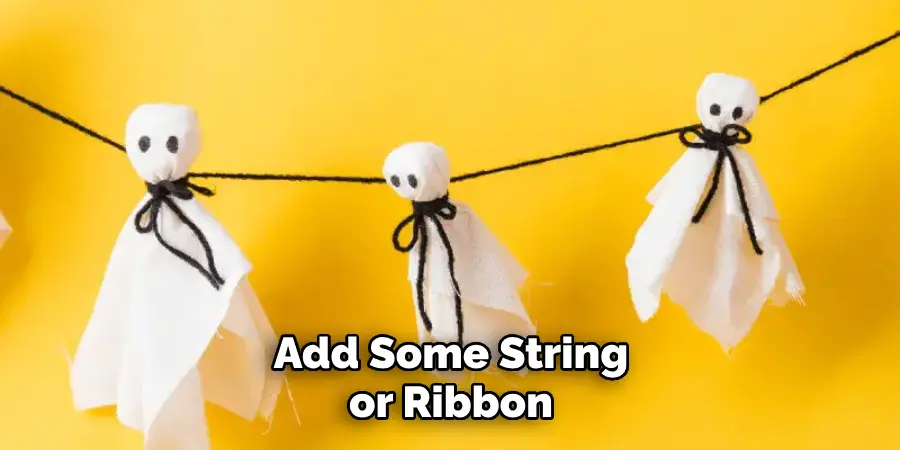
Step 5: Add String
Once your ghost is dry, it’s time to add some string or ribbon so that you can hang it up. Carefully make a small hole in the top of your ghost and thread your string through the hole. Tie a knot in the string so that it’s secure, and your ghost is ready to be displayed! You can also skip this step and leave your ghost as a decoration on a shelf or table.
Step 6: Get Creative
While the steps above are a basic guide, feel free to get creative with your ghost. You can add different paint colors, use different cookie-cutter shapes for different types of ghosts, or even make a whole family of clay ghosts! The possibilities are endless, so have fun and let your creativity shine.
Step 7: Display Your Ghost
Finally, it’s time to display your ghost proudly. Hang it up on a door handle, place it on a shelf or table, or even give it to someone special. Your handmade clay ghost will surely be a unique and charming addition to any Halloween decor. So, gather your materials and start creating your very own ghost out of clay today!
5 Considerations Things When You Need to Make a Ghost out Of Clay
1. Choose the Right Clay
When making a ghost out of clay, it is important to choose the right type of clay. Different types of clay have different properties that can affect the outcome of your project. For example, air-dry clay is easy to work with and requires no special tools or firing, but it can be fragile and prone to cracking.
On the other hand, fired clay is more durable and less likely to crack, but it requires a kiln for firing and may be more difficult to work with.
2. Select an Appropriate Color
The color of your ghost will depend on what kind of effect you are trying to create. If you want a spooky look, then black or gray are good choices. If you are looking for something more whimsical, then brighter colors such as pink or blue may be better suited for your project.
3. Plan Out Your Design
Before starting your project, it is important to plan out your design to know exactly what shape and size your ghost should be before beginning to work with the clay. You can use sketches or images as reference points when creating your design so that you know exactly how everything should look once completed.
4. Use Tools for Detailing
Using tools such as sculpting knives and needles can help add details to your ghost that would otherwise be impossible with just your hands alone. This will help give your ghost a more realistic look and make it stand out from other projects made without these tools.
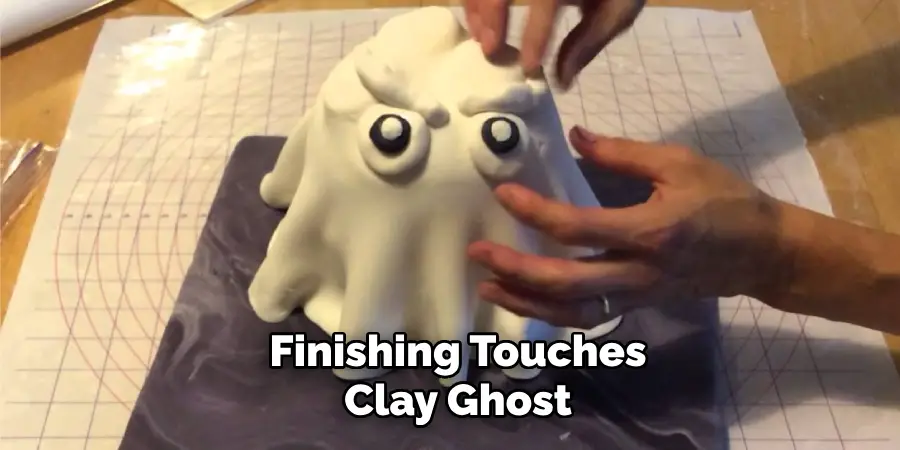
5. Consider Finishing Touches
Once you have finished forming the basic shape of your ghost, consider adding some finishing touches, such as eyes or other decorations to make it even more lifelike and unique! You can also paint or glaze the finished product to add further detail and texture if desired.
5 Benefits of Making a Ghost Out of Clay
1. Durability
Making a ghost out of clay is a great way to ensure that your ghost will last for years. Clay is a very durable material and can withstand the wear and tear of everyday life. This means you won’t have to worry about your ghost breaking or getting damaged over time.
Additionally, clay ghosts are much less likely to suffer from water damage than other materials, so they can be displayed outdoors without fear of being ruined by rain or snow.
2. Versatility
Clay is also a very versatile material, which makes it ideal for creating a wide range of different types of ghosts. You can make ghosts in all shapes and sizes, allowing you to create unique designs that will stand out from the crowd. You can even add details such as eyes, teeth, or hair to give your ghost an extra bit of personality.
3. Easy To Work With
Clay is also easy to work with, making it perfect for those who are new to sculpting or crafting with clay. The material is soft and malleable, so it’s easy to shape into whatever form you desire. It’s also easy to carve intricate details into the clay if you want your ghost to have more character and depth.
4. Inexpensive
Another great thing about making a ghost out of clay is that it’s relatively inexpensive compared to other materials like wood or metal. You can find all the materials you need at most craft stores for relatively low prices, making this project accessible even on a tight budget.
5. Fun Activity
Finally, making a ghost out of clay is just plain fun! It’s a great activity for kids and adults alike, as it allows you to get creative while learning some basic sculpting techniques. Plus, once your ghost is finished, you’ll have something unique and eye-catching that will look great in any room in your home!
Conclusion
Making a ghost out of clay is a fun and spooky DIY project that both kids and adults will enjoy. By following these simple steps, you can create a cute and festive decoration that is perfect for Halloween.
Whether you choose to make your ghost look friendly or spooky, it’s sure to add some character to your home. So why not grab your materials and give it a try? Thanks for reading our post about how to make a ghost out of clay, and happy crafting!

