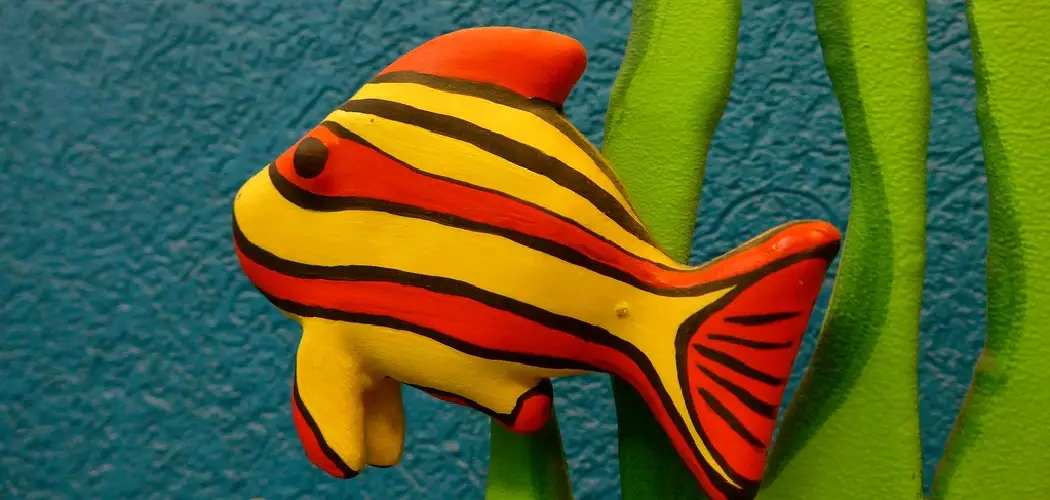
Embarking on a creative journey with clay can be both therapeutic and rewarding, offering a unique opportunity to mold your imagination into tangible forms. In the realm of sculpting, crafting a fish out of clay is a delightful project that combines artistic expression with a touch of aquatic charm. Whether you’re a seasoned clay artisan or a novice eager to explore the world of sculpting, creating a clay fish provides an engaging and enjoyable experience.
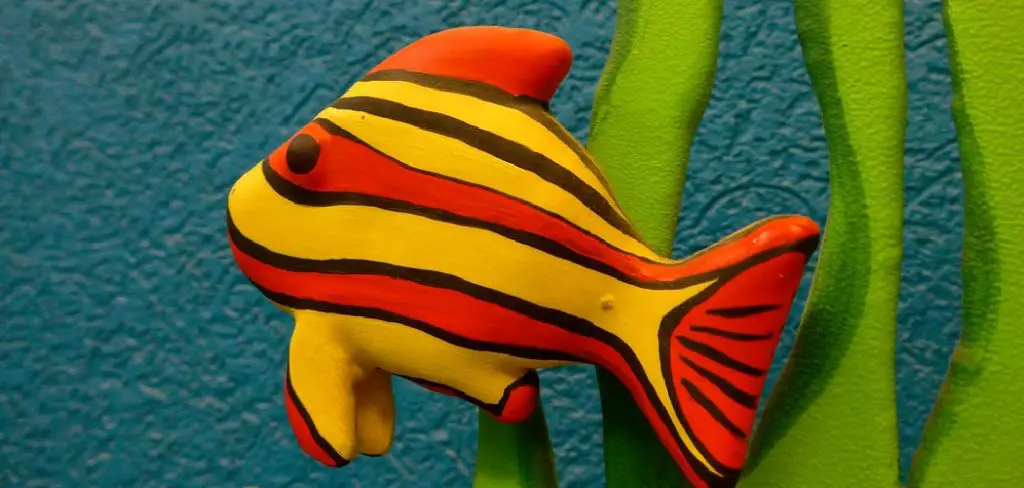
This venture allows you to experiment with textures, shapes, and colors, bringing a marine masterpiece to life with your own hands. From the graceful curves of fins to the shimmering scales that catch the imaginary sunlight, every detail invites you to dive into the fascinating process of transforming a malleable lump of clay into a piscine work of art.
Join us on this artistic exploration as we delve into the step-by-step guide on how to make a fish out of clay, unlocking the secrets to sculpting an aquatic marvel that reflects your personal style and creativity.
Types of Clay Suitable for the Project
There are many types of clay available for making a fish out of clay, but not all types are suitable for this project. Some clays may be too soft and will not hold the shape while others may be too hard and difficult to work with. The most commonly used clays for this project are air-dry clay, polymer clay, and ceramic clay.
Air-dry clay is the most beginner-friendly option as it does not require baking or firing in a kiln. It air dries and hardens on its own, making it easy to work with and suitable for all ages. Polymer clay, on the other hand, needs to be baked in an oven to cure and harden.
This type of clay comes in a variety of colors and can be easily molded and sculpted into different shapes. Lastly, ceramic clay is a more traditional option that requires firing in a kiln to harden. It is the most durable type of clay but may require some expertise to work with.
It is important to choose the right type of clay for your project depending on your skill level, desired outcome, and availability. Experimenting with different types of clay can also be a fun and educational experience. Just remember to follow the instructions provided by the manufacturer for best results.
10 Methods How to Make a Fish Out of Clay
1. Gather Supplies
Before starting your clay fish project, make sure you have all the necessary supplies. These may include air-dry clay, sculpting tools, paint, and a reference image of a fish. You can also use any other materials you like to decorate your fish, such as beads or glitter.
2. Choose Your Clay
There are different types of clay available for sculpting, such as polymer clay or air-dry clay. Polymer clay can be baked in an oven to harden, while air-dry clay will harden on its own over time.

When making a fish out of clay, it is important to consider the type of clay you will be using. Polymer clay is best for intricate details and can be easily molded into different shapes. Air-dry clay, on the other hand, is more suitable for larger sculptures as it is lightweight and dries to a durable finish.
3. Start with Basic Shapes
Begin by creating basic shapes with your chosen clay to form the body of the fish. Use your hands or sculpting tools to shape the clay into a rounded body and tail. This will serve as the foundation for your fish sculpture.
4. Add Details
Once you have the basic shape of the fish, start adding details like fins, scales, and facial features using smaller pieces of clay and your sculpting tools. Building up these features will add depth and realism to your fish. You can also use your sculpting tools to create texture on the fins and scales for a more natural look.
5. Use Reference Images
Having a reference image of a real fish can help guide your sculpting process and ensure accuracy in details such as color patterns and fin shapes. You can find images online or take your own photos of fish for reference. Print out the image or have it open on a separate device while you work.
6. Experiment with Textures
To add more realism to your fish sculpture, experiment with different textures using various tools or even household items like toothpicks or sponges. You can create scales by using a fork to press lines into the clay or use a toothpick to make small indents in the surface.
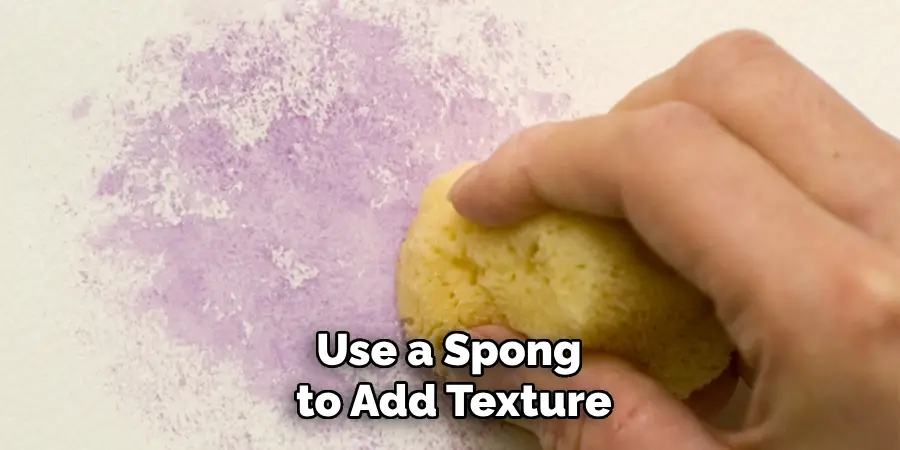
Use a sponge to add texture and depth to fins and tails, giving them a more realistic appearance. Don’t be afraid to get creative and try different techniques until you achieve the desired effect.
7. Allow Time for Drying
If using air-dry clay, make sure to allow enough time for it to fully dry before painting or handling it further. This can take anywhere from 24 hours to several days depending on the thickness of your sculpture. If using oven-baked clay, follow the instructions on the packaging for proper baking time and temperature. It is important not to rush this step as it can affect the final result of your fish sculpture.
8. Paint Your Fish
Use acrylic paint or other suitable paints to add color and detail to your dried fish sculpture. You can also use varnish or sealant for a glossy finish. You can also use a variety of techniques, such as dry brushing or stippling, to create texture and depth on your fish. Experiment with different colors and patterns to make your fish unique and vibrant.
9. Get Creative
Don’t be afraid to get creative with your fish sculpture! You can add unique elements like glitter or beads for extra sparkle and dimension. You can also use different colors of clay to make a multi-colored fish. Experiment with textures and patterns by using tools like toothpicks or combs to create scales or fins.
10. Display Your Creation
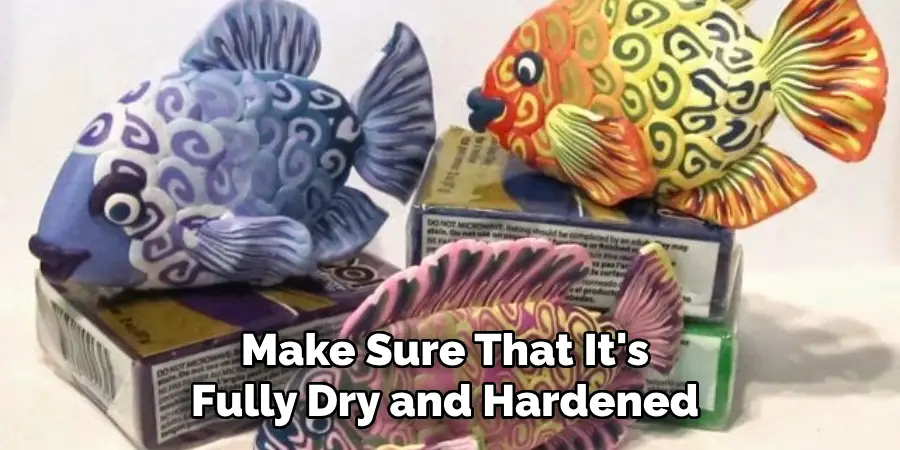
Once your fish is complete, display it proudly in your home or give it as a gift to a fellow fish lover. Your handmade clay fish will be a unique and impressive addition to any space. However, before displaying your creation, it’s important to make sure that it’s fully dry and hardened.
Things to Consider When Making Clay Fish
Clay is a versatile medium that allows you to create all sorts of shapes and objects. One of the most popular things to make with clay is fish. Whether you’re using air-dry or oven-bake clay, making a fish can be a fun and rewarding experience.
Before you start your project, there are a few things to consider when making a clay fish. These tips will help you create a beautiful and detailed fish that you can be proud of.
Choosing the Right Clay
The first step in making a clay fish is selecting the right type of clay. There are various types of clay available, such as air-dry, polymer, and oven-bake clay. Each type has its own unique properties and is best suited for different projects.
- Air-dry clay is the most commonly used type of clay. It is easy to work with and doesn’t require any baking or firing. However, it can be brittle when dry and may not hold intricate details well.
- Polymer clay comes in a wide range of colors and is popular among artists who want to create detailed objects. It should be baked in the oven to harden and can be sanded and painted after.
- Oven-bake clay is similar to polymer clay but has a more natural finish. It also needs to be baked in the oven to cure.
Tools and Materials
Apart from clay, you will need a few tools and materials to make a clay fish. These include:
- A rolling pin or pasta machine for flattening the clay
- Clay sculpting tools for shaping and detailing
- Water and a brush for smoothing out rough edges
- Acrylic paint or glaze for adding color and shine to your fish

It’s important to note that different types of clay may require specific tools and materials, so make sure to read the instructions on the packaging.
Conclusion
In conclusion, learning how to make a fish out of clay is a fun and creative way to express your artistic abilities. By following these simple steps and using your own imagination, you can create a lifelike fish sculpture that will amaze everyone who sees it. Clay is such a versatile medium and there are endless possibilities for what you can create.
Don’t be afraid to experiment with different techniques and styles to make your fish stand out. And once you’ve mastered the basics of making a clay fish, challenge yourself by trying out different species or even creating an underwater scene with other sea creatures. The possibilities are truly endless. So go ahead, grab some clay and get started on your very own fish masterpiece!

