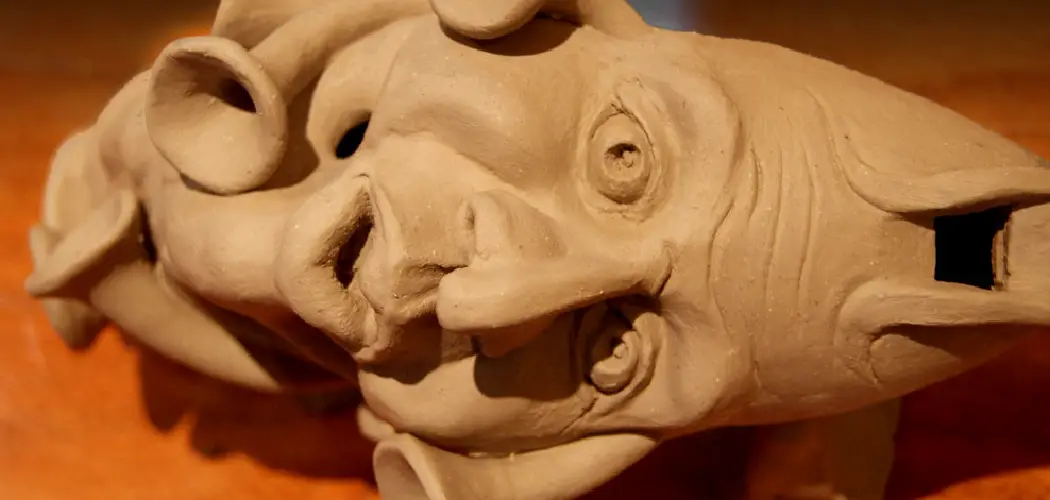
Working with clay has been a popular form of art for centuries. It is a versatile medium that can create various artistic creations, from pottery to sculptures. The human face is one of the most popular things to create with clay. Whether you are a beginner or an experienced artist, making a face with clay can be a challenging and rewarding experience. In this blog, we will provide you with a step-by-step guide on how to make a face with clay.
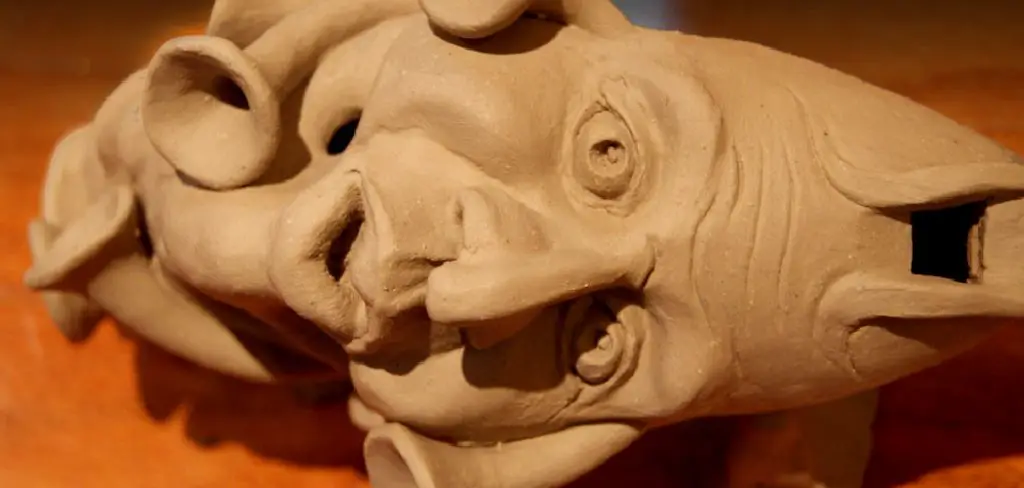
Can You Make a Face with Clay?
Creating unique and expressive figures with clay can be an incredibly satisfying experience. Whether you’re a beginner or an experienced artist, molding and shaping clay can inspire incredible creations. But have you ever thought of making an expressive face with clay?
From the shape of the eyes to the curve of the lips, there is so much nuance in crafting the perfect expression. With the right tools and techniques, you can bring your vision to life and create a truly compelling work of art. So grab some clay and let your imagination run wild – endless possibilities!
Why Should You Make a Face with Clay?
When it comes to art projects, there are a lot of options available, but making a face with clay is a particularly fun and fulfilling experience. This activity allows you to tap into your creativity and imagination, shaping a three-dimensional object that brings an idea to life. Working with clay is an excellent way to relieve stress and unwind after a busy day.
As you mold and shape the material, you can let your mind wander and focus solely on the task, providing a soothing break from the hustle and bustle of everyday life. Whether you’re an experienced artist or a beginner, there’s something truly special about creating a face with clay. Give it a try and see for yourself!
How to Make a Face with Clay: A Step-by-Step Guide
Step 1: Gather the Supplies
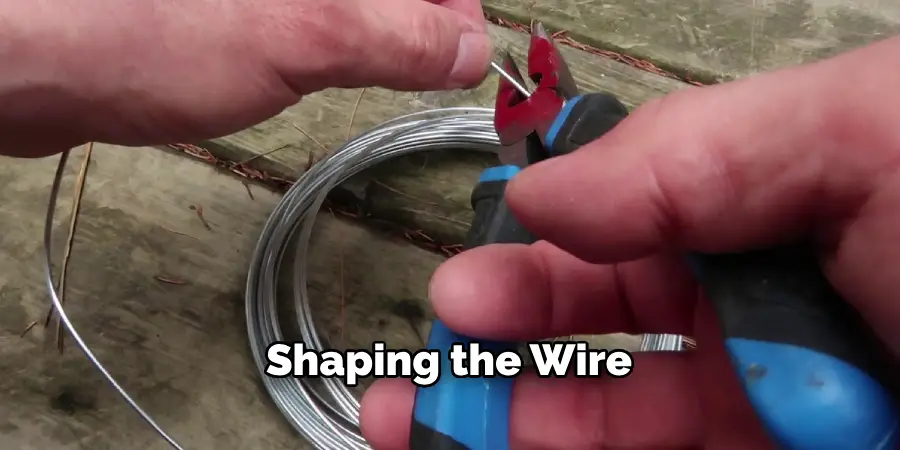
To start, gather all the necessary supplies you will need to make a face with clay. You will need air-dry clay, sculpting tools, water, a rolling pin, and an armature. The armature is the structure that will support the clay and keep it from collapsing. You can either purchase an armature or make one yourself using wire.
Step 2: Create the Armature
Next, create the armature by shaping the wire into the basic form of a human head. Make sure the armature is sturdy and stable, as it will be the foundation for your clay sculpture. You can also add additional wire to create the features of the face, such as the nose, mouth, and cheekbones.
Step 3: Apply the Clay
Once the armature is complete, it is time to apply the clay. Roll out a small amount of clay and apply it to the armature, starting with the basic shape of the head and then adding the features of the face. Use your sculpting tools to shape the clay and add texture to the surface.
Step 4: Refine the Sculpture
After applying the clay, it is important to refine the sculpture. Smooth out any rough edges and add detail to the features of the face. Use water to smooth out the surface of the clay and help it adhere to the armature. Take your time with this step, as it will determine the overall look of your clay face.
Step 5: Allow to Dry
Once you are satisfied with the sculpting, allow the clay to dry completely. This may take several hours or even overnight, depending on the type of clay used. It is important to let the sculpture fully dry before moving on to the next step.
Step 6: Paint and Finish
Once the clay is fully dry, you can paint your sculpture using acrylic or tempera paints. Use a variety of colors to bring your clay face to life. You can also add additional details with markers or other art supplies. Once the painting is complete, allow the sculpture to dry again before moving on to the final step.

Step 7: Display and Enjoy
Congratulations, you have successfully made a face with clay! Now, it’s time to display your creation and admire your work. You can place it on a shelf, hang it on the wall, or even give it as a gift to someone special. The possibilities are endless when it comes to displaying your clay sculpture. Have fun and enjoy your new piece of art!
5 Considerations Things When You Need to Make a Face with Clay
1. Type of Clay
The first consideration when making a face with clay is your type of clay. Various types of clay are available, such as earthenware, stoneware, and porcelain. Each type has different properties and is better suited for certain techniques or projects. For example, earthenware clay is more porous and easier to work with, while porcelain clay is finer and more delicate.
2. Tools
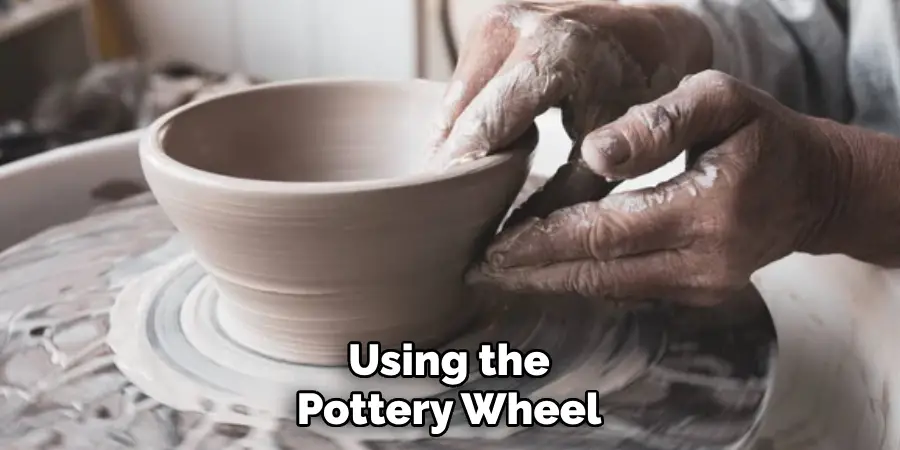
The right tools are essential when working with clay to create a face. Some basic tools you may need include a pottery wheel, sculpting tools, a rolling pin, and a wire cutter. Depending on the level of detail you want to achieve in your face sculpture, you may also need additional tools, such as carving knives or texture stamps.
3. Reference Materials
Before starting your project, gathering reference materials such as photos or sketches of faces you want to recreate in clay can be helpful. These references can serve as a guide for proportions and details that can help make your sculpture look more realistic.
4. Techniques
There are various techniques that can be used when creating a face with clay. Some common techniques include hand-building (using only your hands), throwing (using the pottery wheel), and sculpting (carving the form out of a block of clay). Choosing the technique that works best for you is important based on your skill level and desired outcome.
5. Finishing Touches
Once your face sculpture is complete, some finishing touches still need to be done before it’s ready for display. This may include smoothing any rough edges or adding texture and details using tools or glazes. It’s important to take time with these final touches to ensure your face looks polished and professional.
Benefits of Make a Face with Clay
Creating art with clay is a gratifying and peaceful experience. And when crafting human figures, nothing is quite as enjoyable as making a face with clay. This process provides many benefits beyond just the satisfaction of creating something from scratch. Working with clay can be meditative, allowing you to disconnect from daily stressors and focus on your creative task.
Additionally, making a face with clay is a perfect way to improve your hand-eye coordination as you mold and shape your creation. Through sculpting, you can explore your artistic side while also enjoying clay work’s calming and therapeutic qualities. So, if you’re looking for a relaxing and productive way to spend your free time, consider delving into the world of making a face with clay.
4 Common Mistakes People Make When Trying to Make a Face with Clay
1. Not Kneading the Clay Properly
One of the most common mistakes people make when working with clay is not kneading it properly. Kneading is an essential step that helps to remove air bubbles and create a smooth, pliable texture. Without proper kneading, your clay may be too dry or too wet, making it difficult to work with and shape.
2. Using Too Much Water
Another mistake people make when working with clay is using too much water. While water can help to soften and mold the clay, using too much can cause it to become overly saturated and lose its shape. It’s important to only use small amounts of water at a time and gradually add more as needed.
3. Not Letting the Clay Dry Completely
After shaping your clay into a face, it’s crucial to let it dry completely before adding any additional details or firing it in the kiln. Rushing this step can cause cracks or deformities in your final product. It’s best to let the clay dry slowly at room temperature for several days before moving on to the next steps.
4. Skipping the Finishing Touches
Many beginners may overlook the importance of adding finishing touches to their clay faces, such as smoothing out rough edges or adding texture and detail. These small details can bring your creation to life and make it stand out. Don’t be afraid to take your time and add those final touches for a polished and professional-looking result.
Conclusion
Making a face with clay is a fun and rewarding experience that can help you develop your artistic skills. Following these simple steps, you can create a beautiful clay sculpture that will impress your friends and family. Remember to take your time and be patient throughout the process. With a little practice, you can create stunning works of art using this versatile medium. So why not give it a try and see what you can create? Thanks for reading our post about how to make a face with clay.

