
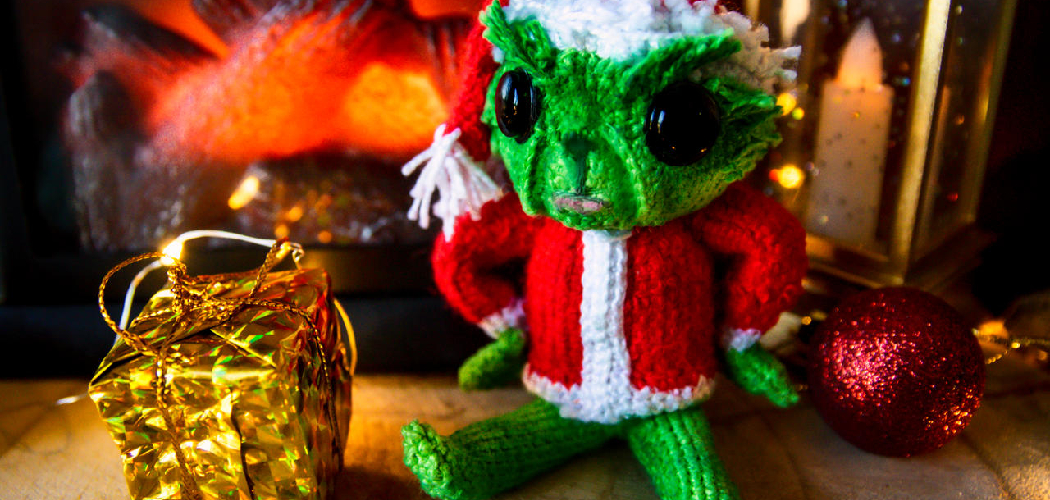
Are you eager to expand the scope of your crafting hobby and master a new challenge? If so, you’ve come to the right place. It’s time for you to take your craft projects one step further and dive into the world of crochet frogs! With a little bit of wool and some patience, you’ll soon be creating colorful crocheted creations that could easily hop into your heart.

Follow our step-by-step tutorial on how to make a crochet frog and become an inspired crocheter as we show how easy it is to make a frog with basic crochet techniques.Crocheting may seem like a daunting task, especially if you have never done it before.
However, with the right guidance and tools, even beginners can create amazing little critters like these crocheted frogs in almost no time at all! We’ll happily show you how to get started and guide you through the process step-by-step: from finding the patterns to choosing the yarns and embroidering details. So grab your needles (and hooks!), and let’s get hopping!
Why May You Want to Make a Crochet Frog?
1 . To Accent Your Home Decor
What better way to add a little personality to your home than with a whimsical crochet frog? It’s sure to bring out some smiles when visitors come over. Just imagine how cute it will look perched atop a bookshelf or sitting on an end table!
2 . To Create Something Uniquely Yours
When you make a crochet frog, it’s all your own. Whether you use one of the many available patterns on the Internet or get creative and come up with something completely original, this project is sure to be unique.
3 . To Challenge Your Crochet Skills
If you are an experienced crocheter looking for a new challenge, try your hand at making a crochet frog. It’s not as easy as it looks, but you’ll be proud of yourself when you finish the project!
4 . To Make a Great Gift
Who wouldn’t love to receive an adorable handmade crochet frog? Whether for a birthday, holiday or just because, this is a great gift idea that’s sure to be appreciated.
5 . To Create Something Fun With Your Kids
Making a crochet frog can be a fun family activity. Even young children can join in by helping choose the colors and picking up dropped stitches. It will also give you quality time together as you work on the project, exchanging stories and sharing ideas.

How to Make a Crochet Frog in 6 Easy Steps
Step 1: Gather All The Tools
The very first step is to gather the tools and supplies you need. This includes:
- A crochet hook (size G/4mm is recommended)
- Yarn in two colors for the body and eyes
- Scissors
- Needle with a large eye
- Stuffing material, such as cotton batting or fiberfill
Step 2: Make the Body
The body is the most important part of the crochet frog. Begin by making a chain stitch that’s about 6-8 inches long and then continue with single crochet stitches until you have created a circle. Join the last stitch to the first using a slip stitch and add two more rows of single crochet stitches.
Step 3: Make the Legs
The legs are next. Chain 4 and then work single crochet stitches in each of the loops until you have created a tube shape that’s about 2 inches long. Work a slip stitch to join them together and repeat 3 times, so that you have four legs total.
Step 4: Make the Arms
Make the arms in a similar manner as the legs. Chain 3 and then work single crochet stitches in each of the loops until you have created a tube shape that’s about 2 inches long. Work a slip stitch to join them together and repeat three times, so that you have four arms total.
Step 5: Join all Parts Together
Now it’s time to join all the parts together. Use yarn or embroidery thread to sew each leg and arm securely in place on the body.
Step 6: Finish Your Frog!
The last step is to add eyes, stuffing, and a smile to your frog! Embroider two small circles with black yarn or thread for eyes and use a needle and thread to sew them securely in place. Stuff the body with batting or fiberfill and use a needle and thread to sew it closed. And lastly, embroider a smile on your frog for a fun finishing touch!

Now you’re ready to enjoy your very own handmade crochet frog! You can display it as home decor or give it away as a gift. Happy crocheting!
10 Extra Tips to Make a Crochet Frog
1 . Choose the Right Yarn
The type of yarn you use can make a big difference in how your frog looks. Be sure to choose something that’s lightweight and soft for a nice finish. Acrylic blends are great options!
2 . Add Some Patches
If you want to add some extra personality to your frog, consider adding a few patches of color. You can use complementary colors or contrasting patterns for an extra fun look. Also you have to make sure to sew them securely in place.
3 . Embroider Some Details
Take your frog to the next level by embroidering some fun details onto it. This could be anything from flower petals to stripes or swirls – get creative and have fun with it!
4 . Make a Larger Frog
If you’re looking for a bigger project, consider making a larger frog. You can adjust the pattern to make it as big or small as you want. Just remember the larger the size, the more yarn and stuffing you’ll need.
5 . Try Different Colors
Don’t be afraid to try different colors! A great way to make a frog that’s completely unique is by playing around with various shades and hues.
6 . Make Frog Furniture
Why not make some furniture for your frog? You can find patterns online for chairs, tables, and even beds. It’ll be like having a little family of frogs! You have to be careful not to make the furniture too heavy or else it will be difficult for your frog to hold up.
7 . Give It a Name
A great way to add even more character to your frog is by giving it a name! Be creative and come up with something fun and unique.
8 . Crochet Accessories
You can make a variety of accessories for your frog such as hats, scarves, and glasses. Have some fun with it and be sure to use colorful yarn – the possibilities are endless!

9 . Consider Adding a Tail
If you want to make your frog look more realistic, consider adding a tail. This is an optional step but can add even more personality to your frog.
10 . Have Fun!
Most of all, have fun when making a crochet frog. Don’t be afraid to get creative and try something new – you never know what you might come up with! Whether it’s for yourself or as a gift, this project is sure to bring lots of joy.
Frequently Asked Questions
What Precautions Do I Need to Take Before Starting?
Before you get started, make sure that you have the proper crochet supplies. Make sure that you have an appropriate crochet hook and the correct type of yarn or thread for your project. Additionally, if you’re working with stuffing, such as cotton batting, be sure to read through any safety warnings associated with the material before beginning.
What Types of Yarn Can I Use?
The type of yarn that you choose will depend on the pattern you are using, as well as your own personal preferences. Generally speaking, worsted weight and DK (double knitting) yarns work best for making crochet frogs. You can also experiment with different types of novelty yarns and threads to create unique textures and patterns.
Can I Make My Crochet Frogs Larger or Smaller?
Yes, you can make your crochet frogs larger or smaller depending on the pattern you are using and the type of yarn that you select. If you’re using a pattern that includes sizing instructions, be sure to follow them closely. For projects that don’t have specific sizing instructions, you can easily adjust the size by using a larger or smaller hook and thicker or thinner yarn.

How Can I Make My Crochet Frogs Look More Realistic?
To make your crochet frogs look more realistic, try adding some safety eyes instead of embroidering eyes onto the frog. You can also add some extra texture to the frog’s skin by using different types of yarn, such as fuzzy or textured yarns.
Additionally, you can experiment with stuffing techniques to create realistic shapes and sizes for your frogs. Finally, don’t forget to add a few decorative touches like bows or ribbons to make your frog even more unique!
What Are the Best Techniques for Attaching Parts to My Crochet Frog?
When it comes to attaching parts to your crochet frog, there are several different techniques you can use. The most common methods for attaching arms and legs include using single crochet stitches or slip-stitch chains. It’s important to pay attention to the pattern instructions when choosing which technique is best for your project. Additionally, you can also use buttons or safety eyes to add extra detail and interest to your frog.
How Do I Join Pieces Together After Crocheting?
Once you’ve finished crocheting all of the pieces for your frog, it’s time to join them together. To do this, simply lay the pieces out in the correct order, then use a yarn needle to join them together with single crochet stitches or slip stitch chains. Be sure to read through your pattern instructions carefully to ensure you’re using the correct technique for joining pieces.

Conclusion
Congratulations! You have accomplished a feat many felt was unwinnable – creating a crochet frog. This has been a fun and engaging project, one that can be built upon with some creative flair. Adding different colors to the frog makes it even more intriguing and unique. Now you get to enjoy your masterpiece, share it with others or find new heights in the craft of crochet.
Now you know how to make a crochet frog! Whether making gifts for family and friends or simply trying something new, this may be the beginning for something much larger in your future endeavors. Who knows what crochet looms will bring for you? Thank you again for joining us on this journey as we explored all aspects regarding how to make a crochet frog – we hope it was both helpful and rewarding!