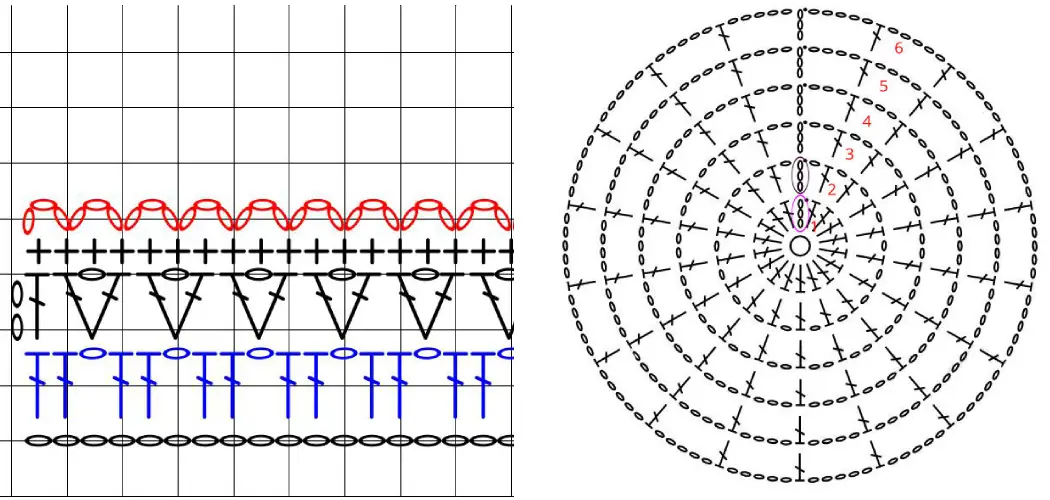
Are you tired of following complicated crochet patterns with rows upon rows of written instructions? Or maybe you’ve tried to read a crochet diagram and felt completely lost in the maze of lines and symbols. Don’t worry, you’re not alone! Many crocheters struggle with understanding or creating diagrams, but fear not because today we will be diving into the world of crochet diagrams and learning how to make a crochet diagram.
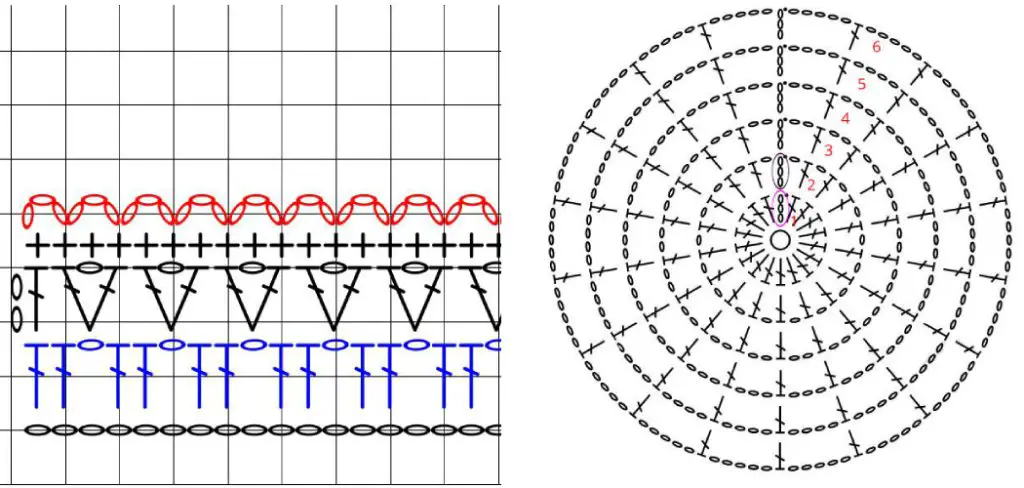
Whether you’re a beginner or an experienced crocheter looking for new techniques, this post is for you. Get ready to unlock a new level of crochet creativity as we break down the process step-by-step and debunk any myths about these handy visual aids. Let’s get started!
Why May You Want to Make a Crochet Diagram?
1 . To Easily Share Your Pattern
If you have created a crochet pattern that you want other people to replicate, creating a diagram could be the easiest way to share it. A crochet diagram allows you to quickly and easily show the stitches and techniques used in your pattern without having to write them all out. This can save a lot of time for both you and those who are trying to follow your pattern.
2. To Avoid Language Barriers
Crochet diagrams are a great way to communicate patterns without using any words. This can be especially useful if you have an international audience or if English is not their first language. By creating a crochet diagram, you can ensure that anyone, regardless of their native language, will be able to follow and replicate your pattern accurately.
3. To Help Visual Learners
Some people learn best by seeing rather than reading or hearing instructions. By providing a crochet diagram along with written instructions, you can cater to visual learners and make it easier for them to understand the pattern. This can also help those who are struggling with written instructions to better grasp the steps involved in your pattern.
4. To Customize Your Pattern
Creating a crochet diagram can also allow you to customize your pattern and make it unique. By using different symbols or colors in your diagram, you can add personal touches and make your pattern stand out. This can be especially helpful for more complex patterns that may require multiple variations or customization options.
How to Make a Crochet Diagram in 6 Easy Steps
Step 1: Gather Your Materials
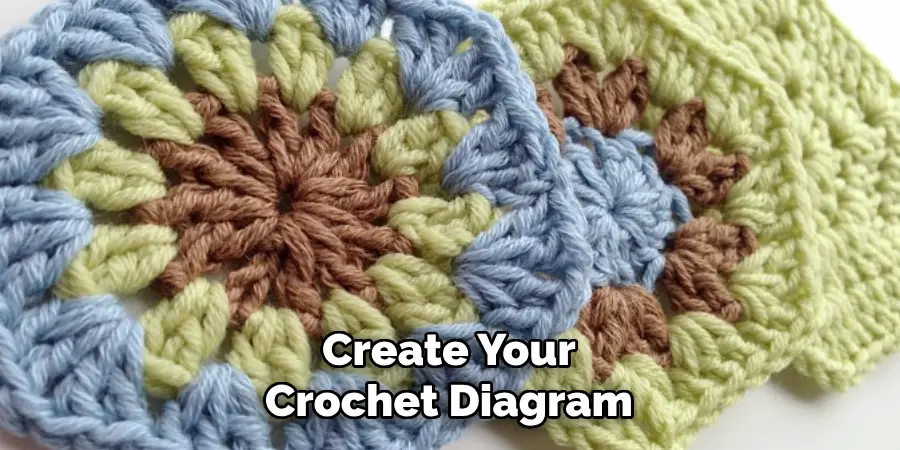
Collect all the necessary materials needed to create your crochet diagram. This includes a pencil, graph paper, ruler, and eraser. You may also want to have colored pencils or markers on hand to make your diagram more visually appealing.
Step 2: Determine Your Stitch Gauge
Before you can start creating your crochet diagram, you will need to determine your stitch gauge. This is the number of stitches per inch or centimeter that you typically use in your crochet projects. You can determine this by making a swatch with your desired yarn and hook size and counting the number of stitches in one inch or centimeter.
Step 3: Draw Your Grid
Using your ruler, draw a grid on your graph paper with each square representing one stitch. Use your stitch gauge to determine the size of each square. This grid will serve as the foundation for your crochet diagram.
Step 4: Mark Your Starting Stitch
Choose which stitch you want to start with in your diagram and mark it on the graph paper with a different colored pencil or marker. This will help you keep track of where you are starting in your diagram.
Step 5: Create Your Diagram
Using your starting stitch as a reference, begin drawing your crochet diagram on the grid. Use different colors to represent different stitches and symbols to indicate special techniques such as increases or decreases. Remember to label each row with the corresponding number.
Step 6: Add Written Instructions (Optional)
If you want to include written instructions with your diagram, you can do so by typing them out or handwriting them on a separate piece of paper. Make sure to number each row and use the same symbols as your crochet diagram for consistency.
Some Extra Tips to Make a Crochet Diagram
1 . Do Not Forget the Basics
While making a crochet diagram, make sure you do not forget the basics of crocheting. It is important to understand basic stitches and techniques before attempting to create a diagram. This will help in creating accurate and easy-to-follow diagrams.
2 . Use Appropriate Symbols
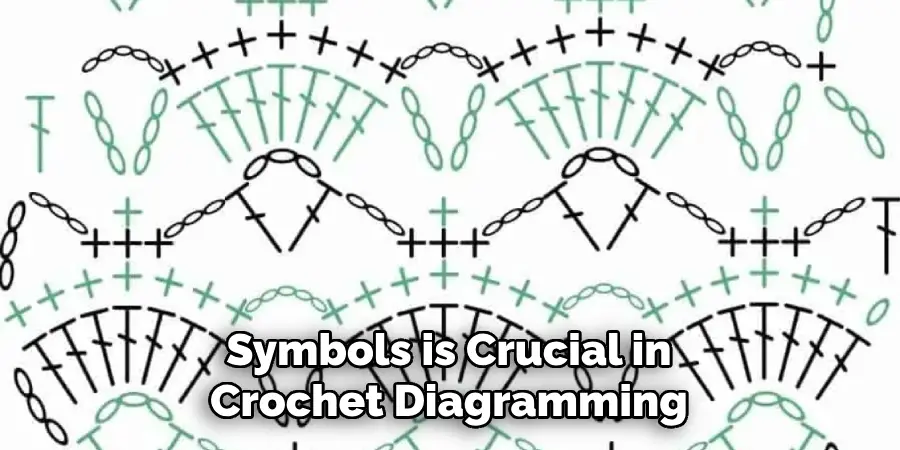
Using the correct symbols is crucial in crochet diagramming as it provides clarity and consistency in the instructions. Make sure to use commonly accepted symbols and avoid creating your own unless necessary.
3 . Label Your Diagram
To make your diagram more user-friendly, it is important to label each row or round with its corresponding number. This will help in keeping track of the progress and make it easier for others to follow along.
4 . Use Colors Strategically
Incorporating colors in your crochet diagram can be helpful, especially for complex patterns. Use different colors to represent different stitches or sections to make it easier to understand and follow.
5 . Add Written Instructions
While a crochet diagram is a visual representation, adding written instructions along with the diagram can be beneficial for those who prefer following written instructions. This will also provide clarity and prevent any confusion.
6 . Test Your Diagram
Before finalizing your crochet diagram, it is important to test it by following the instructions yourself. This will help in identifying any errors or inconsistencies and allow you to make necessary changes before sharing it with others.
7 . Keep it Neat and Organized
A well-organized and neatly drawn crochet diagram is not only visually appealing but also easier to follow. Use grids or graph paper to keep your lines straight and consistent, making the diagram more professional-looking.
8 . Practice Makes Perfect
Creating a crochet diagram may seem daunting at first, but with practice, it will become easier and more natural. Keep experimenting with different styles and techniques to find what works best for you.
Frequently Asked Questions
What Precautions Should I Take When Making a Crochet Diagram?
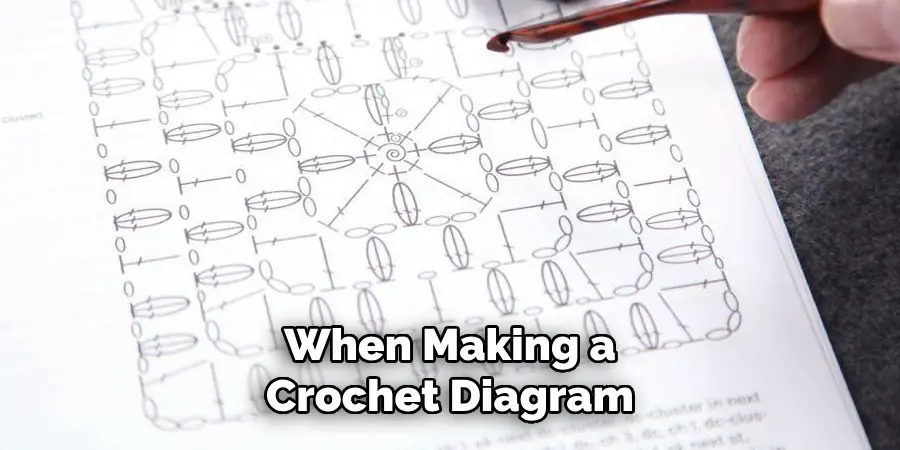
When making a crochet diagram, it is important to take certain precautions to ensure that your final diagram is accurate and easy to follow. Some important precautions include:
- Use graph paper with small squares (usually 4 or 5 per inch) to make the process easier.
- Make sure you are using the correct symbols for each stitch. Using the wrong symbol can lead to confusion for those following your diagram.
- Double-check your counts and measurements to ensure accuracy.
- Label each row or round of the diagram with the corresponding number for easy reference.
- Use different colors for different stitches or components to make it easier to read.
How Do I Create a Crochet Diagram?
Creating a crochet diagram may seem daunting at first, but it can be broken down into simple steps. Here is a general guide on how to create a crochet diagram:
- Start with a rough sketch of your design on graph paper.
- Assign symbols for each stitch or component in your design.
- Transfer your sketch onto clean graph paper using the assigned symbols.
- Label each row or round with the corresponding number.
- Add any necessary notes or clarifications to the diagram.
- Double-check your counts and measurements for accuracy.
- Color code different stitches or components for clarity.
- Clean up any lines or symbols that may be overlapping or unclear.
How Can I Use Technology to Help Create a Crochet Diagram?
With advancements in technology, there are now various tools and software available to help create crochet diagrams. Some popular options include:
- Crochet diagram-making apps such as Stitch Fiddle, Crochet Charts, or KnitBird.
- Graphic design software like Adobe Illustrator or Inkscape.
- Online graph paper generators for a more precise and professional-looking diagram.
No matter which method you choose, using technology can save time and make the process of creating a crochet diagram more efficient.
How Do I Read a Crochet Diagram?
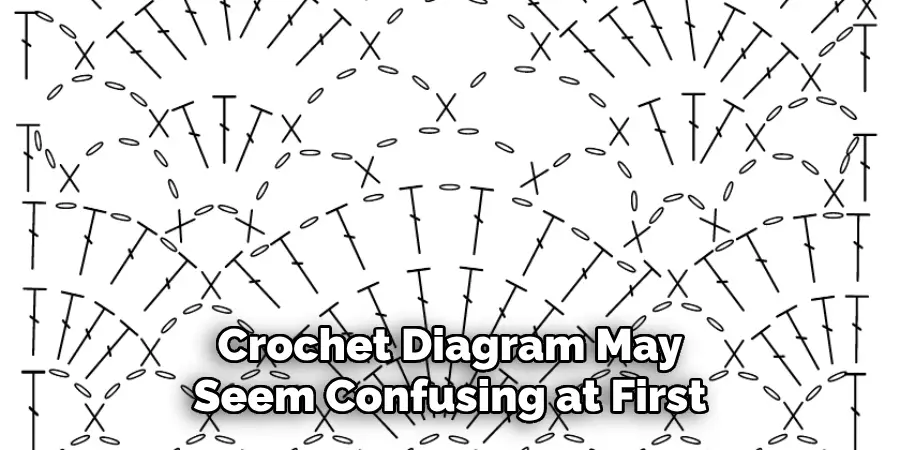
Reading a crochet diagram may seem confusing at first, but with some basic knowledge, it can be easily deciphered. Here are some tips for reading a crochet diagram:
- Start from the bottom right corner and work your way up each row or round.
- Pay attention to the symbols and their corresponding stitches.
- Use the labels and numbers to keep track of which row or round you are on.
- Note any repeats or special instructions indicated in the diagram.
Overall, learning how to read a crochet diagram may take some practice, but once mastered, it can be a helpful skill for following complex patterns.
Conclusion
Now you know how to make a crochet diagram, use these tips to create your own unique diagrams. Remember to keep it clear, concise, and easy to follow for others. With patience and practice, you will soon be creating beautiful crochet diagrams like a pro! So, get your hooks and yarn ready, and start designing. Happy crocheting! Happy diagramming!
Keep learning new techniques and continue to improve your crochet diagram skills. You never know when you might need them for your next project or to share with fellow crocheters. Let your creativity flow and have fun in the process!

