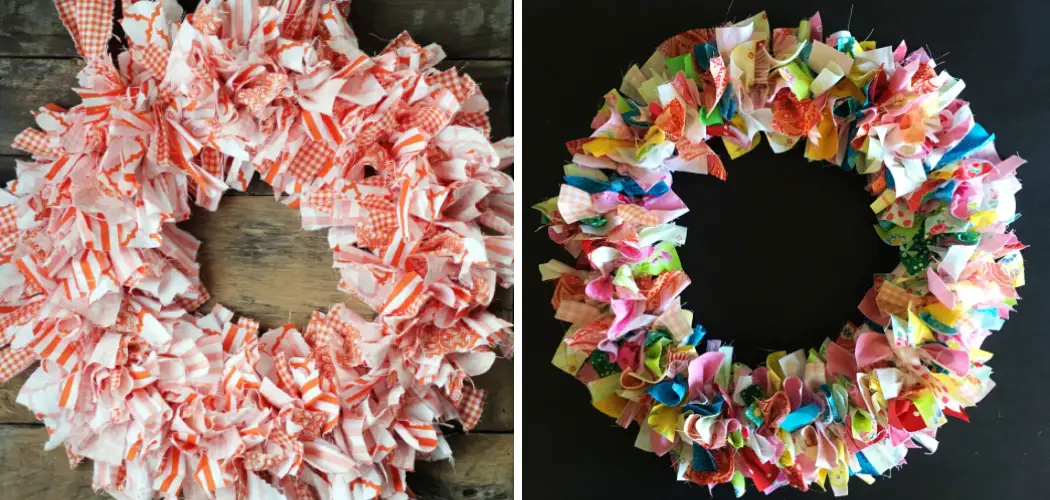
The holidays are quickly approaching and soon our doors will be looking a little bare. While store-bought wreaths can certainly add instant festive flair, there’s nothing quite like making your customized holiday decoration using simple supplies you likely already have at home.
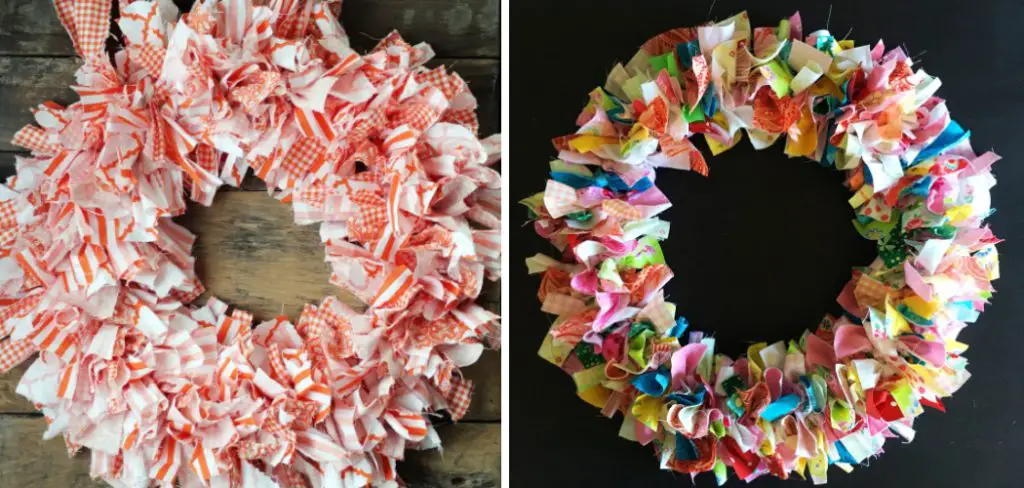
In this post, I’ll share an easy step-by-step process for how to make a cloth wreath that can be personalized with your choice of fabrics, ribbons, and accents. With just a few inexpensive materials and a bit of time and creativity, you’ll have a one-of-a-kind wreath perfect for welcoming guests or adding some seasonal cheer to your front entryway. Let’s get started on our fabric wreath-making adventure!
Tools and Materials You Will Need to Make a Cloth Wreath
- Wire wreath form (available at craft stores or online)
- Various fabric scraps in colors and patterns of your choice
- Scissors
- Ruler
- Hot glue gun (optional, but recommended for secure hold)
- Ribbon (for hanging the wreath if desired)
Step-by-step Guidelines on How to Make a Cloth Wreath
Step 1: Gather Your Fabric Scraps
The first step to making a cloth wreath is gathering your fabric scraps. This project is an excellent opportunity to use up those leftover pieces of fabric from previous sewing projects or repurpose old clothing items.
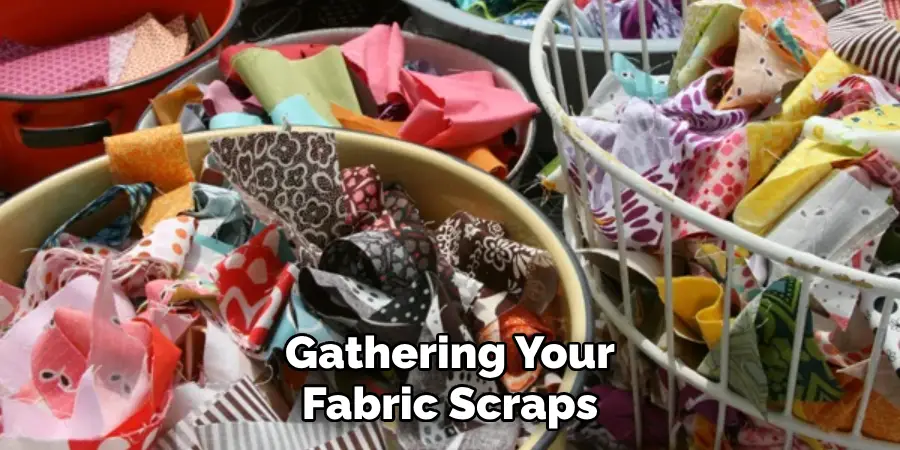
You can also purchase inexpensive remnants at craft stores if you don’t have any suitable fabrics on hand. The amount of fabric needed will depend on the size of your wreath form, but a good rule of thumb is to have approximately 2-3 yards total.
Step 2: Cut Your Fabric Strips
Using your ruler and scissors, cut your fabric scraps into strips approximately 1 inch wide and 6 inches long. You can vary the length and width of the strips for a more textured look, but it’s important to have them all relatively similar in size. While this step can be a bit time-consuming, it’s worth the effort for a polished finished product.
Step 3: Tie Fabric Strips onto Wreath Form
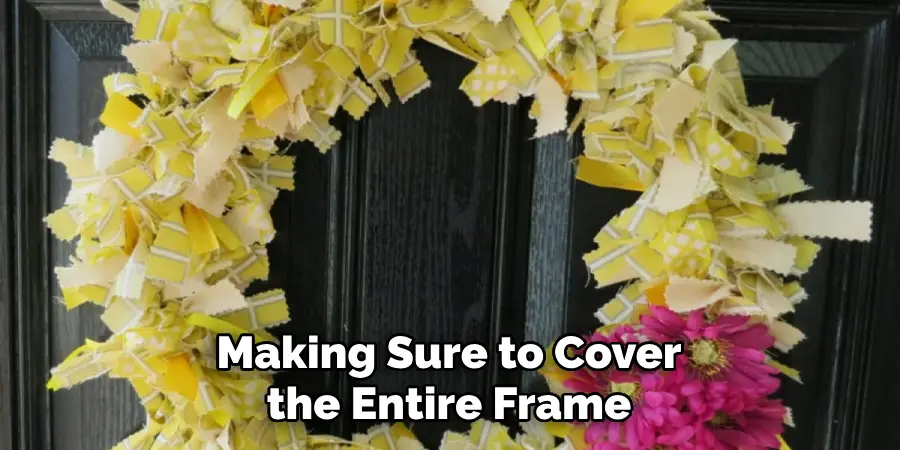
Once you have enough fabric strips cut, it’s time to start attaching them to the wreath form. Simply tie each strip in a knot around one of the wires on the form, using any pattern or color combination you wish. Continue tying strips around the form until it is completely covered, fluffing, and adjusting as needed to get a full and even look.
Step 4: Add Accents (Optional)
At this point, your wreath is essentially complete, but if you want to add some extra special touches, now is the time to do so. You can weave in additional fabrics or ribbons, add a bow or other embellishments, or even attach small ornaments or trinkets to the wreath. Get creative and make it your own. This is where you can let your personal style shine.
Step 5: Hang Your Wreath
Once all the finishing touches are in place, it’s time to hang your cloth wreath proudly on display. You can use ribbon or a door hanger to suspend the wreath from your front door, or simply prop it up against a wall indoors for some festive decor. Make sure to take a step back and admire your handiwork.

Following these simple steps, you can create a beautiful and unique fabric wreath to add a special touch to your holiday decor. Don’t be afraid to experiment with different fabrics, colors, and styles to find the perfect combination for your taste. Happy crafting!
Additional Tips and Tricks to Make a Cloth Wreath
1. If you want to add more dimension to your wreath, try using different types of fabric. You can use burlap for a rustic look, or satin for a more elegant wreath.
2. Don’t limit yourself to just using fabric scraps for your wreath. You can also incorporate ribbons, pom poms, and other embellishments to make your wreath stand out.
3. Experiment with different wreath shapes. While circular wreaths are the most traditional, you can also try making a heart-shaped or square wreath for a unique twist.
4. To add some sparkle to your wreath, consider adding glitter or sequins to your fabric before cutting it into strips.
5. If you’re feeling adventurous, try using different techniques such as braiding or knotting to create an interesting texture for your wreath.
6. Don’t be afraid to mix and match different fabric patterns and colors. The more variety, the more eye-catching your wreath will be.
7. To make your wreath sturdier, consider using a wire wreath frame instead of a foam one. This will also make it easier to hang your wreath.
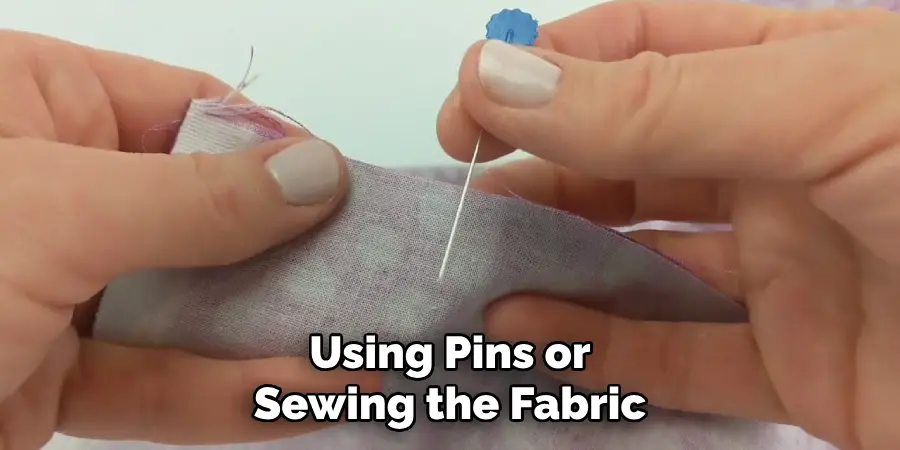
8. You can use a hot glue gun or fabric glue to secure your fabric strips onto the wreath frame, but if you want a more eco-friendly option, try using pins or sewing the fabric onto the frame instead.
9. To personalize your wreath even further, add a monogram or other decorative letter made out of fabric to the center of your wreath.
10. Don’t forget to use different shades and textures of fabric to add depth and interest to your wreath. This will make it look more professional and visually appealing.
Following these tips and tricks will help you create a beautiful cloth wreath that will be the envy of all your neighbors. Get creative and have fun with it! Happy crafting!
Things You Should Consider to Make a Cloth Wreath
1. The first thing you need to consider is the size of the wreath you want to make. You can choose a small, medium, or large size depending on your preference and the space where you plan to hang it.
2. Decide on the theme or color scheme for your wreath. This will help determine the type of fabric and embellishments you will need. For example, if you’re making a holiday wreath, you may want to use festive colors and materials like glitter or ornaments.
3. Next, gather all your materials. Apart from fabric and embellishments, you will also need a wire wreath frame, scissors, and glue to make a cloth wreath.
4. Cut the fabric into strips or squares depending on the style of your wreath. If you want a fuller look, cut wider strips. You can also mix and match different types of fabric for a more unique and textured wreath.
5. Start by tying the fabric strips onto the wire wreath frame, making sure to cover the entire frame. You can use a simple knot or a double knot for added security.
6. Once you have completed one layer, you can add another layer on top, using different fabrics or alternating colors for a more dynamic look.
7. As you add more layers, make sure to push the strips tightly together to create a full and lush wreath.
8. Once you are satisfied with the fullness of your wreath, you can start adding embellishments like bows, flowers, or ornaments. Use hot glue or wire to attach these decorations securely onto the fabric.
9. Finally, add a ribbon or hook at the back of your wreath for hanging. You can also add a personalized touch by attaching a monogram or welcoming sign to the front.
10. Remember that making a cloth wreath requires patience and creativity. Don’t be afraid to experiment with different colors, textures, and embellishments to create a one-of-a-kind decoration for your home.
Following these considerations, you can make a beautiful cloth wreath that will add warmth and charm to any room or occasion. Have fun and let your imagination run wild! So why not gather your supplies and get started on making your unique cloth wreath today? Happy crafting!
Precautions Need to Be Followed for Making a Cloth Wreath
1. First and foremost, make sure to choose the right type of fabric for your wreath. The fabric should be thick enough to hold its shape but also flexible enough to bend easily.
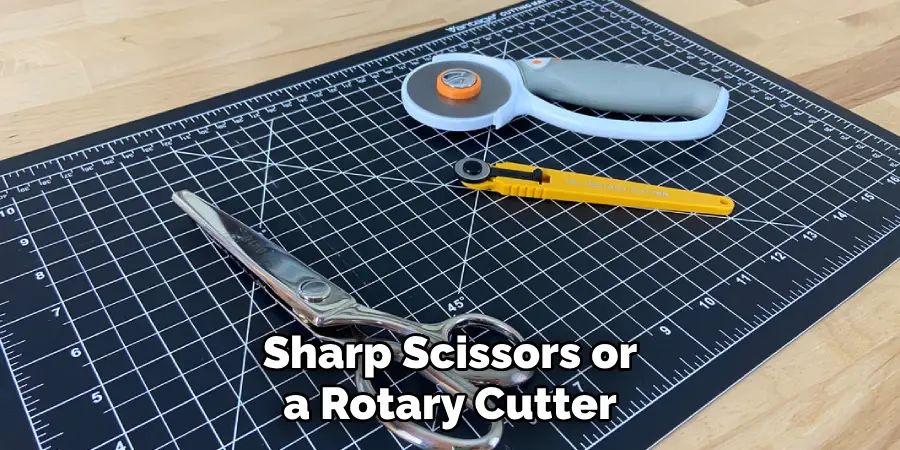
2. Use sharp scissors or a rotary cutter to cut the fabric into strips. Dull blades can cause fraying and uneven edges, making it difficult to work with.
3. Be careful when handling hot glue. Use a low-temperature glue gun and wear protective gloves to avoid burns.
4. Always work on a clean and flat surface to prevent any mess or accidents. This will also help you keep track of all your materials.
5. Measure the fabric strips accurately before cutting them, as uneven strips can affect the overall look of the wreath.
6. Be patient and take your time. Rushing through the process can lead to mistakes and a sloppy result.
7. Choose a sturdy wreath base, such as a metal ring or foam wreath form, to ensure that your cloth wreath will hold its shape.
8. If you plan on using multiple fabrics for your wreath, make sure they complement each other in terms of color and design. Mixing patterns or textures can add interest to the wreath, but be sure not to go overboard.
Following these precautions will not only make the process of making a cloth wreath easier but also ensure that your final product turns out beautifully. Remember to have fun and get creative with your design! There are no rules when it comes to making a unique and personalized cloth wreath. So let your imagination run wild and enjoy the process! Happy crafting!
Frequently Asked Questions
Can I Use Any Type of Fabric for My Cloth Wreath?
Yes, you can use a variety of fabrics such as cotton, linen, burlap, and even tulle. Just make sure the fabric is thick enough to hold its shape but also flexible enough to work with.
Do I Need to Sew the Fabric Strips Together?
No, you don’t need to sew the fabric strips together. You can simply tie or glue them onto the wreath base.
How Long Does It Take to Make a Cloth Wreath?
The time it takes to make a cloth wreath depends on your pace and level of experience. It can take anywhere from 1-2 hours for a simple wreath, to several hours for a more intricate design.
Can I Hang My Cloth Wreath Outdoors?
It is not recommended to hang a cloth wreath outdoors as it may get damaged by weather elements. It is best suited for indoor decoration or in a sheltered outdoor area.
Conclusion
Now you know how to make a cloth wreath and the precautions to follow while making one. Remember to be creative and have fun with your design. You can use different fabrics, colors, and textures to personalize your wreath and make it unique. Follow these tips and you’ll have a beautiful cloth wreath in no time! So gather your materials, put on some festive music, and let’s get crafting! Happy wreath-making!

