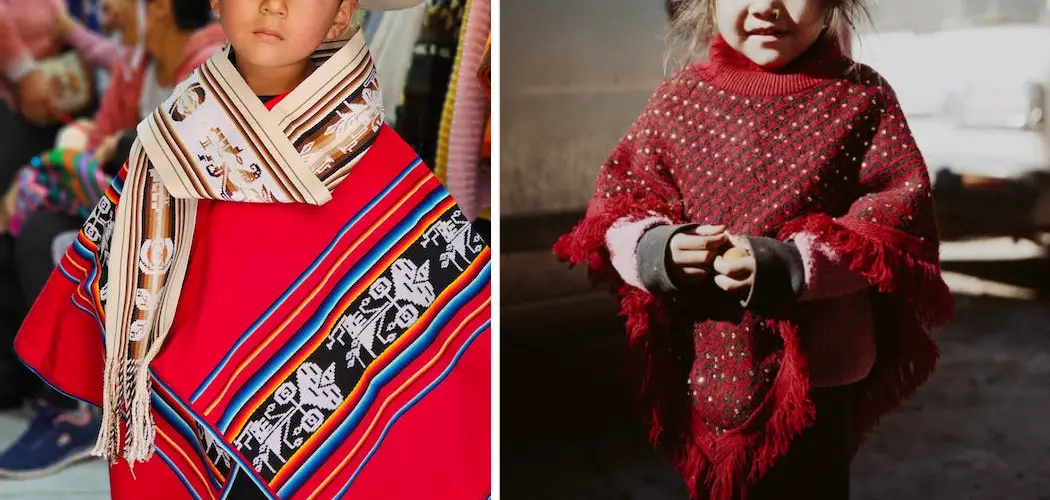
Ponchos are a versatile piece of clothing that can be worn in any season. They are especially great for children as they can easily be thrown over any outfit and are less restrictive than a coat. Making a child’s poncho is a fun and easy DIY project that can be completed in a few hours. In this blog post, we will go over the steps to make your own child’s poncho, including the materials needed and tips for customization. So keep reading to learn more about how to make a childs poncho.
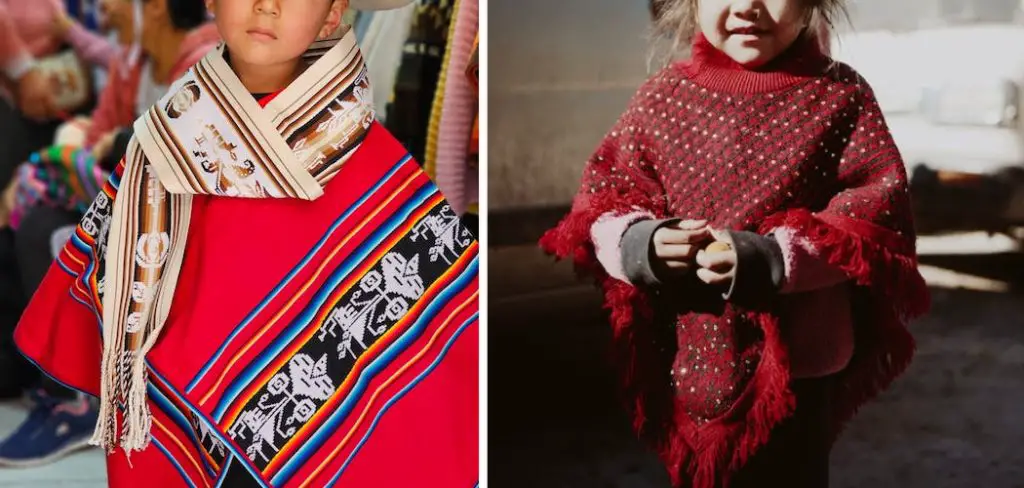
Can You Make a Childs Poncho?
Making your child a poncho can be a fun and very rewarding project. You will not only be able to customize it to your child’s style but also create a garment that’s unique to them. Whether you are an experienced sewer or new to the craft, making a poncho is a relatively easy and straightforward project, perfect for a beginner.
The possibilities really are endless – from colorful fleece ponchos to elegant woolen ones, choose fabrics that will keep your child warm and cozy all winter long. You can even add a hood, fringe, or decorative edging for an extra touch of style. So gather your materials and get ready for a fun and creative adventure with your little one’s poncho.
Why Should You Make a Childs Poncho?
Making a child’s poncho can be a fun and rewarding project for any parent or caregiver. Not only does it allow you to express your creativity and design skills, but it also provides a practical and stylish garment for your little one. A poncho is a versatile piece of clothing that can be worn in various weather conditions.
It keeps your child warm and comfortable during chilly days and protects from the sun during hot, sunny days. Additionally, a poncho can be easily put on and taken off, making it a convenient choice for busy parents and kids who are always on the go. By making a child’s poncho, you can create a meaningful and cherished item that your child can wear and enjoy for years to come.
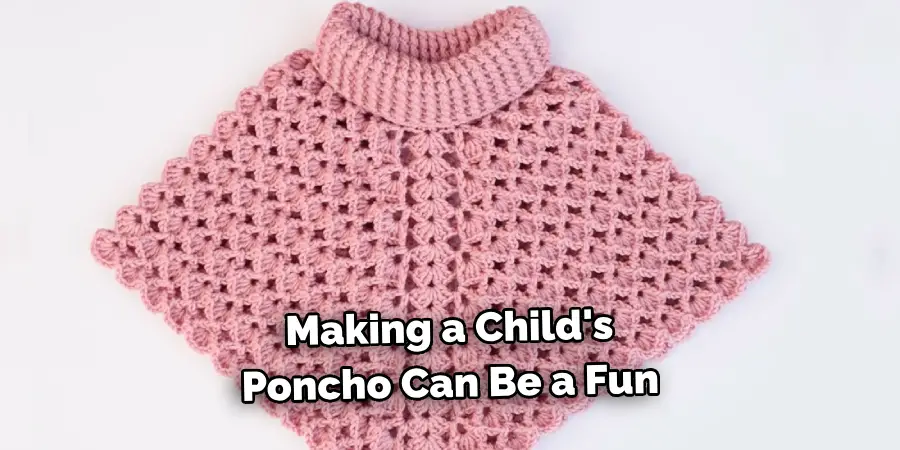
How to Make a Childs Poncho: A Fun and Easy DIY Project
Step 1: Choose Your Fabric
When it comes to choosing the right fabric for your child’s poncho, it’s important to keep in mind the season and use. For colder months, choose a warm and cozy fabric like fleece or knits. For warmer months, choose a breathable cotton or linen. Make sure to choose a fabric that is easy to work with and sews easily. Once you have your fabric, wash it to prevent any shrinking or color bleeding.
Step 2: Cut Your Fabric
To create a poncho, you will need two pieces of fabric cut into rectangles. The dimensions will vary depending on the child’s size, but a common size is 25 inches by 30 inches. Lay your fabric flat and cut out two identical rectangles.
Step 3: Sewing the Fabric Together
Once you have your two rectangles of fabric, you will want to pin them together with the right sides facing each other. This will create a seam line that will run from the top of the hood to the bottom of the poncho. Sew along the seam line, leaving a 1/2 inch seam allowance.
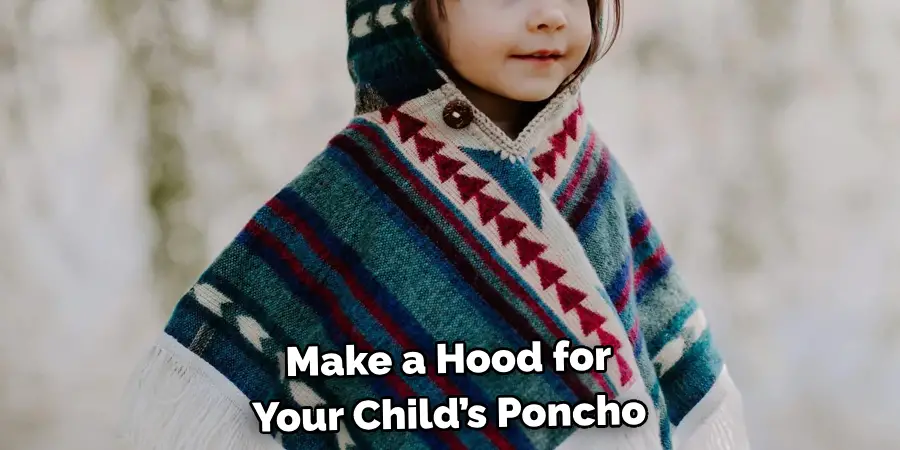
Step 4: Attach the Hood
To make a hood for your child’s poncho, you will need to cut a piece of fabric into an oval shape. Once you have the piece of fabric, fold it in half and sew along the curved edge with the right sides facing each other. Once you have sewn your hood, place it onto the poncho and pin it so that the right sides face each other. Sew around the edge of the hood, attaching it to the neck of the poncho.
Step 5: Finish the Edges
To finish off the edges of your child’s poncho, you can use bias tape or hem tape. Bias tape is a strip of fabric that is used to enclose the raw edges of the poncho, while hem tape is an adhesive tape that is used to hem the bottom edge. Simply follow the instructions on the tape packaging to finish off the edges of your child’s poncho. You can also use a decorative stitch to add some flair to the edges.
Step 6: Add Pockets (Optional)
To make your child’s poncho even more functional, you can choose to add pockets. Simply cut out two rectangles of fabric and sew them onto the front of the poncho before attaching the hood. This will give your child a place to keep their hands warm or store small items.
Step 7: Personalize Your Poncho
Now that you have completed the basic poncho, it’s time to personalize it! You can add embellishments such as iron-on patches, fabric paint, or embroidery to make your child’s poncho one-of-a-kind. Get creative and involve your child in the personalization process to make it even more special. And there you have it, a beautiful and functional poncho your child will love to wear!
So make more in different colors and patterns for your child to enjoy all year round. Happy sewing! Remember, the options are endless with personalizing a poncho, so don’t be afraid to get creative. You could even add fringe or tassels for a bohemian look or use contrasting fabric for an eye-catching design.
Some Considerations Things When You Need to Make a Childs Poncho
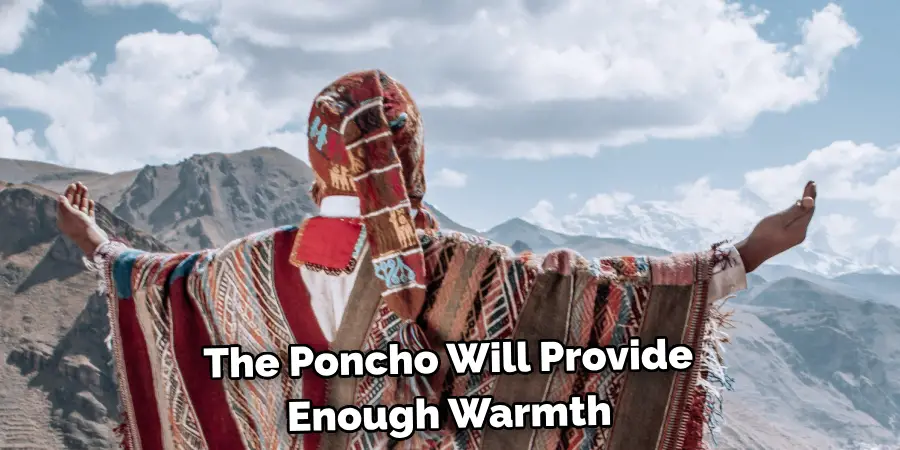
Making a child’s poncho can be a fun and rewarding project, but there are several things to consider before you start. One important consideration is the weight and warmth of the fabric you choose. You want to make sure the poncho will provide enough warmth for your child while also being comfortable to wear. Another consideration is the size of the poncho.
You’ll need to measure your child to ensure the poncho fits properly and provides enough coverage. Additionally, you should consider any embellishments you want to add to the poncho, such as buttons or fringe. These can add personality to the garment and make it more fun for your child to wear. By taking these considerations into account, you can make a child’s poncho that is both practical and stylish.
5 Benefits of Making a Child Poncho
Versatile
Making a child poncho is a great way to keep your little one warm and cozy. It’s a versatile piece of clothing that can be worn in any season, making it perfect for layering in the winter or wearing on its own in the summer. A poncho can also be easily adjusted to fit your child as they grow, making it an economical choice that will last for years.
Easy to Make
Making a child poncho is surprisingly easy and requires no special skills or tools. You only need some fabric, scissors, thread, and a sewing machine (or needle and thread). With just these basic supplies, you can make a stylish and comfortable poncho for your little one in no time!
Fun Design Options
Another benefit of making a child poncho is that there are so many fun design options available. You can choose from different colors and patterns, as well as different styles such as hooded or sleeveless designs. You can even add some fun details like pockets or appliques for an extra special touch!
Personalized Gift
Making a child poncho is also an ideal gift idea because it’s personalized and unique. Whether you give it to your own children or someone else’s, they’ll appreciate the thoughtfulness that went into creating something special just for them! Plus, if you make several different ones in various sizes, you can give them away as gifts throughout the year!
Cost Effective
Finally, making a child poncho is an incredibly cost-effective option compared to buying ready-made clothing from stores. You will save money by avoiding expensive store prices and get more bang for your buck since handmade items tend to last longer than mass-produced items!
Some Common Mistakes People Make When Trying to Make a Childs Poncho
A child’s poncho is a great project for both beginner and experienced knitters, but it’s important to avoid common mistakes along the way. One of the most common issues is choosing the wrong yarn. It’s important to select a yarn that is suitable for a child’s sensitive skin and is easy to care for.
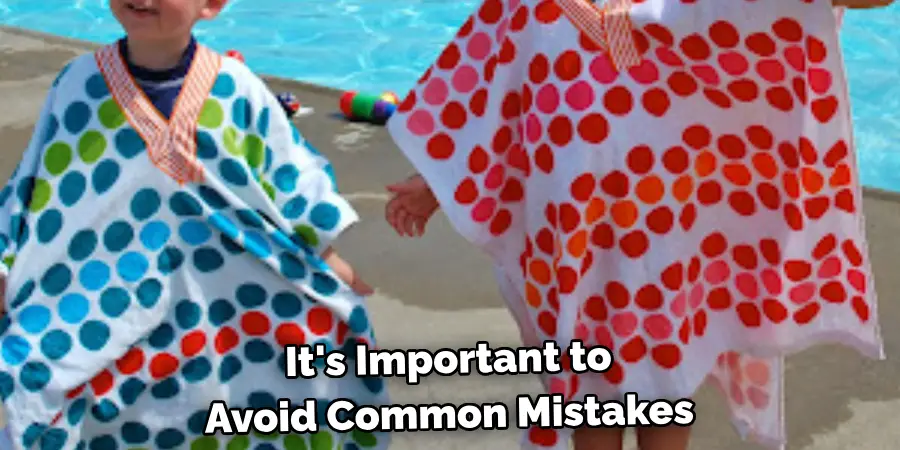
Another mistake is not properly measuring the child before starting the project. This can result in an ill-fitting poncho that won’t be comfortable to wear. Additionally, many people forget to check their gauge, leading to inconsistencies in the final product. When it comes to making a child’s poncho, taking the time to avoid these mistakes will ensure a successful and enjoyable project for everyone involved.
Conclusion
Making a child’s poncho is a fun and easy DIY project that can be customized to fit your child’s style and needs. With just a few simple steps, you can create a cozy and comfortable poncho that your child will love to wear.
Remember to choose the right fabric, sew the pieces together, attach the hood, and finish off the edges for a professional-looking outcome. With these steps, you can make a child’s poncho in a few hours and enjoy the process! Thanks for reading our post about how to make a childs poncho.

