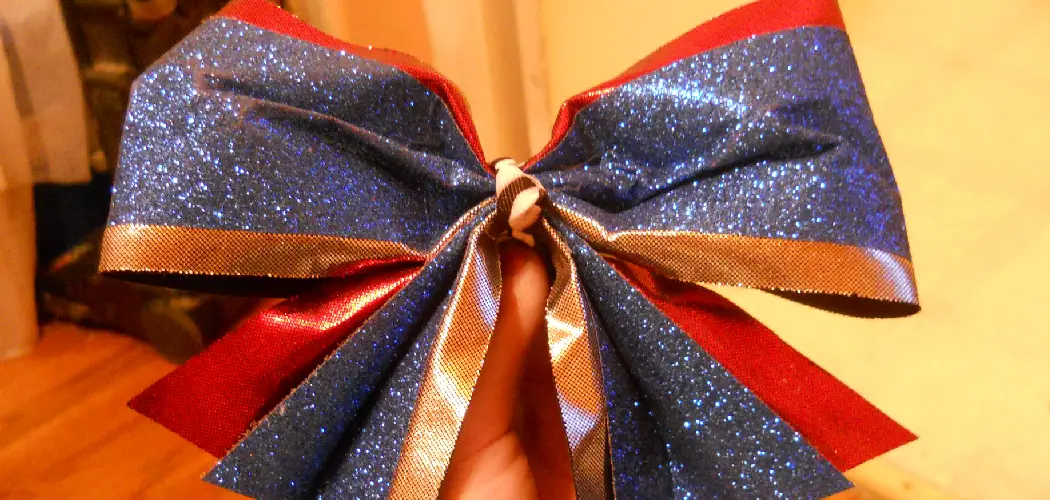
Hello everyone! I’m thrilled to share with you how to make a cheer bow out of ribbon. For many young cheerleaders, the bow in their hair is an integral part of their uniform that helps show off their team spirit. However, store-bought bows can be quite expensive. Making your own is an affordable and creative option. It also allows you to customize the bow to your exact liking with your choice of colors and materials.
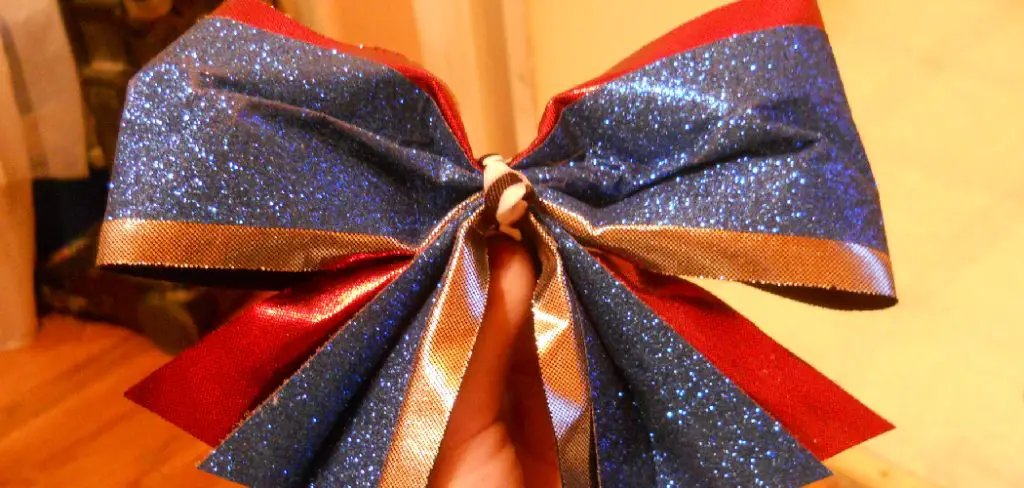
In this post, I’ll walk through the simple steps to craft a beautiful bow that your cheer squad will admire. From selecting your ribbons to tying the perfect knot, you’ll be an expert bow maker in no time. Let’s get started on this fun DIY project!
Supplies You Will Need to Make a Cheer Bow Out of Ribbon
- 2.25-inch ribbon in your choice of colors
- Scissors
- Hot glue gun and glue sticks
- Ruler or measuring tape
- Alligator clip or rubber band
- Optional: Heat sealing tool
Step-by-step Guidelines on How to Make a Cheer Bow Out of Ribbon
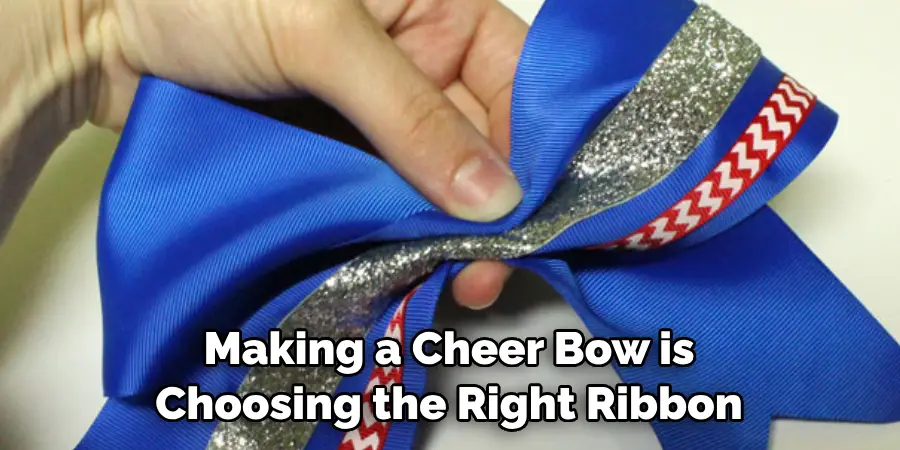
Step 1: Choose Your Ribbon
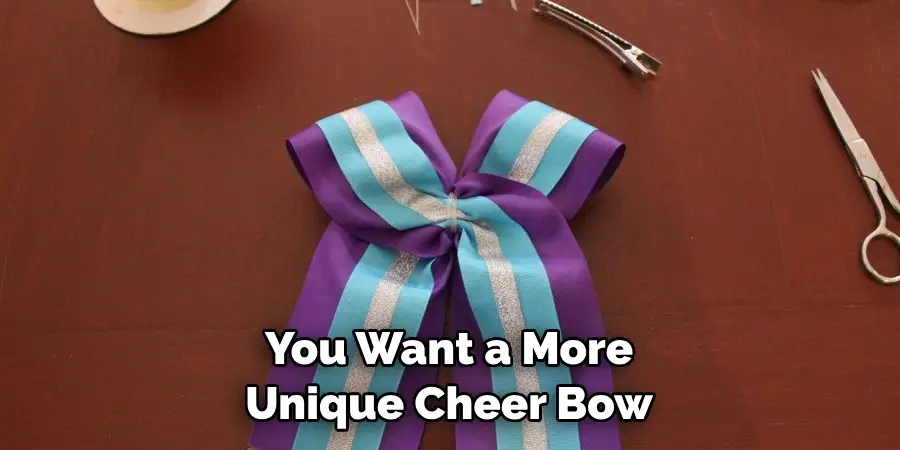
The first step to making a cheer bow is choosing the right ribbon. Typically, a 2.25-inch grosgrain ribbon is used for cheer bows as it holds its shape well and comes in a variety of colors. You can also use satin or sequin ribbons for a more unique look. Make sure to choose two colors that complement each other and your team’s uniform.
Step 2: Measure and Cut Your Ribbon
Now, it’s time to measure and cut the ribbons for your bow. For a standard-sized cheer bow, you’ll need one piece of ribbon measuring 28 inches and another measuring 26 inches. You can adjust the length according to your preference, but make sure the lengths of both ribbons are different by 2 inches. While measuring, you can use a ruler or measuring tape to ensure accuracy.
Step 3: Seal the Ends of Your Ribbon
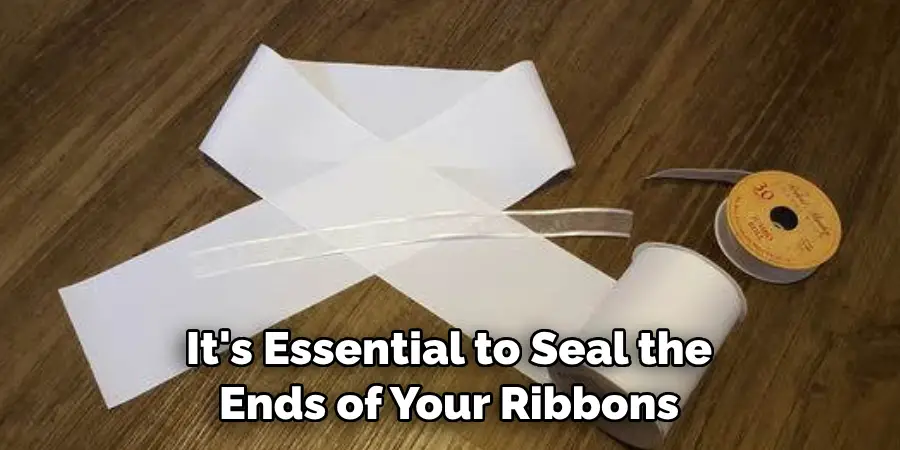
To prevent fraying, it’s essential to seal the ends of your ribbons. You can do this by either using a heat-sealing tool or lightly running the ends over a flame for a few seconds. Be careful not to burn the ribbon. If you’re using a heat sealing tool, follow the manufacturer’s instructions for best results. This step is optional but highly recommended for a polished look.
Step 4: Create the Loops
Place your longer ribbon on a flat surface with the right side facing down. Fold both ends of the ribbon inwards towards the center, leaving an inch gap in between. Then, fold it again in half so that the two folded ends meet at the center. This will create a loop. Repeat the same process with the shorter ribbon. While folding, make sure the right side of the ribbon is facing inwards.
Step 5: Secure the Loops
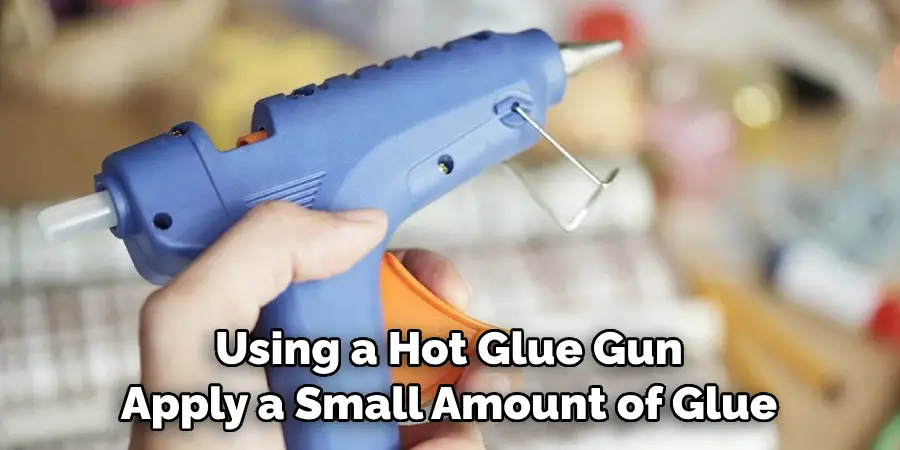
Using a hot glue gun, apply a small amount of glue at the center of each folded end to secure the loops in place. Hold it firmly for a few seconds until the glue dries. You should now have two identical loops. Securing the loops properly is crucial to ensure the bow stays in shape and doesn’t come apart.
Step 6: Create the Bow Shape
To create the classic cheer bow shape, place both loops on top of each other with a shorter loop on top. Then, fold both loops in half again and glue them together at the center. This will create a figure-eight shape. Make sure the shorter loop is on top as it will form the front of your bow. If you’re using different colors, make sure the desired color is on top.
Step 7: Tie a Knot
To complete your cheer bow, take a small piece of ribbon and tie it tightly around the center of your figure-eight shape. This will give the bow its signature knot and hold all the loops together. You can also use an alligator clip or rubber band to secure the bow if you prefer. Make sure to trim off any excess ribbon and seal the ends.
Congratulations, you have now successfully made a cheer bow out of ribbon! You can attach your bow to a hair tie or clip and wear it proudly at your next game or competition. Play around with different colors and styles to make unique bows for each member of your squad. Have fun and happy crafting!
Additional Tips and Tricks to Make a Cheer Bow Out of Ribbon
1. If you want a more unique cheer bow, try using patterned ribbon instead of solid colors. You can find a variety of patterns at your local craft store or online.
2. Add some sparkle to your cheer bow by using glitter ribbon or adding rhinestones. This will help make your cheerleader stand out even more and catch the light during performances.
3. For an extra secure bow, use a small amount of clear glue to hold the ribbon in place before sewing it together. This will prevent the ribbons from shifting or coming undone during tumbling or stunts.
4. Experiment with different bow sizes and shapes to find one that works best for your team’s uniform and personal style. Some cheerleaders prefer larger bows while others opt for smaller ones.
5. If you’re having trouble getting the perfect shape for your bow loops, try using a hair straightener to iron out any kinks in the ribbon. This will help create smooth and uniform bows.
6. Don’t be afraid to mix and match ribbon colors for a more dynamic cheer bow. You can also layer different types of ribbons such as satin and grosgrain for a unique look.
7. Add a finishing touch to your cheer bow by attaching small charms or trinkets that represent your team or school mascot. This will help personalize your bow and show off your team spirit.
8. When storing your cheer bows, make sure to lay them flat or hang them up to prevent them from getting creased or wrinkled.
9. If you’re making cheer bows for a competition or special event, make sure to practice beforehand and have backups just in case any get damaged or lost.
Following these additional tips and tricks will help you create the perfect cheer bow for your team. Remember to be creative and have fun with it! Your cheer bow is not only a functional accessory, but also a way to show off your team spirit and personal style. Happy crafting!
Precautions Need to Be Followed for Making a Cheer Bow Out of Ribbon:
1. First and foremost, it is important to choose the right type of ribbon for making a cheer bow. The recommended type of ribbon is grosgrain as it has a sturdier texture and holds its shape better.
2. Always make sure to measure out the length of ribbon needed for the bow before cutting it. This will ensure that both ends of the bow are equal in size and that the final product looks symmetrical.
3. When cutting the ribbon, use sharp scissors to prevent fraying or uneven edges. It is also important to cut the ends of the ribbon at an angle to create a neat and professional look.
4. Before starting to assemble the bow, it is recommended to practice folding and shaping the ribbon beforehand. This will help in achieving a perfect shape and avoiding mistakes during the assembly process.
5. When using a hot glue gun to secure the folds of the ribbon, make sure to use it with caution and adult supervision if needed. Hot glue can cause burns, so it is important to handle it carefully.
6. Another important precaution is to always use a heat sealer or lighter to seal the ends of the ribbon once it is cut. This will prevent fraying and keep the bow looking neat.
7. While assembling the bow, make sure to double-check the placement of each fold before gluing it down. Once the glue dries, it is difficult to adjust or fix any mistakes.
8. It is also important to take breaks while making a cheer bow as repetitive motions can cause strain on the hands and wrists. Stretching or taking breaks will help prevent any discomfort or injuries.
Following these precautions will not only ensure a well-made cheer bow but also promote safety and minimize any potential accidents. Remember to always prioritize safety while crafting and have fun creating beautiful cheer bows!
Conclusion
As shown in this blog post, making your cheer bow out of ribbon is a fun and creative activity. Not only is it simple to do with the right materials and a step-by-step guide, but you’ll also have a unique product that can be worn with pride. Moreover, once you’ve learned how to make a cheer bow out of ribbon, you’ll be well on your way to mastering the art of creating cheer bows! So don’t wait – try making your cheer bow out of ribbon today and unleash your inner creative spirit!
Nothing boosts self-esteem more than creating something that you can be proud of. Tap into your DIY spirit and get started now – after all, who doesn’t love having an accessory or two that is unique and made just for them? So remember, no matter what project you choose to tackle – from crafting something as special as a cheer bow out of ribbon to building car engines – always use common sense and safety precautions when beginning any new task. Now go forth and DIY!
Expertise:
Crafting expert with a focus on innovative techniques and diverse materials.
Specialization:
- Textile arts (weaving, embroidery, and fabric dyeing)
- Woodworking and furniture design
- Mixed media and upcycling projects
Recognition:
- Featured in local art exhibits showcasing innovative craft projects
- Collaborated with community organizations to promote crafting workshops
- Received accolades for contributions to sustainable crafting initiatives
Mission:
- To inspire and empower crafters of all levels to discover their creative potential
- Encourages experimentation and self-expression through hands-on projects

