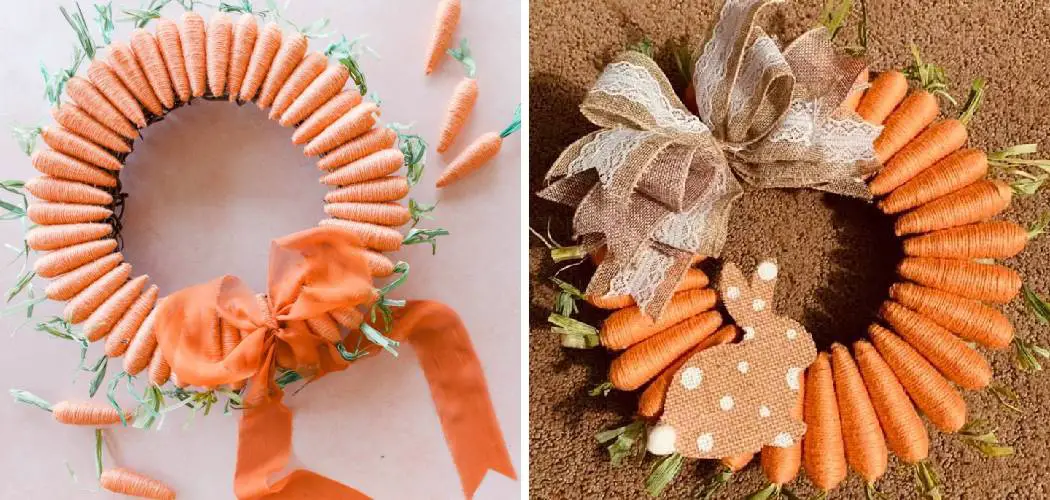
Welcome to the gateway of spring creativity, where we dive into the vibrant world of carrot wreath crafting. This long-form post is not just a set of DIY instructions; it’s a journey teeming with inspiration and detailed advice for those who seek to infuse their homes with a slice of seasonal charm.
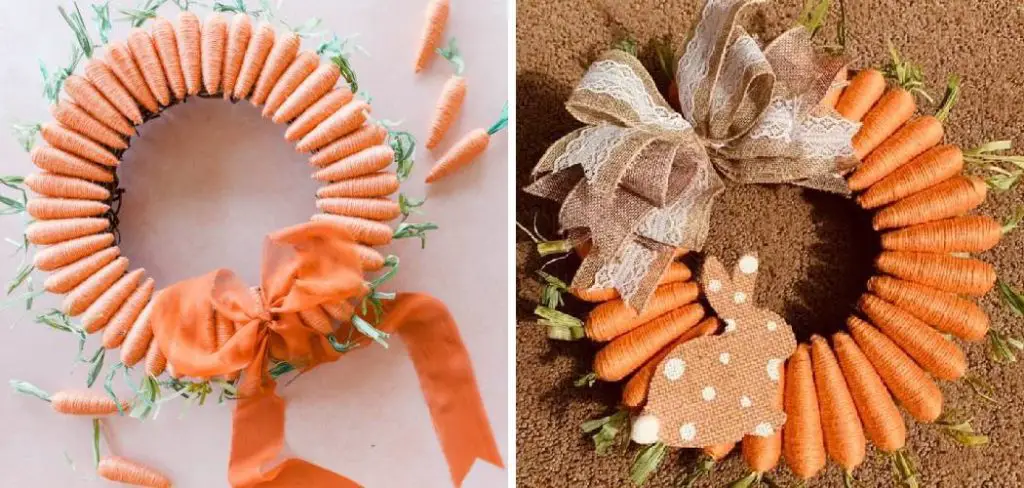
If you are in the process of searching for ideas to decorate your Easter or spring-themed home, look no further! In this guide, we’ll explore How to Make a Charming Carrot Wreath and everything that you need to know to master this delightful craft.
Crafting Your Carrot Wreath Masterpiece: The Essentials
Nurturing Your Tools and Materials
Before your creative juices start flowing, nourishing yourself with the right gear is important. Crafters, it’s time to gear up! Here’s what you’ll need:
- The Foundation: A wreath form of your choice – metal, grapevine, or repurposed items like bicycle wheels can offer whimsical bases. DIY your own with cardboard cutouts, wireframes, or twisted branches for an earthy craft adventure.
- Color Splash: Your carrot wreath is going to pop, so let’s consider what’ll paint it that way. Prepare fabric scraps, burlap, orange yarn, ribbon, deco mesh, or dyed felt – the spectrum is your muse. Embed various hues with paint, markers, or glitter for a custom palette.
- Textural Accents: Make your carrots feel at home. Faux leaves, moss, dried flowers, or tiny carrots will breathe life into your project. Embellish further with buttons, twine, pipe cleaners, or beads for a sensory-rich adventure.
- The Essentials: A hot glue gun, scissors, pliers, and wire cutters are the architects of your carrot kingdom. Last but not least, secure your final masterpiece for display with a sturdy ribbon or hanger.
Gathering these materials is like tending to your garden before sowing the seeds; you’re setting the stage for a blooming craft!
The Style of Carrot Wreath that Reflects You
With so many paths to take, how do you choose the right one for you? Let’s decode some common styles that will help you in your quest for personalization.
Classic Orange Crush
The allure of tradition meets a contemporary touch with an orange burlap or fabric strip. This choice offers a rustic vibe that can be enhanced with jute twine, faux greenery, and natural add-ons. A miniature felt bunny or a cheerful ribbon could be that unique touch your classic wreath needs.
Modern Mashup
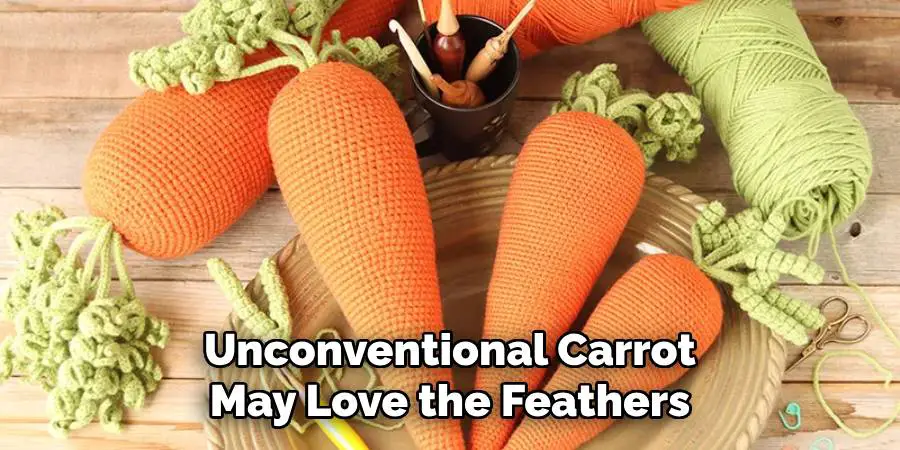
Yearning for something that merges the old with the new? Infuse your wreath with bold and pastel colors, and don’t shy away from geometric patterns or metallic accents. Your unconventional carrot may love the feathers or metallic mesh that speak volumes of style.
Whimsical Wonderland
Here’s a style that’s perfect for the young at heart. Create a haven of texture with pom-poms, yarn scraps, and buttons. This playtime could also serve a practical purpose, like being a nursery’s focal point or your Easter festivities’ magnet of joy.
Give it some thought and allow your mind to wander through these styles. Once you’ve found the one that sings to your spring-loving heart, you’re ready to invest in materials and bring your vision to life.
How to Make a Charming Carrot Wreath: Step-by-Step Guide
Step by step, inching closer to your craft – let’s dive into how you can turn your materials into a tangible symbol of spring.
Step 1: Building the Base
Crafters, start your engines! This is where the magic begins. Secure your chosen material – whether it’s fabric, yarn, or something else entirely – to the wreath form using the power of heat from a hot glue gun, staples, or the humbleness of twine. Work in layers, securing each one along the way. Don’t forget to tuck and fold, as that is how you create depth and the beloved rounded shape of your soon-to-be carrot wreath.
Step 2: Shaping the Stem
Your carrots need a good stem – it’s their lifeline to your wreath world. Use green fabric, felt, or twine to bring it to life, and don’t forget to add a touch of texture with faux leaves or twisted paper. The more realistic your stem, the more vibrant your carrots can be.

Step 3: Attaching the Carrots to the Base
Here’s where those carrots meet the field. Position them securely on the wreath, ensuring they’re at the right angle and depth. They’re the stars of your show; let them shine in their snug home within the carrot wreath.
Step 4: Embellishing and Personalizing
Now is your time to shine as a designer. Add greenery, flowers, and anything that feels right to the vision you’re cultivating. Tie a charming bow or add a hand-painted message for that personalized touch. Remember, there are no boundaries in this vibrant world; only possibilities limited by your imagination!
Step 5: Finishing Touches
When does art truly end? It doesn’t, but the process of finishing your wreath does. Choose the perfect spot to showcase your creation, securely hang it, and then, with a heart full of joy, step back and admire your handiwork.
Bonus Tips and Tricks for a Flourishing Wreath Craft
The journey doesn’t end with the final stroke of embellishment. Let’s explore some extra tips and tricks to help you truly make your craft shine.
- Dye fabric scraps with natural ingredients for unique and textured effects. The journey of crafting is littered with wonderful experiments.
- Upcycle old materials for an eco-friendly twist to your seasonal craft. The earth is turning; let’s craft in harmony with it.
- Host a carrot wreath-making party. Engaging in a joyful craft with friends and family can lead to various interpretations of the craft and a meaningful shared experience.
- Get inspired by others. Online tutorials and community forums serve as gathering points for innovative ideas. Your journey can start where someone else triumphs – the circle of craft, like the carrot wreath, is evergreen.
5 Common Mistakes People Make When Trying to Make a Carrot Wreath
Mistake 1: Choosing the Wrong Carrots
Selecting the right carrots is the foundation of a vibrant, long-lasting wreath. Don’t make the mistake of using carrots that are too soft or small. You want your wreath to not only look the part but also hold its shape over time.
Opt for fresh and firm carrots, preferably with their greens attached for that extra pop of colour. As a rule of thumb, look for a uniform size and shape to ensure a cohesive appearance. Experiment with different types; heirloom carrots, with their varying shades and sizes, can add a delightful twist to the traditional carrot wreath.
Mistake 2: Skipping the Prep Work
A wreath is only as good as its foundation, and the same applies to the carrot wreath. Before crafting, it’s crucial to clean and peel the carrots. Soil and other contaminants can not only compromise the wreath’s appearance but also lead to quicker rotting.
For ease of use, they should be peeled to prevent the adhesive from slipping and to give the wreath a smoother and more polished finish. Invest time in this stage, and you’ll be rewarded with a finished product that looks professional and lasts longer.
Mistake 3: Using the Wrong Adhesive
The success of your carrot wreath significantly hinges on the adhesive you choose. Many crafting beginners opt for standard white glue or even tape, but these may not be durable enough to withstand the weight of the carrots. Instead, consider using hot glue or even a floral adhesive that’s designed to stick to organic materials.
These options provide a strong bond, ensuring that your wreath remains intact for the entirety of the season. Remember, a strong adhesive also prevents accidental carrot dropping and keeps your wreath looking tidy.
Mistake 4: Overloading the Wreath
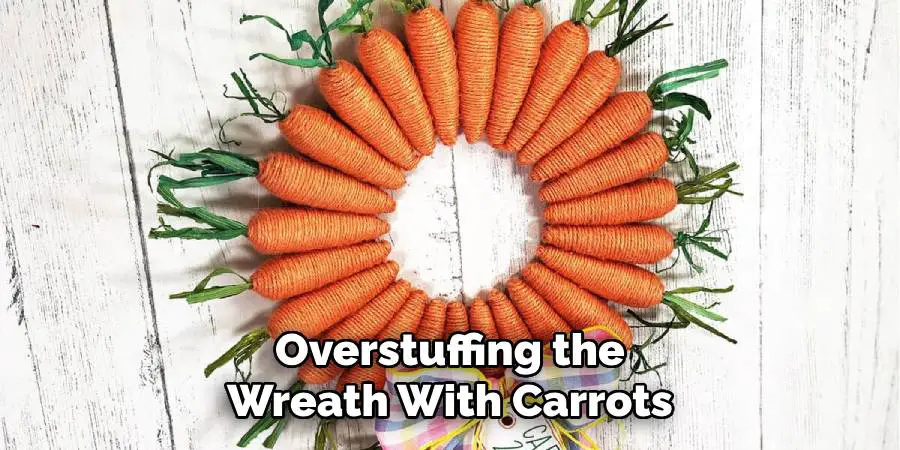
In the crafting world, less is often more, especially when it comes to the carrot wreath. Overstuffing the wreath with carrots can not only lead to an uneven distribution of weight (and, therefore, an off-kilter wreath) but also make it look chaotic.
Pay attention to the spacing and balance as you attach the carrots, ensuring there’s a clear pattern that’s pleasing to the eye. Leave ample spaces to let the wreath’s base show through – it’s part of the charm.
Mistake 5: Neglecting Maintenance and Storage
Once your carrot wreath is delighting passersby, remember it will need some TLC to keep it fresh. Spritz the carrots with water every few days to prevent wilting and preserve their vibrant color. When the season ends, make sure you store your wreath in a cool, dry place to prevent mold and decay. If possible, repurpose a wreath box or wrap it loosely in a breathable fabric. Your attention to post-adornment care will make it far likelier that you can reuse your carrot wreath year after year.
Conclusion
As our long-winded adventure in the crafty realms of a carrot wreath comes to a close, remember that this piece is not just a decoration. It’s an extension of your creativity and a celebration of the season’s infectious joy.
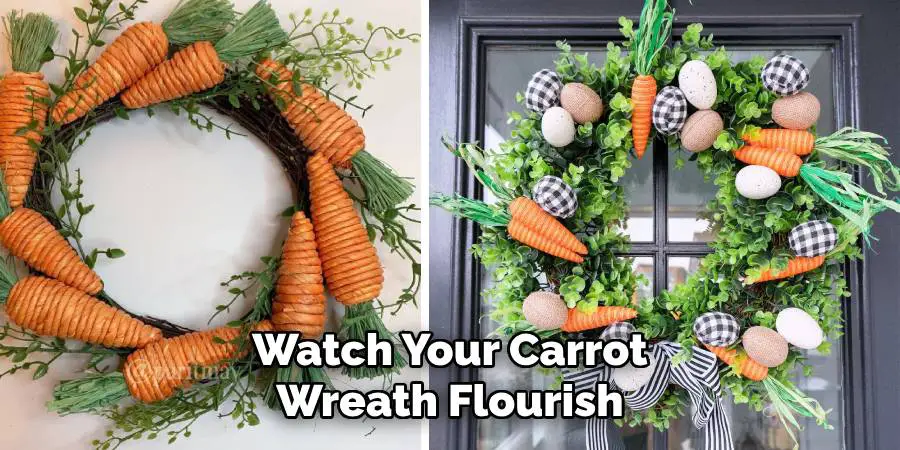
Armed with this guide, your crafting arsenal is well-stocked to tackle a project as unique as yours. So, gather your materials, tune into your artistic frequency, and watch your carrot wreath flourish with the season’s playful spirit!
It’s time to turn those tidy instructions into a story – the story of your very own springtime celebration immortalized in a wreath. Embrace the vibrant festival of craftsmanship it promises, and let your spirit bloom alongside your charming creation. Thanks for reading our post about how to make a carrot wreath. Happy crafting!

