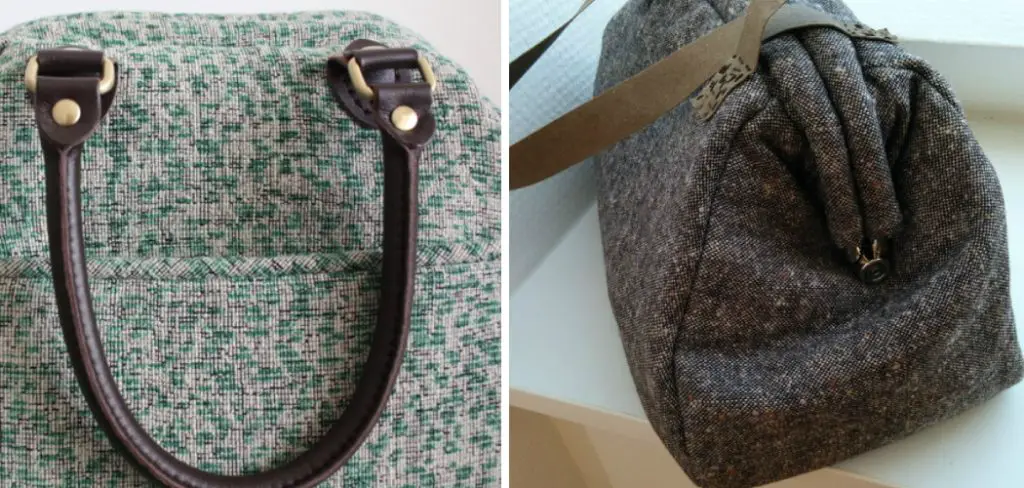
Carpet bags, with their classic charm and practicality, have stood the test of time as versatile travel companions. Originally made from vintage carpets, these iconic bags exude a sense of nostalgia and sophistication. If you’ve ever admired the elegance of a carpet bag and wished to create one yourself, you’re in for a treat.
In this comprehensive guide, we will take you through the steps of how to make a carpet bag, combining style and functionality in one beautiful creation. Whether you’re an experienced sewer or a beginner eager to dive into a rewarding project, follow along as we unravel the art of making a carpet bag that will not only carry your belongings but also become a timeless accessory that adds a touch of vintage charm to your everyday adventures.

Benefits of Crafting Your Own Bag
Crafting your own bag is a great way to add a touch of personality and style into any look. Creating something that’s unique and one-of-a-kind adds an air of sophistication to your wardrobe.
Making your own carpet bag also gives you the freedom to choose materials, colors, and patterns that best suit your style. Plus, there is a sense of satisfaction that comes with making your own bag and showing it off to friends and family.
With the right materials, tools, and instruction, you will be able to design and create a stunning carpet bag. Follow this guide to learn how to make the perfect custom-made bag for you!
Materials You’ll Need
Before diving into the methods, gather the following materials to embark on your carpet bag creation:
Carpet or Heavy Upholstery Fabric: Choose a sturdy and visually appealing fabric for the body of your bag. Vintage carpets or upholstery remnants can be excellent choices for that authentic carpet bag feel.
Lining Fabric: Pick a coordinating or contrasting fabric for the bag’s interior. A smooth and durable lining material will complement the exterior and protect your belongings.
Fusible Interfacing: For adding structure and stability to the bag, ensuring it retains its shape and form.
Batting or Foam Stabilizer: For providing cushioning and structure to the bag, enhancing its durability and functionality.
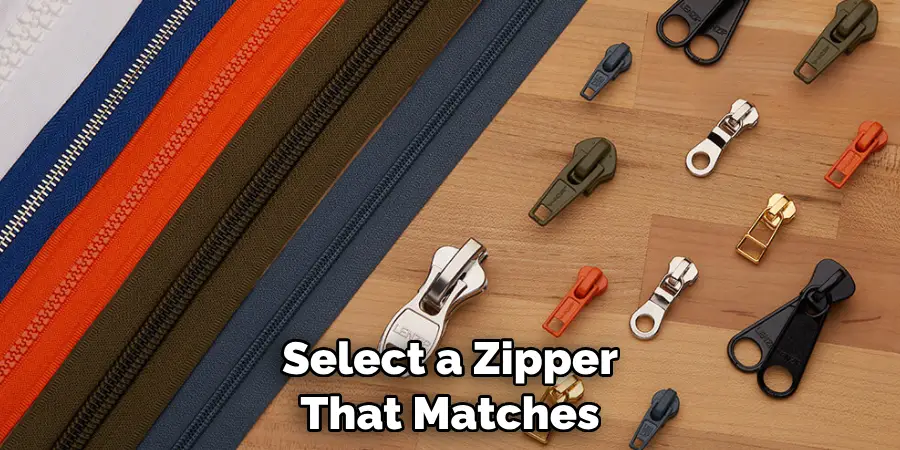
Zipper: Select a zipper that matches the width of the bag’s opening. A sturdy zipper will ensure easy access to the bag’s contents.

Handles or Straps: Opt for leather, webbing, or fabric straps that are comfortable to carry and match the bag’s style.
Metal Rings and Sliders (optional): For adjustable straps, allowing you to customize the bag’s length to suit your preferences.
Magnetic Snap or Closure: To secure the bag’s opening, keeping your belongings safe and protected.
Sewing Machine and Thread: For sewing the bag’s components together, ensuring sturdy and professional-looking seams.
Scissors, Ruler, and Pins: Essential tools for cutting and assembling the bag, allowing for precise and accurate measurements.
10 Methods How to Make a Carpet Bag
Method 1: Measure and Cut the Fabric
Begin by determining the desired dimensions of your carpet bag. Measure and cut the carpet or upholstery fabric to create the bag’s front and back panels, side panels, bottom panel, and any additional pockets or compartments you wish to include.
Repeat the process with the lining fabric, fusible interfacing, and batting or foam stabilizer, ensuring they match the corresponding dimensions of the bag’s exterior components. Careful and accurate cutting is essential to ensure the bag comes together flawlessly.
Method 2: Add Structure with Fusible Interfacing
To give your carpet bag the desired structure and durability, apply fusible interfacing to the back of each exterior fabric piece. Following the manufacturer’s instructions, iron the interfacing onto the wrong side of the fabric. This step is crucial in preventing the bag from sagging or losing its shape over time, especially if you are using a soft or vintage carpet fabric.

Method 3: Quilt the Bag’s Exterior
For added dimension and texture, consider quilting the exterior fabric pieces. Lay the batting or foam stabilizer on the wrong side of the front and back panels, then pin the layers together. Use a sewing machine to stitch through all layers, creating quilting lines or patterns. Quilting adds a unique touch to your carpet bag and reinforces the stability of the exterior, making it more durable and luxurious.
Method 4: Assemble the Exterior Panels
With the quilted front, back, side, and bottom panels ready, it’s time to assemble the bag’s exterior. Place the front and back panels together, right sides facing, and pin the side panels along the edges. Sew along the seams to connect the panels, leaving the top open.
Repeat the process with the bottom panel, attaching it to the bottom edges of the front, back, and side panels. Press the seams open for a neat and professional-looking finish.
Method 5: Create Pockets and Compartments
If you’d like to add pockets or compartments to your carpet bag, now is the time to do so. Cut and sew additional fabric pieces to create interior pockets, zippered compartments, or even a divider to organize your belongings effectively.
Attach these components to the lining fabric before assembling the lining. Well-placed and thoughtfully designed pockets will enhance the bag’s functionality and make it a practical everyday accessory.
Method 6: Prepare the Lining
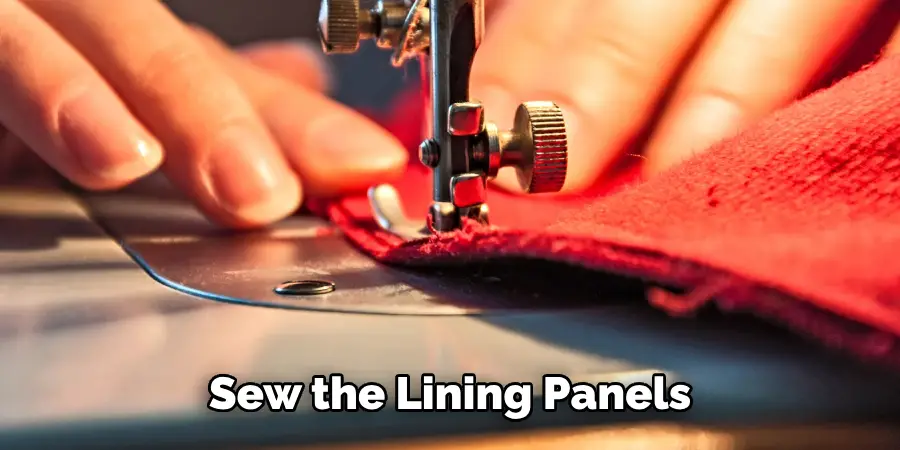
Now, assemble the lining of the bag using the same method as the exterior. Sew the lining panels together, leaving the top open, and add any pockets or compartments as desired. To ensure a clean and finished look, finish the top edges of the lining with a serger or zigzag stitch.

A high-quality and attractive lining will not only protect the bag’s interior but also elevate the overall appearance of the carpet bag.
Method 7: Attach the Zipper
To secure the bag’s opening and provide easy access to your belongings, insert the zipper between the exterior and lining fabric. Place the zipper face down along the top edge of the bag’s exterior and pin it in place. Align the top edge of the lining fabric with the other side of the zipper, right sides facing, and pin it in place as well.
Use a zipper foot on your sewing machine to sew along the zipper, attaching it to both the exterior and lining. A smooth and sturdy zipper will enhance the bag’s functionality and make using it a breeze.
Method 8: Add Handles or Straps
Choose the type of handles or straps you prefer for your carpet bag. If you opt for fabric or leather handles, fold them in half lengthwise and sew along the long edge. Attach the handles to the bag’s exterior by positioning them along the top edges and sewing them securely in place.
For adjustable straps, add metal rings and sliders to allow for customization. Strong and comfortable handles will ensure that your carpet bag is easy to carry and maneuver, even when it’s filled with your belongings.
Method 9: Assemble the Bag
With the zipper and handles in place, it’s time to assemble the bag. Pin the exterior and lining pieces together, right sides facing, and sew along the sides and bottom edges. Leave a small opening along the lining for turning the bag right side out.
Clip the corners to reduce bulk and turn the bag right side out through the opening. Careful assembly will ensure that all components come together seamlessly, resulting in a professionally crafted carpet bag.
Method 10: Finish the Bag
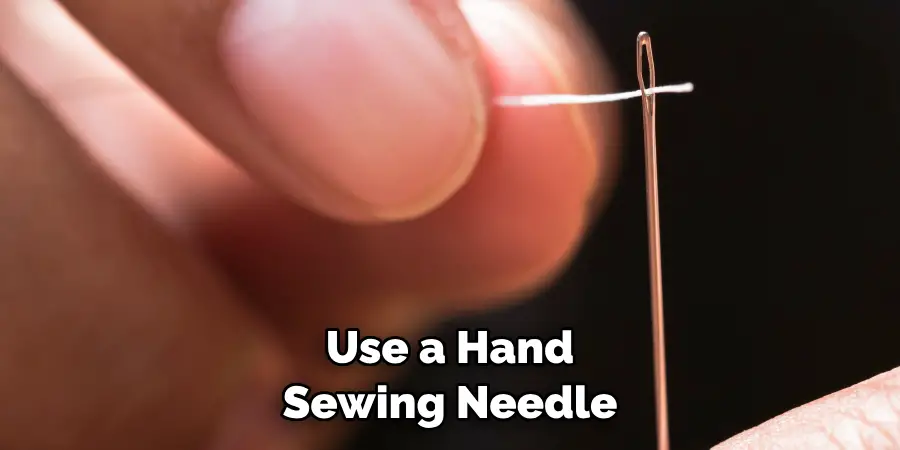
Once the bag is turned right side out, push the lining into the interior of the bag. Use a hand-sewing needle and thread to close the opening in the lining neatly. Give the bag a final press with an iron to smooth out any wrinkles and ensure a polished finish.

Your carpet bag is now ready to be filled with your belongings and taken on your next adventure. The final touches are crucial in ensuring that your carpet bag looks impeccable and exudes the timeless elegance that it’s renowned for.
Things to Consider When Making a Carpet Bag
When making a carpet bag, it’s important to keep a few things in mind. First and foremost, you’ll need to choose the fabric that will be used for your project. It’s best to select a material that is durable, yet lightweight for ease of carrying. You’ll also want something that complements the style you’re going for.
Once you’ve chosen the fabric for your bag, you’ll need to consider the overall shape of the bag. The traditional carpet bag is rectangle-shaped but there are many shapes and sizes available to suit any style or personal preferences.
Conclusion
As you can see, making a carpet bag is a great way to show off your unique style. From choosing and cutting out the fabric to carefully seaming the bag together, this project will give you hours of creative joy. With a few simple steps and materials, you can customize your own beautiful and one-of-a-kind bag perfect for any occasion!
Hopefully, this article gave you some helpful tips about how to make a carpet bag successfully, so now that you have the proper knowledge on how to get the job done, why not give it a try today?

