
When it comes to Halloween decorating, nothing beats crafting something unique and spooky, like a haunted house, from cardboard! Making your own haunted house is easy and inexpensive, plus the result can be scary enough to give your neighbors goosebumps. With just a few basic supplies of cardboard boxes, tools, paint or markers, and imagination, you can create an eerie piece.

Cardboard is a versatile material that can be cut, folded, and manipulated into different shapes and sizes. As a result, it’s the perfect material for creating a haunted house. Plus, using cardboard is environmentally friendly and allows you to repurpose materials that you may already have around your house.
So grab those supplies and get ready because, in this blog post, we’ll guide you through the process step-by-step on how to make a cardboard haunted house!
What Will You Need?
- Cardboard boxes (small, medium, and large)
- Scissors or box cutter
- Ruler
- Marker or pencil
- Glue or tape
- Paints or markers in different colors
- Optional: spooky decorations, string lights, fake spider webs, etc.
Once you’ve gathered all your supplies, it’s time to start creating your cardboard haunted house!
8 Easy Steps on How to Make a Cardboard Haunted House
Step 1: Plan Your Haunted House Design
Planning your design is the first step in making your cardboard haunted house. Start by sketching out a rough blueprint of your haunted house on a sheet of paper. Determine the overall shape and size, how many rooms or sections it will have, and where you will place windows and doors.
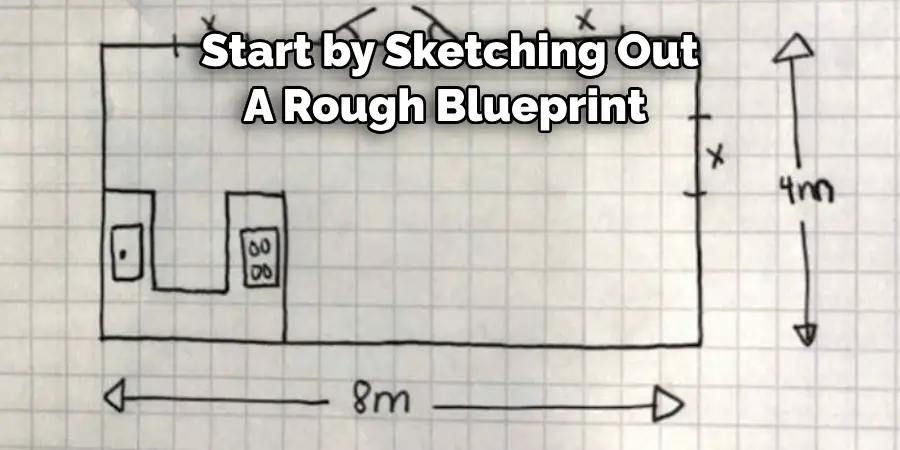
This is also the time to decide on the placement of any spooky decorations. Remember, it’s your haunted house, so be as creative as you want. Once you’re happy with your design, you can move on to the next step.
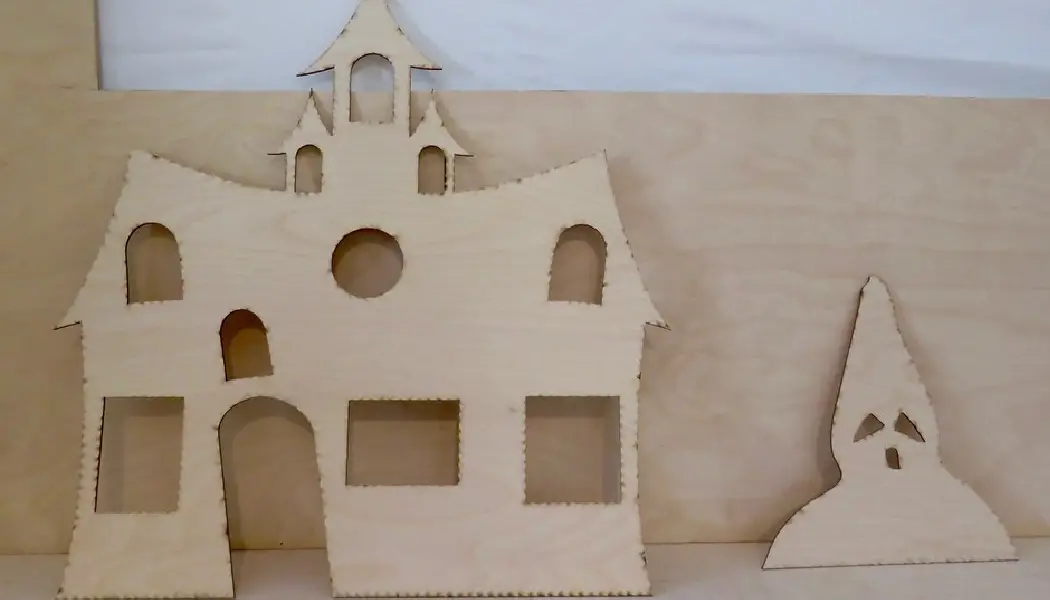
Step 2: Cut Out the Shapes
Using your design as a guide, start by cutting out the shapes from your cardboard boxes. This will include the walls, floors, and roof of your haunted house and any additional features like towers or turrets. Remember to cut out windows and doors, too.
It’s essential to use a ruler and a marker or pencil to measure and draw your shapes on the cardboard before cutting to ensure accuracy. Be careful when using scissors or a box cutter, and remember that it doesn’t have to be perfect – after all, real haunted houses are a bit irregular and spooky!
Step 3: Assemble the House
The next step in making your cardboard haunted house is to assemble all the cut-out shapes. Begin with the walls and floors, securing them with glue or tape. When it comes to attaching the roof, it’s better to do so at a slight angle, which will give the house a more ominous, haunted look. Add towers, turrets, or any additional structures at this stage.
Remember also to fix the windows and doors into their appropriate places. Patience is the key here – ensure everything is firmly attached and leave ample time for the glue to dry if used. Once the basic structure of your haunted house is complete, you can move on to the next step, painting and decorating.
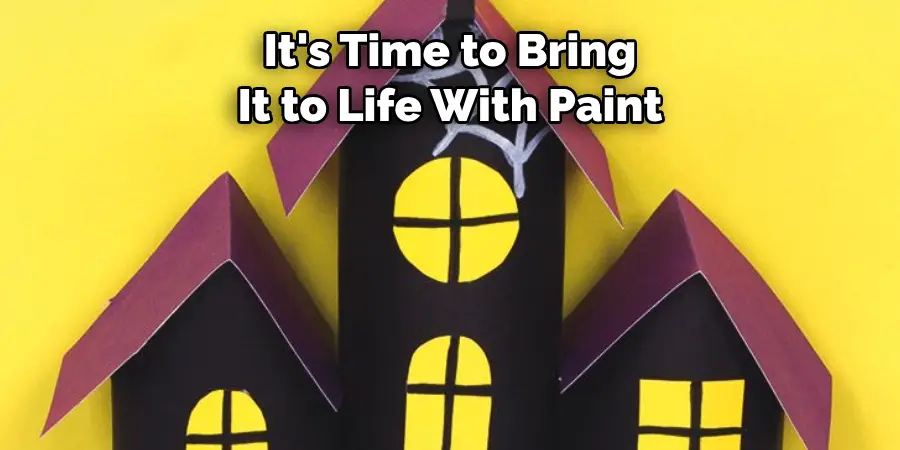
Step 4: Paint and Decorate the House
Now that the structure of your cardboard haunted house is complete, it’s time to bring it to life with paint and decorations. Choose colors that evoke a spookiness – think blacks, purples, and grays. Paint the walls, roof, and any additional structures. Don’t forget to add details like cracks in the walls or aging on the ceiling for a more haunted look.
Once the paint has dried, start adding the spooky decorations you’ve collected. You can glue cobwebs and plastic spiders or add string lights for an eerie glow. The more creative you are, the scarier your haunted house will be! This step is about having fun and bringing your haunted house to life, so let your creativity run wild.
Step 5: Add the Finishing Touches
The final step in creating your cardboard haunted house is adding those all-important finishing touches. This can include anything from crafting a gnarled cardboard tree to stand beside your haunted house to creating a tiny graveyard in your front yard.
Consider adding eerie sounds for a truly immersive haunted house experience. You may want to craft some ghostly figures from tissue paper or hang silhouettes in the windows.
Step 6: Let Your Haunted House Dry
The last phase of your cardboard haunted house creation is to allow it to dry thoroughly. This step is crucial to ensure the longevity of your haunted house and help it withstand any weather conditions if it’s going to be displayed outdoors.
If you’ve used glue for any part of your construction, ensure it’s thoroughly dried and set before moving the haunted house. This might take several hours or overnight, depending on the type of glue you use. Once the haunted house is completely dry, inspect it thoroughly to ensure everything is firmly attached.
Step 7: Display Your Haunted House
Now that your cardboard haunted house is complete and thoroughly dried, it’s time to display it! Choose a prominent place where it will be clearly visible. This could be on a table in your living room, on your front porch, or even in a window for passersby to see. If you’ve added lights, make sure it’s near an outlet, or consider using battery-operated lights.
Remember, the primary purpose of this haunted house is to add a spooky, fun atmosphere to your Halloween celebrations. Enjoy the compliments from friends and family, and take pride knowing you created this eerie masterpiece yourself.
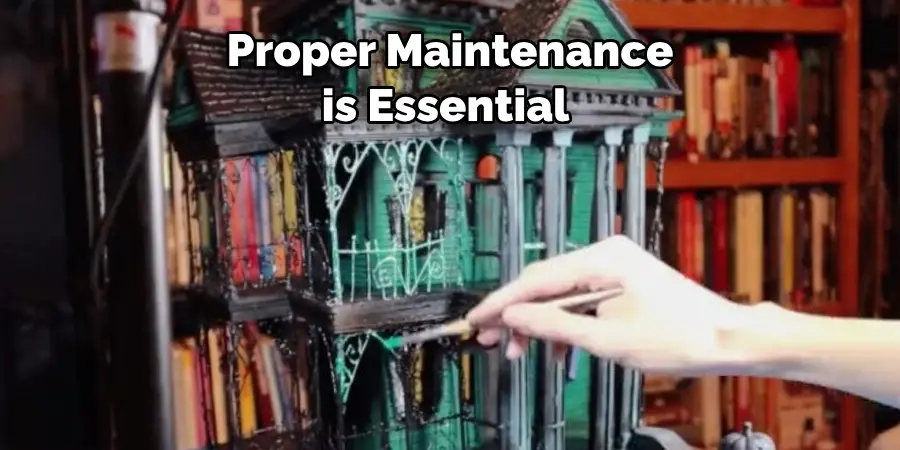
Step 8: Maintain and Store Your Haunted House
Proper maintenance is essential to keep your cardboard haunted house looking spooky for the entire Halloween season. Keep it in a dry place and away from extreme temperatures to prevent any damage.
After Halloween, you should store your haunted house for next year. To do so, clean it gently with a dry cloth to remove dust and keep it in a cool, dry place. If possible, disassemble significant parts for more accessible storage and to prevent any damage. With proper care, your cardboard haunted house can bring spooky joy for many Halloweens.
Following these simple steps, you can create a fun, budget-friendly haunted house using cardboard.
5 Additional Tips and Tricks
- Work on the Details: Adding intricate details can make your haunted house more haunting. This could include boarded-up windows, spider webs, or a cardboard graveyard in the front yard.
- Play with Lighting: Use LED lights to create an eerie glow from the windows or doorways. Different colored lights can add to the overall spooky effect.
- Add Textures: Using other materials like cotton (to mimic cobwebs) or twigs (for dead trees) can add an extra dimension of realism to your project.
- Go 3D: A flat haunted house is fine, but consider adding depth by making a 3D structure. This could involve creating multiple rooms or corridors inside the haunted house.
- Keep It Safe: Although cardboard is a safe material, be careful with any sharp tools or objects that could cause harm. Also, remember any fire hazards if using lights or candles in your haunted house.
With these additional tips and tricks, your cardboard haunted house will surely be the spookiest one on the block.
5 Things You Should Avoid
- Avoid Using Flammable Materials: Safety first. Avoid using materials that can easily catch fire, especially if you’re using lights within your cardboard haunted house.
- Steer Clear of Sharp Objects: Avoid using sharp tools that can potentially cause injuries while constructing your haunted house. Use scissors with blunt ends or ask an adult for assistance when needed.
- Don’t Overcomplicate Designs: Simplicity can be effective. Make sure to make everything perfect so that the project becomes more stressful than fun.
- Avoid Using Toxic Paints: If you’re painting your haunted house, ensure the paint is non-toxic and safe for use, mainly if children are involved in the project.
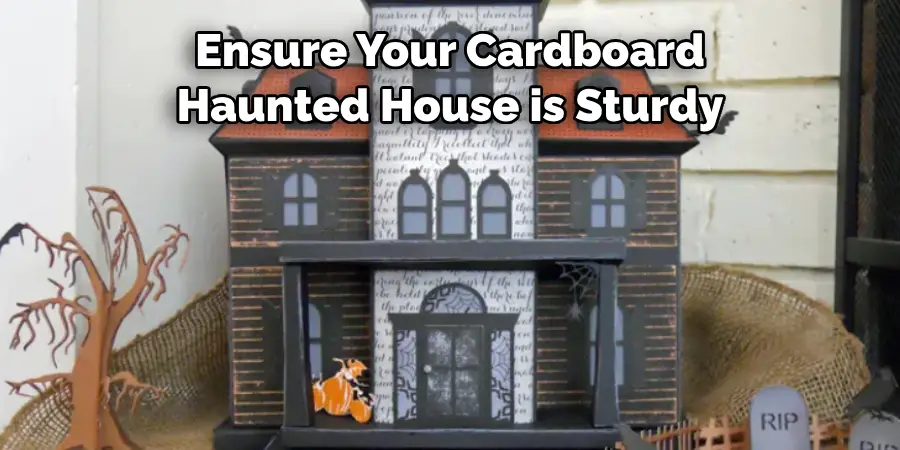
- Don’t Ignore the Structure’s Stability: Ensure your cardboard haunted house is sturdy and well-built. You don’t want your haunted house collapsing under its weight or with the slightest touch.
By avoiding these mistakes, you can create a safe and enjoyable experience while making your cardboard haunted house.
Conclusion
To sum up, how to make a cardboard haunted house is a fun and exciting process. Not only does it engage your creativity, but it also provides hours of Halloween-themed entertainment for the entire family. Gather supplies like large boxes, tape, scissors, paint, and decorations. Then, consider designs that create unique hallways and rooms within the structure. Paint or decorate the walls with spooky posters or signs to add a scary factor.
Finally, consider how to make it interactive and invite friends and family to stop in for a spooktacular evening. So this year, break away from the ordinary and get crafty with your own haunted house made of tender-loving cardboard care!
Start now to spellbind your setup creatively and have a happy, haunting season!