Have you ever struggled with making the perfect bow for a gift bag? You are not alone! It may seem like a simple task, but it can be quite frustrating to get it right. The good news is that making a bow for your gift bag is easier than you think. In this guide, we will take you through the step-by-step process of how to make a bow for a gift bag.
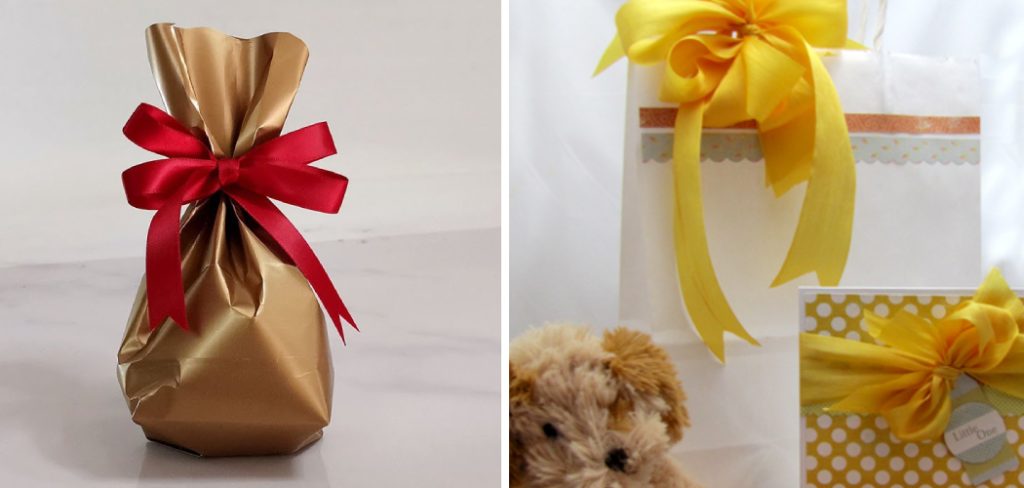
Can You Make a Bow for A Gift Bag?
When it comes to gift giving, presentation is key. A beautifully wrapped gift can make all the difference in how the recipient feels about it. While we often focus on wrapping paper and gift tags, adding a bow can take the gift to the next level.
But if you’ve found yourself in a pinch without any pre-made bows on hand, fear not. Making a bow for a gift bag is simple and adds a touch of personalization to your gift. With just a few folds and twists of ribbon, you’ll have a beautiful bow that’s sure to impress. So next time you need some gift-wrapping finesse, try your hand at creating your bow for that special touch.
Why Should You Make a Bow for A Gift Bag?
Making a bow for a gift bag is a simple but effective way to elevate the presentation of your present. It adds an extra layer of thoughtfulness and care and shows the recipient that you went above and beyond to make their gift special.
In a world where we are constantly bombarded with material possessions, taking the time to craft a beautiful bow can truly make your gift stand out and be remembered. Whether for a holiday, birthday, or just making a bow for your gift bag is a small gesture that can make a big impact, so the next time you’re wrapping a present, consider putting in the extra effort to create a stunning bow. Trust us, it will be worth it.
A Step-By-Step Guide on How to Make a Bow for A Gift Bag
Step 1: Choose Your Ribbon
The first step in making a bow is to choose the right ribbon. The ribbon should be smooth, flexible, and easy to tie. You can choose a ribbon that matches the color of your gift wrap or opt for a contrasting color to make your gift bag stand out. Satin and grosgrain ribbons are popular choices for making bows.
Step 2: Cut the Ribbon
Cut a length of ribbon that is long enough to wrap around your gift bag and have enough left over to make a bow. A good rule of thumb is to use about three times the width of your gift bag as the length of your ribbon. For example, if your gift bag is 10 inches wide, use about 30 inches of ribbon.
Step 3: Create the Loops
Hold your ribbon at the center and create a loop by folding the ribbon over your hand. Make another loop of the same size on the other side of your hand. Continue making loops, alternating sides until you have the desired number of loops. For a simple bow, 4-6 loops are sufficient. For a more elaborate bow, you can add more loops.
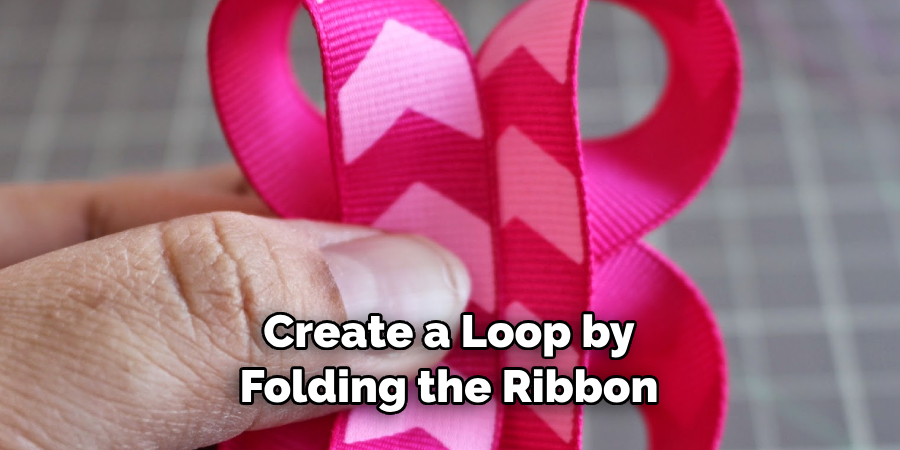
Step 4: Secure the Loops
Hold all your loops together and use a rubber band or string to secure them. You can also use a needle and thread to stitch the loops together. Make sure that the loop is tight so that it will stay in place when you fluff up your bow.
Step 5: Fluff Up the Bow
Once your loops are securely in place, it’s time to fluff up your bow. Carefully spread out each loop so that they look like petals. You can adjust the loops until you achieve the desired shape of your bow.
Step 6: Tie a Center Knot
Tie a knot in the center of your bow to hold it together. To do this, you can use a piece of string or ribbon about twice the length of your original ribbon. Wrap the string around the center of your loops and then tie it into a knot.
Step 7: Attach to Gift Bag
Once you have finished making your bow, it’s time to attach it to your gift bag. Simply tie the ends of the ribbon around the handles of your bag, and you’re done! Your bow is now ready to be enjoyed by its recipient.
Now that you know how to make a bow for a gift bag, you can easily add an extra touch of elegance and beauty to any gift. With a few simple steps and a ribbon, you can create beautiful bows for all your gifts – perfect for any celebration or special occasion!
5 Considerations Things When You Need to Make a Bow for A Gift Bag
1. The Type of Bow
There are many different types of bows, each with its own unique look. The most common bows are ribbon bows, loop bows, and bow ties. You’ll need to decide which type of bow you want to make before you get started.
2. The Size of The Bow
The size of the bow will depend on the size of the gift bag. You’ll want to ensure that the bow is proportional to the bag so that it looks nice and doesn’t overwhelm it.
3. The Color of The Bow
The color of the bow should complement the color of the gift bag. You don’t want the two colors to clash, so it’s important to choose wisely.
4. The Material of The Bow
The material of the bow will also affect its look. Ribbon is a popular choice for bows, but you can also use fabric, lace, or even paper.
5. The Occasion for The Bow
The occasion you’re making the bow will also affect its design. A birthday bow will be different from a Christmas bow, for example. Keep this in mind as you’re choosing your materials and design.
Creating a bow for a gift bag doesn’t have to be complicated or time-consuming. With the right materials and design, you can create a beautiful and unique bow that will make your gift presentation look amazing!
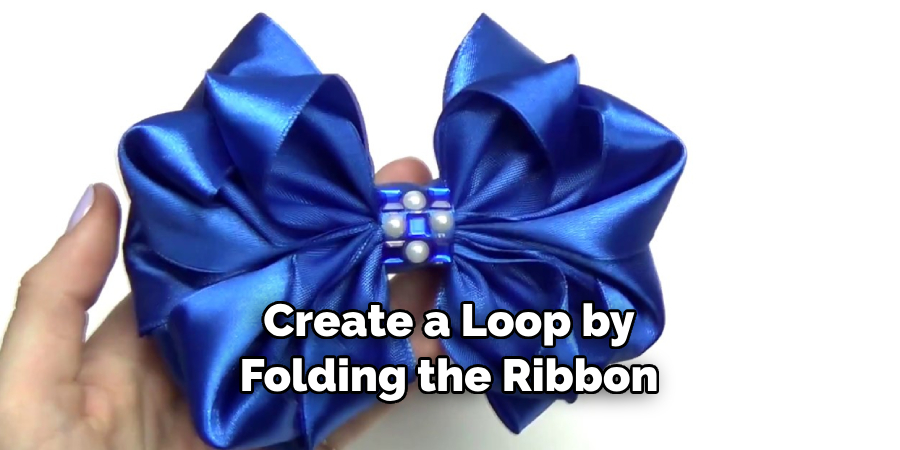
Follow these five considerations when you need to make a bow for a gift bag, and you’ll be sure to impress your friends and family with your bow-making skills!
5 Benefits of Making a Bow for A Gift Bag
1. It’s Personal
Making a bow for a gift bag shows that you took the time to personalize the present. This simple act can make the recipient feel appreciated and special.
2. It’s Affordable
Making your bows is a great way to save money. You can often find ribbons and other materials on sale or even use items you have around the house.
3. It’s Quick and Easy
With a little practice, you can make a bow in just a few minutes. This makes them perfect for last-minute gifts!
4. They Can Be Reused
Unlike store-bought bows, homemade bows can be used again and again. Simply untie them from the gift bag and save them for next year.
5. They Add a Special Touch
A beautiful bow can take an ordinary gift bag and turn it into something extraordinary. Your thoughtfulness will be remembered long after the present has been opened.
Some Common Mistakes People Make When Trying to Make a Bow for A Gift Bag
When it comes to gift-giving, presentation counts, that’s why adding a bow to a gift bag can elevate the entire look. However, making a bow can be easier said than done. Common mistakes include using a too short ribbon, not fluffing out the loops, and failing to secure it tightly to the bag.
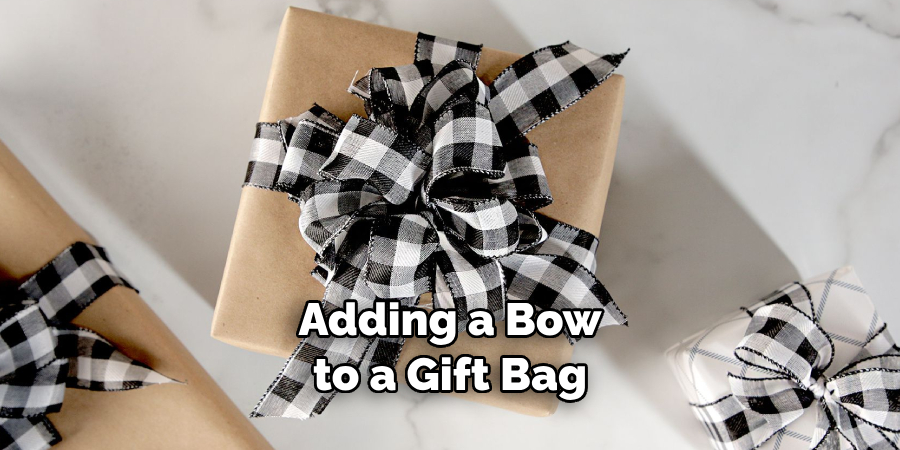
But fear not, with a little bit of practice and patience, anyone can become a bow-making pro. So next time you’re preparing a gift bag, take the time to make a beautiful bow that will leave a lasting impression and show just how much you care.
Can I Make My Ribbon to Use as Bows for Gift Bags?
Gift-giving can be a wonderfully fulfilling experience. From choosing the perfect item to wrapping it up beautifully, there’s nothing quite like seeing the joy on someone’s face when they receive your carefully crafted present. However, adding a finishing touch with a gorgeous bow can often be challenging.
Fear not, though, as creating your ribbon to use as a bow for gift bags is easier than you may think! With just a few materials and simple steps, you can make your personalized ribbon in various styles and colors to add that extra special touch to any gift. So why not unleash your creativity and give it a try? The results will be sure to impress!
Conclusion
Making a bow for your gift bag doesn’t have to be stressful. Following these simple steps, you can create a beautiful and impressive bow to make your gift stand out. With a little practice, you can experiment with different ribbon types, colors, and styles to create the perfect bow for any occasion.
So next time you need to add a bow to your gift bag, don’t worry, you’ve got this! Thanks for reading our post about how to make a bow for a gift bag.

