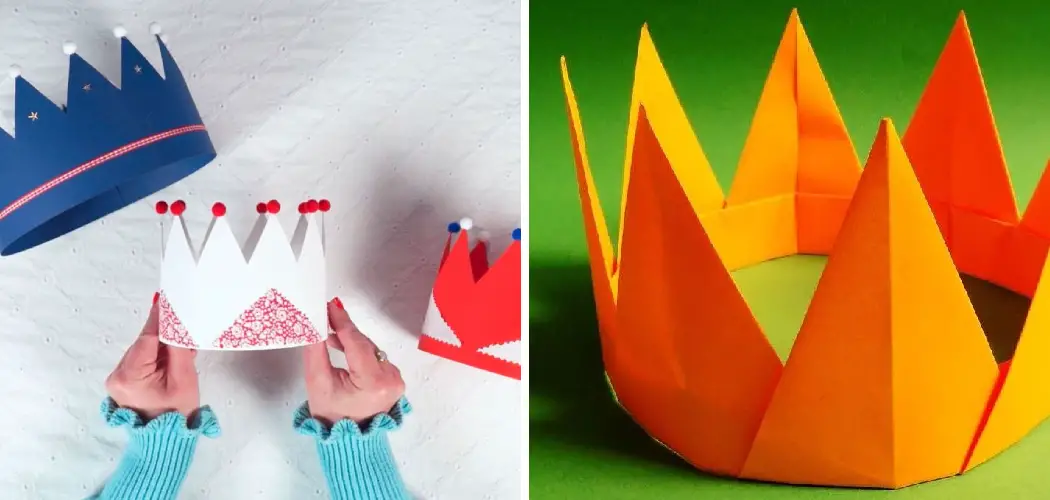
Are you looking for an easy and fun way to celebrate a birthday? Make your own crown! A birthday crown is a great way to show someone how much you love them. Here’s how to make a birthday crown.
Today, a birthday party isn’t complete without a special crown for the guest of honor! Whether it’s for your kids or an adult in your life, making a homemade birthday crown is an easy and fun way to kick off the festivities. Perfectly suited to any age group, this DIY crown activity can get everyone involved and help create lasting memories of your special day.
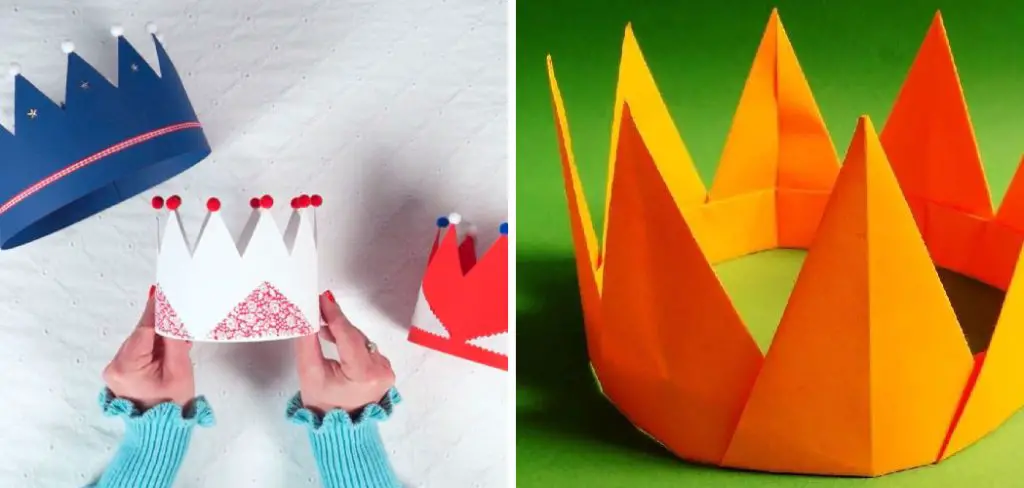
Get ready to pick out those ribbons and craft embellishments- we’ll show you how to make the perfect celebratory headwear with our simple step-by-step process!
What Will You Need?
To make a birthday crown, you’ll need some craft supplies. You can get most of these items at your local craft or hobby store.
- Cardboard or thick paper (2 pieces)
- Glue gun
- Printer/pencil and tracing paper
- Craft embellishments (e.g., gemstones, glitter glue, etc.)
- Ribbon/tulle
- Scissors
Once you have all your supplies, you’re ready to start making your birthday crown!
10 Easy Steps on How to Make a Birthday Crown
Step 1. Create a Template:
Create a template for your crown. Take one piece of cardboard or thick paper and trace the outline of a crown shape on it using tracing paper and either a pencil or a printer. Cut out your template, trace it onto the other piece of cardboard/paper, and cut that out as well.
Step 2: Assemble the Crown:
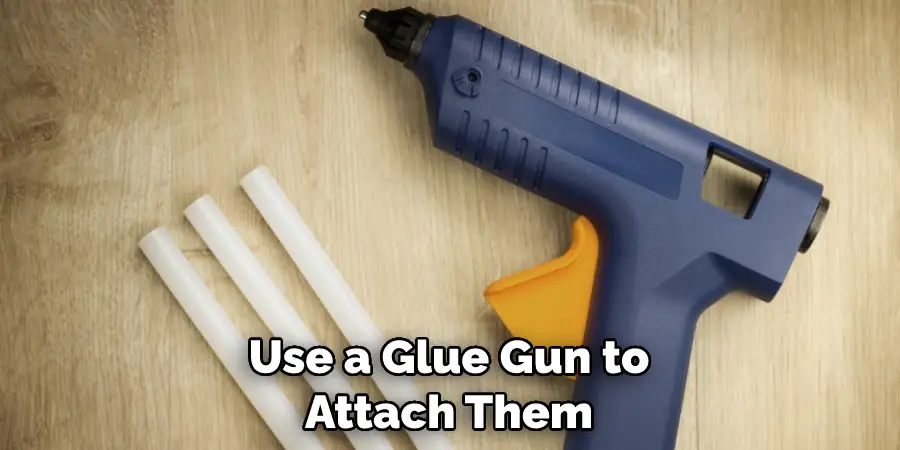
Lay your two pieces of cardboard/paper together and use a glue gun to attach them. Securely press down on all edges so that they are firmly attached. If needed, you can use some tape to add extra support.
Step 3: Add Embellishments:
Now it’s time to add some flair! Use gemstones, glitter glue or other craft embellishments to decorate your crown with fun colors and patterns. Let your imagination go wild – no design is too outrageous for a birthday crown!
Step 4: Attach Ribbons/Tulle:
For added texture and stability, attach ribbon or tulle around the base of your crown with a glue gun. Make sure you secure the ribbon/tulle with enough glue in order to keep it firmly attached. Don’t forget to tie a bow at the top!
Step 5: Hot Glue Your Crown Together:
Once all of the embellishments have been added and the ribbons secured, use a hot glue gun to attach the edges of your crown together. This will help make sure that everything stays in place once your birthday crown has been worn. Try not to get any glue on the ribbons or tulle.
Step 6: Let It Dry Completely:
Let your crown sit for at least an hour or two before you handle it again. This will allow time for the glue to dry completely so that nothing falls off during use. Additionally, you can use a hair dryer to put some heat on the glue, which will make it dry even faster.
Step 7: Make Adjustments If Needed:
Now is the time to add any additional embellishments or make any adjustments to the crown if needed. This is also when you can add personalized details such as writing a name or adding photos. If you’re giving the crown away as a gift, this is the perfect time to add a special message.
Step 8: Fit Your Crown to Size:
Make sure that your crown fits comfortably on the person who will be wearing it by making any necessary adjustments. You may need to trim some of the edges in order for it to fit snugly. If you’re making the crown for a smaller head, make sure to use thinner ribbon or tulle.
Step 9: Get Creative With Finishing Touches:
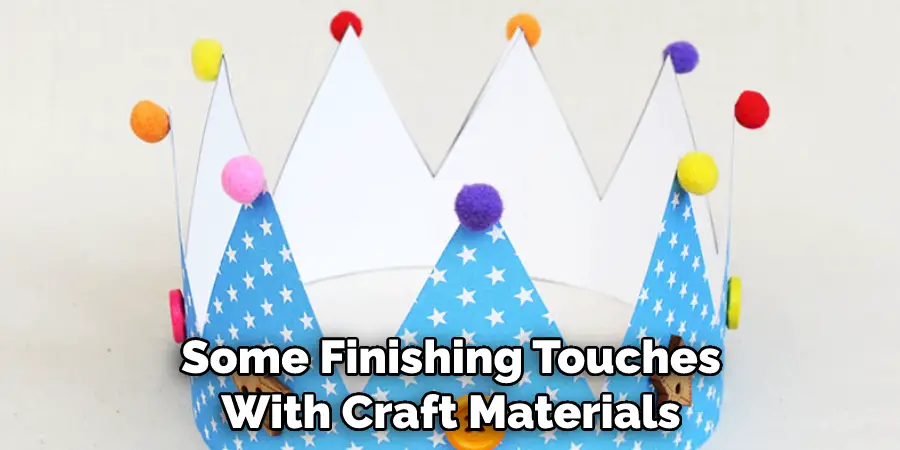
Now is your chance to really let your creativity shine! Add some finishing touches with paint, glitter, and more craft materials. The possibilities are endless!
Step 10: Time To Wear It!:
Your birthday crown is now ready for the guest of honor! Put it on and let the party begin. Remember to take lots of photos to commemorate the occasion.
Making a birthday crown is an easy and fun activity for any age group, and it’s guaranteed to make your special day even more memorable! We hope you have enjoyed our step-by-step guide on how to make a birthday crown – now go out there and get crafting!
5 Additional Tips and Tricks
1. Use Colorful Cardstock: Make your birthday crown stand out by using colorful cardstock for the base of your crown. This will give it a vibrant and festive look that will really make it shine.
2.Use Glitter: For an extra special look, add some fun sparkle to the crown with some glitter glue or a few dabs of glitter. It’s sure to bring smiles to everyone’s faces!
3. Get Creative With Decoration: Have fun with your decorations! Add ribbons, jewels, sequins, pom-poms—whatever you can think of! When creating something as unique and beautiful as a birthday crown, anything goes.
4. Add a Personal Touch: Personalize your birthday crown by adding the name of the person you’re making it for or their favorite character or design.
5. Don’t Be Afraid to Get Messy: Making a birthday crown is all about getting creative and having fun—so don’t be afraid to embrace the mess! Glue, glitter, and paper can go everywhere, but the end result will be worth it. Enjoy every step of creating your masterpiece.
With these five tips and tricks, you now have all the information you need to create a stunning birthday crown. Get started, and have fun creating something special!
5 Things You Should Avoid
1. Don’t Forget to Measure: Make sure you properly measure your head or the crown wearer before cutting out your crown pieces so that it fits perfectly.
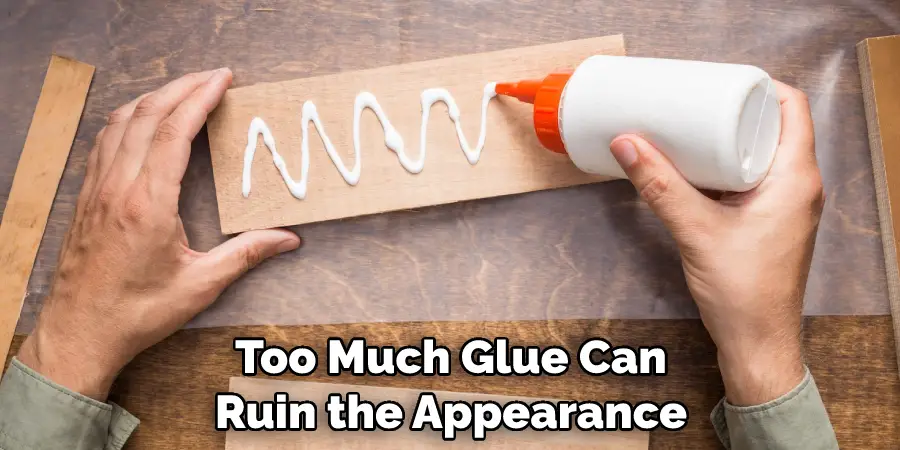
2. Avoid Using Too Much Glue: Too much glue can ruin the appearance of the birthday crown and make it look messy. Use just enough to hold everything together securely.
3. Don’t Use Too Many Decorations: You don’t want to overwhelm your crown with decorations, as it can make it look cluttered. Choose wisely and concentrate on a few carefully placed pieces for maximum impact.
4. Don’t Rush the Process: Take your time when making a birthday crown—it’s a creative and enjoyable process that should be savored. Rushing through it can often lead to poor results.
5. Avoid Using Too Flimsy Materials: Make sure the materials you use for your crowns, such as cardstock and glue, are good quality and won’t fall apart easily. This will help ensure your crown looks great for years to come.
Avoiding these five things will help you create a beautiful and long-lasting birthday crown. With care and attention, your handmade masterpiece is sure to be admired by all! Happy crafting!
6 Different Design Ideas
1. Princess Crown: No birthday is complete without a beautiful princess crown. Use sparkly paper and jewels to create a truly magical look.
2. Superhero Crown: Perfect for the little heroes in your life, this design can be as colorful and dynamic as they are—try using different colored cardstock and decorations to really bring it to life.
3. Animal Crown: Create a crown fit for the king or queen of the animal kingdom by adding ears, eyes, and sparkly whiskers to your design.
4. Galactic Crown: This look is all about creating a truly out-of-this-world effect! Add bright colors and lots of glitters for a celebratory look with plenty of pizzazz.
5. Nature Crown: Whether you’re celebrating in spring, summer, autumn, or winter—you can create a beautiful nature-inspired crown that reflects the current season. Try using natural materials such as leaves and feathers for an extra special touch!
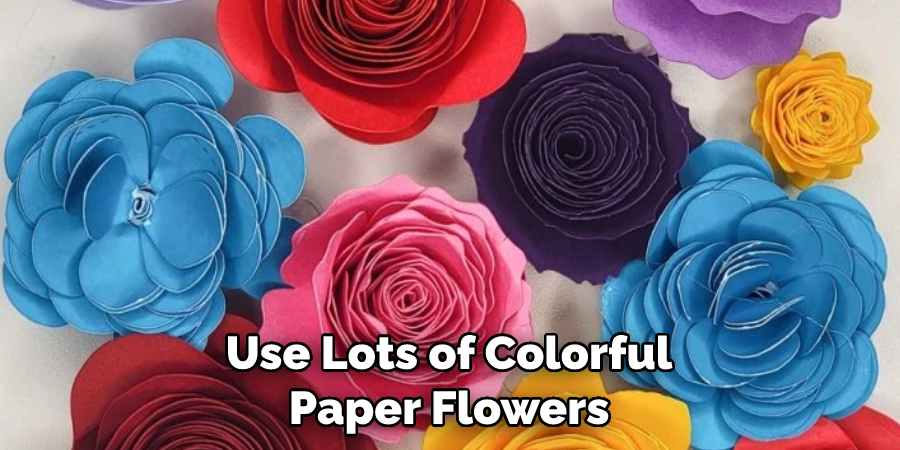
6. Flower Crown: A perfect choice for any occasion, a flower crown will bring some of nature’s beauty to your celebration. Use lots of colorful paper flowers and ribbons to really make it stand out.
These six design ideas should provide plenty of inspiration when creating your very own birthday crown. Have fun experimenting with different looks and materials to make something truly unique and special!
Conclusion
Anyone can make an eye-catching and fun birthday crown with a few easy steps! The joy of making something handmade for your loved one is incomparable. Not only can this kind of self-made craft be enjoyed on a special day, but it can also be saved as a memory piece. This means that the fond memories from the celebration can stay alive long after the candles have been blown out.
Plus, who doesn’t like a birthday crown to feel extra special? Whether it’s to wear or just to hang up in their bedroom, this DIY project makes for an incredibly meaningful gift. So go ahead and break out the paper and glue. Making a birthday crown couldn’t be easier!
Hopefully, the article on how to make a birthday crown has given you the confidence and inspiration to make something special for your loved one. Happy crown-making!

