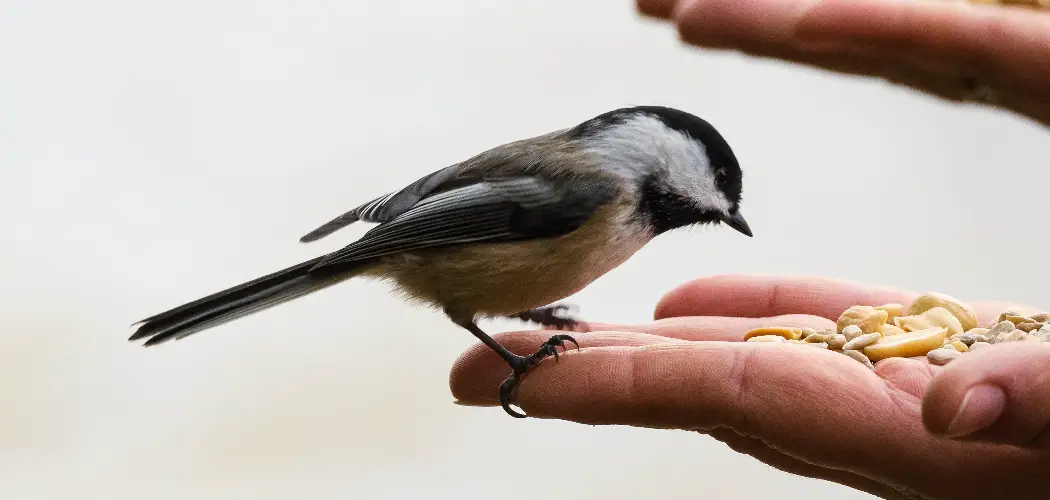
Transforming your backyard into a haven for feathered friends becomes a delightful and rewarding endeavor with the crafting of bird seed blocks. Whether you’re an avid birdwatcher or simply wish to attract a chorus of cheerful tweets to your outdoor space, learning how to make a bird seed block is a hands-on adventure in avian hospitality. This guide unveils the art of creating these enticing and nutritious treats for your feathered visitors, combining practicality with a touch of DIY charm.
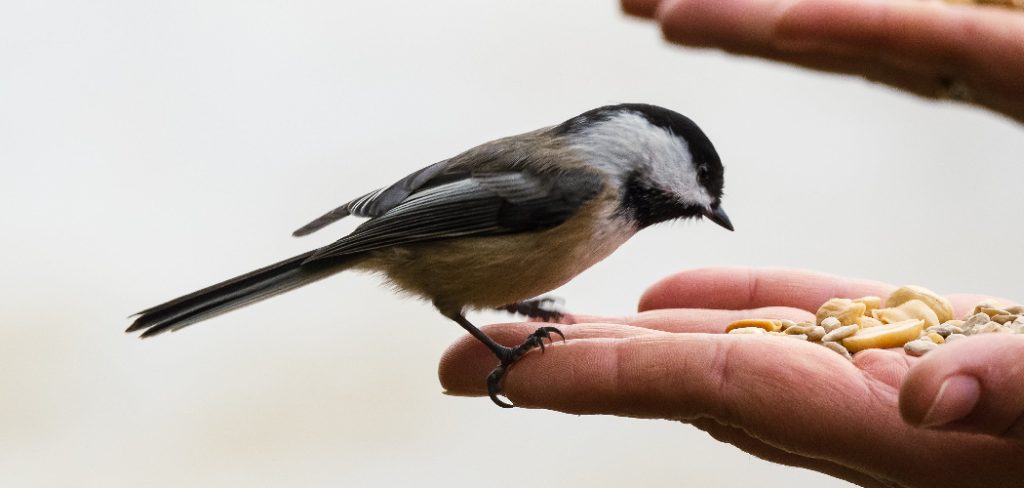
From selecting the right ingredients to mastering the molding process, we explore the steps that transform ordinary birdseed into compact, delectable blocks that hang with pride in your garden. Join us in this exploration of avian-friendly creativity, where crafting a bird seed block becomes a harmonious blend of nature, craftsmanship, and the joy of birdwatching right in your own backyard.
Benefits of Making Homemade Bird Seed Blocks
Bird seed blocks offer many benefits for both you and your feathered friends. By creating them at home, you not only save money but also have complete control over the ingredients used. This allows you to ensure that the birdseed block is free from harmful additives and preservatives, providing a healthier snack option for birds.
Moreover, making your own bird seed blocks can be a fun and educational activity for the whole family. Children will enjoy getting involved in the process, learning about different bird species and their dietary needs while also developing important skills such as measuring and mixing.
Additionally, hanging homemade bird seed blocks around your backyard can attract a variety of colorful birds, bringing life and beauty to your outdoor space. It’s a simple yet effective way to create a welcoming and natural environment for birds to flourish in.
10 Methods How to Make a Bird Seed Block
1. Gather the Supplies
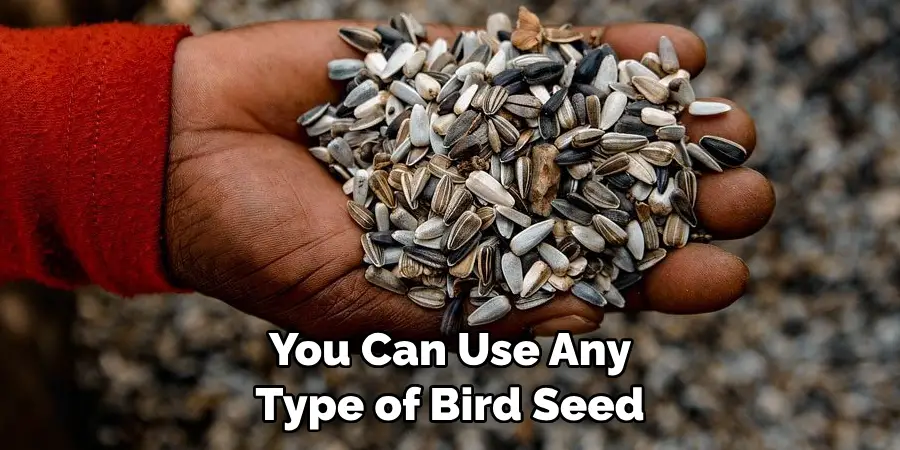
The first step to making a bird seed block is to gather the necessary supplies, which include bird seed, an egg carton, water, and wax paper. You can use any type of bird seed you like, but sunflower seeds are a popular choice as they are high in protein and fat. It’s also important to make sure the egg carton is clean and dry before you begin.
2. Mix the Bird Seed
Once you have all of your supplies ready, it’s time to mix the bird seed. Start by pouring the bird seed into a large bowl and then add enough water to make it damp but not soggy. You want it to be moist so that it sticks together when you press it into the egg carton. You can also add a small amount of corn syrup or honey to help the bird seed stick together better. This will also provide some extra energy for the birds when they eat it.
3. Fill the Egg Carton
Next, fill each cup of the egg carton with the damp bird seed mixture until it is full and slightly overflowing. Make sure to press down gently on each cup so that all of the air bubbles are removed and there is an even layer of bird seed across each cup. If you can, add a few more seeds on top to create a rough surface for birds to grip onto while eating. This will help keep the block from falling apart as it dries.
4. Cover with Wax Paper
Once all of the cups are filled with bird seed mixture, cover them with wax paper and place them in a warm place for several hours or overnight until the mixture has hardened completely. This will help ensure that your blocks stay together once they are cut out of the egg carton later on.
5. Cut Out Blocks
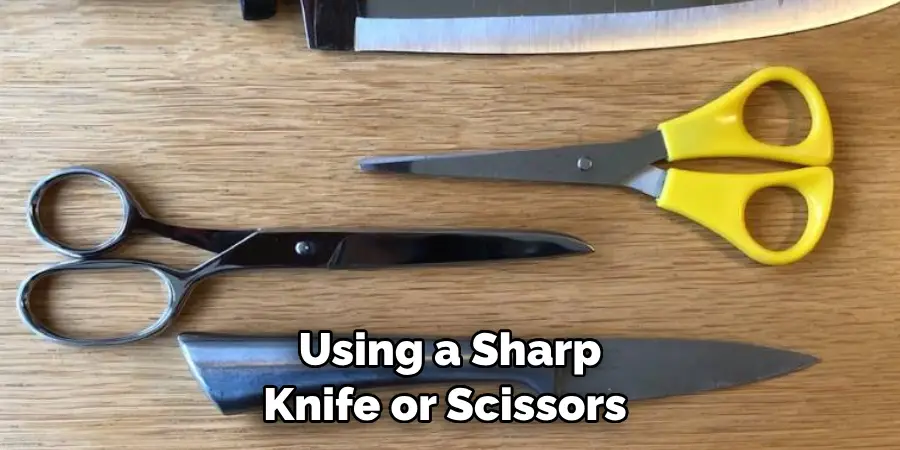
Once your blocks have hardened, carefully cut them out of the egg carton using a sharp knife or scissors and set them aside on a plate or cutting board for later use. Be careful not to break any of your blocks while cutting them out! Additionally, you can use cookie cutters or other molds to create different shapes for your bird seed blocks. This adds a fun and creative touch to your project.
6. Punch Holes
Using a skewer or other thin object such as a chopstick or pencil eraser, punch several holes through each block about ½ inch apart from one another in order for birds to easily hang onto them while eating their food later on. Once you have punched all the holes for one block, repeat this process for the other blocks as well.
7. Tie String Through Holes
Next, tie some string through each hole in each block so that you can hang them up later on in your backyard or garden for birds to enjoy! You can also add additional decorations such as ribbons or beads if desired for added color and texture before tying off your strings securely at both ends of each block. For added durability, you can also use wire or twine instead of string.
8. Coat Blocks With Peanut Butter
For an extra special treat for birds, coat your blocks with peanut butter before hanging them up outside! Simply spread some peanut butter over each side of your blocks using either a spoon or butter knife and then let them sit out at room temperature until they harden again before hanging up outside for birds to enjoy!
9. Hang Blocks Outside
Finally, hang up your blocks outside in areas where birds frequent such as trees or bushes near feeders or near windowsills where they can easily spot their treats from afar! Be sure to check on your blocks regularly throughout winter months since they may need replacing due to weather conditions such as rain or snowfall which could cause them to deteriorate over time if left unchecked!
10. Monitor Your Blocks Regularly
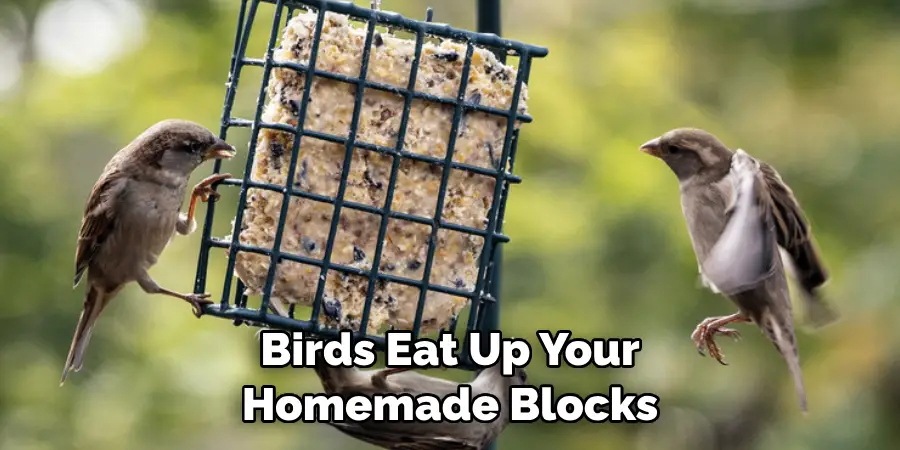
It’s important to monitor how quickly birds eat up your homemade blocks since this will give you an indication as to how often you should replace them throughout winter months! If birds seem particularly hungry one day then replace their treats immediately so that they don’t go without food during colder temperatures which could lead to starvation if left unchecked!
Things to Consider When Making a Bird Seed Block
When it comes to making a bird seed block, there are a few important factors to keep in mind. These considerations will not only help you create the best possible bird food, but they will also ensure the safety and well-being of the birds who will be enjoying it.
- Choose High-Quality Ingredients: The first thing to consider is the quality of the ingredients you will be using in your bird seed block. Birds need a variety of nutrients to stay healthy, so it’s important to choose a mix of high-quality seeds, grains, and nuts. Avoid using any old or moldy ingredients as these can be harmful to birds.
- Add Some Extra Treats: While the base of your bird seed block should consist of a mix of seeds and grains, you can also add in some extra treats to make it more appealing to birds. This could include dried fruits, suet, or even mealworms.
- Consider the Season: Different types of birds have different dietary needs depending on the season. For example, during colder months, high-fat foods like suet are vital for birds to maintain their energy levels. In the spring and summer, birds need more protein to support breeding and raising their young. Consider incorporating seasonal ingredients into your bird seed block to meet these changing needs.
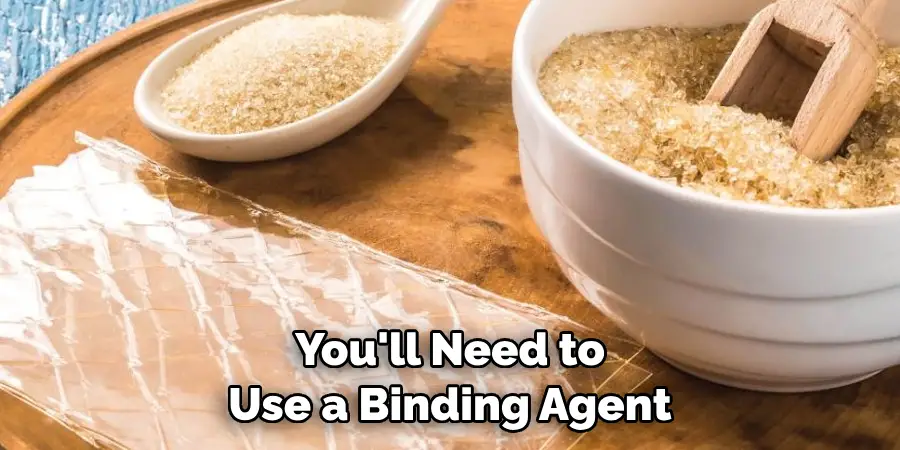
- Use a Binding Agent: To ensure that your bird seed block stays together and doesn’t crumble, you’ll need to use a binding agent such as gelatin, peanut butter, or honey. These ingredients not only help hold the block together but also provide additional nutrients for the birds.
- Add Some Water: Another important factor to consider is adding some water to your bird seed block mixture. This will help moisten and bind the ingredients together, making it easier for birds to eat.
- Choose a Suitable Mold: To create a bird seed block, you’ll need to use a mold to shape and compact the mixture. It’s important to choose a mold that is suitable for birds, such as a shallow bowl or cup. Avoid using metal molds as these can be dangerous for birds.
Conclusion
The homemade bird seed block you’ve just crafted is sure to please your avian friends! Not only will they love the tasty treats that lie within the block, but also the nutritional values of it. From feeding birds in the summer to providing sustenance throughout the winter months, this bird seed block has you covered no matter the season.
All you need to do is grab a few ingredients — such as peanut butter and birdseed — from your pantry and get crafting! So now when your feathered pals come for a visit, you’ll be ready with treats in hand. You can feel good knowing that not only did you make something for them, but it’s made out of natural and nutritious ingredients. Thanks for reading, and we hope this has g iven you some inspiration on how to make a bird seed block!

