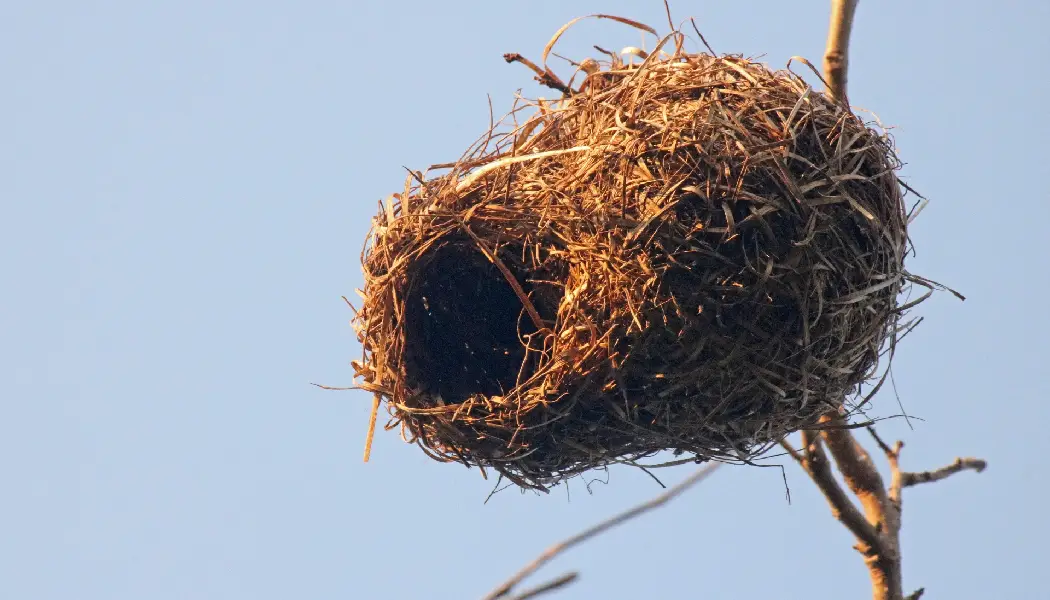
Are you looking for a fun and meaningful craft that lets you show off your creative skills and provides an essential service to nature? If so, look no further than this tutorial on how to make a bird nesting material holder!
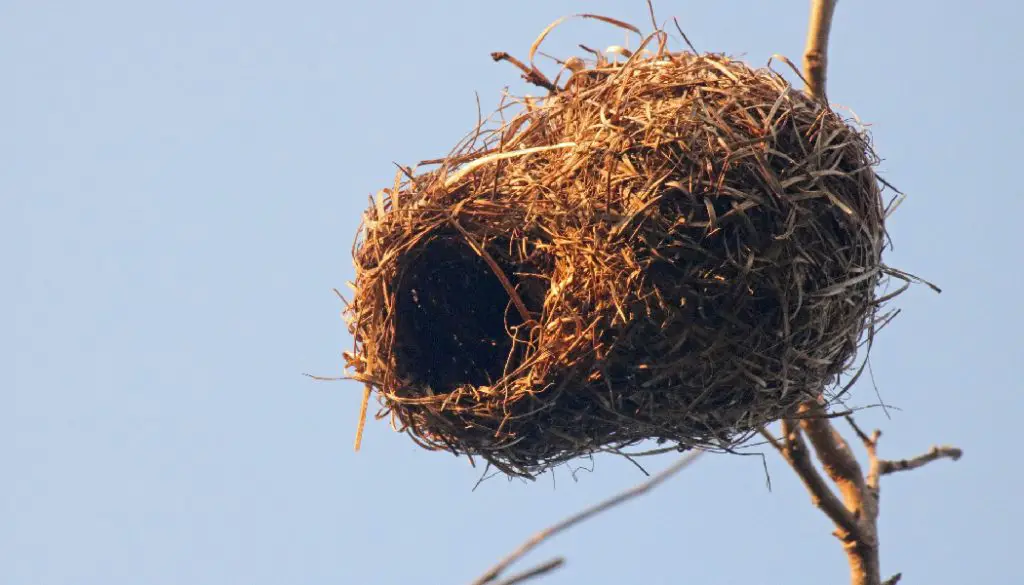
Bird nesters, like many other creatures in the animal kingdom, use various materials to build their homes. This can include twigs, grass, feathers, and even human-made material like string or fabric. Providing a designated nesting material holder gives these birds easy access to essential building materials, especially during spring breeding when they are busy constructing nests and laying eggs.
Here, we’ll guide you through step-by-step instructions on creating your bird nesting material holder – this could even be an excellent project for kids or classes. Ready? Let’s get started!
What Will You Need?
- An empty suet feeder or any other type of wire cage with small openings
- Twine or string
- Scissors
- Assorted natural materials for the birds to use (such as twigs, grass, feathers)
Once you have these materials ready, let’s move on to creating your bird nesting material holder.
10 Easy Steps on How to Make a Bird Nesting Material Holder
Step 1: Prepare Your Holder
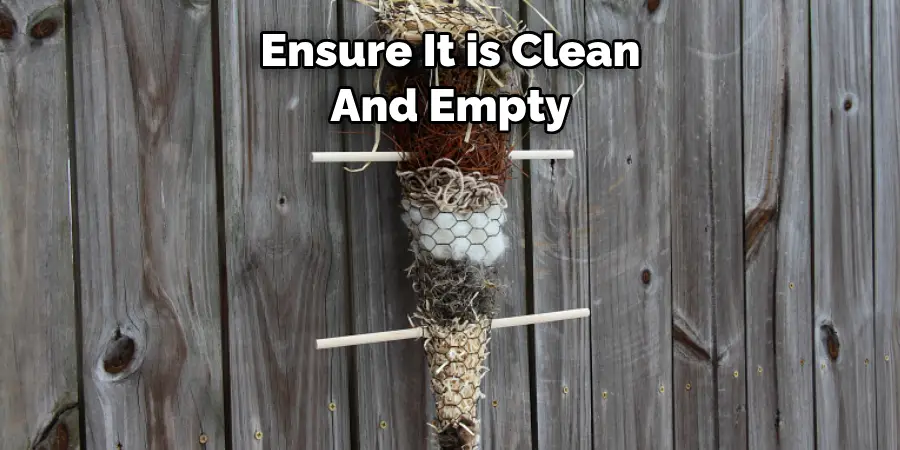
If you use a suet feeder, ensure it is clean and empty. If you are creating your own wire cage or container, ensure it has small enough openings for birds to access the materials but not get stuck. Be careful to avoid sharp edges that could harm the birds.
Step 2: Gather Your Nesting Materials
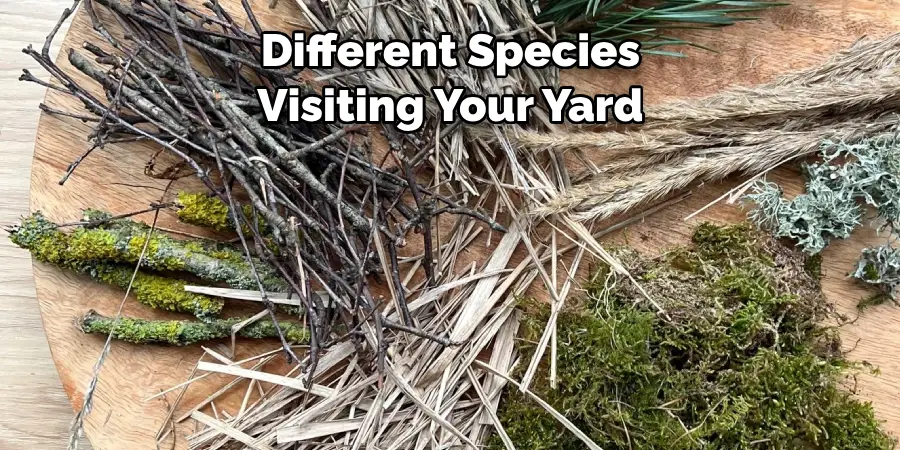
Take a walk around your yard or a nearby park, if possible, to gather natural materials the birds can use for their nests. Look for small twigs, dried grass, feathers, or fallen leaves. If you’re using any human-made materials like string or fabric, ensure they are cut into small lengths, approximately 5-8 inches long. Remember, variety is the key here – different birds prefer different materials. At the same time, ensure all materials used are safe for the birds.
Step 3: Fill the Holder with Nesting Materials
Start filling the container or wire cage with your collected materials. Make sure to arrange them in a way that the birds can easily pluck them out. Twigs and more oversized items can go in first, followed by softer, more pliable materials like grass and feathers. If you’re using human-made materials, intersperse them among the natural materials to create a visually appealing mix. Remember not to pack them too tightly. Birds should be able to easily pull out the materials for their nests.
Step 4: Secure Your Holder
Once your holder is filled with various materials, it’s time to secure it. With twine or string, tie your holder tightly, ensuring it is firmly closed yet still accessible for birds. Ensure the holder is sturdy and able to withstand wind and weather changes, along with frequent visits from our feathered friends.
Step 5: Choose the Perfect Location
Now that your bird nesting material holder is ready, it’s time to find the perfect spot to hang it. Choose a quiet, safe place in your garden or backyard, preferably near some trees or shrubs where birds frequently visit. Ensure the location is easily visible and accessible to birds but away from high-traffic areas or potential predator threats. Hang your holder at least five feet off the ground to protect it from curious pets or other animals.
Step 6: Hang Your Holder
With the help of the twine or string, hang your bird nesting material holder in the chosen location. Ensure it’s secure and not swaying too much, as this might deter birds from approaching it. Try to position the holder so that the materials inside are not entirely exposed to the elements to prevent them from getting wet in case of rain.
Step 7: Observe and Refill as Needed
Once your bird nesting material holder is hung, sit back and observe. It may take a little time for the birds to discover this new resource, but once they do, you’ll see them come and go, taking bits of material for their nests. Keep an eye on the holder and refill it as the materials deplete.
This not only ensures a continuous supply for the birds but also allows you to add different materials based on what you observe the birds prefer. Just remember always to ensure that the materials are safe and non-toxic for the birds.
Step 8: Enjoy and Educate
As you watch the birds use your nesting material holder, take the opportunity to learn more about the different species visiting your yard. Notice their unique nesting preferences, behaviors, and patterns. This project is a helpful contribution to local wildlife and a fascinating educational experience.
If you have kids, involve them in the observation process, teaching them about birds and their nesting habits. Remember, this small project contributes to preserving and supporting our feathered friends’ ecosystem, so be proud of your efforts and enjoy the process.
Step 9: Spread the Word
Now that you’ve successfully created and installed a bird nesting material holder, it’s time to spread the word. Share your project on social media, or tell your friends about it. Encourage others to create their bird nesting material holders, helping more birds in their nesting process. This is a fun and simple way to make a difference in your local bird populations and foster a sense of community supporting nature.
Step 10: Regular Maintenance
As a final step, ensure your bird nesting material holder is maintained correctly. Regularly check its condition, ensuring it’s secure, intact, and still in the correct location. During inclement weather, you may need to reposition or bring the holder inside to prevent it from damage. Also, look for signs of disease or parasites (like mites) that could harm the birds. If found, clean the holder thoroughly before refilling it with fresh materials. Remember, the goal is to support the local bird population, so providing them with a safe and healthy resource is crucial.
By following these ten easy steps, you can create a bird nesting material holder that not only supports and helps our feathered friends but also provides an opportunity to connect with nature.
5 Additional Tips and Tricks
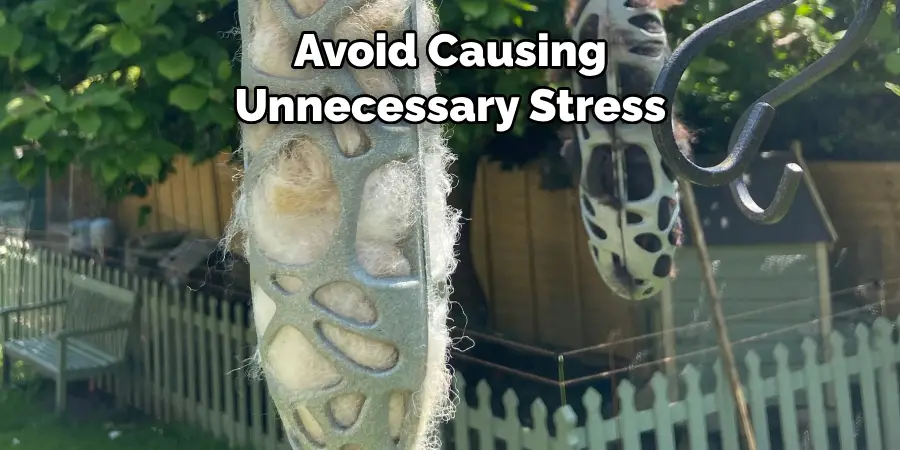
- Use only safe materials: When you make a bird nesting material holder, ensure the materials you provide are safe for birds. Stick to natural fibers like cotton, wool, or pet fur, and avoid anything synthetic that could harm the birds.
- Accessible but safe location: Place your bird nesting material holder in a location that’s easy for birds to access yet safe from predators. It should be high enough off the ground and away from busy human activity.
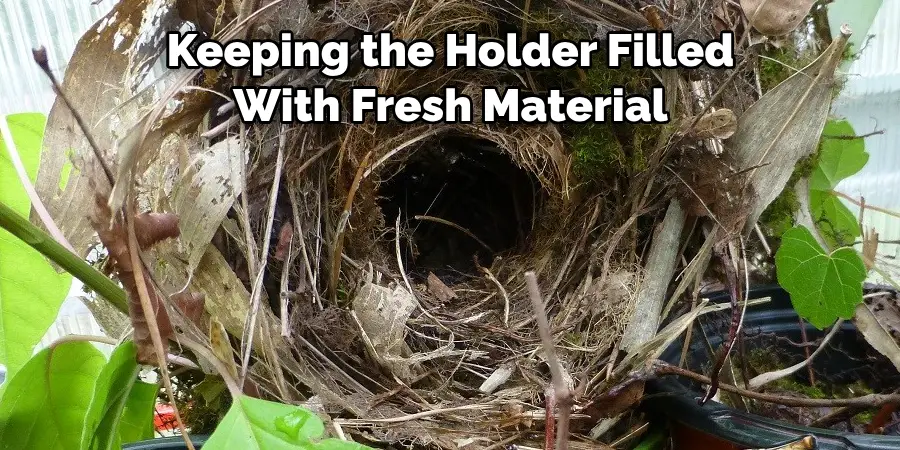
- Regular refilling: Keeping the holder filled with fresh material encourages birds to continue using it. Regularly check and refill the holder, especially during the nesting season.
- Cleanliness is crucial: Clean your bird nesting material holder regularly to prevent any build-up of parasites or bacteria that could harm the birds. A simple wash and dry every few weeks should suffice.
- Monitor and record your visitors: Noting which birds use your holder can be fun and educational. You can learn more about local bird species and their behaviors, and it can also help with any necessary adjustments to better cater to the preferred nesting materials of different species.
With these additional tips and tricks, you can ensure that your homemade bird nesting material holder is functional but also safe and enjoyable for our feathered friends.
5 Things You Should Avoid
1. Avoid toxic materials: Never use items like dryer lint or materials treated with chemicals. These can be harmful or even fatal to birds.
2. Don’t use long, stringy materials: Materials like yarn or long strands of grass can potentially strangle birds or tangle around their feet.
3. Avoid placing holders near windows: Placing the holders near windows could lead to birds colliding with the glass, which can cause serious injury.
4. Don’t overfill the holder: While stuffing the holder full of materials may be tempting, this can overwhelm the birds. It’s better to provide a moderate amount and refill when necessary.
5. Avoid disturbing the birds: While observing the birds can be fun and educational, avoid causing unnecessary stress by getting too close or touching nests. Remember, we’re trying to support these creatures, not interfere with their natural behavior.
By avoiding these potential mistakes, you can ensure the safety and well-being of the birds using your homemade nesting material holder.
Conclusion
With an easy-to-assemble bird nesting material holder, anyone who appreciates the beauty of avian life can help return the favor by providing a safe and secure environment to build nests. Whether it is your first time collecting materials for birds or you are a seasoned pro, this holder gives you the perfect container for various materials.
Hopefully, the article on how to make a bird nesting material holder has inspired you to create your own and embark on a bird-watching journey in your backyard. Remember, with just a few simple steps and some readily available materials, you can positively impact the lives of our feathered friends.
So what are you waiting for? Grab your supplies today and create your bird nesting material holder! Happy crafting!

