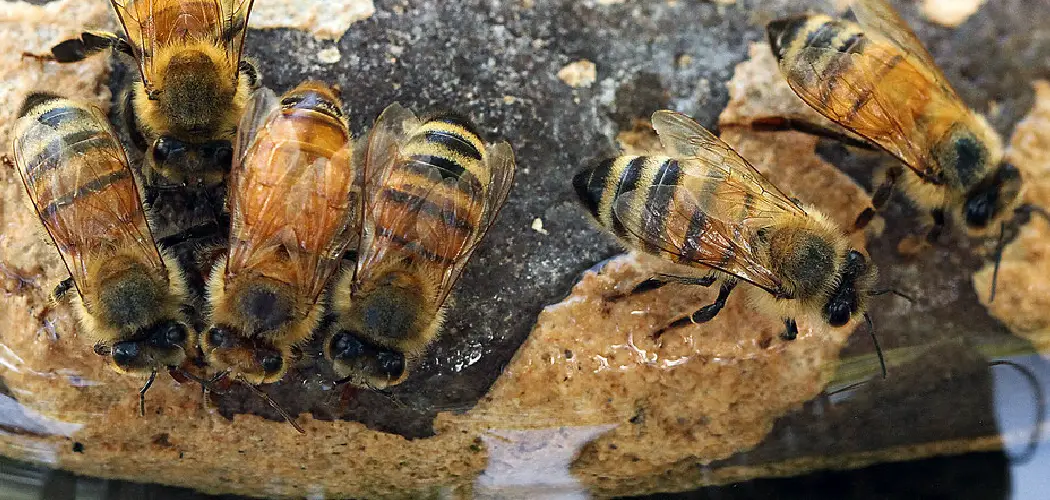
Are you a passionate gardener or environmental enthusiast looking to enhance your garden? Then, why not attract bees by creating an inviting bee bath right in your backyard? With the declining number of bee populations all around the globe, it is becoming increasingly vital for us to do our part in helping these buzzing creatures. A bee bath is one of several ways to help the pollinators and create a haven where they feel welcome.
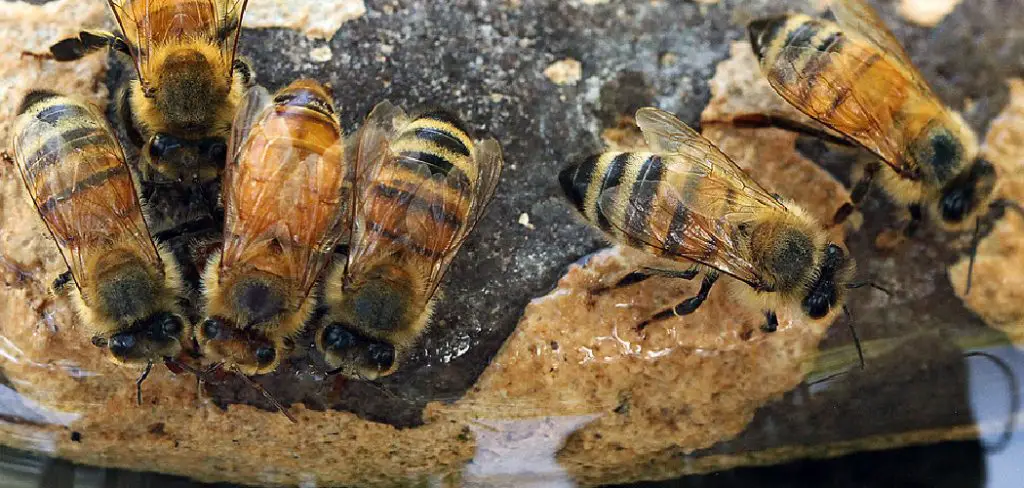
A bee bath is simply a water basin with a shallow and safe water source for bees to drink from. It can also provide a place for them to cool off on hot days or clean their fuzzy bodies after pollinating flowers.
Read on to find out how to make a bee bath and maintain a thriving bee-friendly environment.
What Will You Need?
- A shallow dish or bowl (preferably in a bright color)
- Crushed rocks, pebbles, or marbles
- Clean water
Once you have gathered all your materials, it’s time to get started!
10 Easy Steps on How to Make a Bee Bath
Step 1: Choose the Right Spot
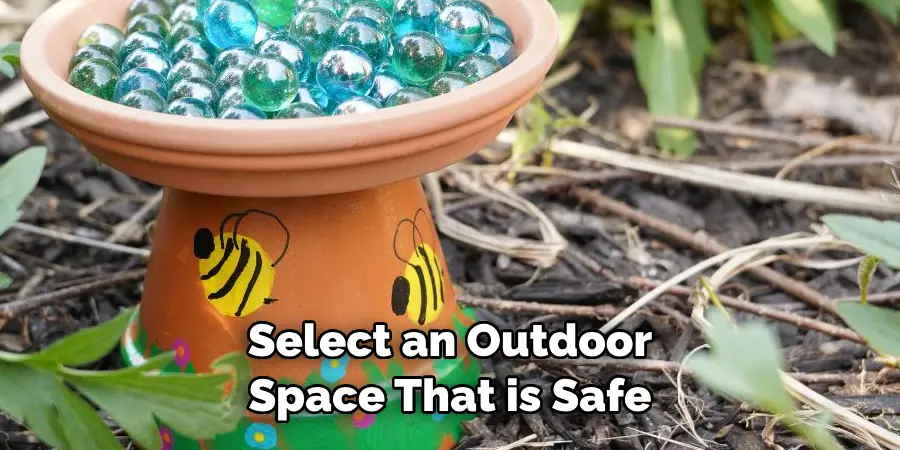
Select an outdoor space that is safe, peaceful, and receives a good amount of sunlight. Bees prefer areas with plenty of flowering plants nearby. Also, ensure the bee bath will be elevated off the ground so it’s safe from predators. This can be achieved by placing it on a stand, on top of a wall, or hanging from a tree branch. Remember, the location should be easily accessible for you as well for refilling and cleaning purposes.
Step 2: Prepare the Dish
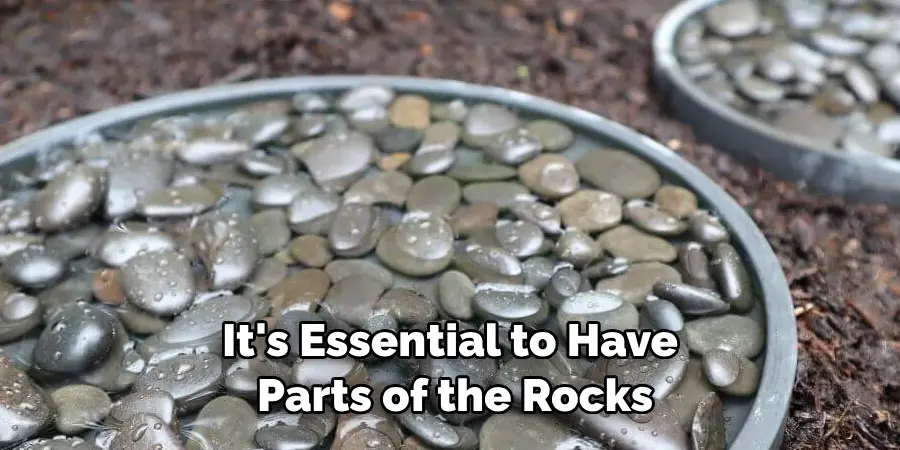
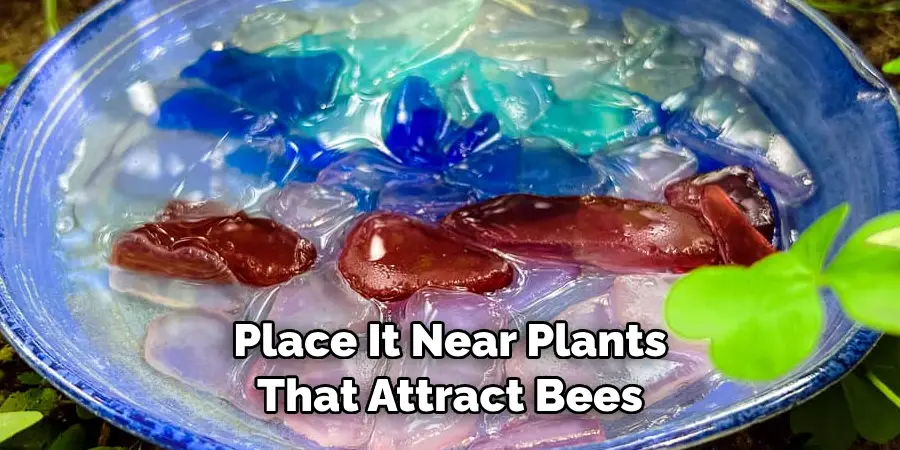
Fill your shallow dish with crushed rocks, pebbles, or marbles. These items can create landing spots for bees as they want to avoid being fully submerged in the water while drinking. Make sure the rocks are evenly spread across the dish, with some pebbles poking out above the water level to offer secure perches for the bees.
Step 3: Add Water
Fill the dish with clean water, ensuring the water level does not surpass the top of the rocks, pebbles, or marbles. Bees cannot swim, so it’s essential to have parts of the rocks protruding out of the water. The bees will land on these dry spots to drink without risking drowning. Remember to change the water every few days to keep it fresh and to discourage mosquitoes from breeding.
Step 4: Maintenance
Regularly check on your bee bath to ensure it remains an inviting and safe environment for the bees. Keep an eye out for any dirt or debris falling into the dish and remove it promptly. Clean the bee bath every week to prevent the buildup of algae or other undesirable substances. During hot summer days, the water may evaporate quickly, so check the water level daily and refill as necessary to keep the bath accessible and enticing to these essential pollinators.
Step 5: Monitor and Observe
Once your bee bath is set up, it’s time to observe its visitors patiently. You may not see bees immediately but don’t be disheartened. It may take some time for bees to discover the new water source. As they visit more frequently, they’ll leave behind a scent that attracts other bees. Keep an eye out for any changes needed, like adjusting the water level or adding more rocks for landing spots. Remember, creating a bee-friendly environment is an ongoing process that requires patience and perseverance.
Step 6: Encourage Visitation
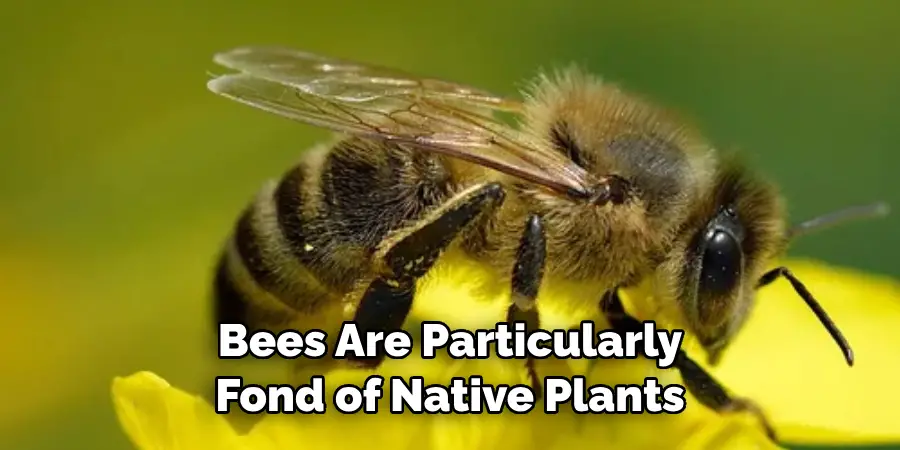
Attract more bees to your new bee bath by planting bee-friendly flowers and plants nearby. Bees are particularly fond of native plants that produce plenty of pollen and nectar. Consider plants like lavender, sunflowers, and poppies, to name a few. Avoid using pesticides and herbicides in your garden as they can harm bees. By making your garden more bee-friendly, you’ll help increase the chances of bees finding and using your bee bath.
Step 7: Ensure Safety
Alongside creating an inviting atmosphere for the bees, ensuring their safety is crucial. Be mindful to keep other harmful chemicals or insecticides away from the bee bath. These substances are lethal to bees and can contaminate the water source. If you have pets, ensure they cannot access or knock over the bee bath. Observing these safety measures will not only protect the bees but also allow the bee bath to serve its purpose effectively.
Step 8: Spread the Word
One of the most effective ways to support bee populations is by spreading awareness within your community about the importance of bees and how others can help. Share your knowledge on how to make a bee bath with neighbors, friends and on social media. Organize educational sessions to illustrate the significance of bees in our ecosystem and demonstrate the simple steps to create a bee bath. By encouraging others to create their bee baths, we can collectively make a big difference in supporting our local bee populations.
Step 9: Enjoy the Benefits
Over time, as more bees visit your garden, you’ll notice the positive impact on your plants and flowers due to increased pollination. This results in a more vibrant and healthy garden. Creating a bee bath can also be a rewarding and educational experience for children, teaching them the importance of conservation and respect for wildlife. You get to enjoy the beauty of nature while knowing you’re making a difference in supporting these crucial pollinators.
Step 10: Continuous Learning and Improvement
As you maintain your bee bath, you will inevitably encounter new situations requiring problem-solving and ingenuity. Whether it’s dealing with unexpected pests, introducing new elements to attract more bees, or coping with changing weather conditions, view these challenges as opportunities to learn more about bee behavior and their needs.
By constantly observing and adapting, you can make your bee bath an even better sanctuary for these hardworking pollinators. Remember, every small action you take contributes to the larger goal of supporting and preserving our essential bee populations.
With these simple steps, you can create a bee bath in your own backyard and make a positive impact on the environment.
5 Additional Tips and Tricks
- Use Shallow Dishes: Bees can’t swim, and deep water can be dangerous. Use a shallow dish to ensure they can safely access the water.
- Add Stones or Pebbles: Place small rocks or pebbles inside the bath. These will serve as landing spots for the bees, preventing them from drowning.
- Keep the Water Fresh: Change the water regularly to prevent the growth of bacteria and algae, which could harm the bees.
- Place the Bee Bath Near Pollen Sources: Bees are more likely to use a tub that’s near their food sources. So, place it near plants that attract bees.
- Avoid Using Pesticides Nearby: Pesticides can be harmful to bees. Ensure your bee bath is in a pesticide-free zone to keep them safe while hydrating.
By following these additional tips and tricks, you can create a safe and inviting bee bath for our pollinator friends.
5 Things You Should Avoid
- Avoid Using Metallic Containers: Metal can heat rapidly in the sun and harm the bees. Opt for ceramic or plastic dishes instead.
- Stay Away from Fragrances: Bees are attracted to the smell of flowers, not artificial fragrances. Avoid using scented soaps or other chemicals to clean the bee bath.
- Don’t Use Chlorinated Water: Tap water often contains chlorine, which can harm bees. Use rainwater or dechlorinated water if possible.
- Don’t Place the Bee Bath in a High-traffic Area: Bees may feel threatened by constant activity. Choose a quiet, safe spot for your bee bath.
- Avoid Moving the Bee Bath Often: Bees remember the locations of water sources. Once you’ve chosen a spot for your bee bath, keep it there to avoid confusing the bees.
By avoiding these common pitfalls, you can make your bee bath an even safer and more attractive stop for these vital pollinators.
Do Bees Like to Sleep?
While bees don’t sleep in the traditional sense, they do rest. Bees need to rest periodically throughout the day, and they often do so on flowers. A safe and comfortable place to relax in your yard, such as a bee bath or nearby plants, can help support their well-being.
Additionally, providing a water source for bees is crucial during the hot summer months when they may need to cool down and rehydrate more frequently. So, while bees may not sleep like humans, they need breaks throughout the day and require access to water sources for survival.
Conclusion
By making your very own bee bath, you can help do your part to support the essential and unique species of bees that help protect ecosystems everywhere. All it takes is a shallow dish or container filled with an external layer of water combined with small stones for bees to land safely on, and you’re ready to make a difference in preserving the environment.
Now that you’ve read this blog post on how to make a bee bath, why not gather up supplies and create a bee bath outside your window today? Who knows – you may even attract some visitors! Not only will you be able to observe as this tiny species displays its incredibly complex behaviors, but you’ll also be successful in aiding these critical little critters to thrive in the wild.
With even one more bee bath out there, we can all do our part in helping preserve the world around us for generations to come.

