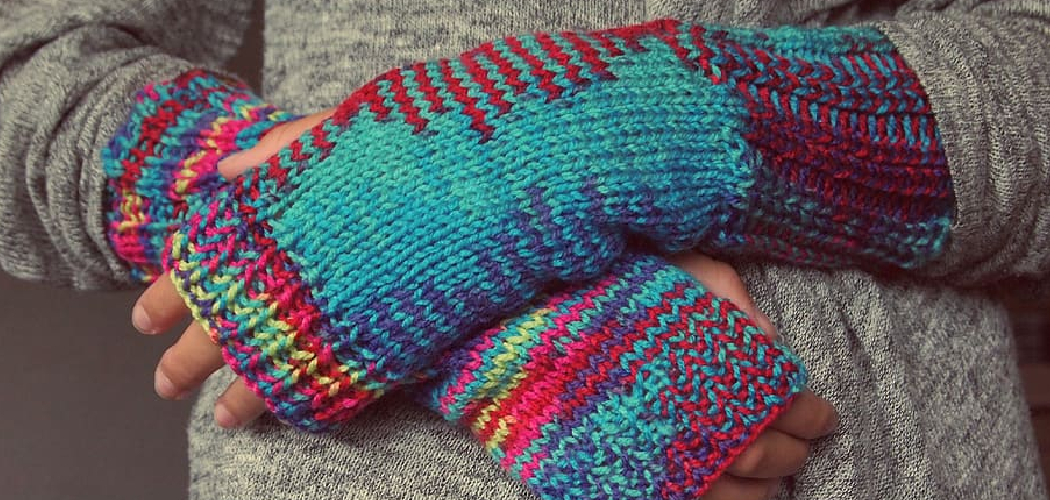
Are you looking for a cozy project to work on this winter? Why not try your hand at knitting arm warmers? With basic knitting knowledge and a few supplies, you can have fully custom-designed arm warmers in no time. Plus, they make great gifts or accessories for you!
If you’re new to knitting, check out our beginner’s guide. Once you’ve mastered the basics, follow these simple steps to create your arm warmers.
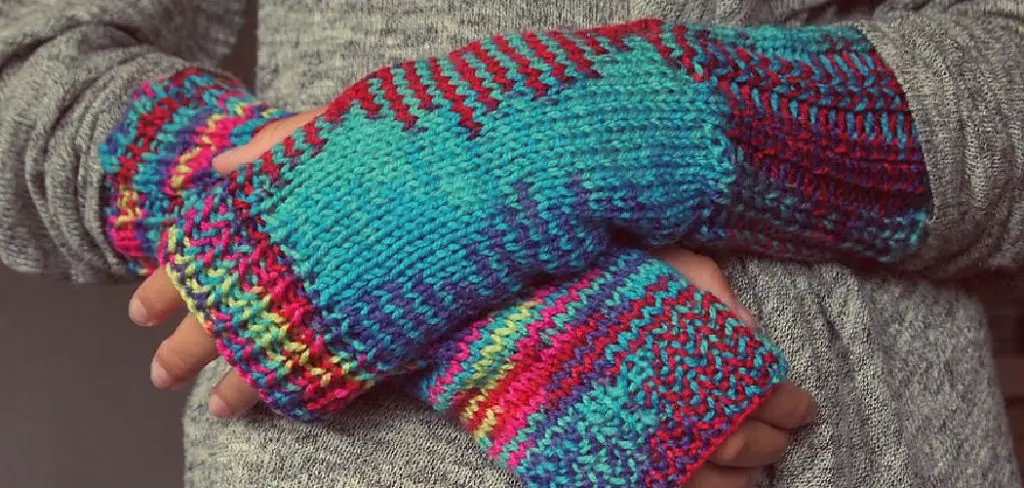
In this blog post, we’ll walk through the steps of how to knit arm warmers – from picking out yarn colors and deciding on the design to weaving in the final ends. We’ve got plenty of tips along with the way, so even if you’re new to knitting, it will be a simple and easy process in no time!
What Will You Need?
- Yarn (we recommend chunky yarn for arm warmers to make them quick and easy)
- Knitting needles (US size 10 or 11 work best)
- Tape measure
- Scissors
- Tapestry needle (for weaving in the ends)
Once you’ve gathered your supplies, it’s time to get started!
8 Easy Steps on How to Knit Arm Warmers
Step 1: Measure Your Arm
The first step is to measure your arm and decide on the length of your arm warmers. Lay a tape measure alongside your arm from your wrist up to where you’d like the arm warmers to end. The measurement should be from the base of your wrist to the top of your elbow or longer if you wish. Record this measurement in inches or centimeters (whichever you prefer) and keep it handy for later.
Step 2: Choose Your Colors
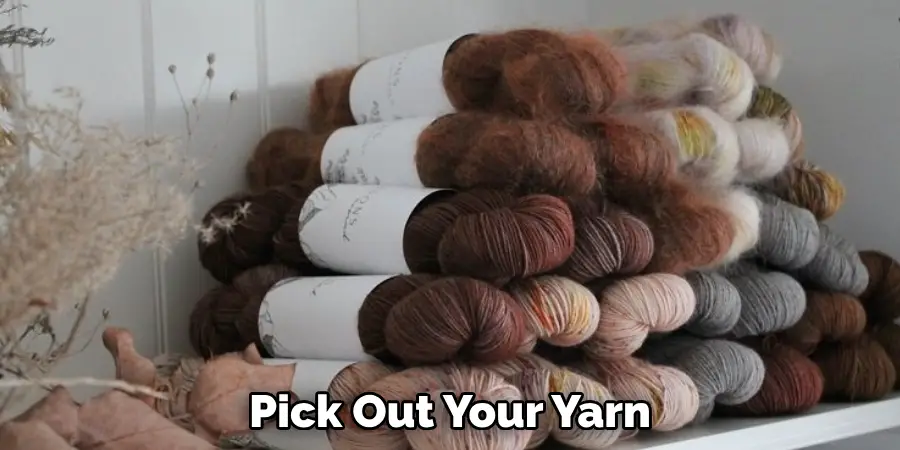
Now it’s time to choose your colors! Decide whether you want to make arm warmers with one solid color, two different colors, or a pattern with multiple colors. Pick out your yarn based on the measurements from Step 1, and make sure you have enough for both arm warmers.
Step 3: Cast On Your Stitches
Take your knitting needles and cast on the number of stitches you need to achieve the desired width of your arm warmer. The best way to do this is to loosely wrap the yarn around the needles the number of times that you need and then use the other needle to pull a loop of yarn through each cast-on stitch. If you’re unsure of how many stitches to cast on, use the measurement from Step 1 and multiply it by five.
Step 4: Start Knitting
Now that your arm warmer is taking shape, it’s time to get knitting! Follow whatever pattern or stitch you have chosen for your project. If this is your first knitting project, we suggest using the garter stitch. To do this, simply knit every row until you reach the desired length of your arm warmer.
Step 5: Check the Fit
As you continue knitting, it’s important to check the fit of your arm warmer periodically. To do this, gently wrap your knitting project around your arm. If it’s too tight or too loose, adjust the number of stitches or the tightness of your knitting. Remember, the arm warmers should be snug but not too tight that they restrict your movement. Continue knitting until you reach the length you recorded in Step 1.
Step 6: Finish Your Arm Warmer
Once you’ve reached the desired length of your arm warmer, it’s time to finish off your knitting. To do this, you’ll need to do what’s known as ‘binding off’. This simply means closing off your stitches to prevent them from unraveling. Here’s how you do it:
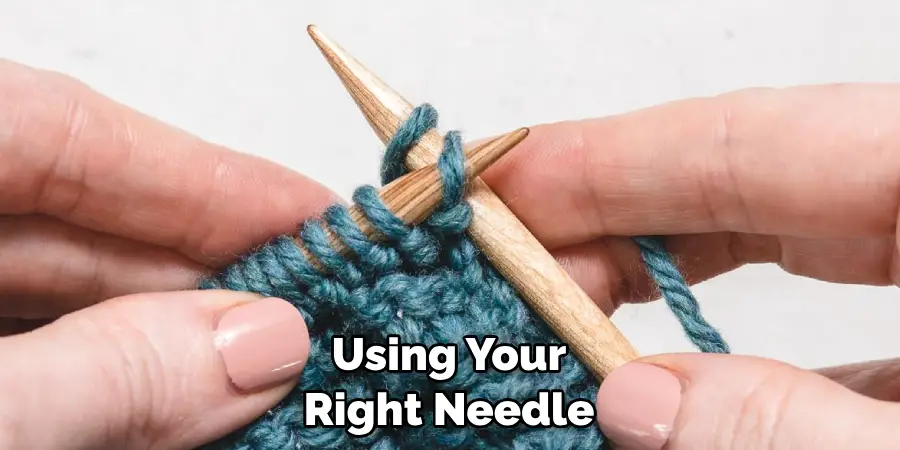
- Knit the first two stitches on your left needle.
- Using your right needle, lift the first stitch you knitted over the second stitch and off the needle. You now have one stitch remaining on your right needle.
- Knit the next stitch on your left needle so that you have two stitches on your right needle again.
- Repeat this process until you have only one stitch left.
Finally, cut your yarn, leaving a small tail. Pull the end of the tail through the last stitch and pull tight to secure it. Your first arm warmer is now complete! Next, repeat all the steps to create your second arm warmer.
Step 7: Weave in the Ends
Now that you have completed knitting both of your arm warmers, the last step is to weave in the loose ends. Take your tapestry needle and thread the yarn tail through it. Weave the needle in and out through the inside of the arm warmer, following the path of the stitches. This keeps the ends hidden and secures them so they don’t unravel. Once you’re done, cut any excess yarn. Repeat this process for any other loose ends.
Step 8: Enjoy Your Arm Warmers
Congratulations, you’ve now finished your pair of knitted arm warmers! Whether you’ve knitted them for yourself or as a gift for someone else, these cozy accessories are perfect for chilly days. You can take pride in the fact that you’ve created them with your own two hands. Remember, practice makes perfect. The more you knit, the better you’ll get. So, don’t stop now; keep exploring more knitting patterns and projects.
Following these simple steps, you know how to knit arm warmers! We hope this blog post has been helpful and inspires you to begin your next knitting project.
5 Additional Tips and Tricks
- When knitting arm warmers, it’s important to use the right yarn. Make sure to choose a yarn suitable for your project that will last through wear and washing.
- As with any knitting project, take accurate measurements when creating your arm warmers. This will ensure they fit properly when you’re done!
- If you’re a beginner knitter, practice knitting and purling with single-colored yarn before attempting more complicated patterns.
- When shaping arm warmers, decrease stitches evenly on each side of the arm. Otherwise, one arm warmer will be longer than the other!
- Finally, use blocking techniques to ensure your finished arm warmers look neat and professional. Blocking can also help to make your arm warmers fit better on the arm.
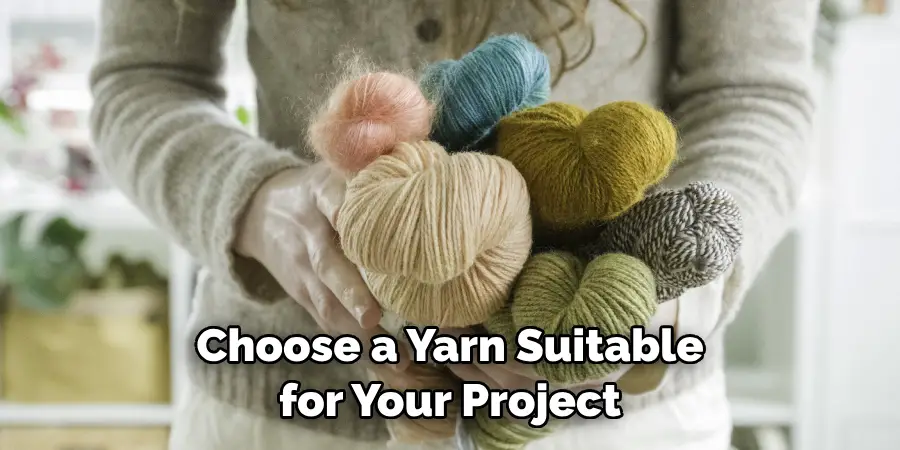
Once you have finished knitting your arm warmers, you can add decorative touches such as ribbons or buttons for a unique look. You can also try out different stitch patterns to create unique textures and designs in your knitting!
5 Things You Should Avoid
- Avoid using cheap yarns as they may not withstand frequent wear and washing, potentially ruining your arm warmers. Quality materials make a significant difference in the end product.
- Remember to check your tension frequently throughout your project. Inconsistent tension can lead to uneven stitches, affecting your arm warmers’ overall look and fit.
- Refusing through your project is tempting, but avoid speeding through your stitches. Knitting is a careful craft; precision over speed always yields better results.
- Pay attention to the importance of the cuff of the arm warmer. It can be uncomfortable and restrictive if it’s too tight, while if it’s too loose, it may keep slipping down.
- Lastly, refrain from skipping the blocking process. Blocking helps even out your stitches and gives your arm warmers the desired shape and fit. It’s an essential step towards a professional finish.
Avoiding these common mistakes will help you perfect your knitting technique and produce the best arm warmers possible. So get out those needles and yarn, and become a master of knitting!
Popular Arm Warmer Patterns
- The Chevron Pattern: This is easy to master, with alternating rows of knits and purls to create a chevron design.
- Cables and Ribbing: This pattern combines knits and purls to create a textured ribbed pattern, with cabling in the center for added interest.
- Eyelets: If you’re looking for something more feminine, eyelet patterns are perfect as they feature lots of tiny holes that look like lace.
- Lace Patterns: This delicate pattern is a great way to show off your knitting skills. It’s created by making intricate lace-like designs using yarn overs and decreases.
- Fair Isle Pattern: A beautiful combination of colorwork, the fair isle pattern features multiple colors and creates beautiful patterns throughout your arm warmers.
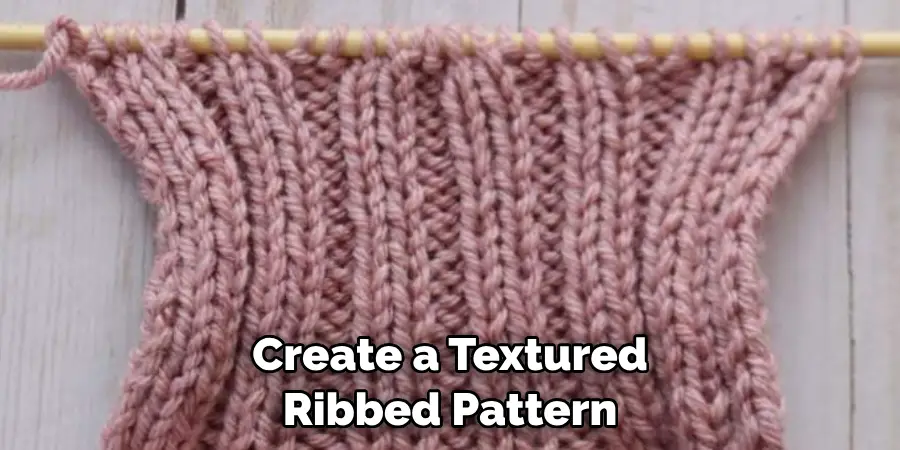
With these popular arm warmer patterns, you can create beautiful and unique accessories to keep warm during the colder months. Which one will you try first?
No matter which pattern or style of arm warmer you choose to knit, remember that practice makes perfect!
Conclusion
Learning how to knit arm warmers is a great way to add fun to your wardrobe or as a unique gift for someone you know. Knitting arm warmers can be made for any age and with any design, making it an easy and creative project.
Even if you are just starting, the basics of knitting arm warmers are fairly simple, and with the right research, patterns, and techniques, you should be able to create something that looks fantastic.
By allowing yourself to try something new and explore color patterns, knitting becomes one of your favorite hobbies! As always, be patient when completing this crafty project – ensure that your fingertips do not become sore or numb by taking breaks throughout your work session.
So why not pick up some knitting needles today and instantly personalize your look – Happy crafting!

