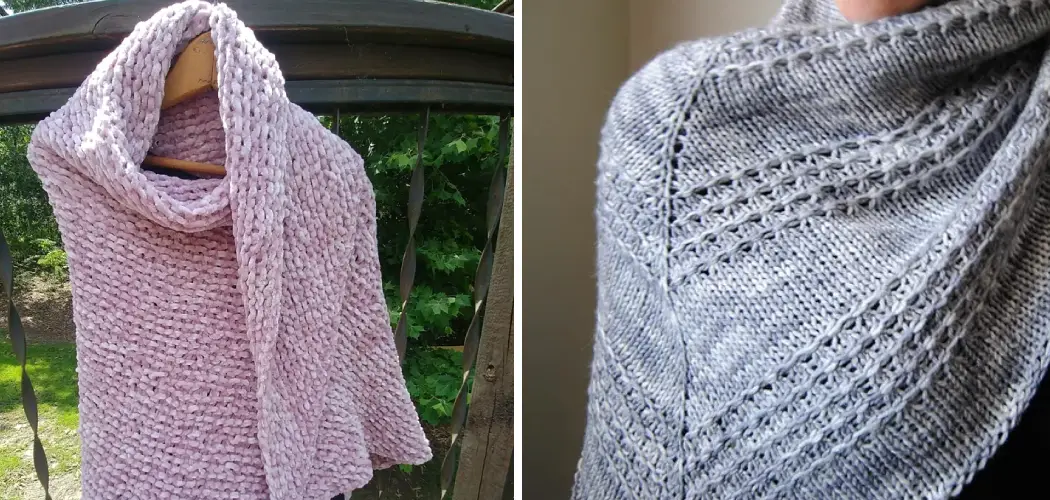
Are you new to knitting and looking for how to knit a shawl for beginners? A shawl is an excellent project for those just starting. Not only will it help build on foundational knitting skills like casting stitches on, shaping with increases and decreases, and binding off, but at the end of the process, you’ll have a practical accessory that can be worn or gifted!
Whether you prefer classic designs or more modern takes on traditional patterns, learning how to knit a shawl is an enjoyable and rewarding experience. It’s time to get those needles clicking!
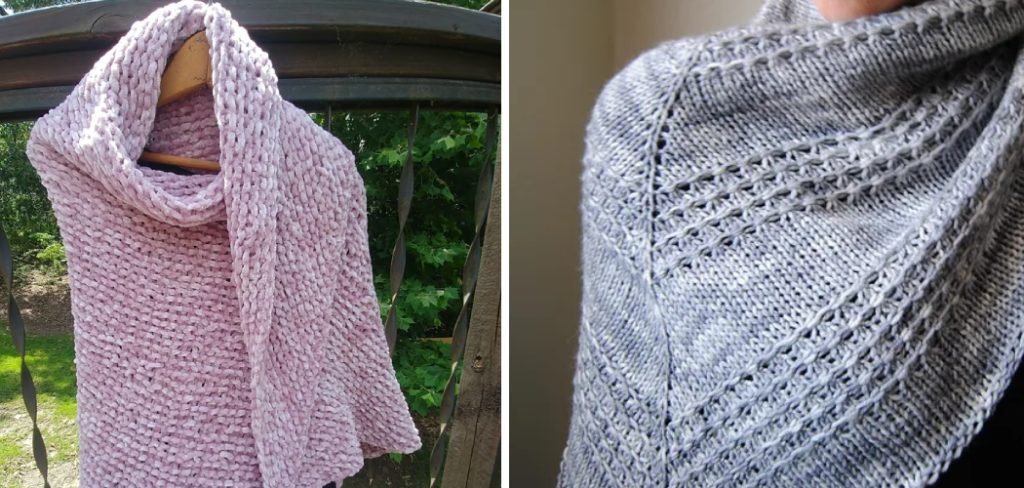
In this post, we’ll run through all the steps necessary to knit your very own beautiful shawl—perfect for wrapping up during cool autumn nights. So grab your needles and yarn; let’s get started!
What Will You Need?
- About 400 yards of worsted-weight yarn (or any weight you choose).
- A pair of US 8 (5 mm) knitting needles, or the size recommended on your pattern.
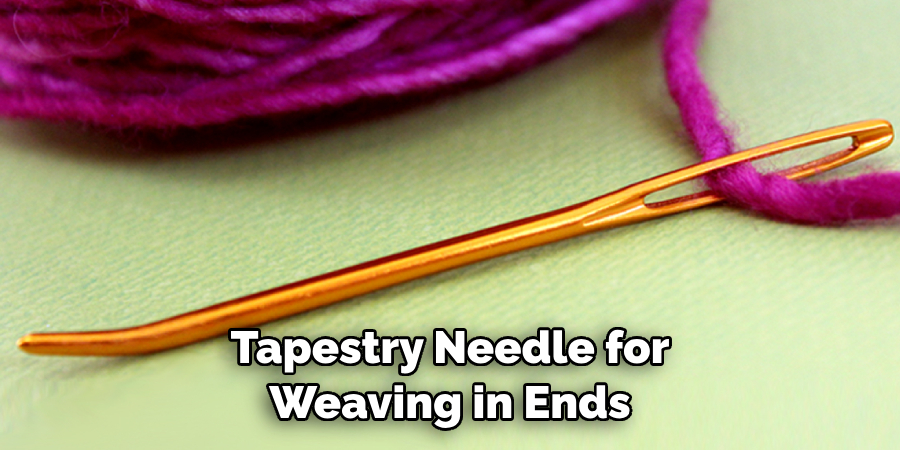
- Scissors and a tapestry needle for weaving in ends.
- An appropriate stitch marker or two.
Once you have all the necessary supplies, it’s time to start knitting!
8 Easy Steps on How to Knit a Shawl for Beginners
Step 1: Casting On
The first step in knitting a shawl is to cast on the stitches. This will establish the width of your shawl. For beginners, it’s best to start with a few stitches, like five. This will create a small triangle at the top of your shawl. To cast on, make a slipknot on your needle, then add more stitches until you reach your desired number. This may seem tricky if you’re new to knitting, but don’t worry! Just take your time and remember: practice makes perfect.
Step 2: Setting Up the First Row
After casting on, it’s time to set up the first row of your shawl. This row sets the foundation for the rest of your knitting, so it’s crucial to get it right. After the initial cast-on, knit the first two stitches. Then, bring the yarn to the front and slip the next stitch purl-wise, moving the yarn to the back again.
At the end of the row, knit the last two stitches. This may feel awkward at first, but with practice, you’ll find your rhythm. This first row might seem simple, but it’s a crucial step in learning how to knit a shawl for beginners.
Step 3: Building Your Shawl’s Body
Now that you’ve set up the first row, it’s time to start building the body of your shawl. This step involves alternating between knitting rows and purling rows, which creates the main texture of the shawl. To start, knit the first two stitches of the second row, then purl all until you reach the last two stitches.
Knit these last two stitches. For the third row, simply repeat the first row – knit the first two stitches, slip one stitch purl-wise, knit until you reach the last three stitches, slip the next stitch purl-wise, and knit the last two stitches.
Alternate between these two rows (second row and third row) until your shawl has reached your desired length.
Step 4: Adding Final Touches to Your Shawl
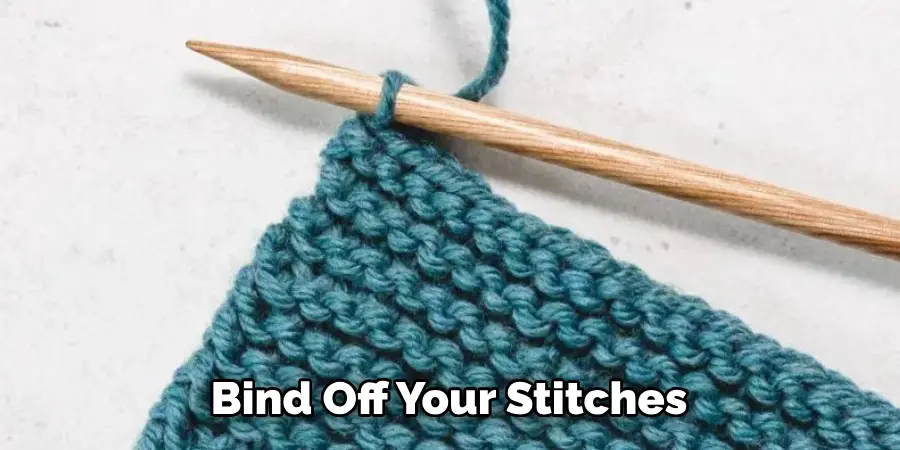
You’re almost done with your shawl now! Once you’ve reached the desired length, it’s time to add the final touches and end your knitting project. For this, you’ll need to bind off your stitches. This process is similar to casting on but in reverse. To bind off, knit the first two stitches as usual.
Then lift the first stitch you knitted over the second stitch and off the knitting needle. Knit another stitch and repeat the process until just one stitch remains. Cut the yarn, leaving a tail about six inches long. Thread this tail through the last loop and tighten.
Step 5: Weaving in the Ends
The last but essential part of knitting a shawl is weaving in the ends. This gives your shawl a neat finish. To do this, thread your tapestry needle with the left-over tail of yarn. Weave this needle in and out of your stitches on the wrong side of your work. Be sure to do this several times to secure the yarn. You can cut off the excess yarn once you feel the end is secure.
Step 6: Blocking Your Shawl
Blocking is the final step in knitting your shawl. It helps to shape your shawl to the desired size and gives the stitches a more defined appearance. To block your shawl, first soak it in warm water with a gentle, mild detergent for about 15-20 minutes. Carefully remove the shawl without wringing.
Instead, squeeze out the excess water gently. Lay the shawl flat on a towel, shaping it to the desired dimensions. Leave it to dry naturally. Once dried, your shawl is ready for you to enjoy!
Step 7: Enjoy Your Hand-Knitted Shawl
Congratulations! You’ve just completed your hand-knitted shawl. After all your hard work, it’s time to enjoy the fruits of your labor. Wrap yourself in your shawl during a chilly evening, or gift it to a loved one. Remember, each project helps you improve your knitting skills, so don’t worry if there are some hiccups. The beauty of knitting is in the journey as well as the finished product. Keep practicing, knitting, and most importantly, enjoy this wonderful craft.
Step 8: Exploring More Shawl Patterns
Now that you’ve mastered knitting a shawl, why not explore more complex designs and patterns? There are countless knitting patterns available online, with various levels of difficulty. From lace patterns to cable designs, the world of knitting really does offer something for everyone. If you’re a beginner, try starting with a simple garter stitch or stockinette stitch shawl pattern before moving on to more complex designs.
Following these eight easy steps gives you the knowledge and skills to knit beautiful shawls. So grab your needles and yarn; it’s time to get started!

5 Additional Tips and Tricks
- Practice your pattern. A shawl is a fairly simple project, but it can quickly become complex with intricate stitch patterns and yarn designs. Take time to practice the pattern beforehand so that you feel comfortable when you begin knitting.
- Use larger needles than the size recommended on the yarn label for looser stitches and better drape of the knitted fabric.
- Start with a plan. A successful shawl begins with a good plan of action. Before you begin knitting, consider the type of yarn and pattern that best suits your skills and the desired look you wish to achieve for the finished product.
- Invest in smooth needles. Smooth needles are great for avoiding snags on delicate fibers or lacy stitches.
- Use stitch markers to keep track of your progress, and make sure your shawl is evenly knit. Stitch markers are also helpful when it comes time to bind off the project, as they help you ensure that all edges match up properly.
With these tips, you’re ready to start knitting a beautiful shawl of your own!
5 Things You Should Avoid
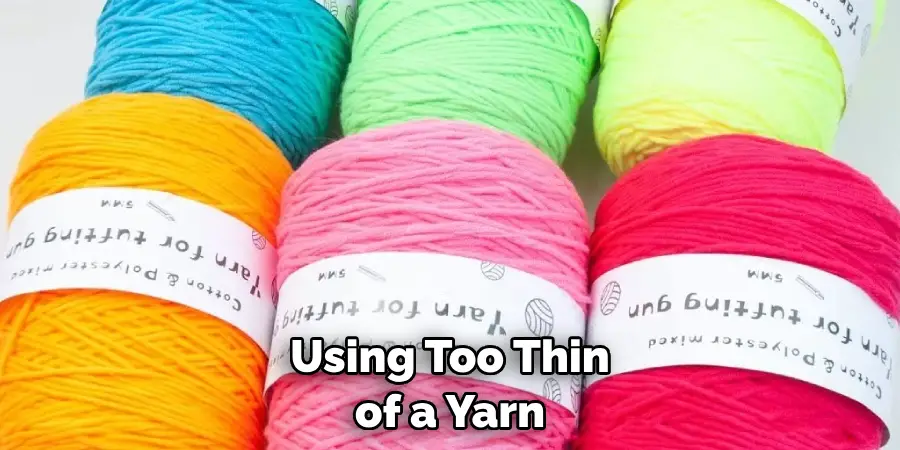
- Using too thin of a yarn. If the yarn is thick enough, producing the desired look for your shawl will be easier.
- Overworking stitches. This can lead to tight stitching, which may cause puckering and uneven edges when blocked out.
- Working on too large of a project with limited experience. It’s important to start small and work your way up.
- Choosing the wrong pattern. Make sure that you select a pattern suitable for your skill level or one you can work up to with practice.
- Using needles that are too short for the project. If the needles aren’t long enough, you won’t be able to fit all of your stitches on the needles.
By following these simple tips, you’ll be well on your way to creating a beautiful shawl that can be worn with pride!
Can I Knit a Shawl With Straight Needles?
Yes! Shawls can be knitted with straight needles, although circular needles are usually preferred. Circular needles allow you to work in the round and will create a seamless shawl. However, if you’re more comfortable using straight needles, nothing is stopping you from knitting a beautiful shawl on them as well.
All you need to do is cast on the required number of stitches and then begin knitting with straight needles as you normally would. As with circular needles, make sure you use a needle size appropriate for the yarn weight to ensure your shawl has a good drape and isn’t overly stiff.
Shawls are a great way to show off your skills as a knitter. No matter what type of needles you use, the process of creating a beautiful shawl is sure to bring you joy!
What is the Most Popular Shawl Shape?
The most popular shawl shape is the triangular shawl, followed closely by the crescent shawl. These shapes are easy to knit and can be customized with different stitch patterns or yarn weights for a unique look. Rectangular or asymmetrical shapes are also becoming increasingly popular as they offer a more contemporary feel than traditional shapes.
No matter what shape you choose, a shawl is sure to be the perfect accessory for any wardrobe. With some practice and the right tools, you can create stunning shawls that will look beautiful year round!

Conclusion
Knitting a shawl can seem daunting at first, particularly for beginners, but by following our simple instructions and tips, you should be able to create a beautiful, well-crafted piece that will last you for years. If you are struggling with any part of the process, don’t hesitate to ask a more experienced knitwear designer or even your local knitting store for help.
Alternatively, consider watching some video tutorials or reading further resources on the subject if you need extra guidance. Having crafted your own shawl, remember to take pride in your work! Enjoy wearing it or give it as a wonderful homemade gift- either way, everyone will appreciate such a unique creation!
Hopefully, the article on how to knit a shawl for beginners has helped you better understand the basics of knitting and what it takes to create a beautiful shawl. Now that you’ve learned the basics of knitting a shawl, why not experiment with different yarns and stitch patterns? The possibilities are endless!
Good luck on your next project and happy knitting!

