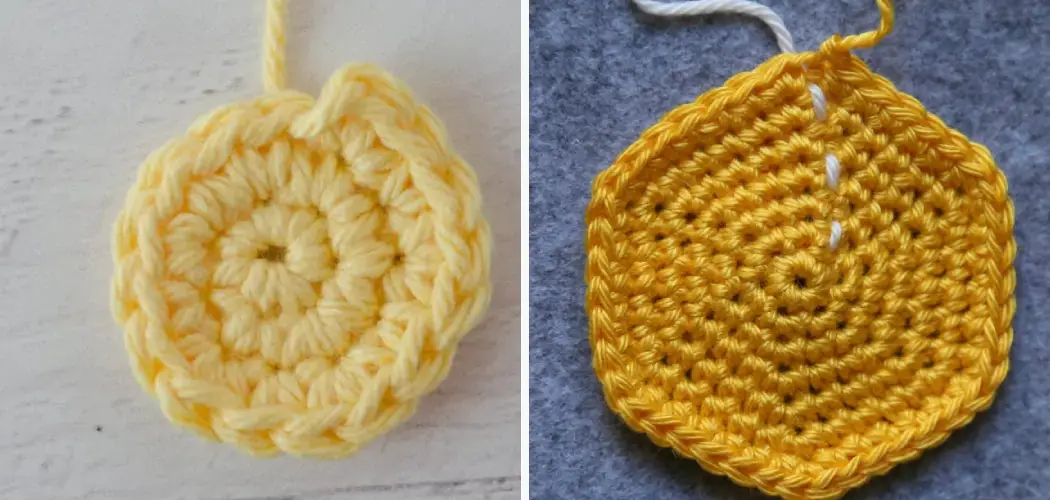
Unlocking the seamless beauty of crochet circles requires mastering the essential skill of joining in the round. Whether you’re crafting hats, mandalas, or cozy blankets, understanding how to join in crochet round is a fundamental technique in crochet. In this comprehensive guide, we’ll unravel the art of joining in crochet rounds, taking you through the step-by-step process. From creating a smooth transition between rounds to choosing the right method for your project, this tutorial caters to crocheters of all levels.
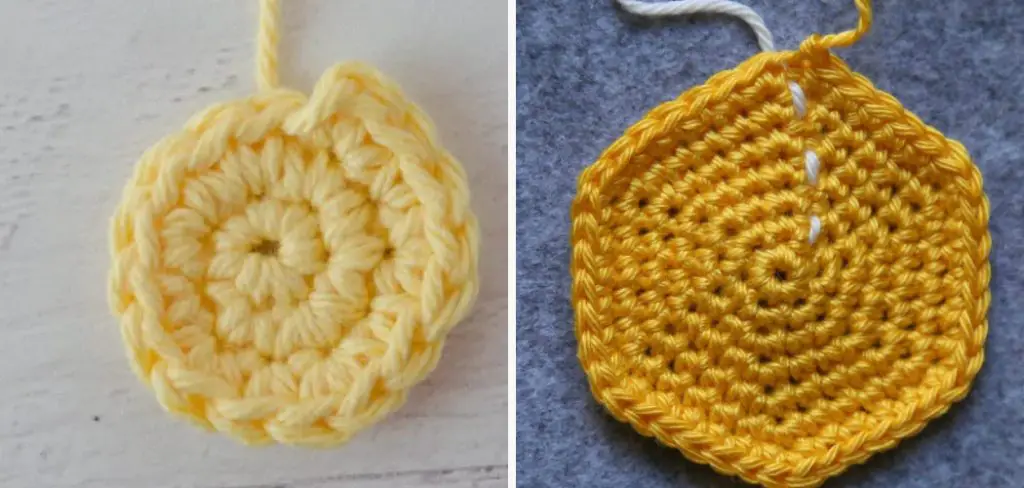
Whether you’re a seasoned enthusiast looking to refine your technique or a beginner eager to embark on circular creations, this guide ensures that your crochet rounds come together flawlessly, transforming your projects into cohesive and eye-catching masterpieces. Join us on a journey where circles connect with precision, and your crochet creations take on a polished and professional finish.
Choosing the Right Method to Join in Crochet Round
When you’re learning how to crochet, knowing the different methods for joining in a round is essential. The method you choose can affect the overall look and strength of your project. In this section, we’ll discuss some of the more popular methods for joining in a crochet round and help you determine which one might work best for your project.
Slip Stitch Join
The slip stitch join is the most common method for joining in a crochet round. To use this method, you simply slip stitch into the first stitch of the round to join it with the last stitch. This creates a virtually invisible seam that is great for projects where aesthetics are important.
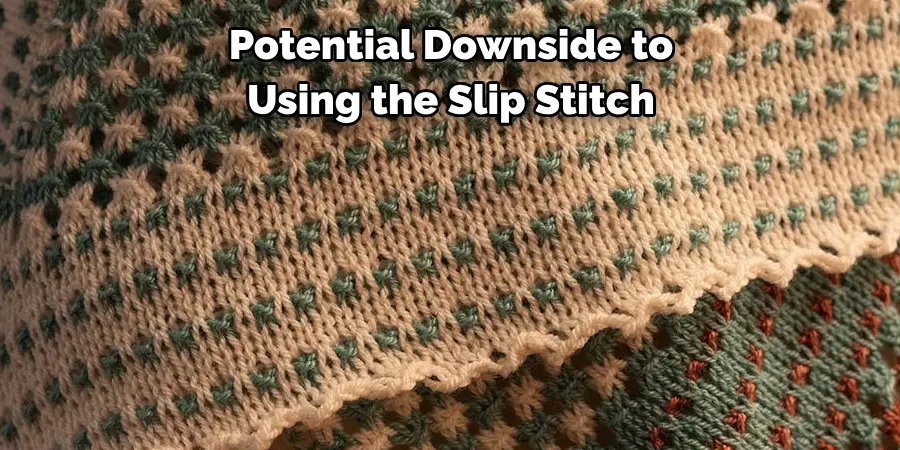
One potential downside to using the slip stitch join is that it can create a slightly tighter seam, which may cause your project to pucker. To avoid this issue, you can try working with a larger hook or using a looser tension when crocheting.
Invisible Join
The invisible join is another popular method for joining in a crochet round. This technique involves pulling the yarn through the last stitch and then weaving it back into the first stitch of the round. The result is a seamless join that is nearly undetectable.
One potential downside to using the invisible join is that it can be a bit trickier to master, especially for beginners. It may take some practice to get the tension and weaving just right.
Join as You Go
Join as you go (JAYGO) is a popular method for joining motifs or squares in a crochet round. Rather than working each motif separately and then sewing them together, JAYGO allows you to join the motifs as you crochet them.
One potential downside to using this method is that it can be more time-consuming and requires careful attention to detail. However, the result is a seamless join that can save time and effort in the finishing process.
10 Methods How to Join in Crochet Round
1. Magic Ring Method
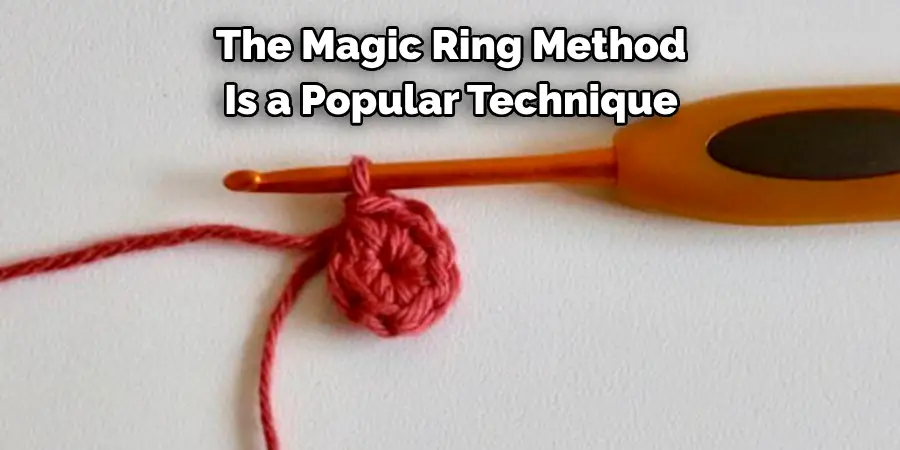
The magic ring method is a popular technique for starting a crochet round. It creates a tight and secure center for your project and eliminates the need for a slip knot. To start, hold the yarn in your hand with the tail end on top and wrap it around your fingers twice. Insert your hook under both loops of the first wrap, yarn over, and pull through to create a loop. Then, chain 1 and work your first round of stitches into the ring.
2. Chain Method
Another common method for joining in crochet rounds is the chain method. This involves creating a chain of stitches that will serve as the foundation for your first round of stitches. To begin, make a slip knot on your hook and then chain the desired number of stitches for your project’s starting round.
3. Slip Stitch Method
The slip stitch method is ideal for projects that require a seamless join between rounds, such as amigurumi or hats. To start, insert your hook into the first stitch of the previous round, yarn over, and pull through both loops on your hook to create a slip stitch. Continue working slip stitches in each stitch around until you reach the beginning stitch.
4. Standing Stitch Method
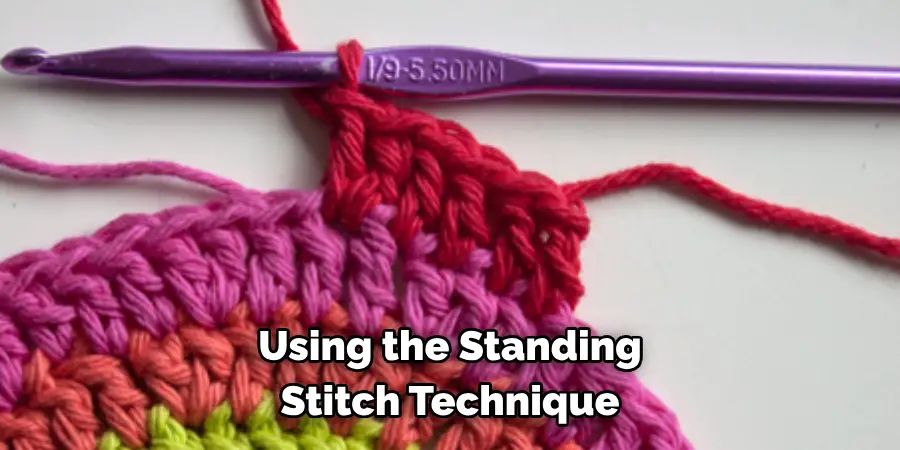
The standing stitch method is similar to the magic ring method but does not require wrapping yarn around your fingers beforehand. Instead, make a slip knot on your hook and then work your first stitch directly into the starting point of your project.
5. Joining with Single Crochet
For projects that require joining in new colors or changing colors every round, joining with single crochet can create a clean and neat finish between rounds. To do this, make a single crochet stitch into the last stitch of each round before joining with a slip stitch to complete that round.
6. Invisible Join Method
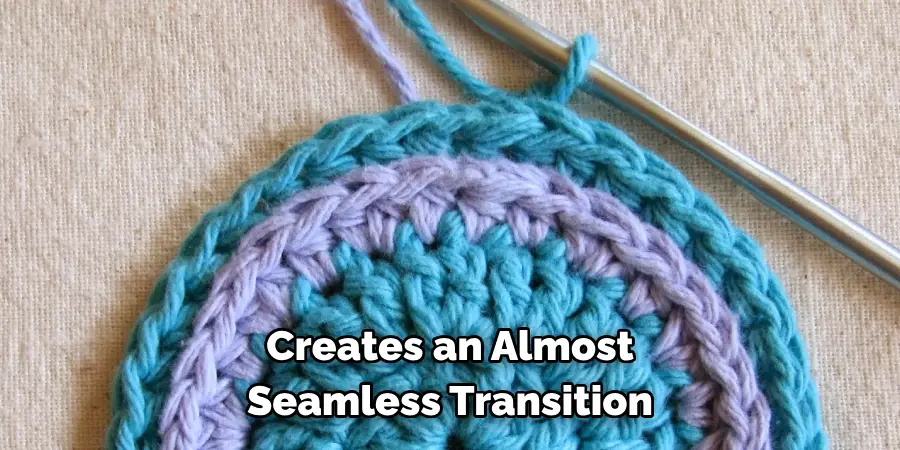
The invisible join method creates an almost seamless transition between rounds by eliminating any noticeable gaps or bumps where rounds are joined. To use this method, fasten off your yarn and then insert your hook into the first stitch of the round you want to join, pull up a loop, and then pull that loop through the loop on your hook.
7. Joining with Half Double Crochet
Similar to joining with single crochet, joining with half double crochet creates a neat and tidy finish between rounds. To do this, make a half double crochet stitch into the last stitch of each round before joining with a slip stitch to complete that round.
8. Joining with Double Crochet
Joining with double crochet is another option for creating a clean join between rounds in projects that require changing colors frequently. Simply make a double crochet stitch into the last stitch of each round before joining with a slip stitch to complete that round.
9. Invisible Slip Stitch Method
The invisible slip stitch method is similar to the invisible join method but is used for joining in new colors or changing colors every round. To use this method, insert your hook into the first stitch of the new color or round, yarn over, and pull through both loops on your hook.
10. Continuous Rounds Method
For projects that require working in continuous rounds without any visible joins or seams, this method is ideal. To start, work your first round as usual and then continue working in spirals without slip stitching or chaining at the beginning of each new round.
Creating a Standing Stitch by Making a Slip Knot on the Hook
In order to learn how to join in crochet round, it is important to first know how to create a standing stitch. This technique allows you to avoid having a noticeable seam at the beginning of your rounds.
To create a standing stitch, you will start by making a slip knot on your hook. To do this, grab your yarn and make a loop with one end crossing over the other. Then, insert your hook under the first loop and pull the second loop through it. This will create a slip knot on your hook.
Next, you will yarn over, which means wrapping the yarn around your hook once from back to front. With this new loop on your hook, you can now proceed to make any type of stitch that is needed for your project.
Using the standing stitch technique will eliminate the need to start your rounds with a chain stitch or slip stitch, which can sometimes create a noticeable seam. This is especially useful when working on projects that require a continuous pattern, such as amigurumi or hats.
Things to Consider When Joining in Crochet Round
Today, we’re going to dive into the world of crochet and talk about how to join in crochet round. If you’ve been crocheting for a while, then you know that joining rounds is essential when making circular projects such as hats, baskets, or even amigurumi dolls. It creates a seamless and continuous look without any noticeable beginning or end.
However, joining in crochet round can be a daunting task for beginners. It’s crucial to get it right because if not done correctly, it can affect the overall appearance of your project. Don’t worry; we’re here to guide you through the process and share some tips on how to join seamlessly.
Conclusion
In conclusion, learning how to join in crochet round can be a daunting task for beginners, but with practice and patience, it can become second nature. Throughout this post, we have discussed the importance of starting off correctly by understanding basic terminology and techniques. We learned about slip stitches and magic circles, as well as various joining methods such as single crochet joins and invisible joins.
By experimenting with these different techniques, you can create unique projects that showcase your individual style. Whether you are making a simple hat or a complex blanket, the joining method plays a crucial role in the final result. So don’t be afraid to try new things and find what works best for you! Remember to always keep an eye on your tension and take breaks when needed to avoid hand fatigue.
Expertise:
Crafting expert with a focus on innovative techniques and diverse materials.
Specialization:
- Textile arts (weaving, embroidery, and fabric dyeing)
- Woodworking and furniture design
- Mixed media and upcycling projects
Recognition:
- Featured in local art exhibits showcasing innovative craft projects
- Collaborated with community organizations to promote crafting workshops
- Received accolades for contributions to sustainable crafting initiatives
Mission:
- To inspire and empower crafters of all levels to discover their creative potential
- Encourages experimentation and self-expression through hands-on projects

