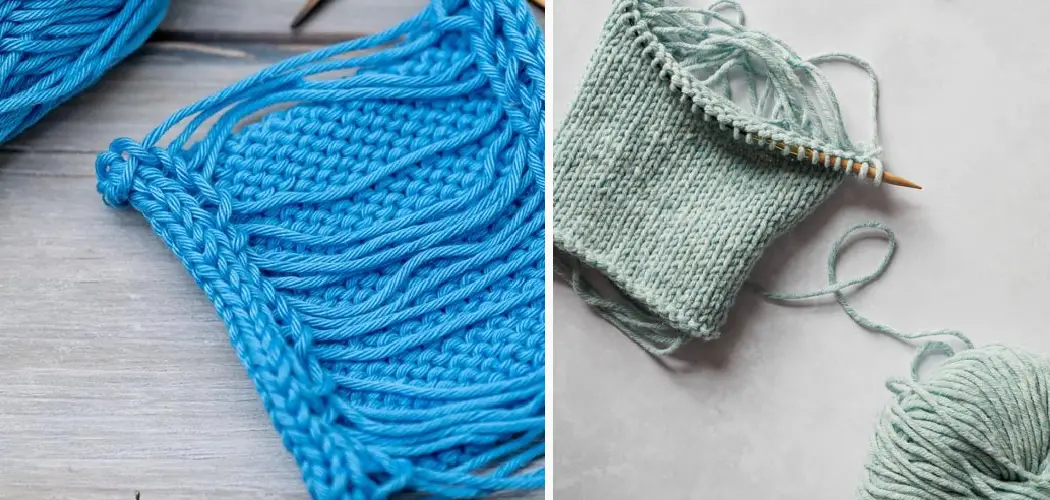
Knitting is a beautiful craft that requires patience and skill. One of the most important aspects of knitting is gauging the right size of stitches and rows for your project. This is where the swatch comes in handy. A swatch is a small sample knitting piece made with the same yarn and needles as your project. Swatching in the round is a bit different from swatching flat. In this blog post, we will show you how to gauge swatch in the round, step by step.
Can You Gauge Swatch in The Round?
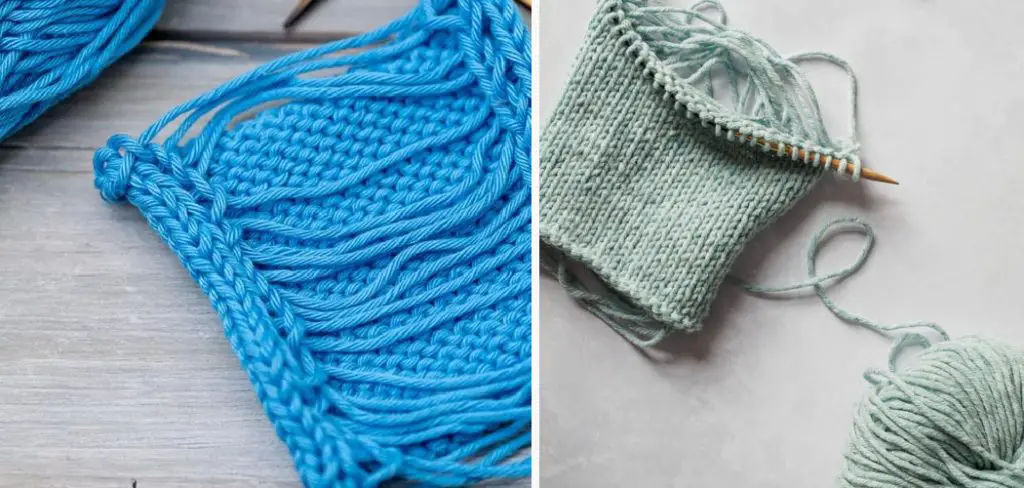
When it comes to knitting, one of the essential skills is being able to gauge your swatch. But have you ever wondered if you can gauge your swatch when knitting in the round? The answer is yes, you can! While it may seem intimidating at first, the process is quite straightforward.
Essentially, you will just need to measure the stitches and rows of your swatch as you would normally, but instead of stretching the fabric out on a flat surface, you will need to measure it while it is still in the round. By practicing this technique, you can create more accurate and reliable swatches, helping you achieve perfect results every time you pick up your needles.
Why Should You Gauge Swatch in The Round?
When it comes to knitting projects, getting the right gauge is essential for achieving a perfect fit. While measuring gauge swatches is common among knitters, you may want to consider taking it a step further by gauging your swatch in the round. Knitting in the round creates a different tension than knitting flat, so it makes sense to measure this way for projects like hats, socks, or sweaters that are worked in the round.
By knitting and measuring your swatch in the round, you can be confident that your finished project will fit comfortably and look amazing. So the next time you embark on a knitting project worked in the round, don’t forget to gauge your swatch in the round as well!
How to Gauge Swatch in The Round: A Comprehensive Guide
Step 1: Cast On and Knit Several Rows
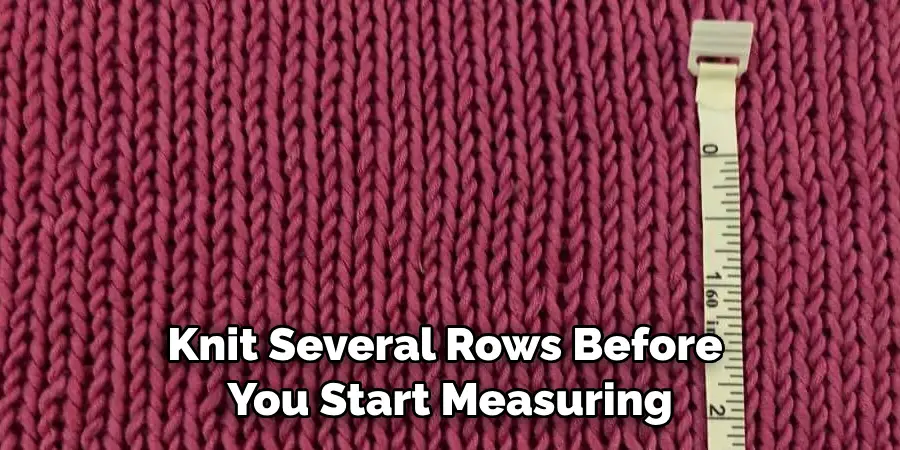
Choose the pattern you want to knit, and then cast on stitches equal to the number of stitches in your pattern’s gauge. Knit several rows before you start measuring. You can use markers to mark the beginning of each round and help you keep track of your rows.
Step 2: Measure the Swatch
Now, measure the swatch to see how many stitches and rows you have per inch. It’s essential to measure your swatch before washing and after washing. Find a tape measure or a ruler and place it on the swatch. Count how many stitches and how many rows there are per inch. Repeat this process a few times to be sure.
Step 3: Adjust Your Needle Size
If the gauge of your swatch doesn’t match the pattern’s gauge, then you have to adjust your needle size. If you have too many stitches and too many rows, switch to a bigger needle size. If you have too few stitches and too few rows, switch to a smaller needle size.
Step 4: Knit Another Swatch
Repeat the process with another swatch and new needle sizes until you find the needle size that matches the gauge of your pattern. It’s important to remember that every knitter’s gauge is different, so the needle size that worked for one person might not work for the other.
Step 5: Record Your Gauge and Needle Size
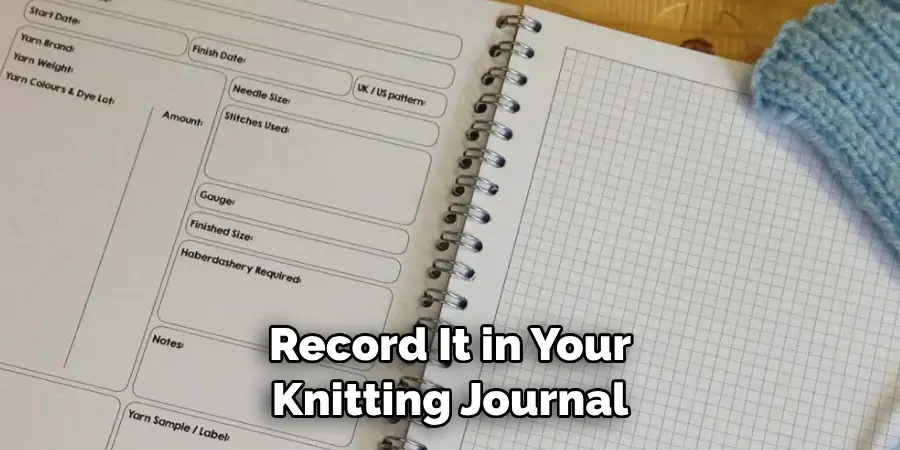
Once you’ve found the needle size that works for you, record it in your knitting journal or on your pattern. You don’t want to forget what needle size you used if you take a break from your project or need to start over. You can also use your swatch as a reference when you’re knitting your project. Count the number of stitches and rows in your swatch to make sure you’re on track.
Step 6: Swatch in the Round
If your pattern is knit in the round, then you will need to knit a swatch in the round. You can do this by casting stitches onto double-pointed needles or using a circular needle. Follow steps 1-5, but knit in the round instead of knitting back and forth.
Step 7: Block Your Swatch
After knitting your swatch, block it by washing it or wetting it and laying it flat to dry. This will help even out your stitches and give you a more accurate gauge measurement. Once your swatch is dry, measure it again to see if any adjustments need to be made.
Now that you know how to gauge swatch in the round, you can confidently start your project. Remember to always measure your gauge before starting a project and adjust your needle size accordingly. With practice, you’ll learn what works best for you and will be able to create beautiful projects with perfect gauges every time.
5 Considerations Things When You Need to Gauge Swatch in The Round
1. Gauge Swatch Size
When gauging a swatch in the round, it is important to consider the size of the swatch. The size of your gauge swatch will determine how many stitches and rows you need to knit to get an accurate measurement. If your gauge swatch is too small, it may not be able to provide a reliable measurement. On the other hand, if your gauge swatch is too large, you may have inaccurate measurements due to stretched stitches.
2. Needle Size
Another important consideration when gauging swatch in the round is needle size. Different needle sizes will produce different stitch and row sizes, so it’s important to use the same needle size that you plan on using for your project when making a gauge swatch. This will ensure that you get an accurate measurement and that your finished project turns out as expected.
3. Yarn Weight
The weight of the yarn you are using can also affect how accurately you can gauge the swatch in the round. Heavier yarns are more difficult to measure accurately because they can stretch more easily than lighter yarns. It’s important to consider this when selecting a yarn for your project and when making a gauge swatch.
4. Number of Stitches & Rows
It’s also important to consider how many stitches and rows you need to get an accurate measurement when gauging the swatch in the round. Generally speaking, larger projects require more stitches and rows for your measurements to be accurate, while smaller projects require fewer stitches and rows for accuracy.
5. Tension & Technique
Finally, it’s important to consider both tension and technique when gauging swatch in the round.
Tension refers to how tight or loose you knit each stitch; if your tension varies from one stitch or row to another, this can affect the accuracy of your measurement results and how even your finished project looks once completed. Different knitting techniques, such as Fair Isle or intarsia, can also affect how accurately you can measure gauge swatches in the round.
4 Common Mistakes People Make When Trying to Gauge Swatch in The Round
1. Not Paying Attention to the Gauge
One of the most common mistakes people make when trying to gauge swatch in the round is not paying attention to the gauge. Gauge is an important factor in knitting as it determines how many stitches and rows you need for a particular project. If you don’t pay attention to the gauge, your project may be too small or too big. To ensure that your project turns out correctly, take the time to measure your gauge accurately before beginning your project.
2. Not Being Consistent with Tension
Another mistake people often make when trying to gauge swatch in the round is inconsistent with their tension. It’s important to keep your tension even throughout the entire swatch for it to be accurate. If your tension is uneven, try adjusting your needle size or yarn weight until you achieve consistent tension throughout the swatch.
3. Not Swatching Enough
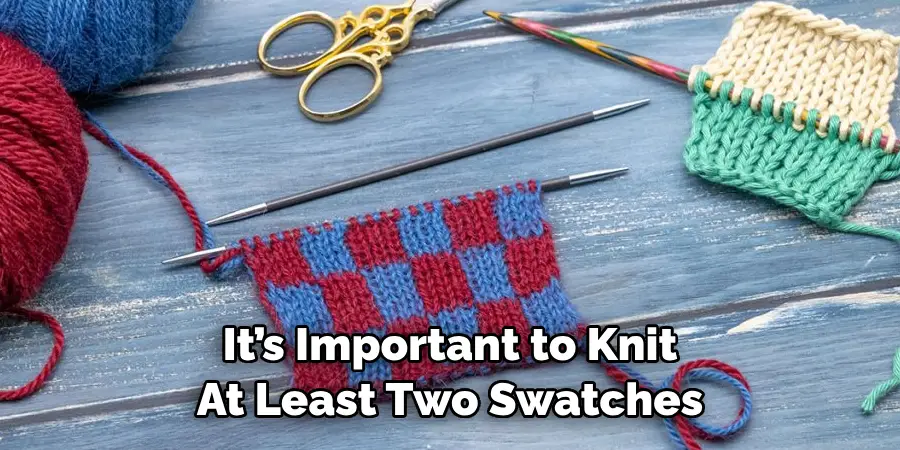
Another common mistake people make when trying to gauge swatch in the round is not swatching enough. It’s important to knit at least two or three swatches before starting a project so that you can accurately measure your gauge and adjust accordingly if necessary. Don’t be tempted to skip this step, as it could lead to problems!
4. Not Blocking Your Swatches
Finally, another mistake people make when trying to gauge swatches in the round is not blocking their swatches before measuring them. Blocking helps even out any irregularities in your knitting and ensures that you get an accurate measurement of your gauge. Make sure you block all of your swatches before measuring them to get an accurate reading of your gauge!
Conclusion
Gauging swatch in the round may initially seem intimidating, but it’s easier than you think! You’ll have no problem gauging your swatch in the round by following these steps. Remember to take your time and follow the steps carefully. With a little bit of practice, you’ll be able to gauge swatch in the round without even thinking about it. Thanks for reading our post about how to gauge swatch in the round and happy knitting!

